
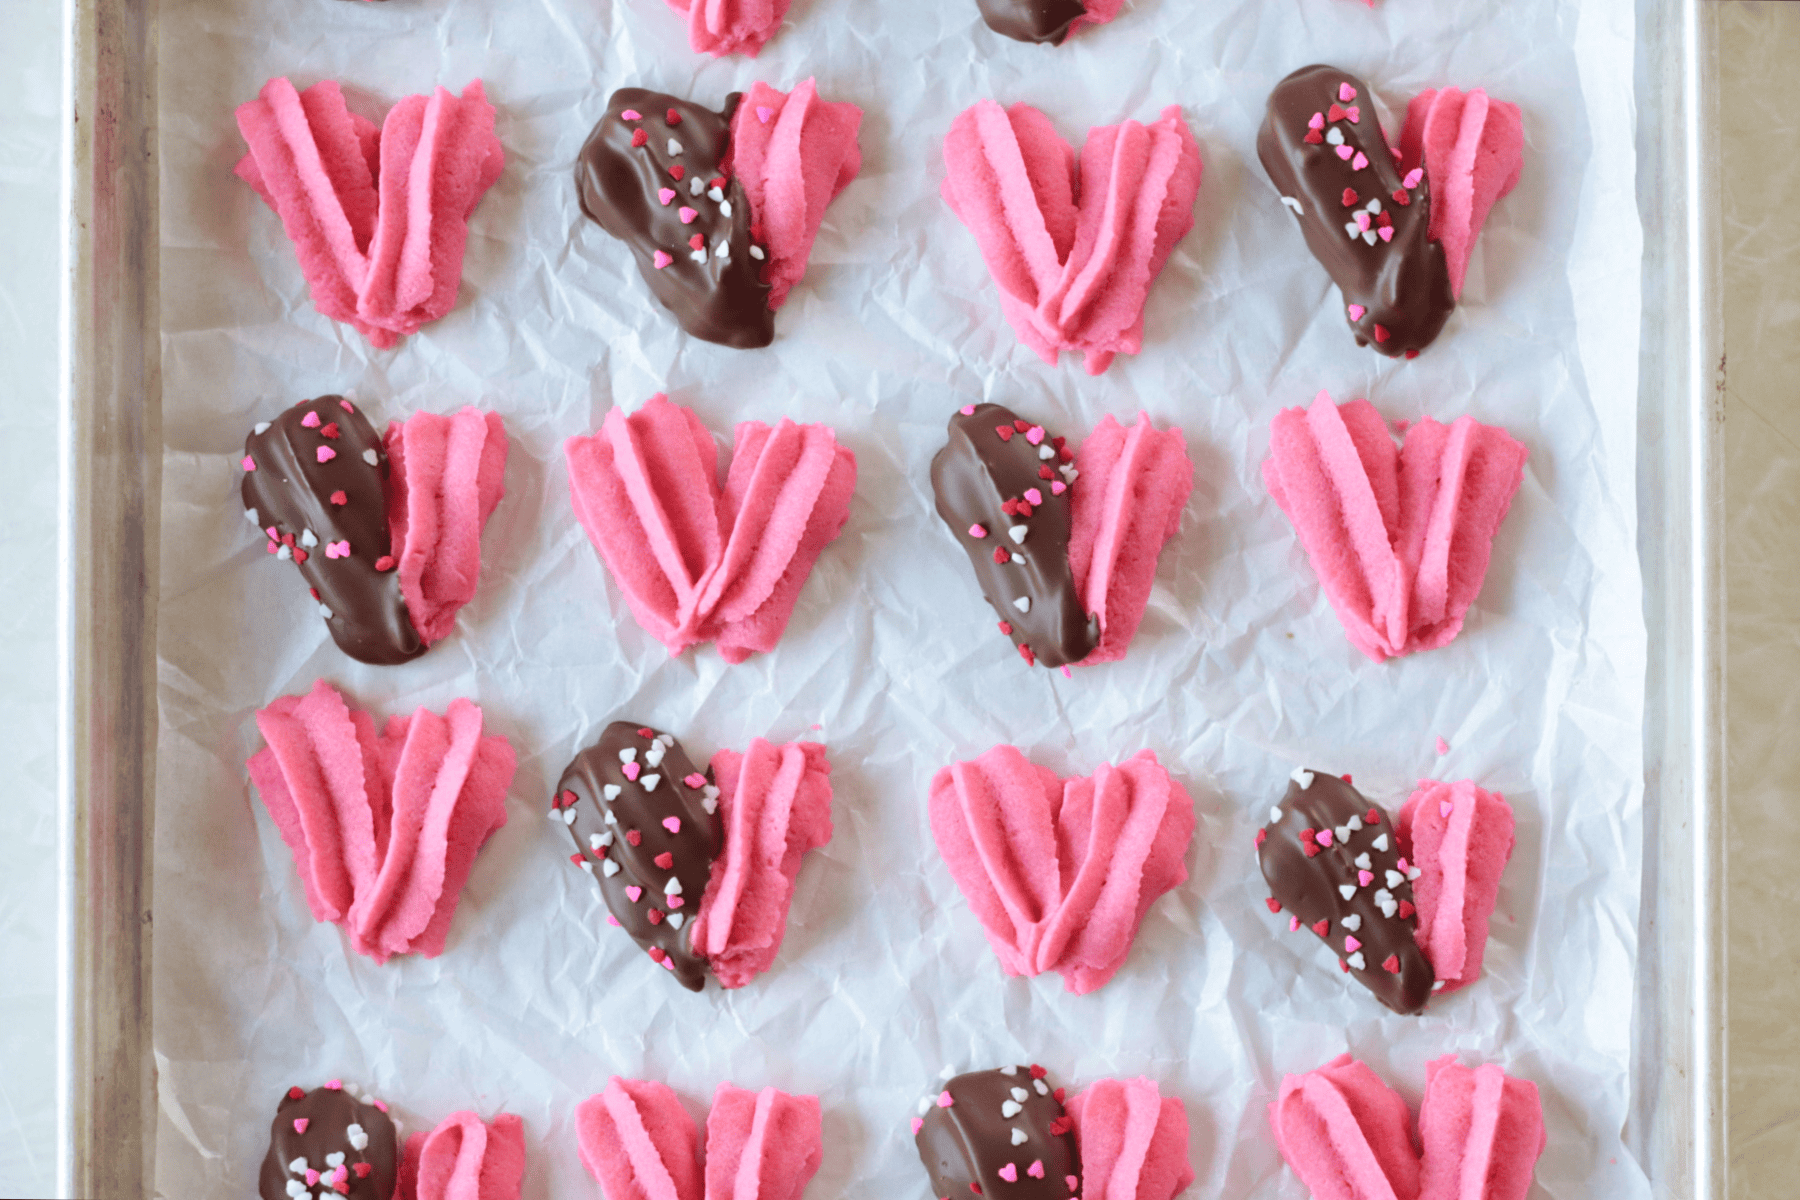
Peanut butter Valentine's Day cookies stay soft and chewy for days! Heart-shaped and dipped in chocolate, perfect to share with a sweetheart.
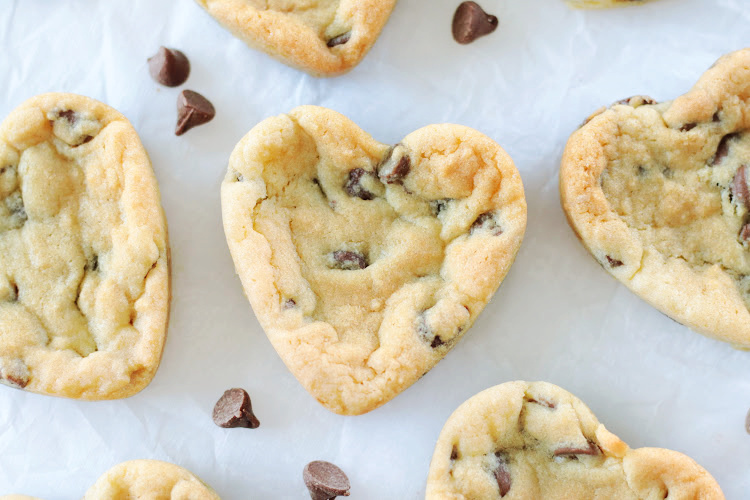
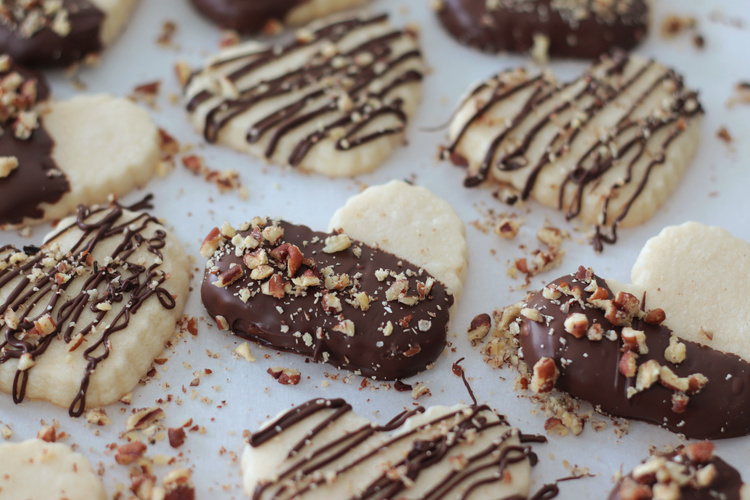
You might also like my heart-shaped chocolate chip cookies, heart-shaped chocolate shortbread cookies, or Valentine's Day sugar cookies.

These cookies are an adaptation of my bakery-style peanut butter cookies, which have rave reviews. They are rich with brown sugar and only a small amount of white sugar, which keeps them moist and chewy. What really makes them great is that they are HEART SHAPED! So cute and so easy to make. Perfect for Valentine's Day!
Why I Like This Recipe
- Basic ingredients that you probably already have in the pantry.
- They stay soft for days. You can easily make them the day before you want to serve them.
- No chilling is required. Simply whip up the dough then bake!
- No need to roll the cookies in sugar. These cookies are delicious simply scooped and baked.
- Easy to shape. No cookie-cutter needed! Make heart shapes in seconds.
What Others Are Saying
Just made these today with my granddaughter. They received high marks from everyone in the house. Now I just have to go buy more brown sugar to make another batch. Thank you for the recipe---Cynthia
These peanut butter cookies are really good. I enjoyed them as an evening treat. The heart shapes are cute, too.---Linda

Tips and Tricks
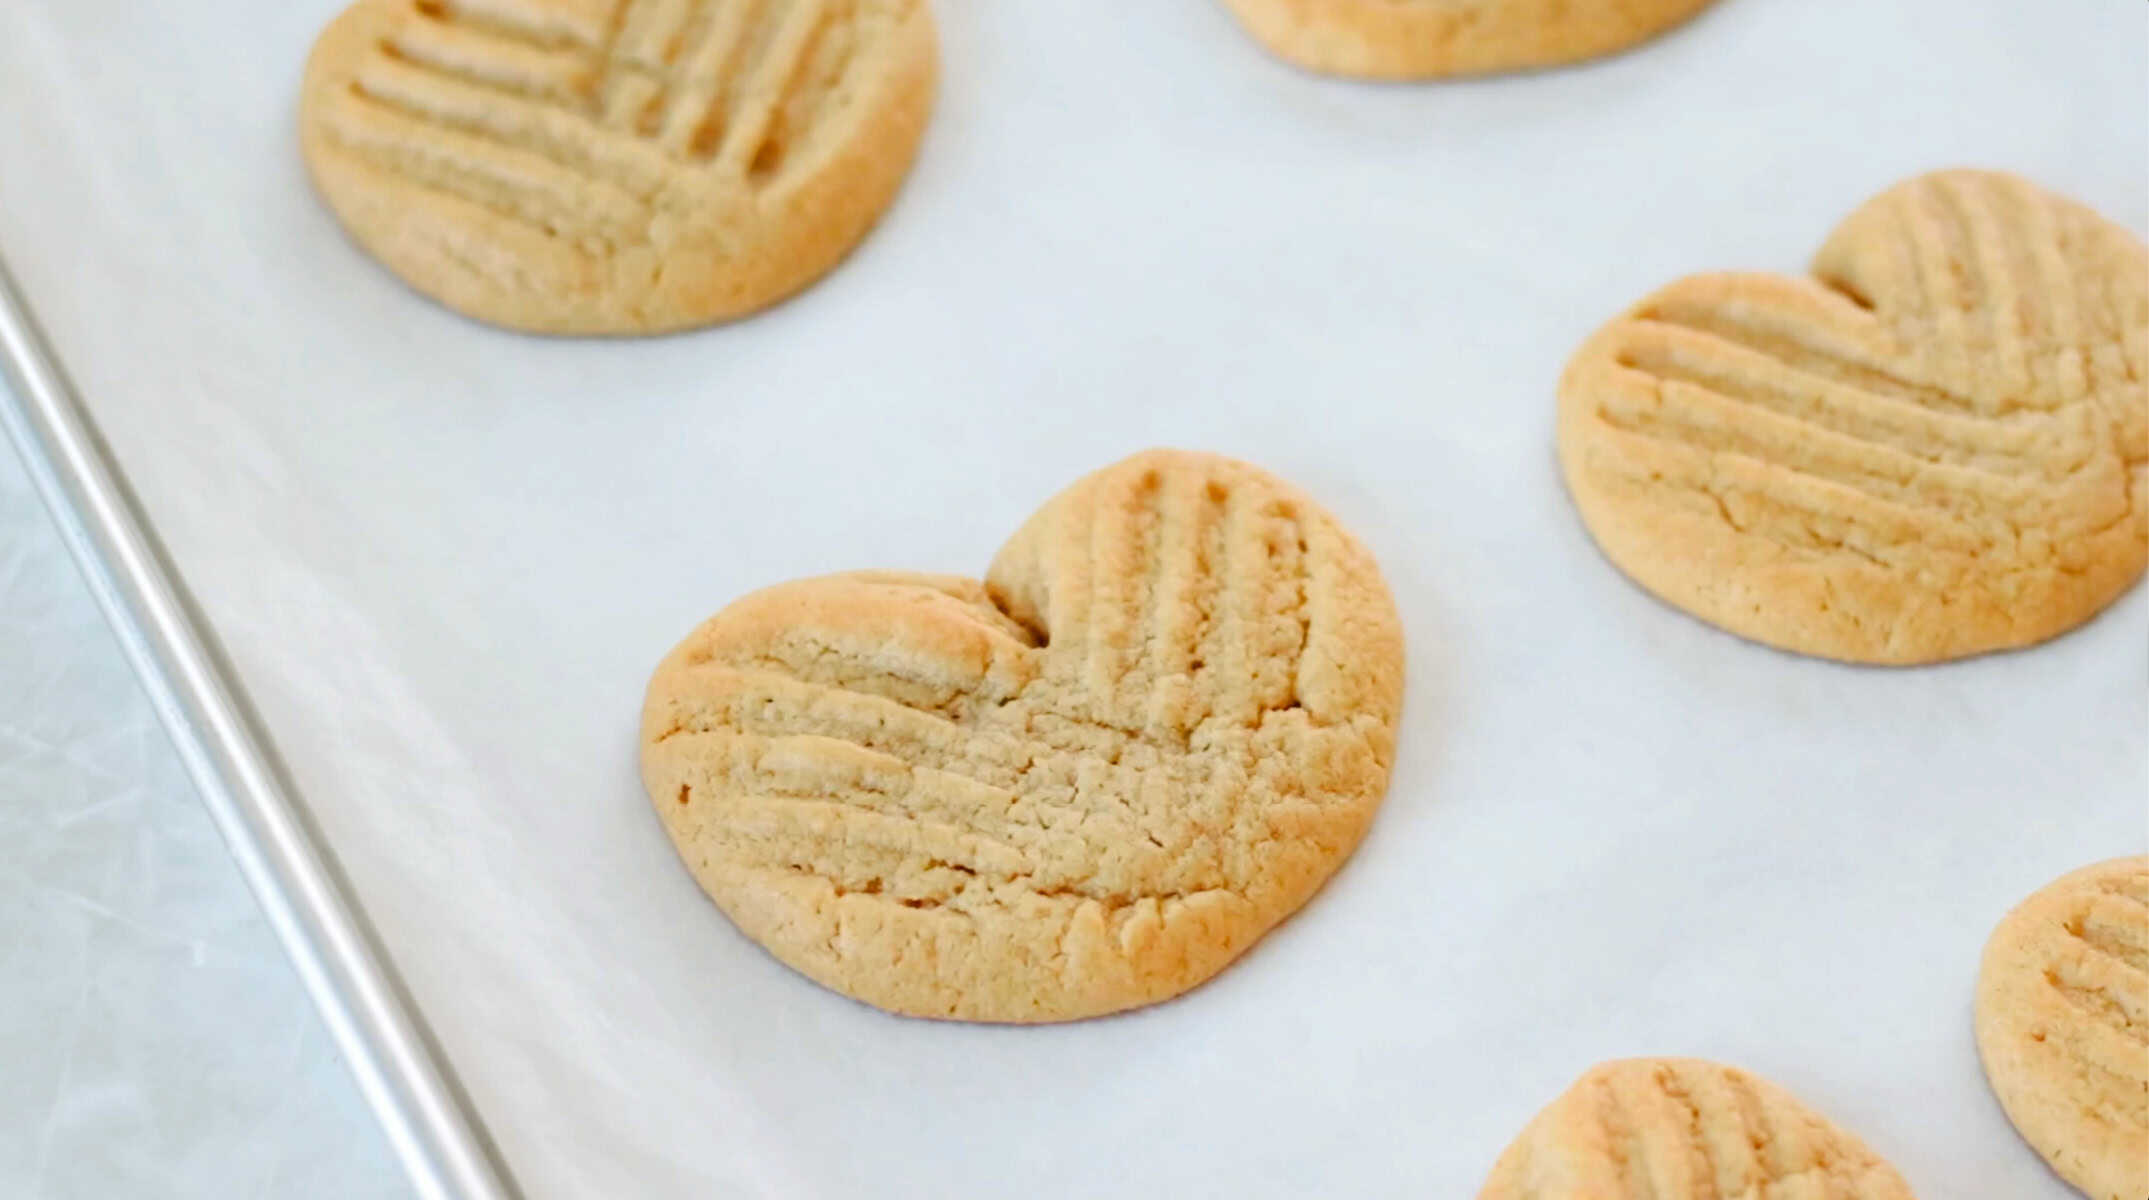
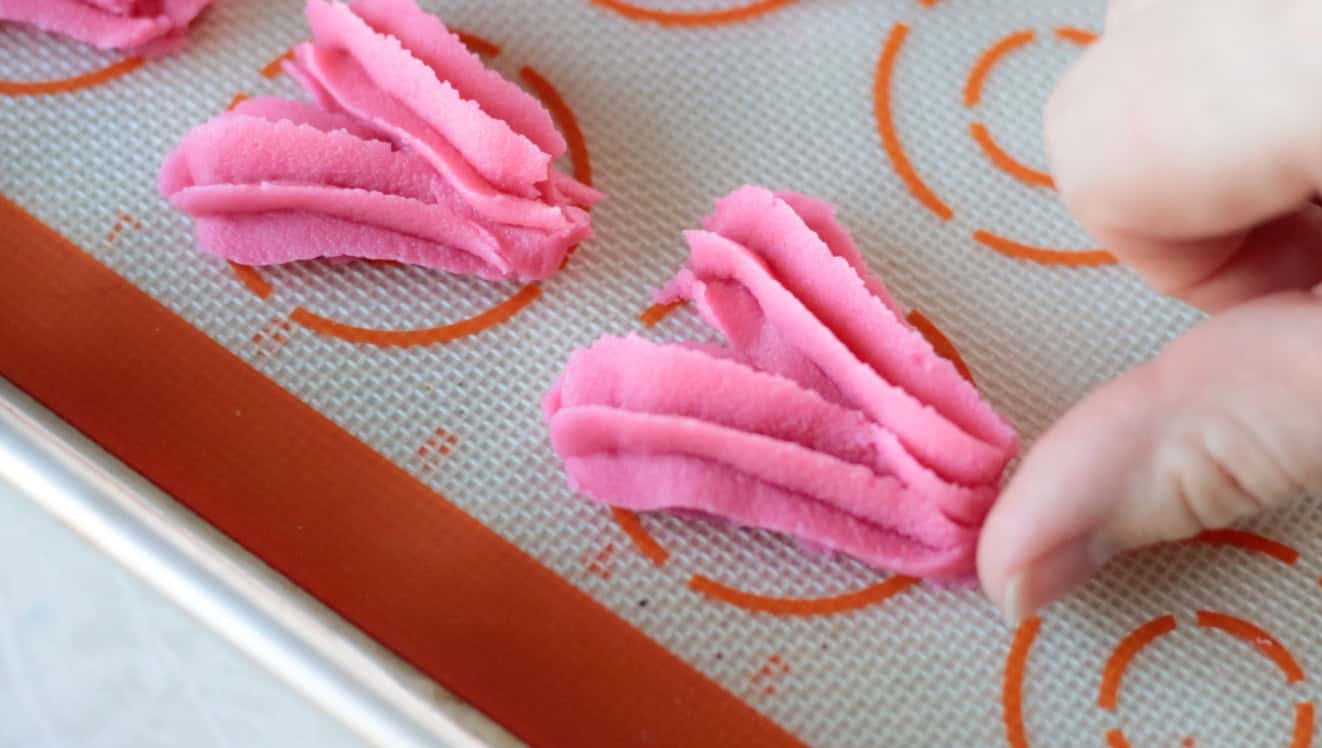
- How to shape cookies into hearts. You don't need a cookie-cutter or a shaped pan to make heart-shaped peanut butter cookies. Simply roll the dough into balls, cut a slit at the top of each ball, then pull it into an exaggerated heart shape — nice and wide. Press down with a fork, then bake.
- Do not roll cookies in sugar. Classic peanut butter cookies typically call for rolling each cookie dough ball in sugar before baking. That is not necessary, and honestly, I don't care for the texture of sugar-coated cookies. Because we are dipping these in chocolate, it's best to leave the sugar off so that the chocolate sticks to the cookie.
- Light baking sheets. I bake with light-colored metal baking sheets. If you bake on dark metal, you may need to adjust the baking time so that the bottoms of the cookies don't get too dark.
- Allow cookies to cool on the baking sheet. Because we want these cookies to stay soft, yet sturdy enough for dipping, I suggest pulling the cookies out when just done and allowing them to finish baking on the pan while they cool. Allow the cookies to cool completely before removing from the pan to dip in chocolate.
- Chocolate for dipping. You can use chocolate almond bark, chocolate melting wafers, or milk chocolate chips. Almond bark is the cheapest and easiest to use. Chocolate chips taste the best (in my opinion). When it comes down to it, it doesn't matter which ones you use; they all work great for dipping.
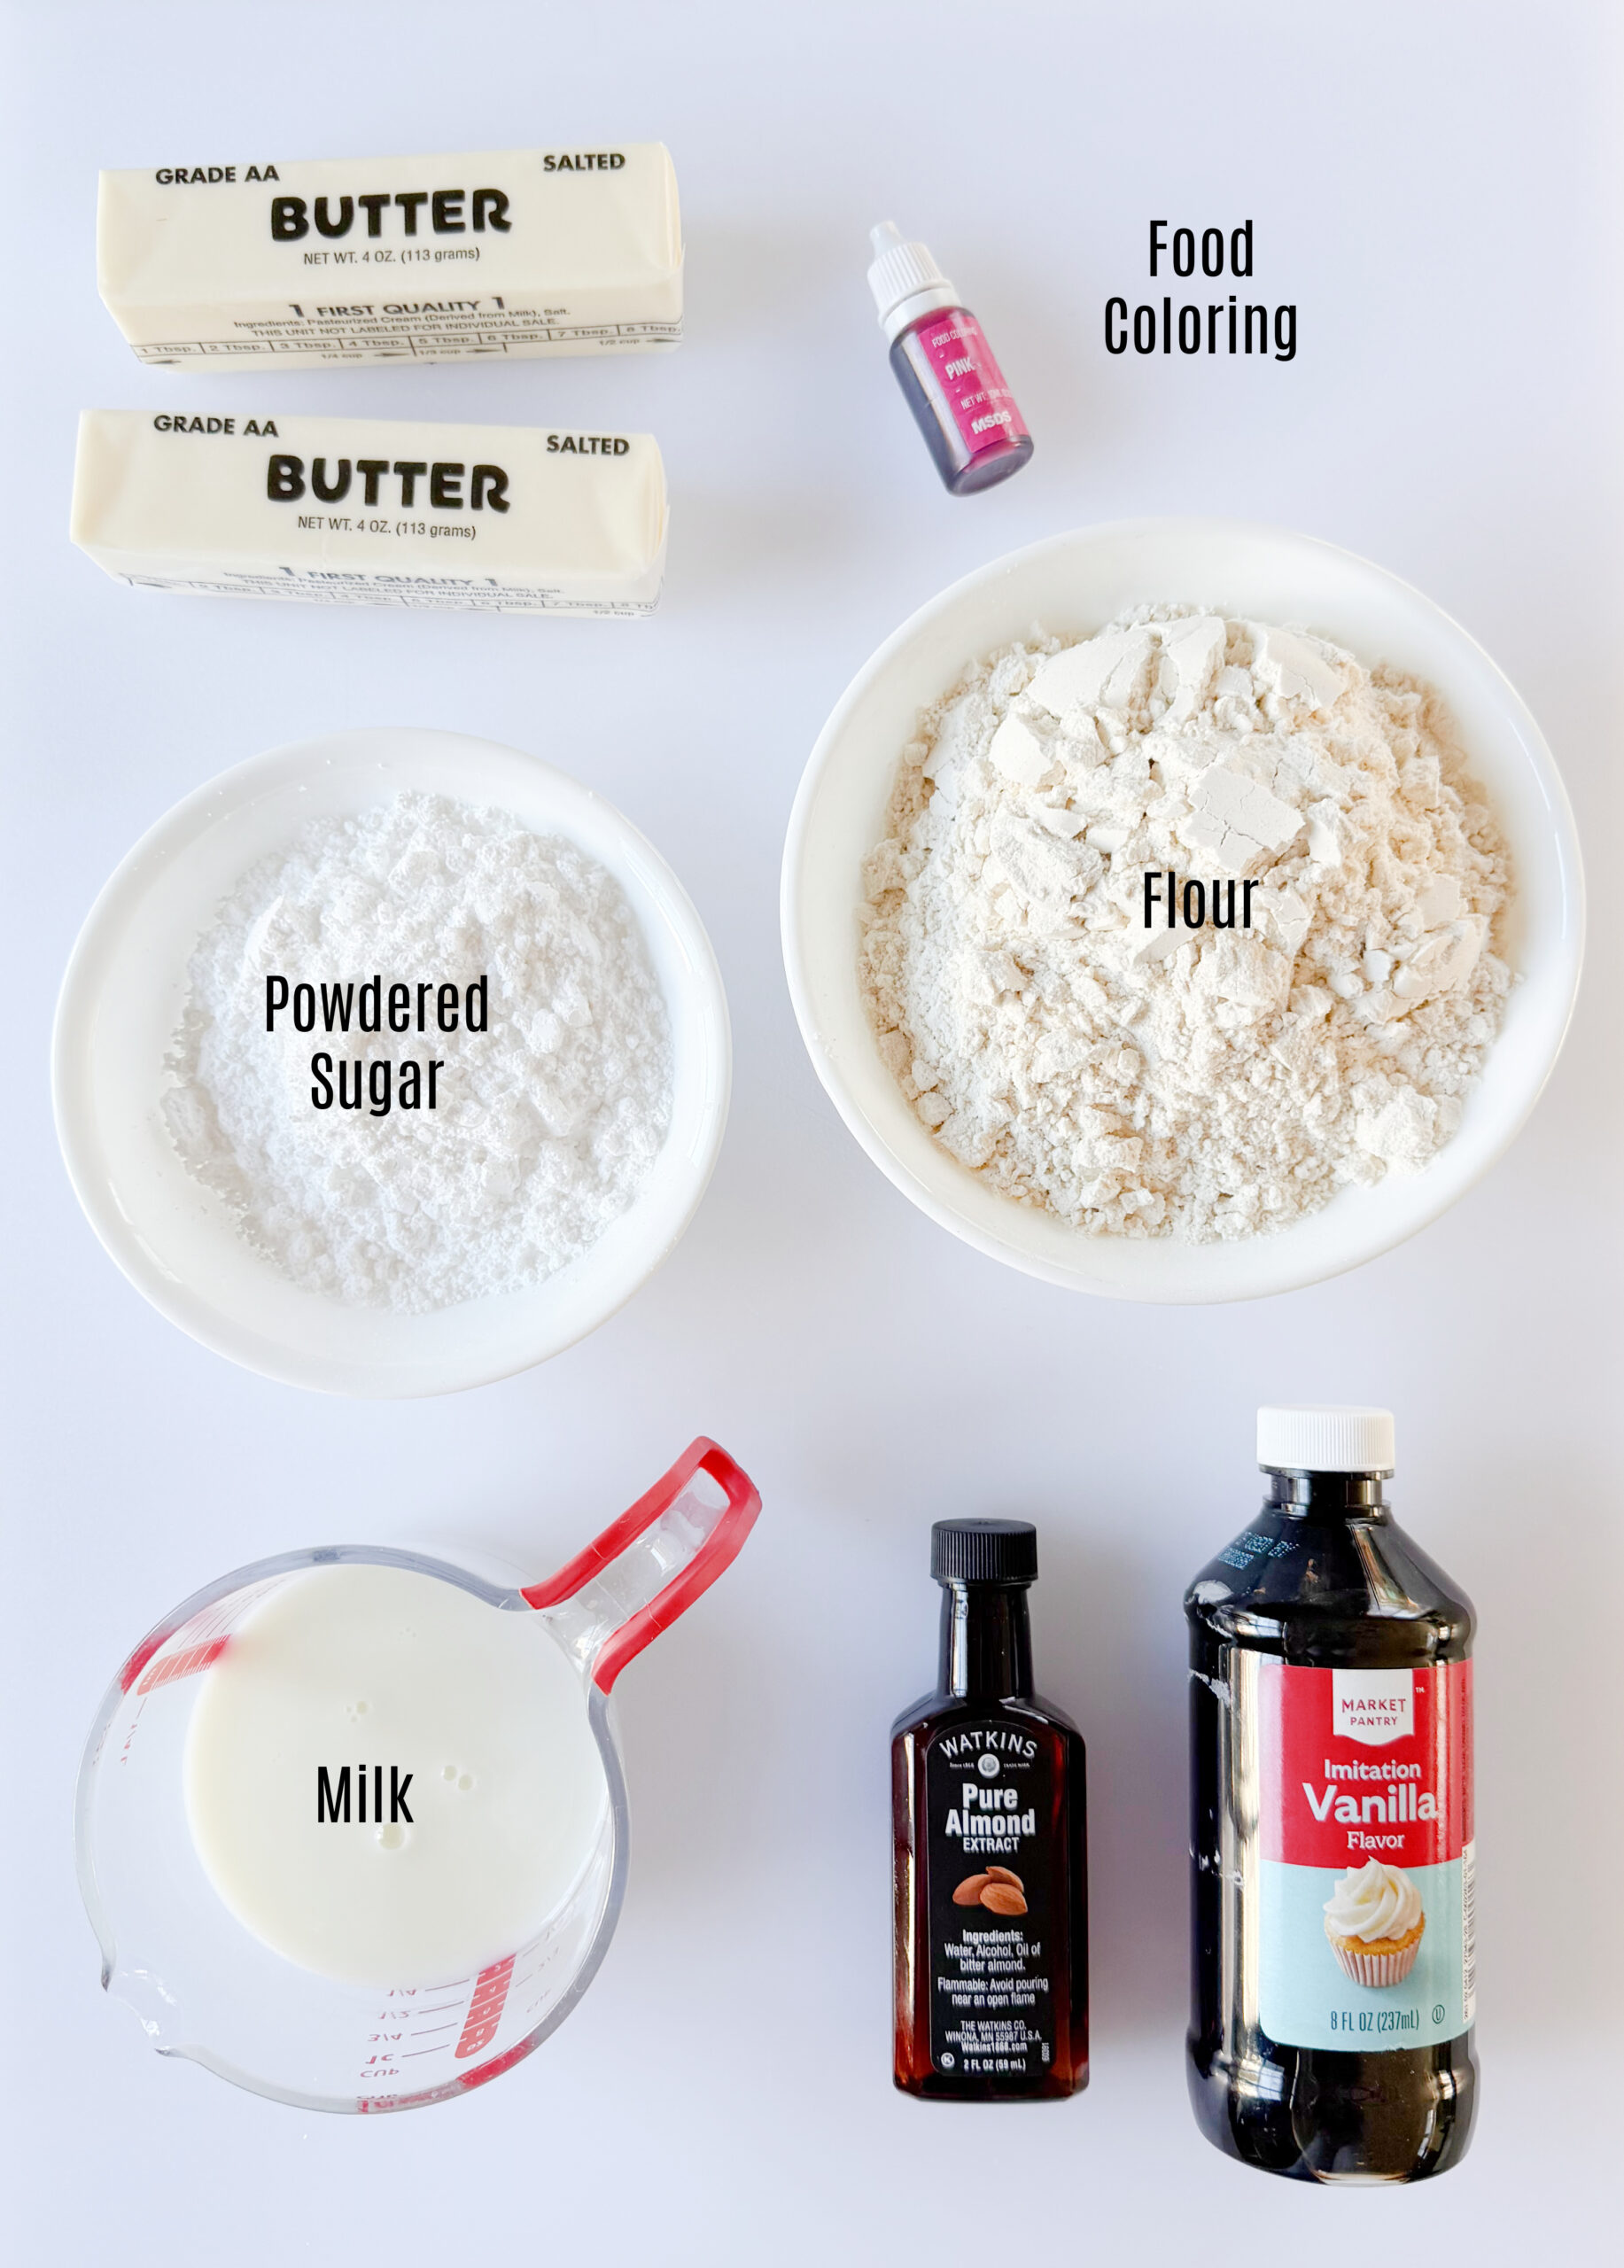
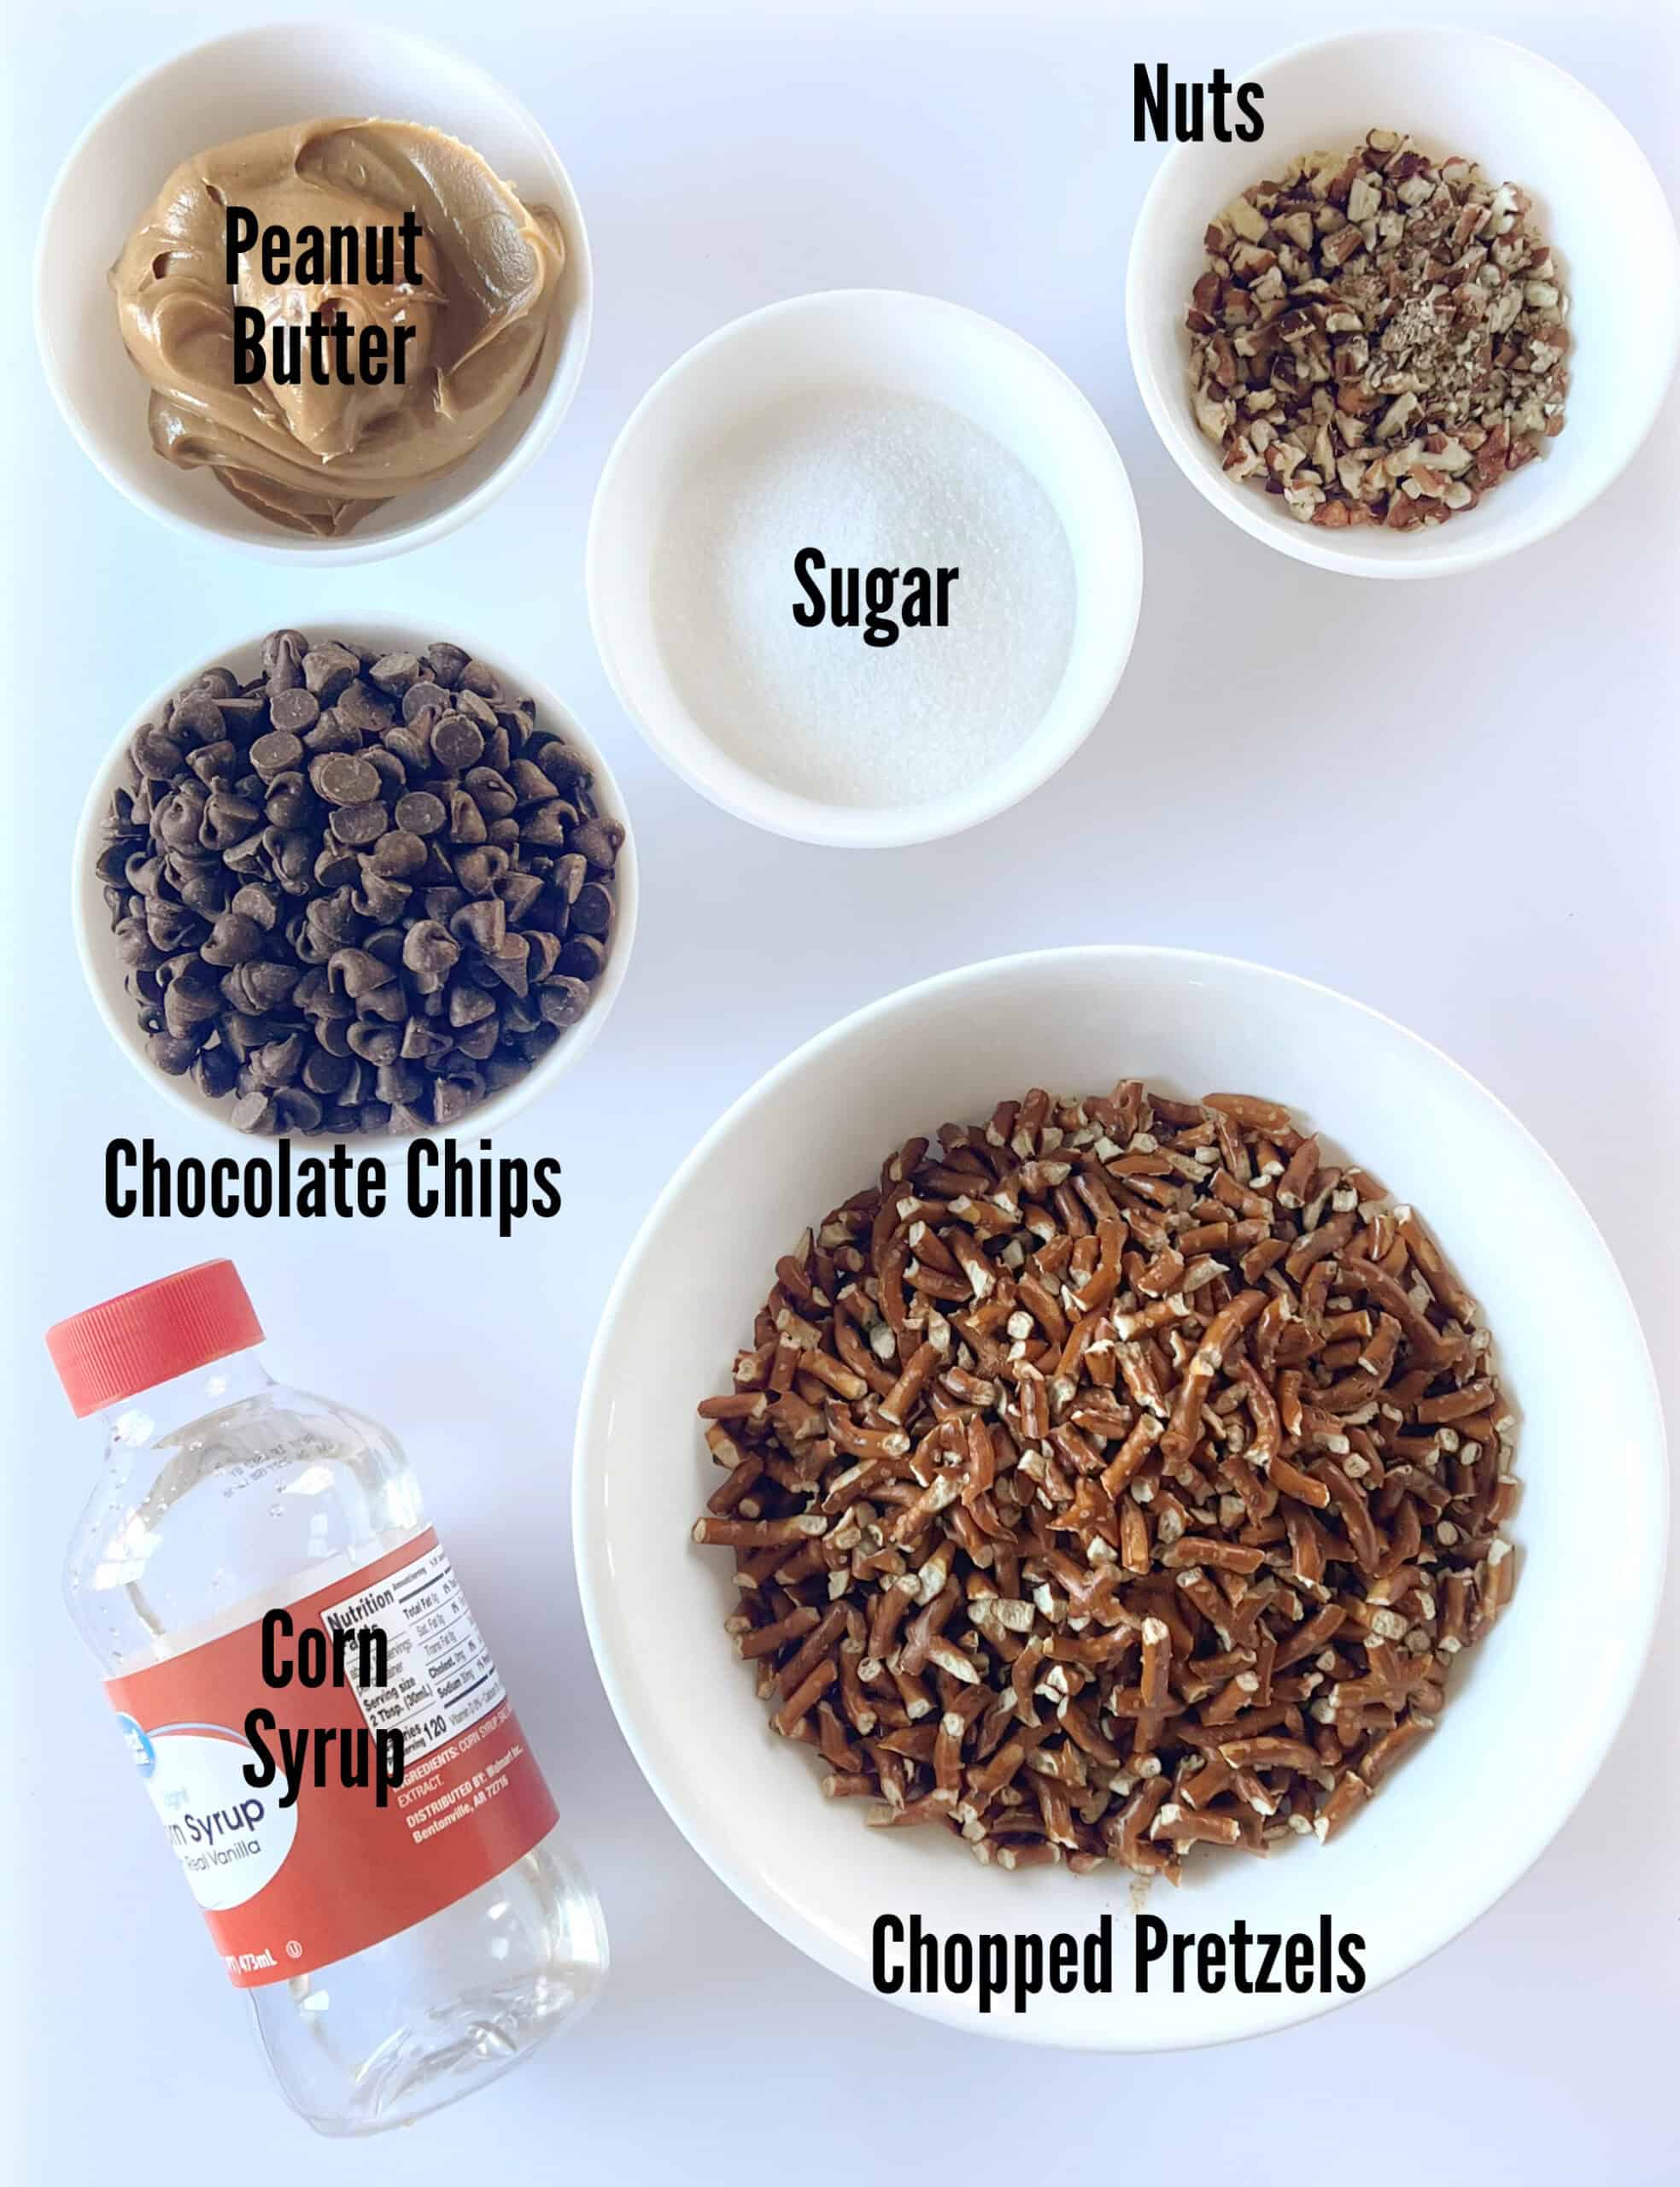
Ingredients
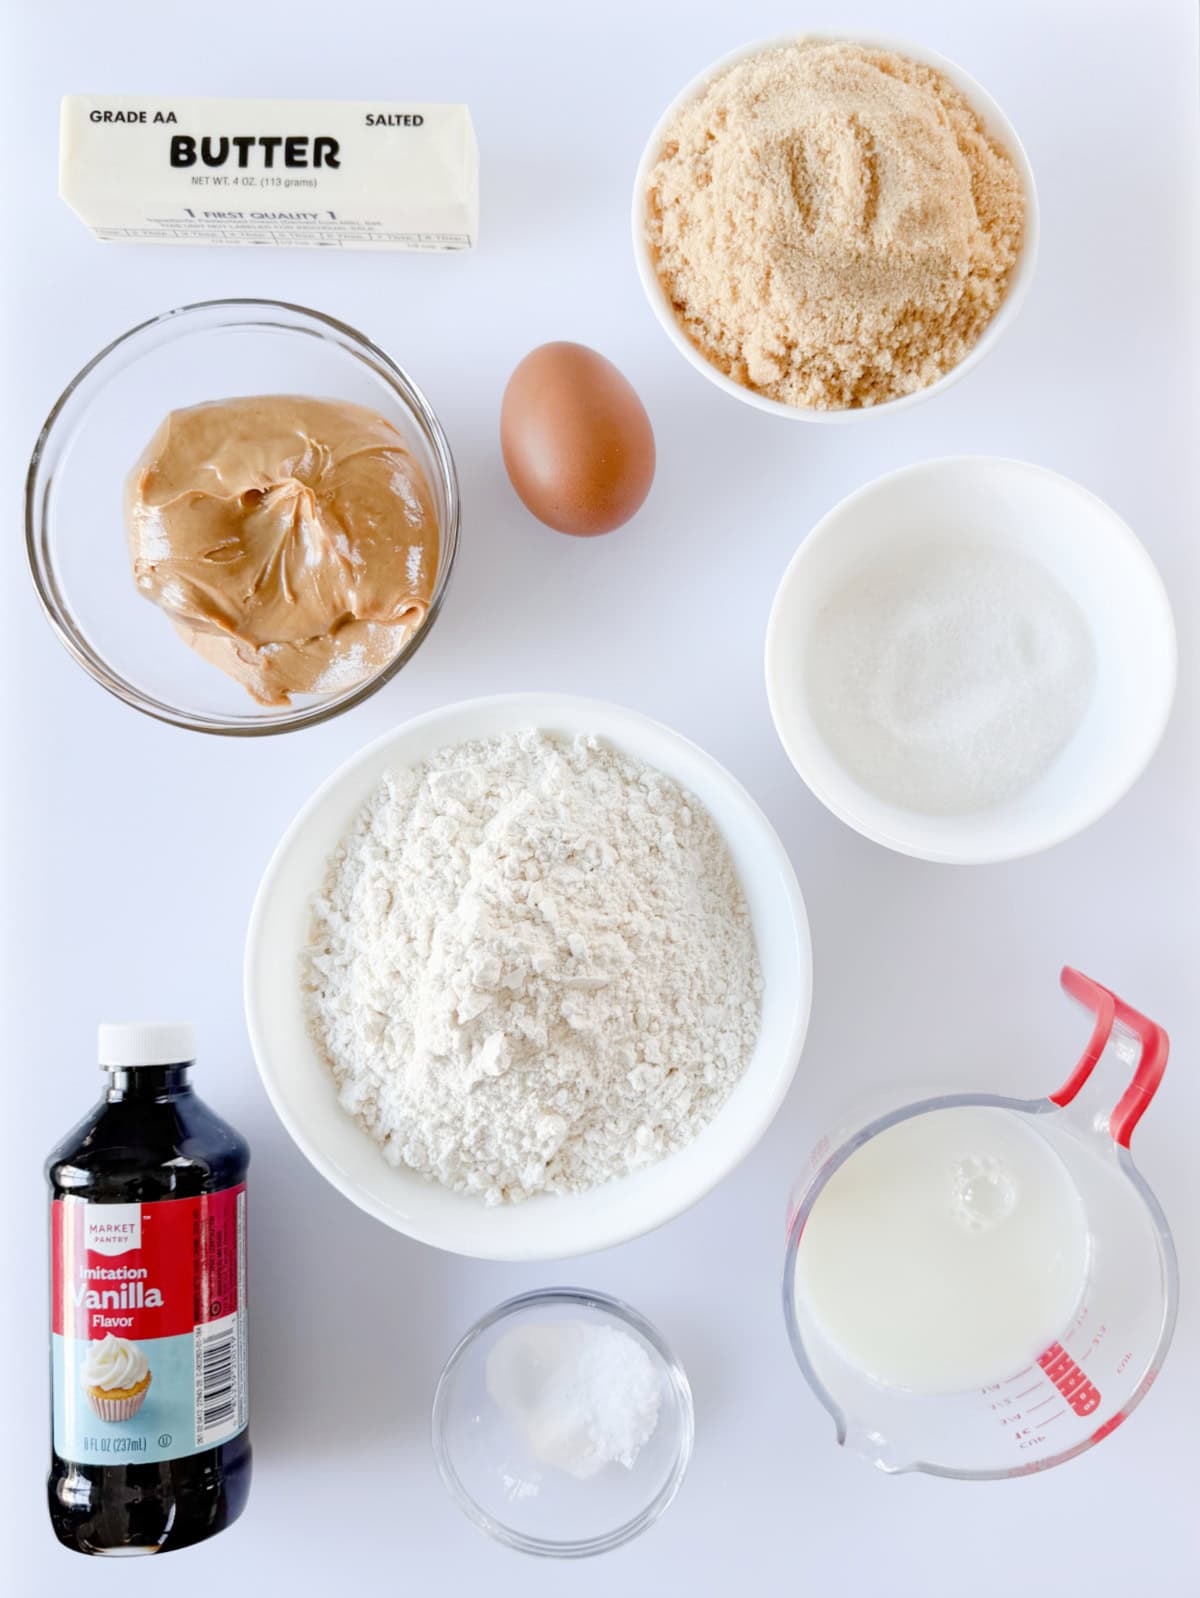
- Butter: I always bake with salted butter, but you can use unsalted butter if you'd like.
- Sugar: I use a combination of brown sugar and granulated white sugar (mostly brown sugar for moisture and chewiness).
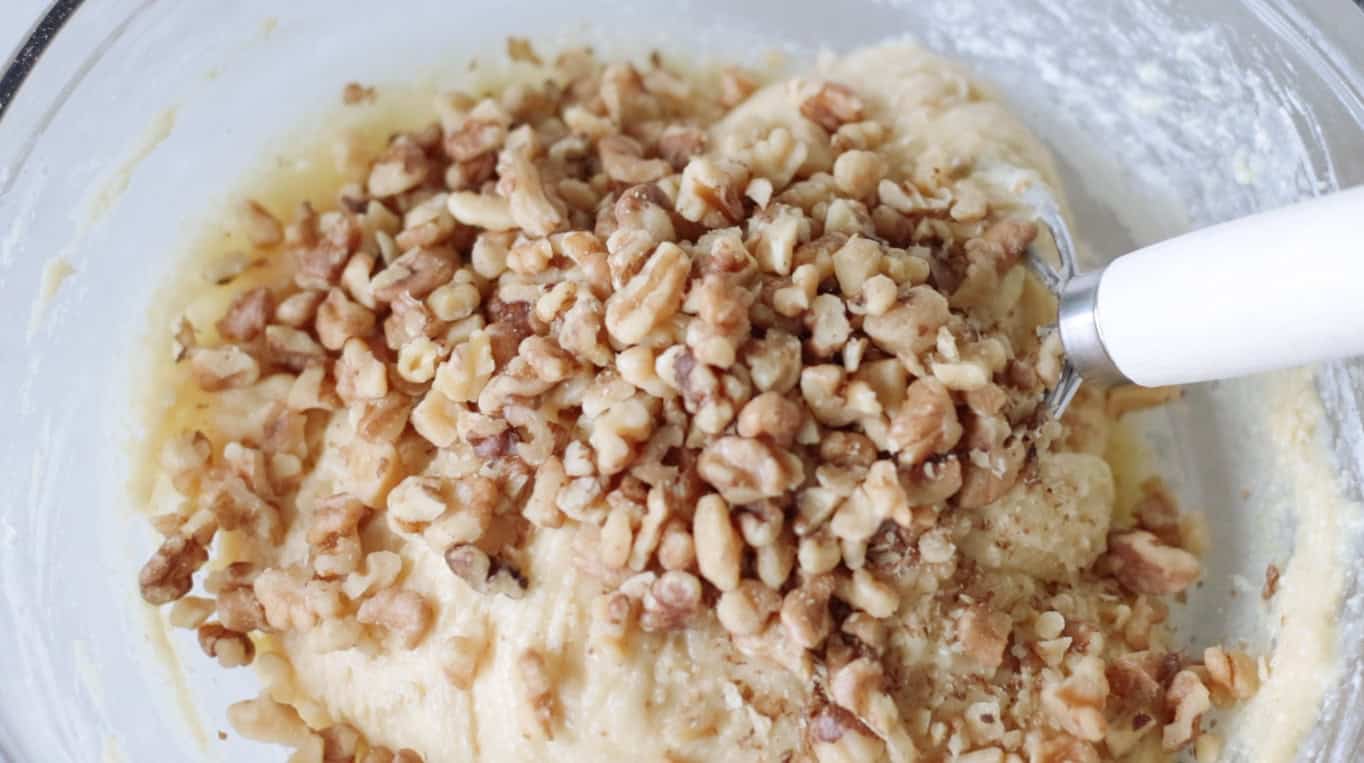
- Peanut Butter: You can use creamy peanut butter or crunchy peanut butter. I use creamy. I haven't tried making these with natural peanut butter, but I'd imagine they'd be delicious with natural peanut butter as well.
- Egg: For richness and flavor.
- Milk: You can use any kind of milk.
- Vanilla: Have you tried making your own vanilla extract? It's easy!
- Baking soda and salt: for texture and leavening.
- Flour: all-purpose flour works great.
- Melting chocolate: You can use chocolate almond bark, chocolate melting wafers, or milk chocolate chips.
- Sprinkles
See the recipe card for full information on ingredients and quantities.
How To Make Peanut Butter Valentine Cookies
Step 1: Preheat oven to 350 degrees. Line baking sheets with parchment paper.
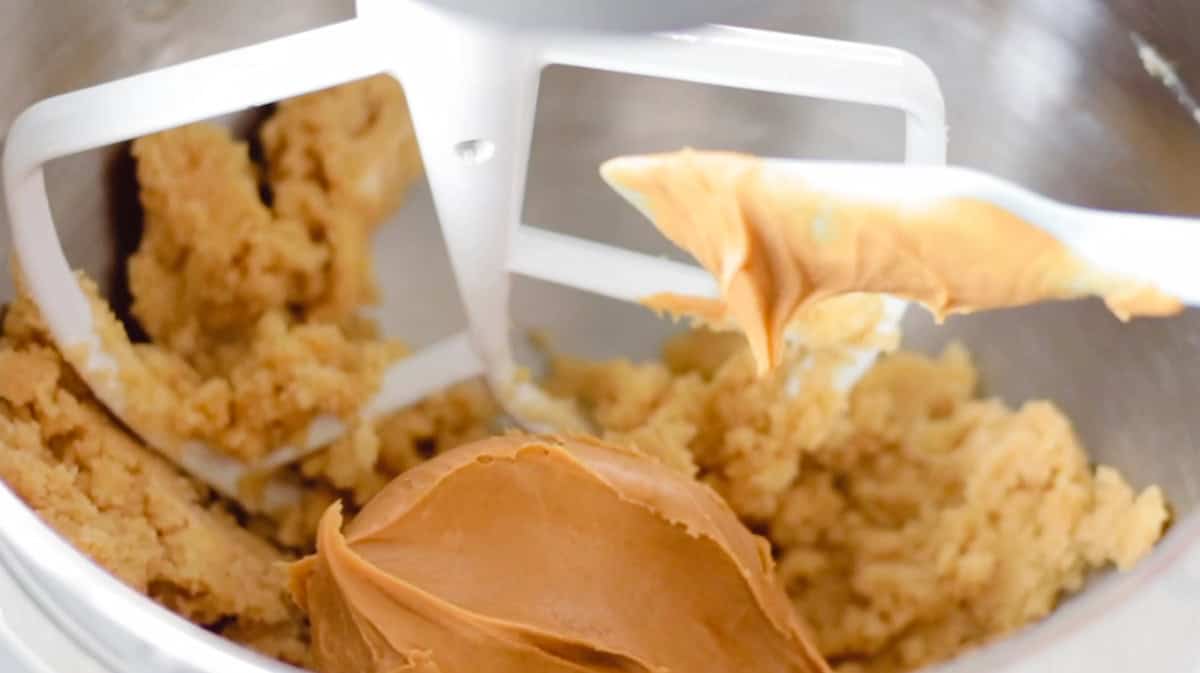
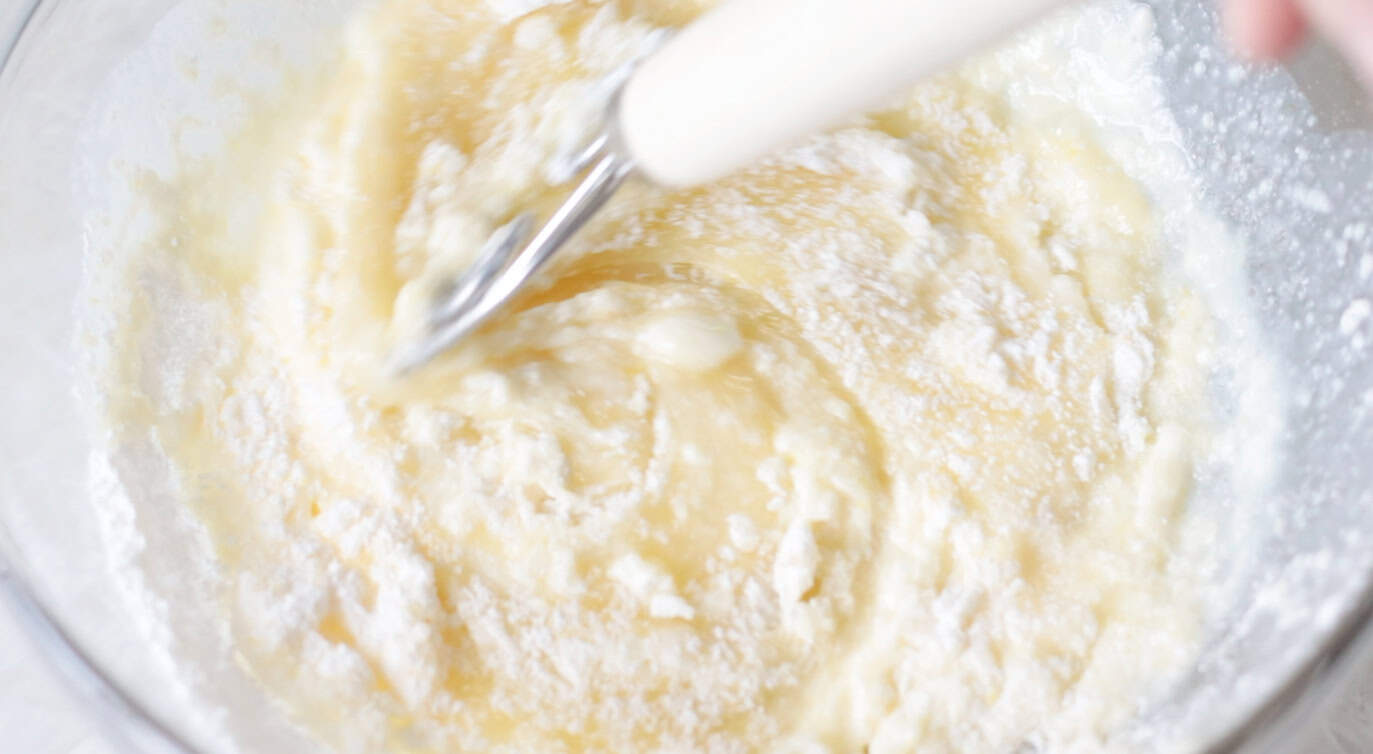
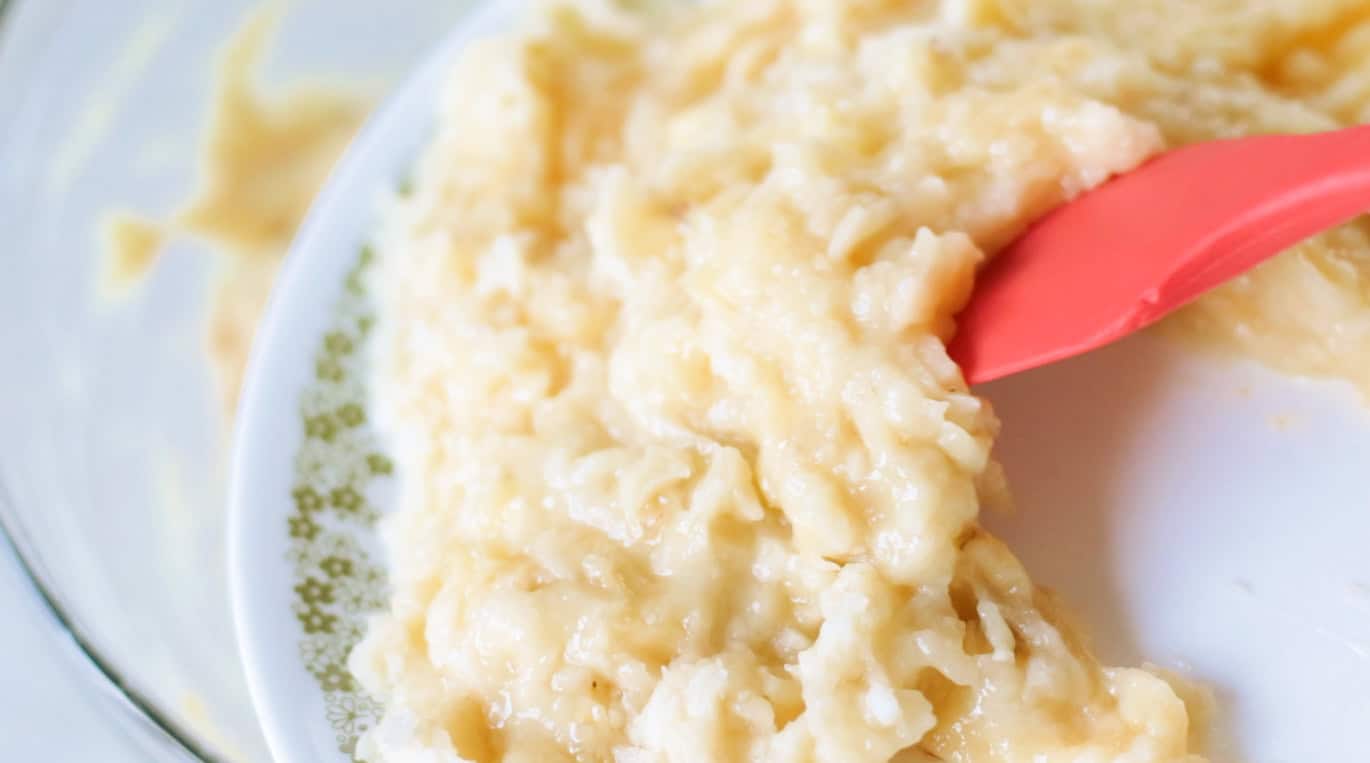
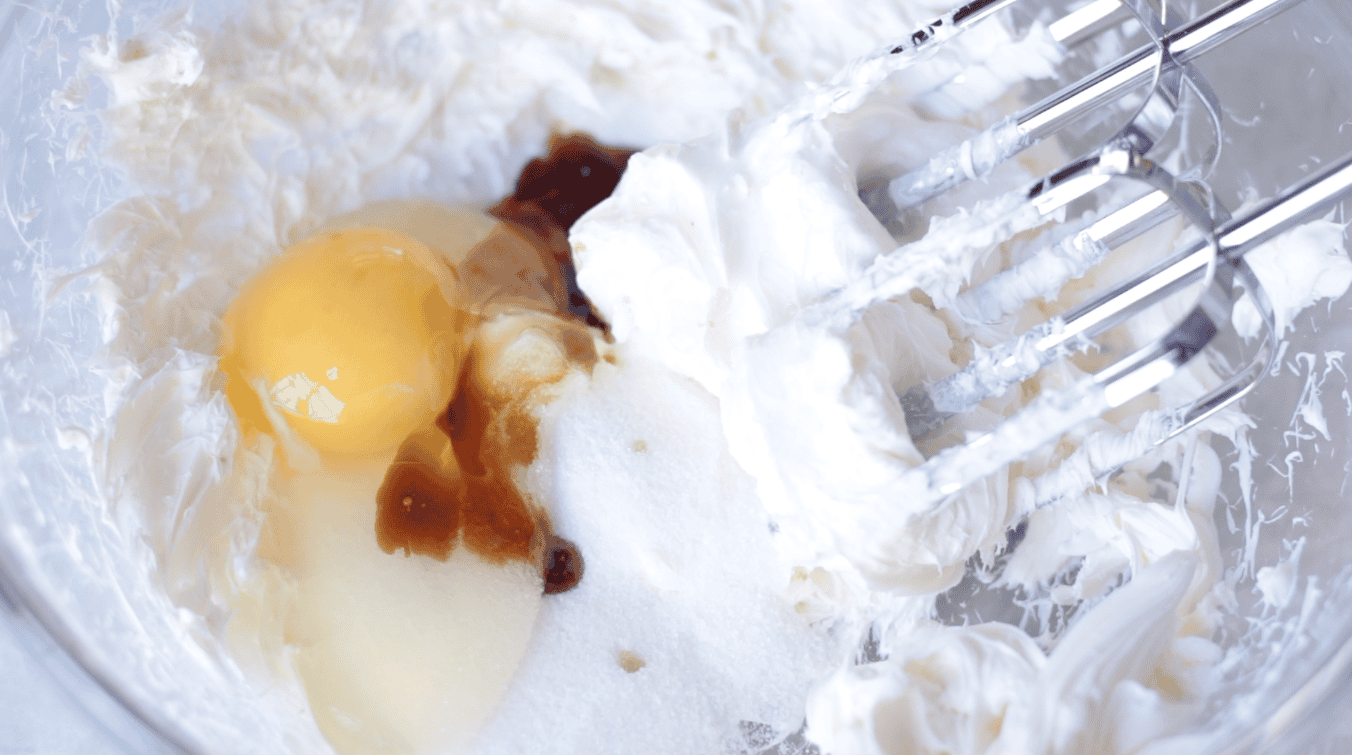
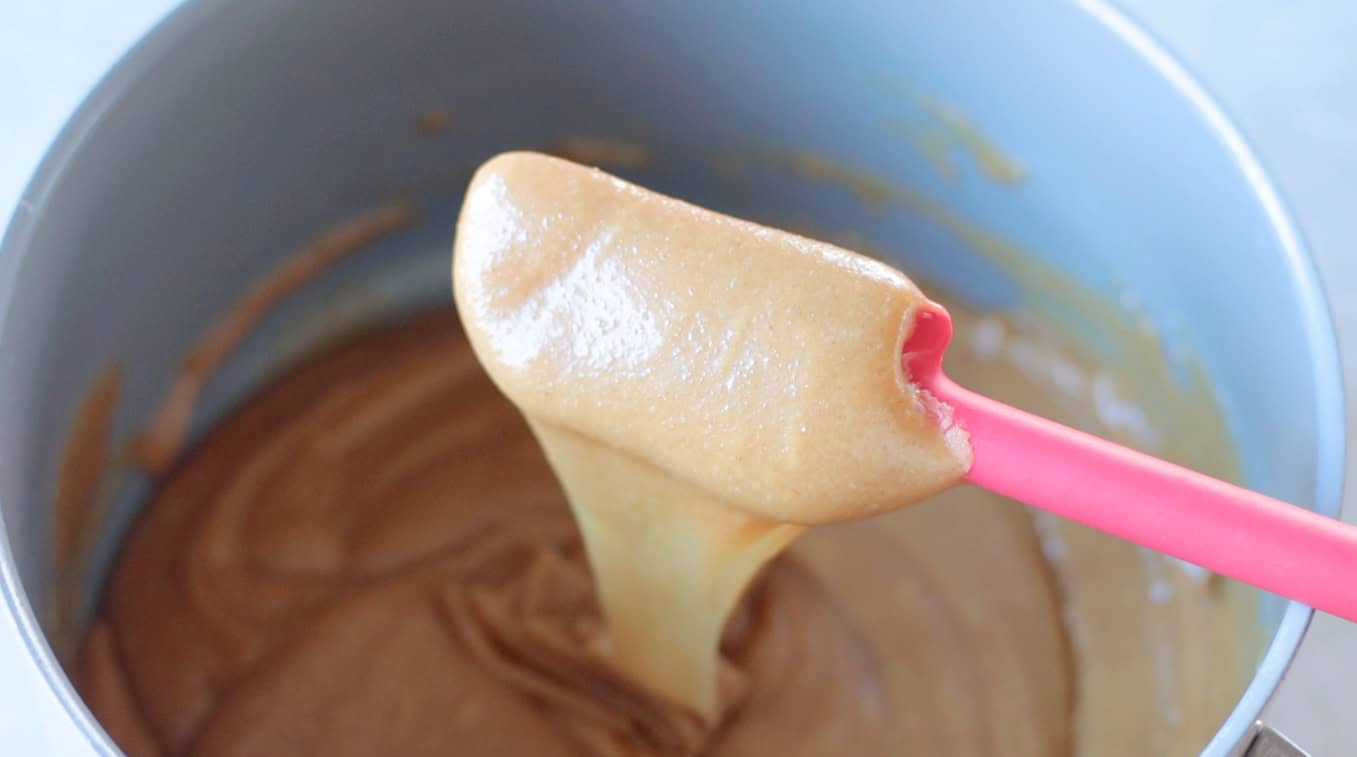
Step 2: Combine brown sugar, white sugar, and butter in a large bowl. Beat until creamy. Add peanut butter, milk, egg, and vanilla. Mix until well blended. Add baking soda, salt, and flour to the creamed mixture at low speed.
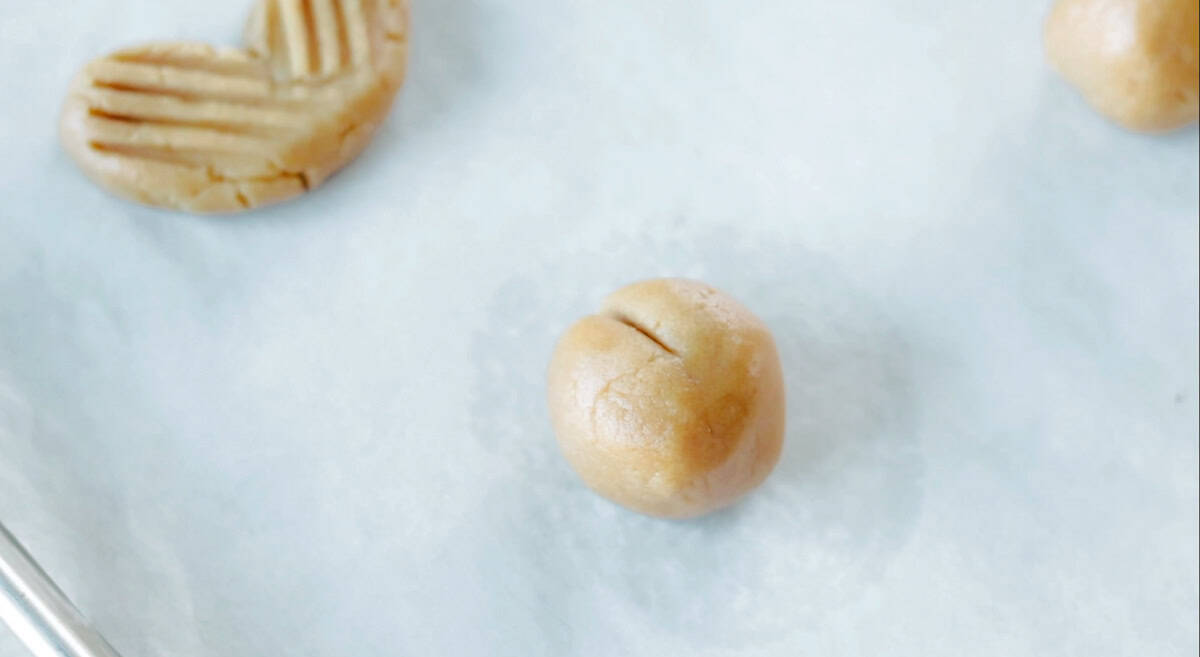
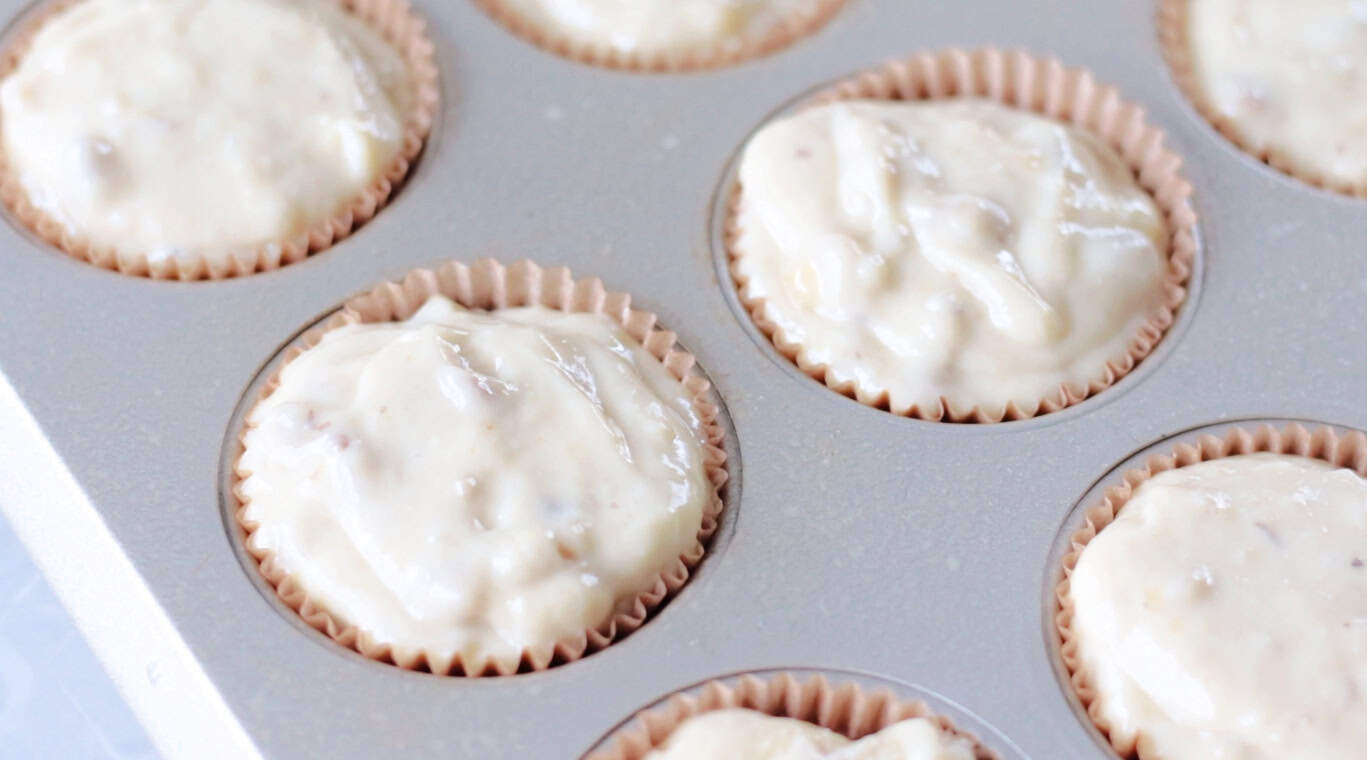
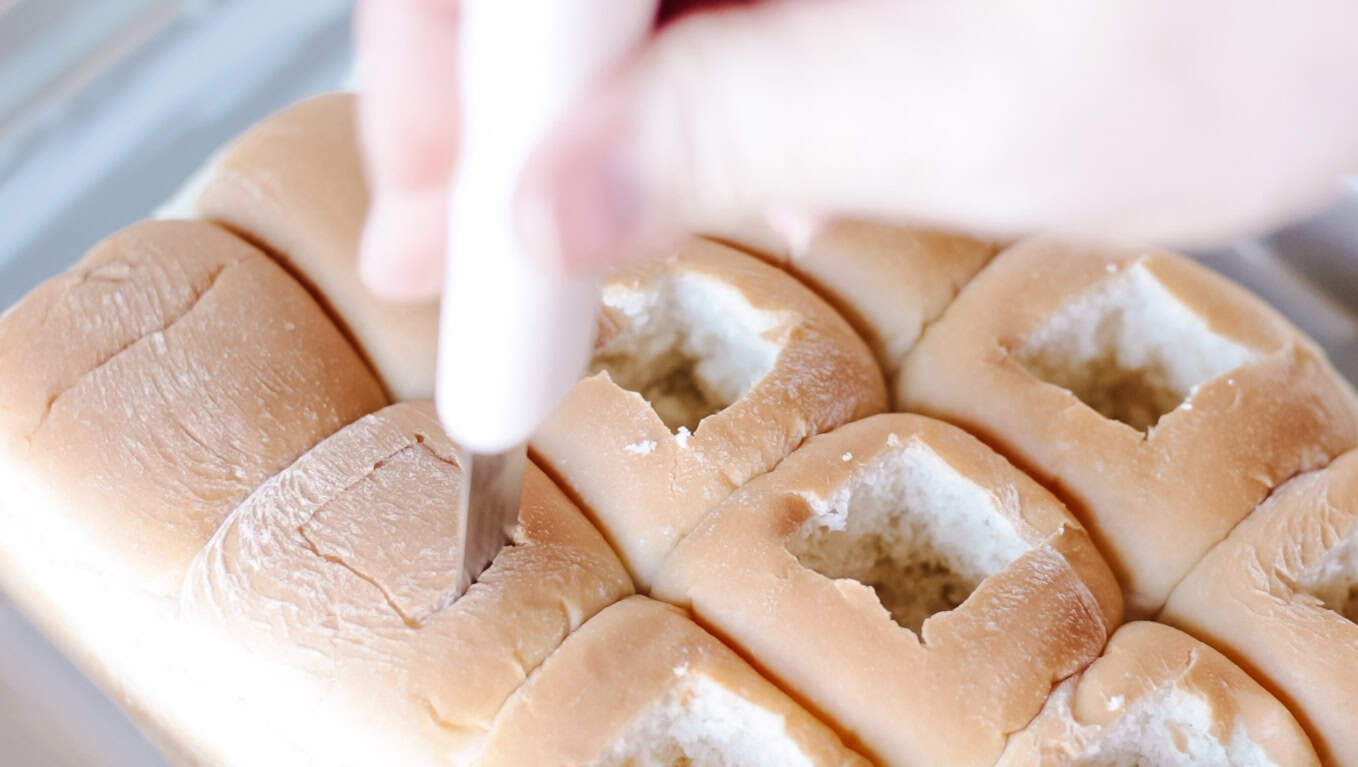
Step 3: Use a 2 Tbsp. sized cookie scoop to scoop cookie dough onto the baking sheet. Roll each scoop of dough into a ball. Cut a slit into the top of each cookie using a sharp knife.
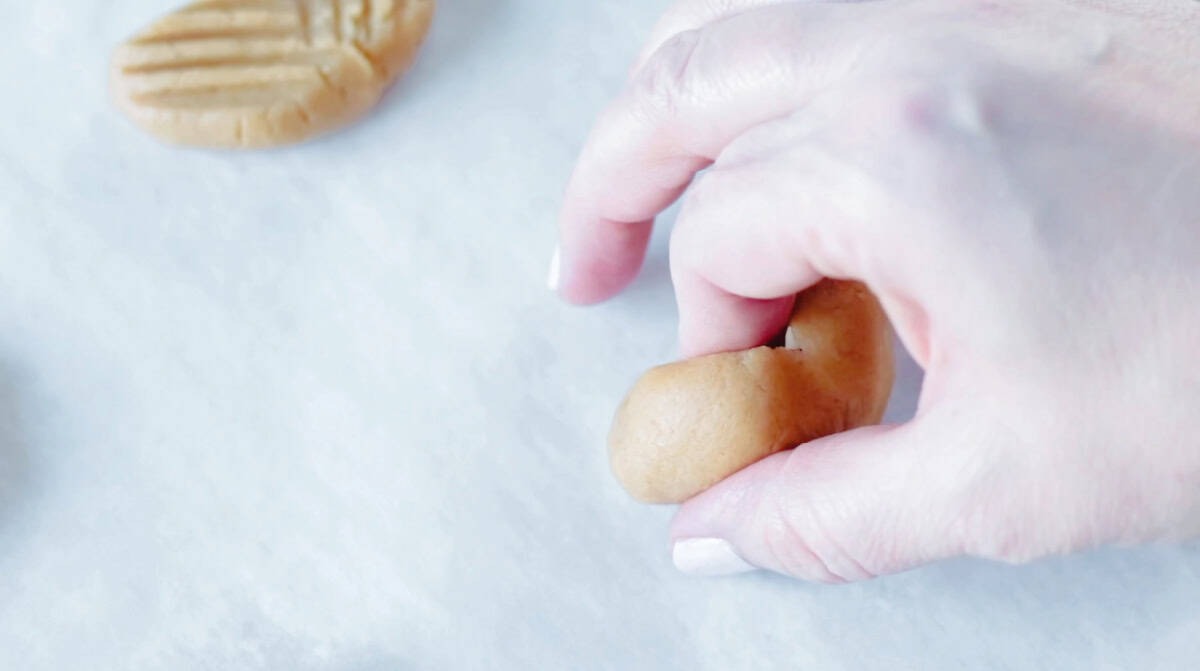
Step 4: Pull the slit to the sides, creating an exaggerated heart shape from each ball of cookie dough.

Step 5: Flatten each heart slightly in a crisscross pattern with a fork (if the dough sticks to the fork, you can dip the fork in water first).
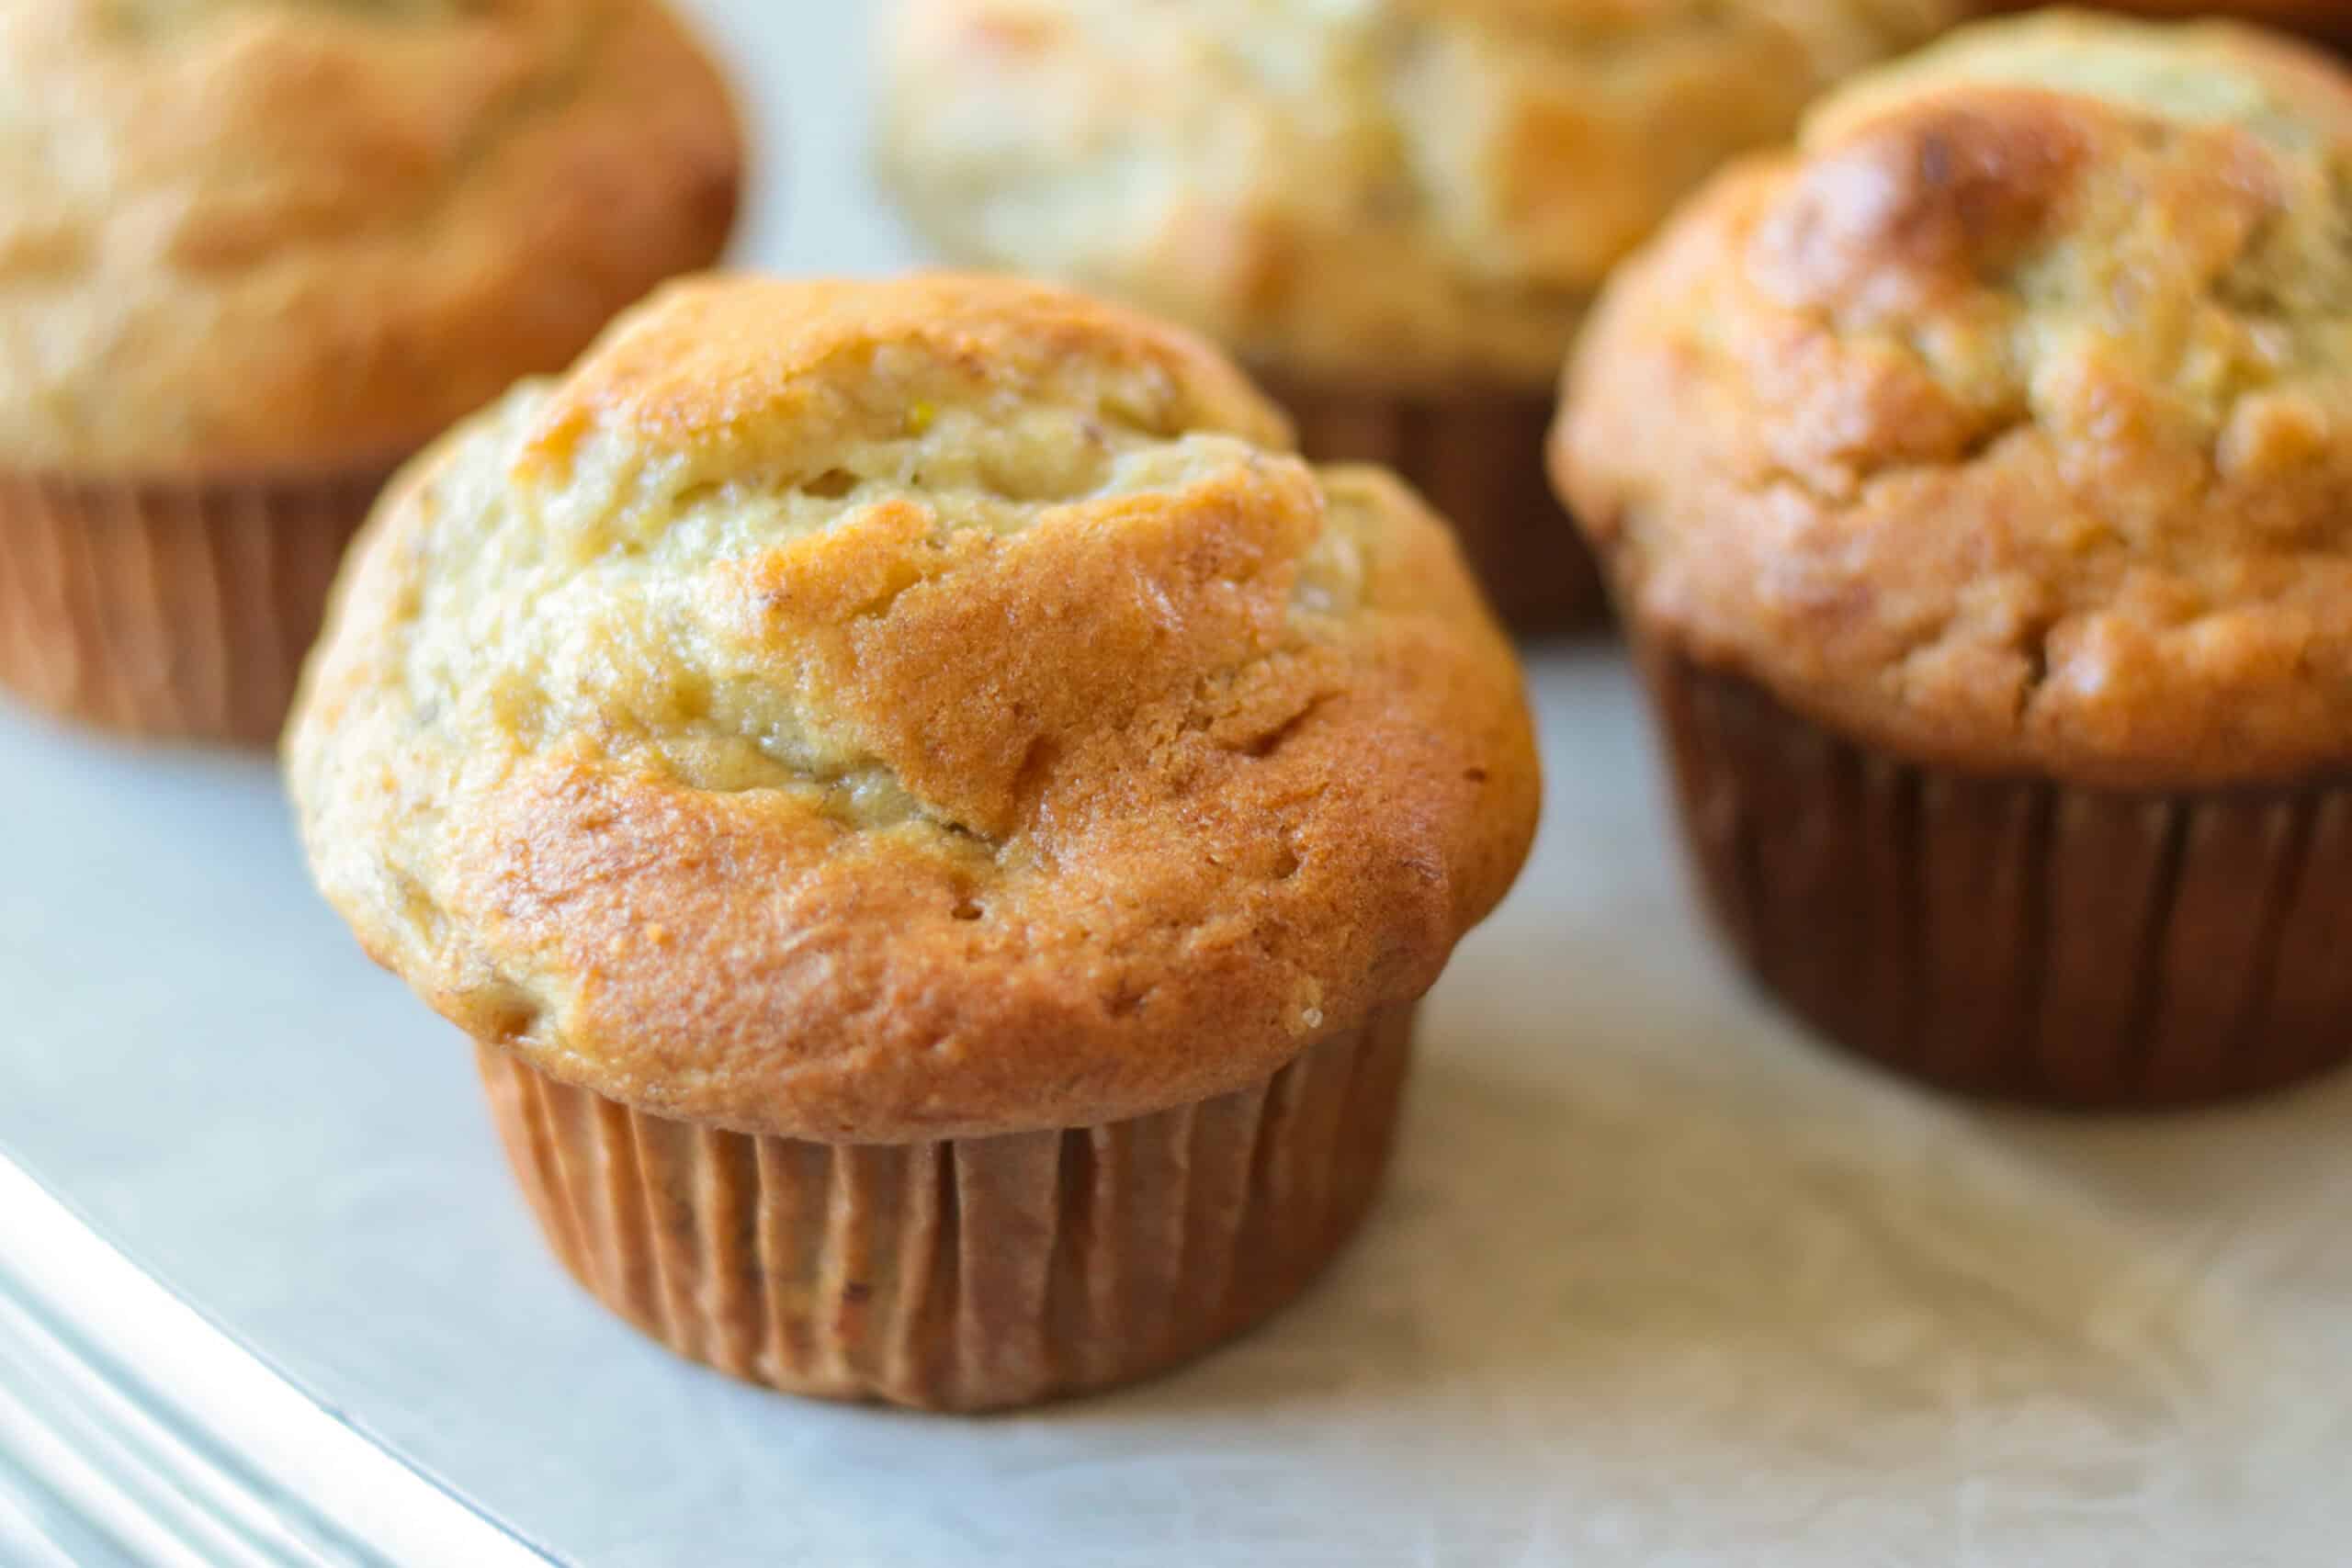
Step 6: Bake one baking sheet at a time for 10-12 minutes, or until set and the edges are beginning to brown.
Step 7: Allow cookies to cool completely on baking sheets.
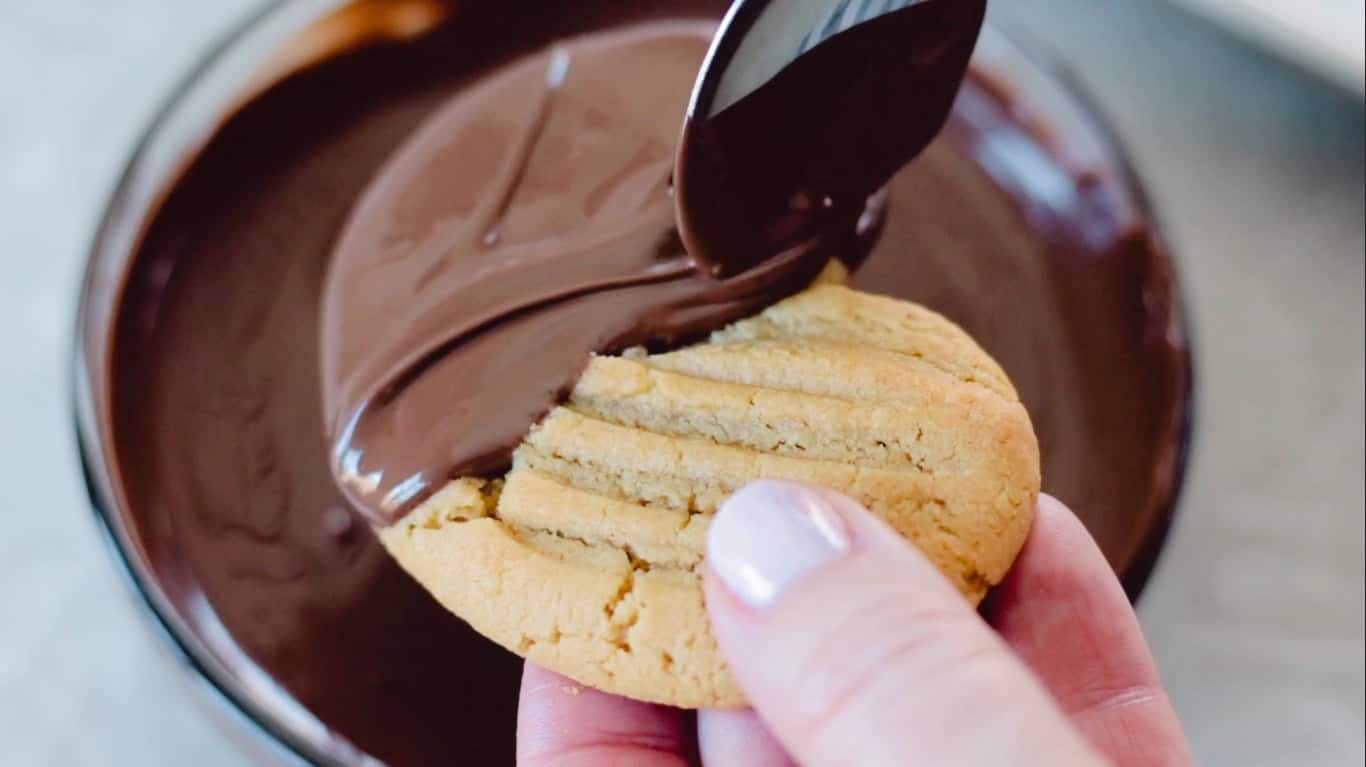
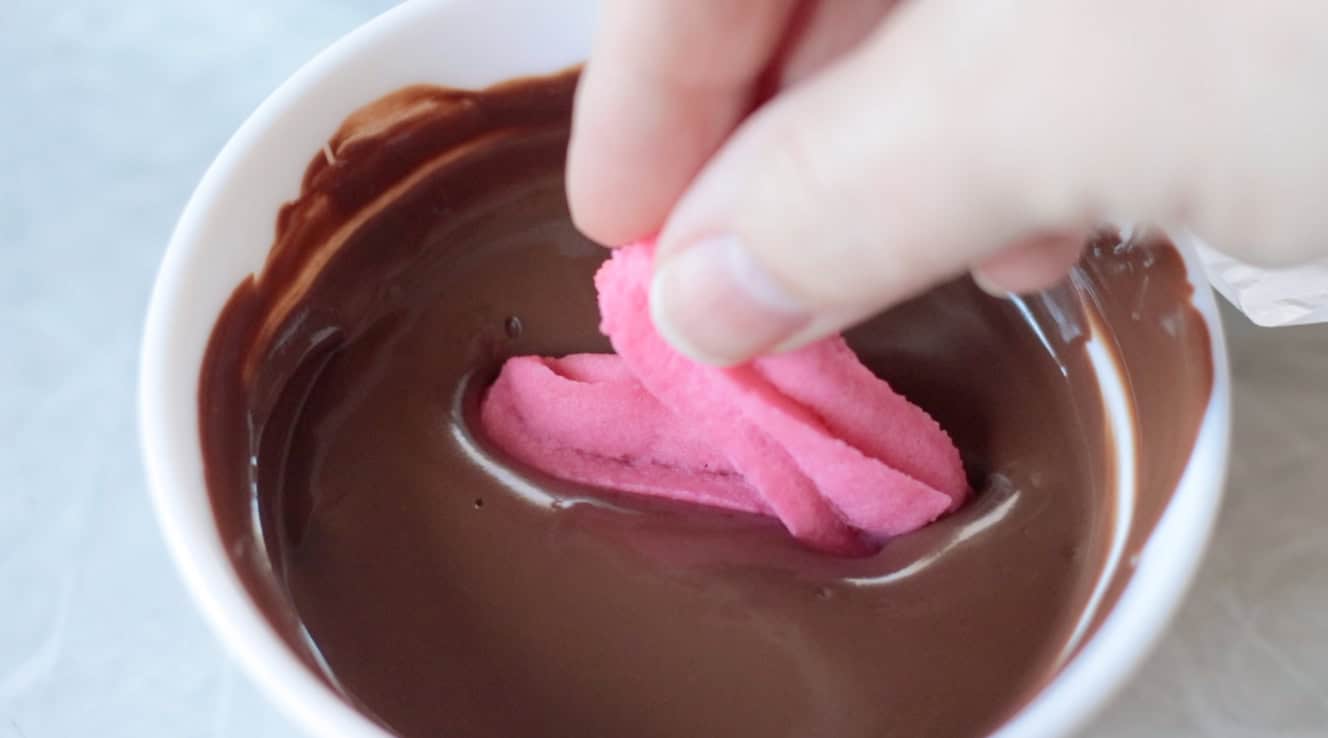
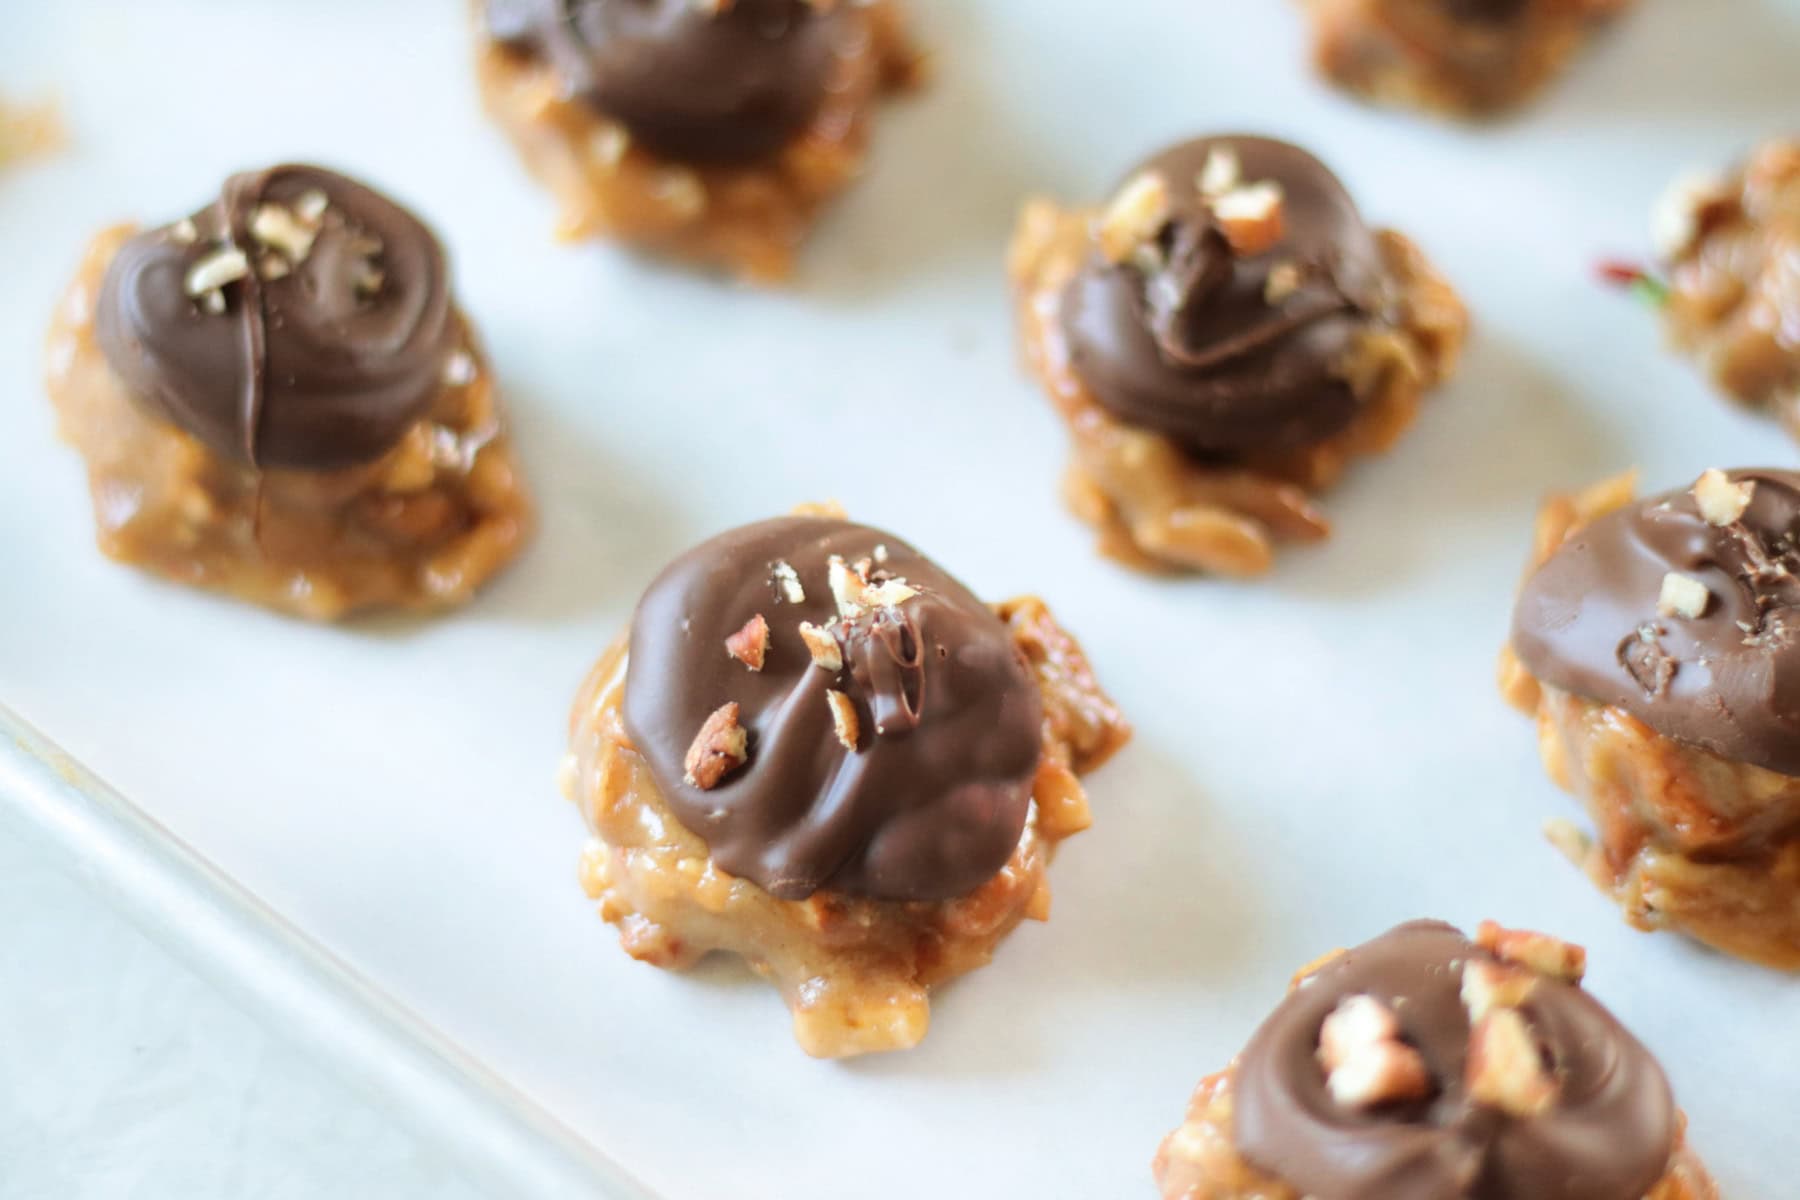
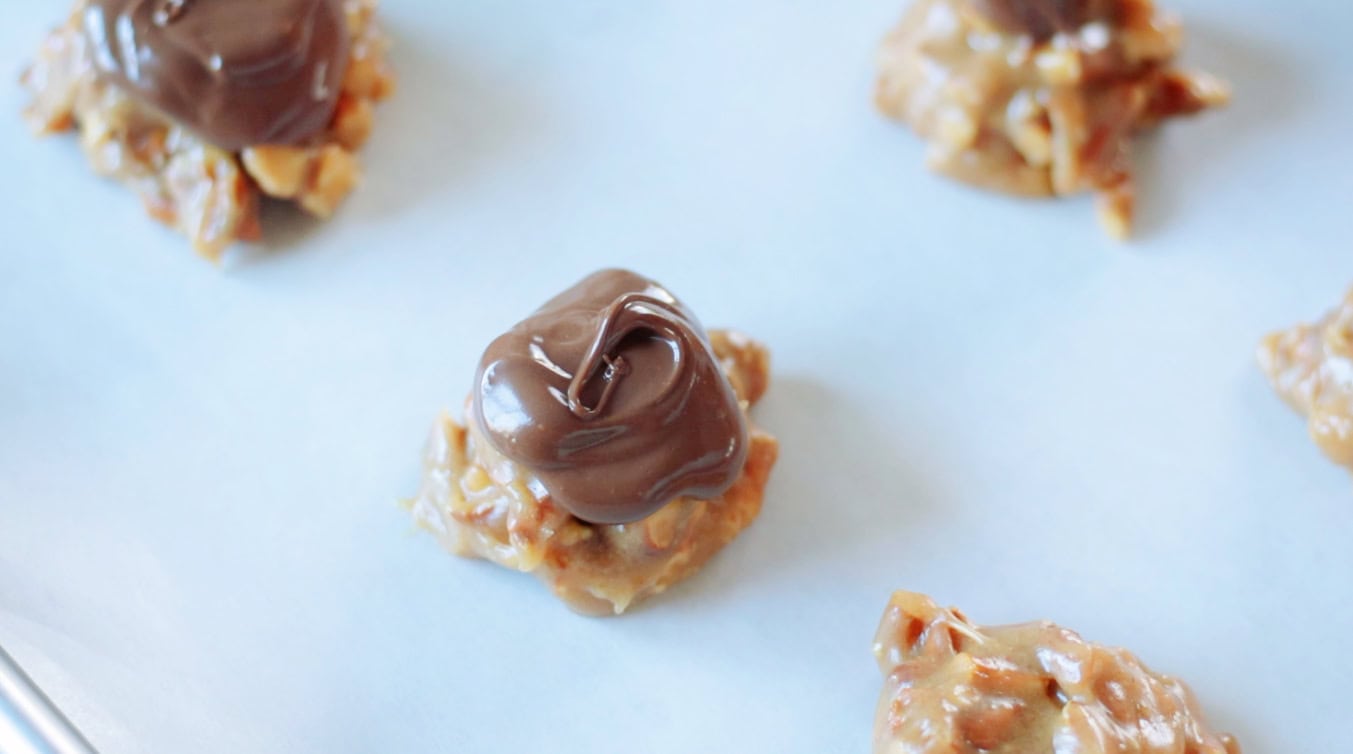
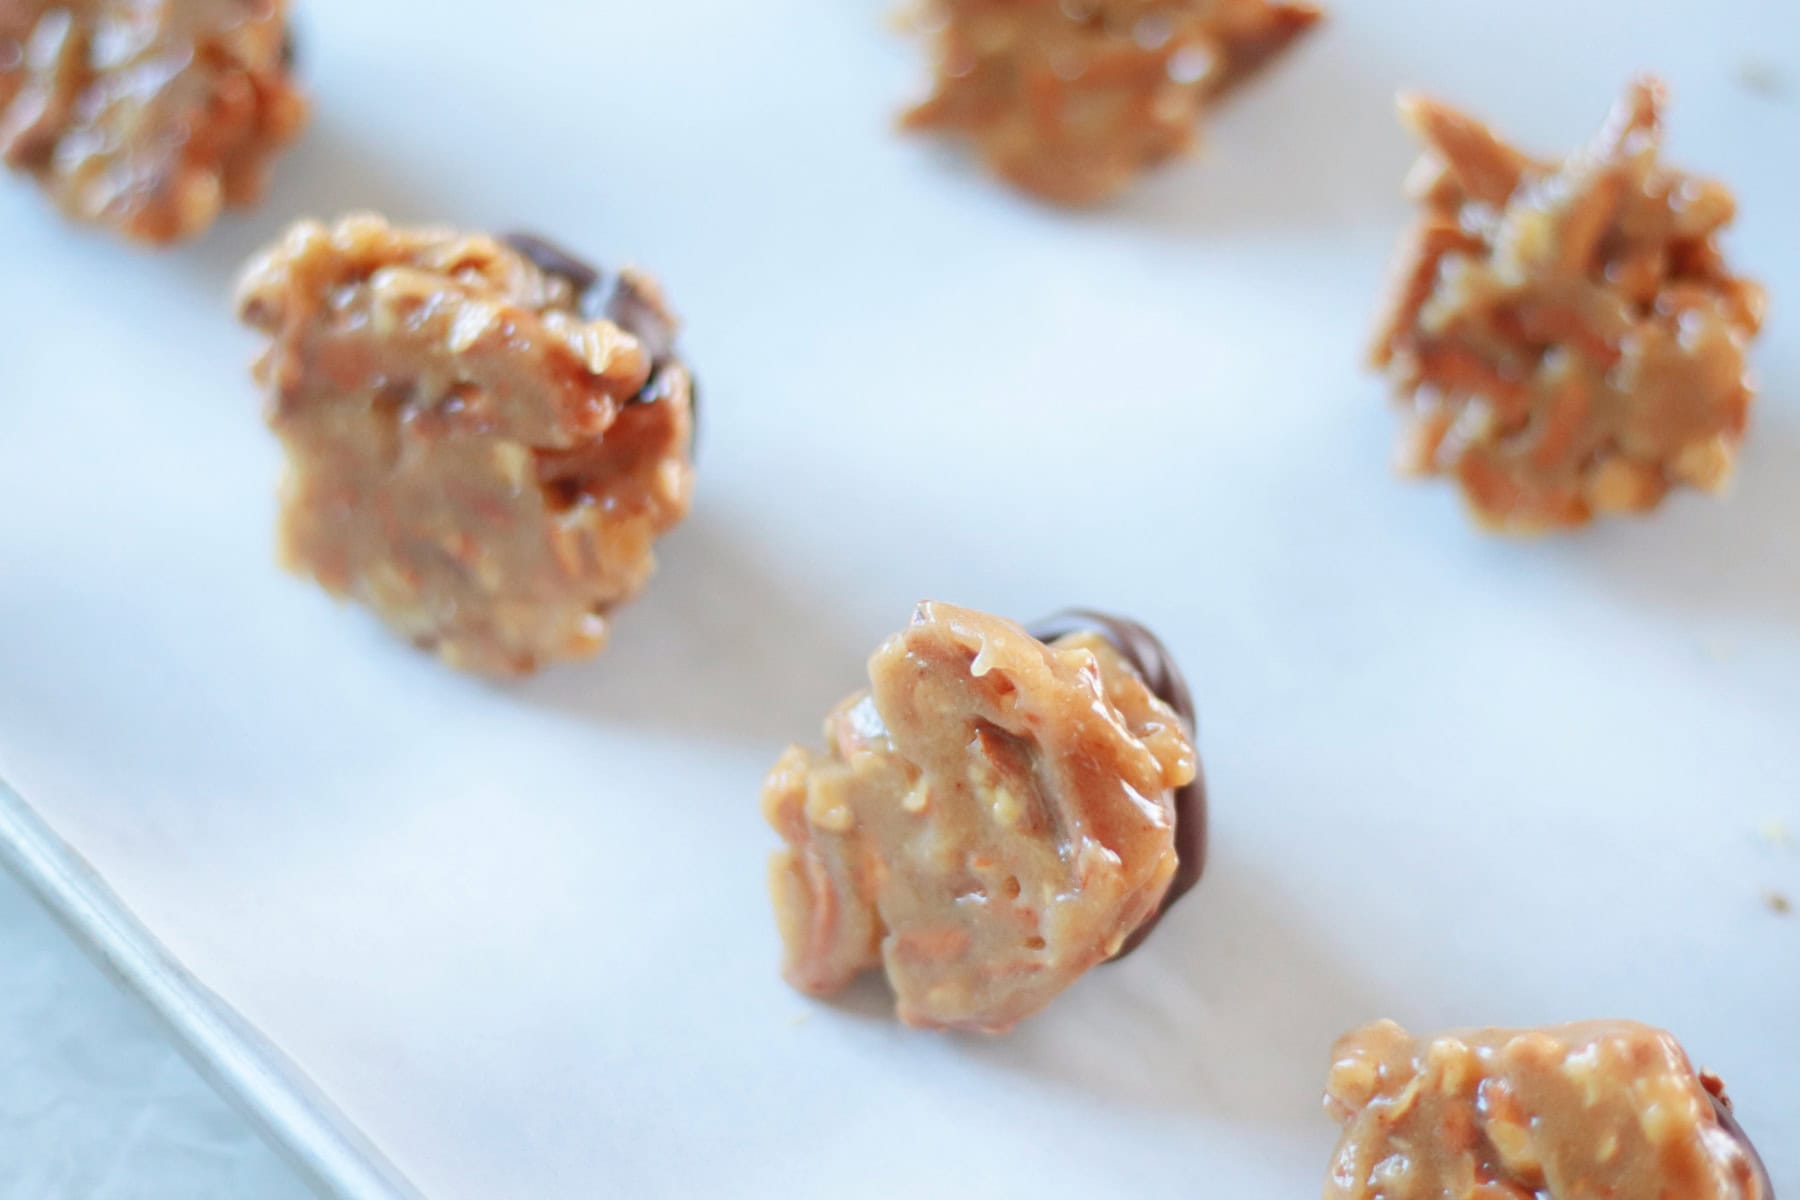
Step 8: Spoon or dip each cookie halfway in melted chocolate.

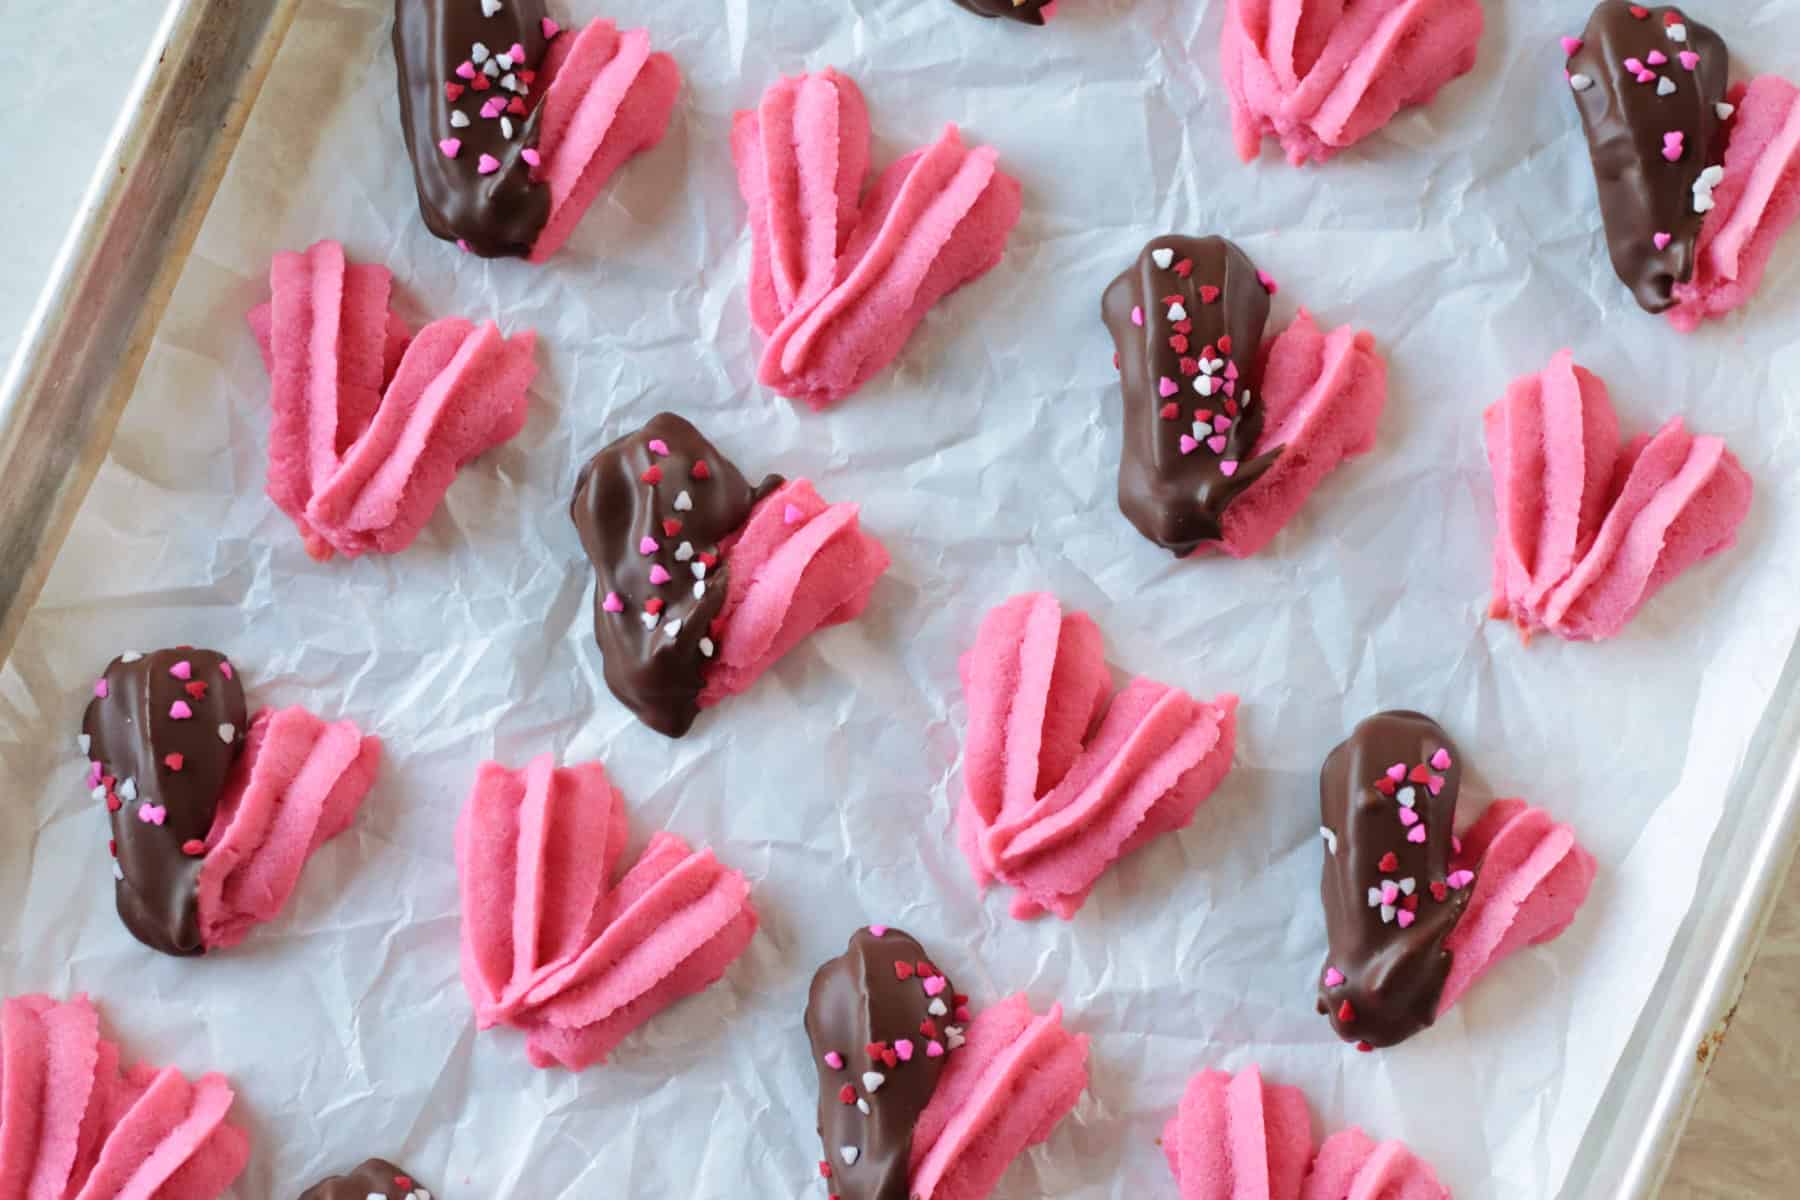
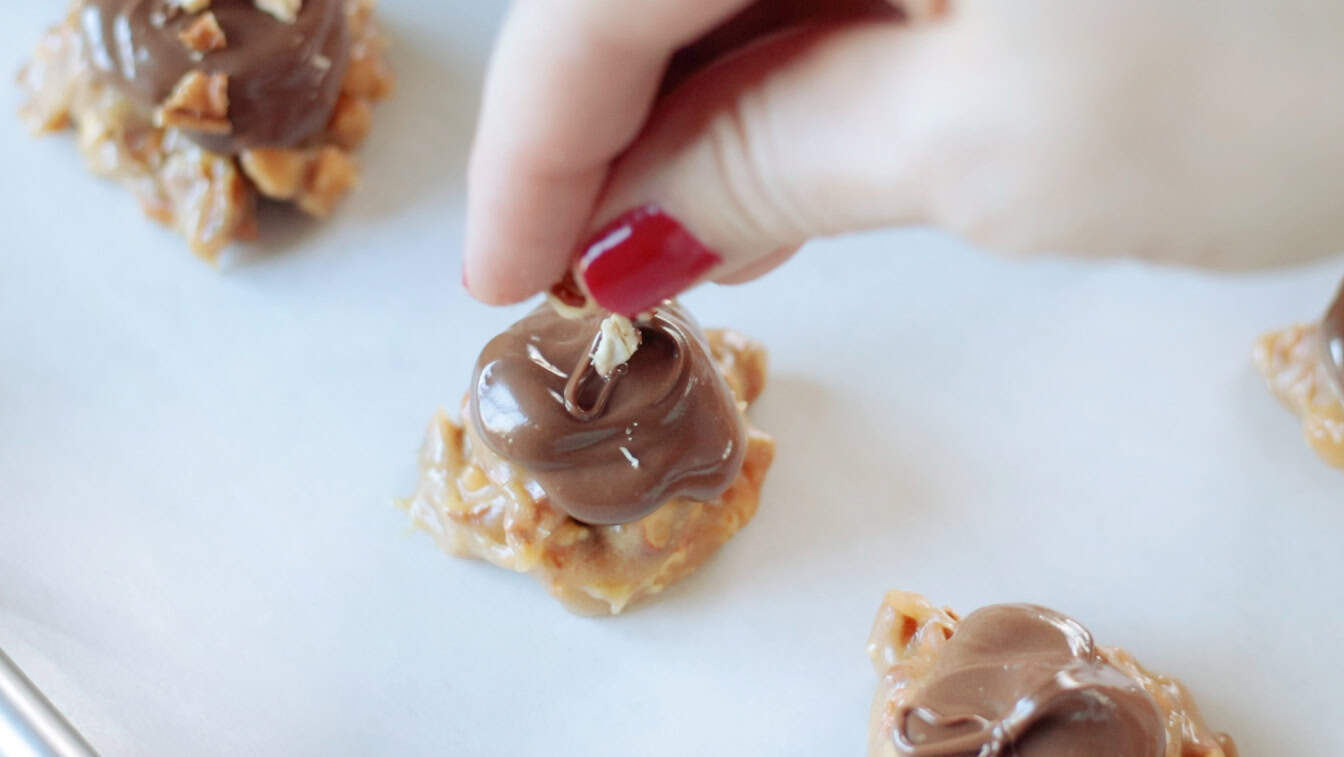
Step 9: Place cookies on a parchment-lined baking sheet. Add sprinkles, then let the cookies sit until the chocolate hardens.

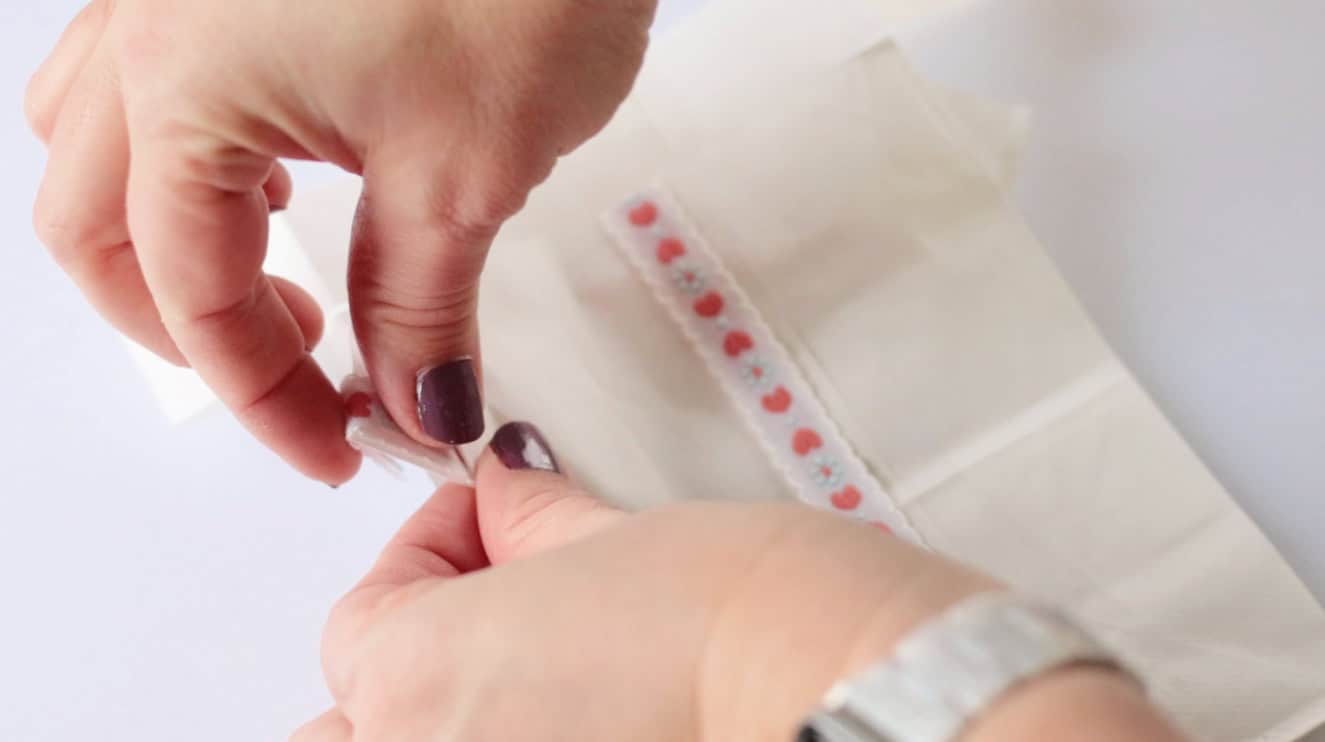
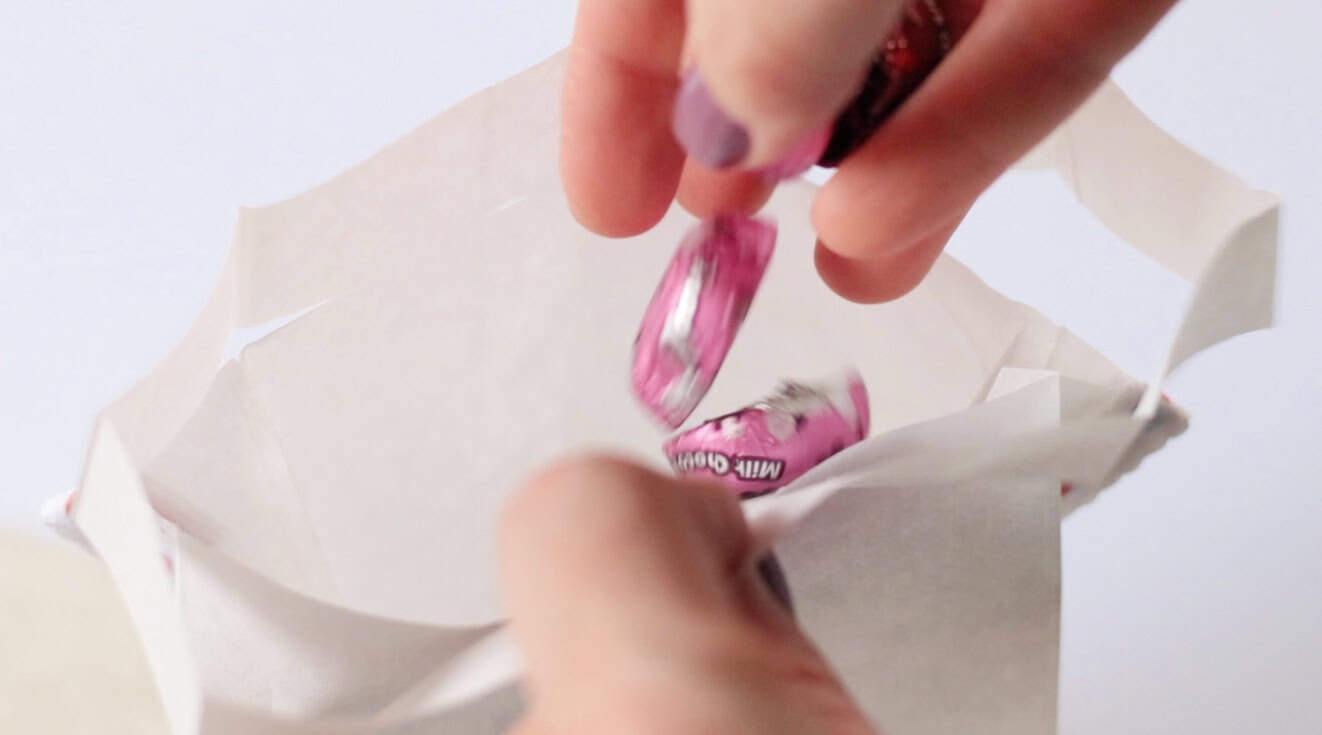
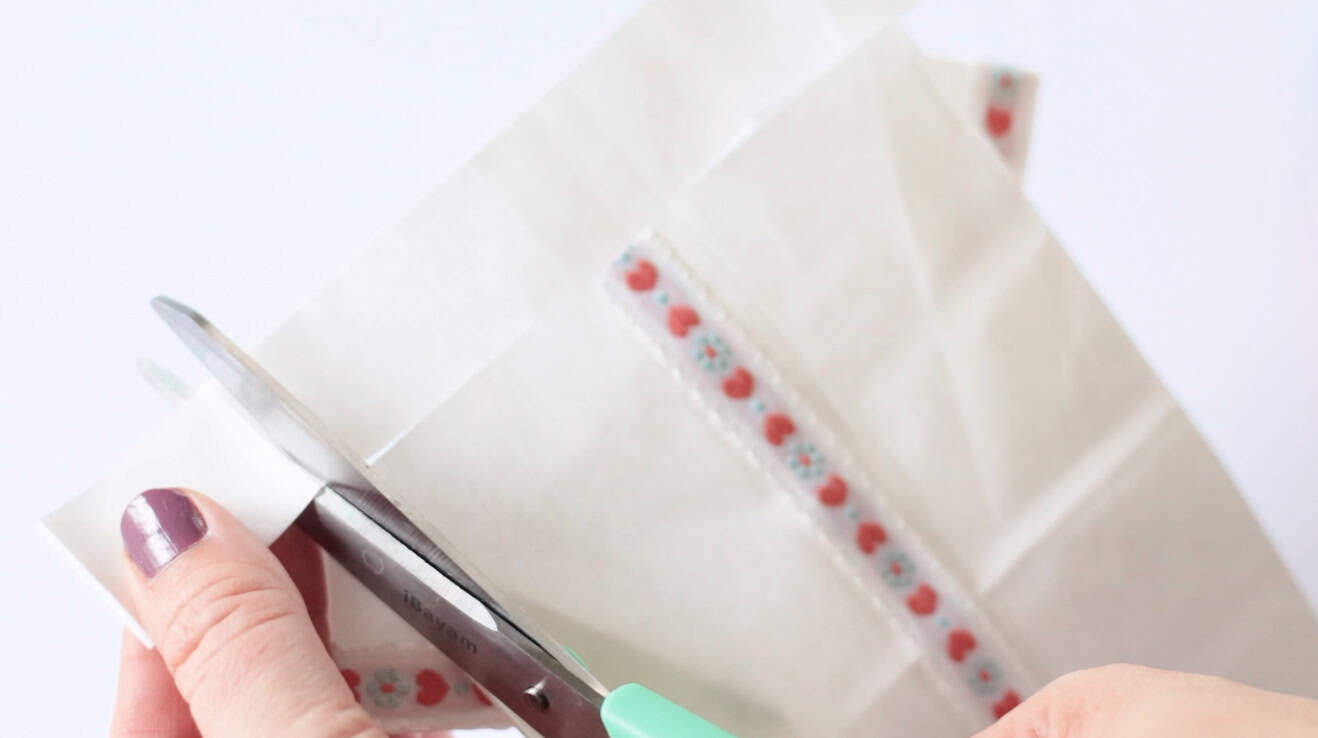
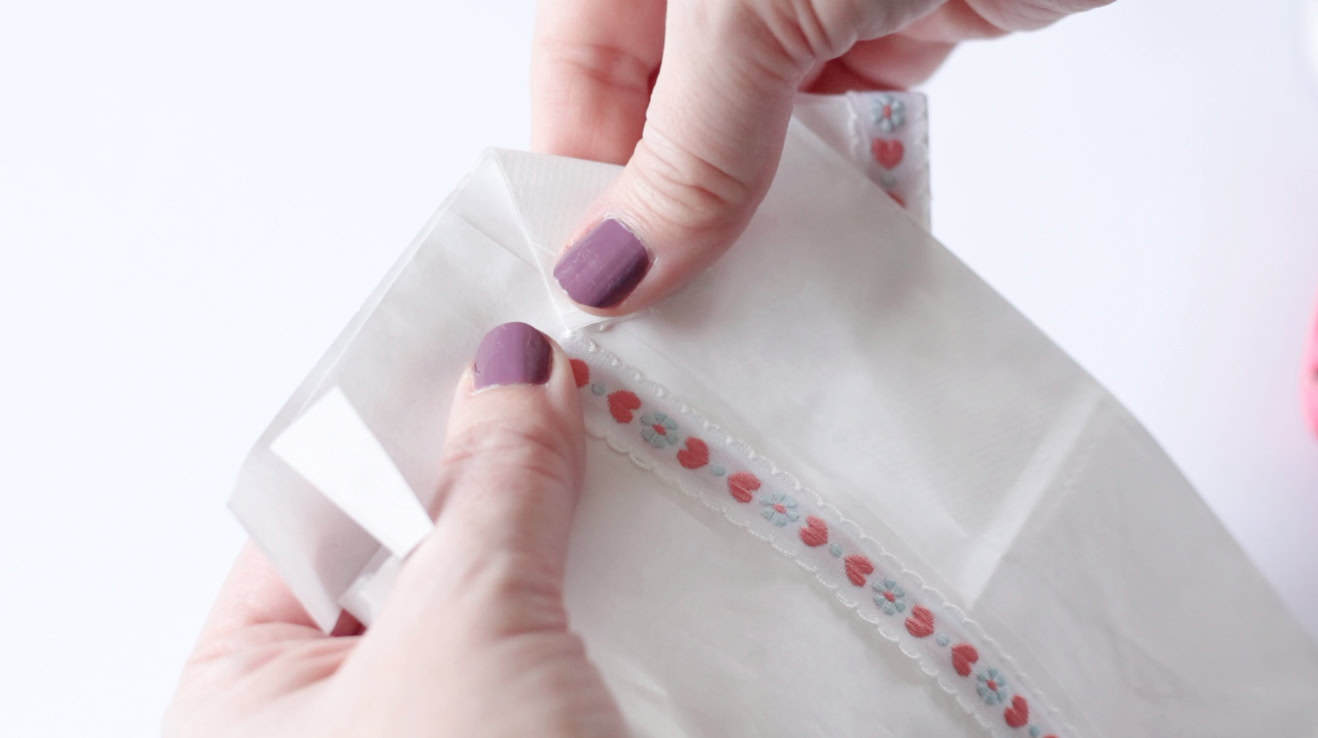
Step 10: Wrap cooled cookies individually in plastic or store in an airtight container to keep them fresh. Cookies will stay soft for days.
Heart Shaped Peanut Butter Cookies FAQs
You don't need a cookie-cutter or a shaped pan to make heart-shaped peanut butter cookies. Simply roll the dough into balls, cut a slit at the top of each ball, then pull it into an exaggerated heart shape — nice and wide. Press down with a fork, then bake.
I bake with light-colored metal baking sheets. If you bake on dark metal, you may need to adjust the baking time so that the bottoms of the cookies don't get too dark.
You can use chocolate almond bark, chocolate melting wafers, or milk chocolate chips. Almond bark is the cheapest and easiest to use. Chocolate chips taste the best (in my opinion). When it comes down to it, it doesn't matter which ones you use; they all work great for dipping.
Wrap cooled cookies individually in plastic or store in an airtight container to keep them fresh. Cookies will stay soft for days.

More Valentine's Day Treats To Make


MADE THIS RECIPE AND LOVED IT? 💛 Please leave a STAR rating and COMMENT below! Post it to Facebook or Pinterest to easily share with friends!

Peanut Butter Valentine's Day Cookies
Ingredients
- ½ cup butter (1 stick, room temperature)
- 1 ¼ cups light brown sugar packed (can also use dark brown sugar)
- ¼ cup white sugar
- ¾ cup peanut butter creamy or crunchy
- 1 large egg
- ¼ cup milk
- 1 teaspoon vanilla extract
- ½ teaspoon salt kosher
- ¾ teaspoon baking soda
- 2 ¼ cups flour (up to 2 ½ cups)
- melting chocolate
- sprinkles
Instructions
- Preheat oven to 350 degrees. Line baking sheets with parchment paper.
- Combine brown sugar, white sugar, and butter in a large bowl. Beat until creamy. Add peanut butter, milk, egg, and vanilla. Mix until well blended.
- Add baking soda, salt, and flour to the creamed mixture at low speed. The dough is a soft dough, but shouldn’t be too wet. Add an extra ¼ cup of flour if necessary (for a total of 2 ½ cups).
- Use a 2 Tbsp. sized cookie scoop to scoop cookie dough onto the baking sheet. Roll each scoop of dough into a ball. Cut a slit into the top of each cookie using a sharp knife.
- Pull the slit to the sides, creating an exaggerated heart shape from each ball of cookie dough.Flatten each heart slightly in a crisscross pattern with a fork (if the dough sticks to the fork, you can dip the fork in water first).
- Bake one baking sheet at a time for 10-12 minutes, or until set and the edges are beginning to brown. Allow cookies to cool completely on baking sheets.
- Spoon or dip each cookie halfway in melted chocolate.Place cookies on a parchment-lined baking sheet. Add sprinkles, then let the cookies sit until the chocolate hardens.


