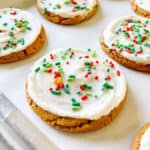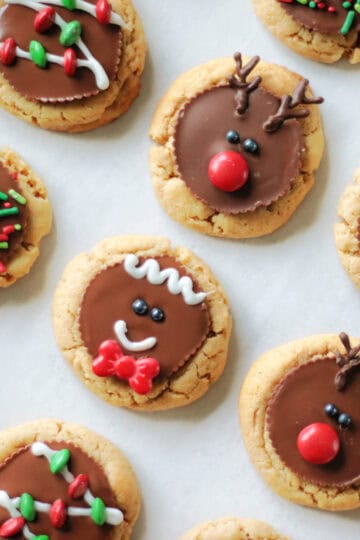
Holiday peanut butter cup cookies are perfect for treat platters. Rich, peanut butter cookies topped with a peanut butter cup and festive designs!
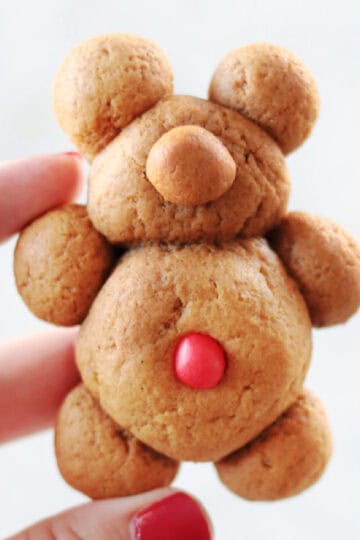
You might also like my chubby snowman cookies, Reese's peanut butter trees, or Chex scotcheroo clusters!
What's better than a peanut butter blossom cookie? Peanut butter cup cookies! These cookies are soft and stay soft; they are also rich and loaded with peanut butter flavor. These cookies are delicious plain, and I left a few that way, but had so much fun coming up with 4 festive designs that are EASY to make. So get creative and have fun with this holiday recipe!
Why I Like This Recipe
- Easy to customize. I used holiday sprinkles, almond bark, and M&Ms to create fun holiday designs. There are limitless ways to customize these yummy cookies!
- Perfect for treat plates. These cookies are so fun for gift-giving and are easy to customize!
- Stays soft for days. I used a modified variation of my bakery-style peanut butter cookies as a base for this fun holiday version, adding baking powder to give them a bit more rise. Because they are brown-sugar-heavy and use only a small amount of white sugar, these cookies are soft and stay soft. No crumbly cookie here.
Tips and Tricks
- Thin peanut butter cups. The trick to achieving the perfect balance of peanut butter and chocolate flavor is to use Reese's Thin Peanut Butter Cups. A regular-sized peanut butter cup would be delicious, too, but it will overpower the cookie underneath. Thin peanut butter cups meld seamlessly into the cookie and don't protrude too much from the top of the cookie.
- Do not roll in sugar. Many peanut butter cookie recipes call for rolling each peanut butter ball in sugar. I don't do this and do not find it necessary. These cookies are already sweet and have the perfect crackly texture.
- Decorate while warm. The hot cookies are topped with a peanut butter cup as soon as they come out of the oven. The peanut butter cups will soften and remain soft and gooey for 20-30 minutes, giving you plenty of time to add sprinkles before they firm up again.
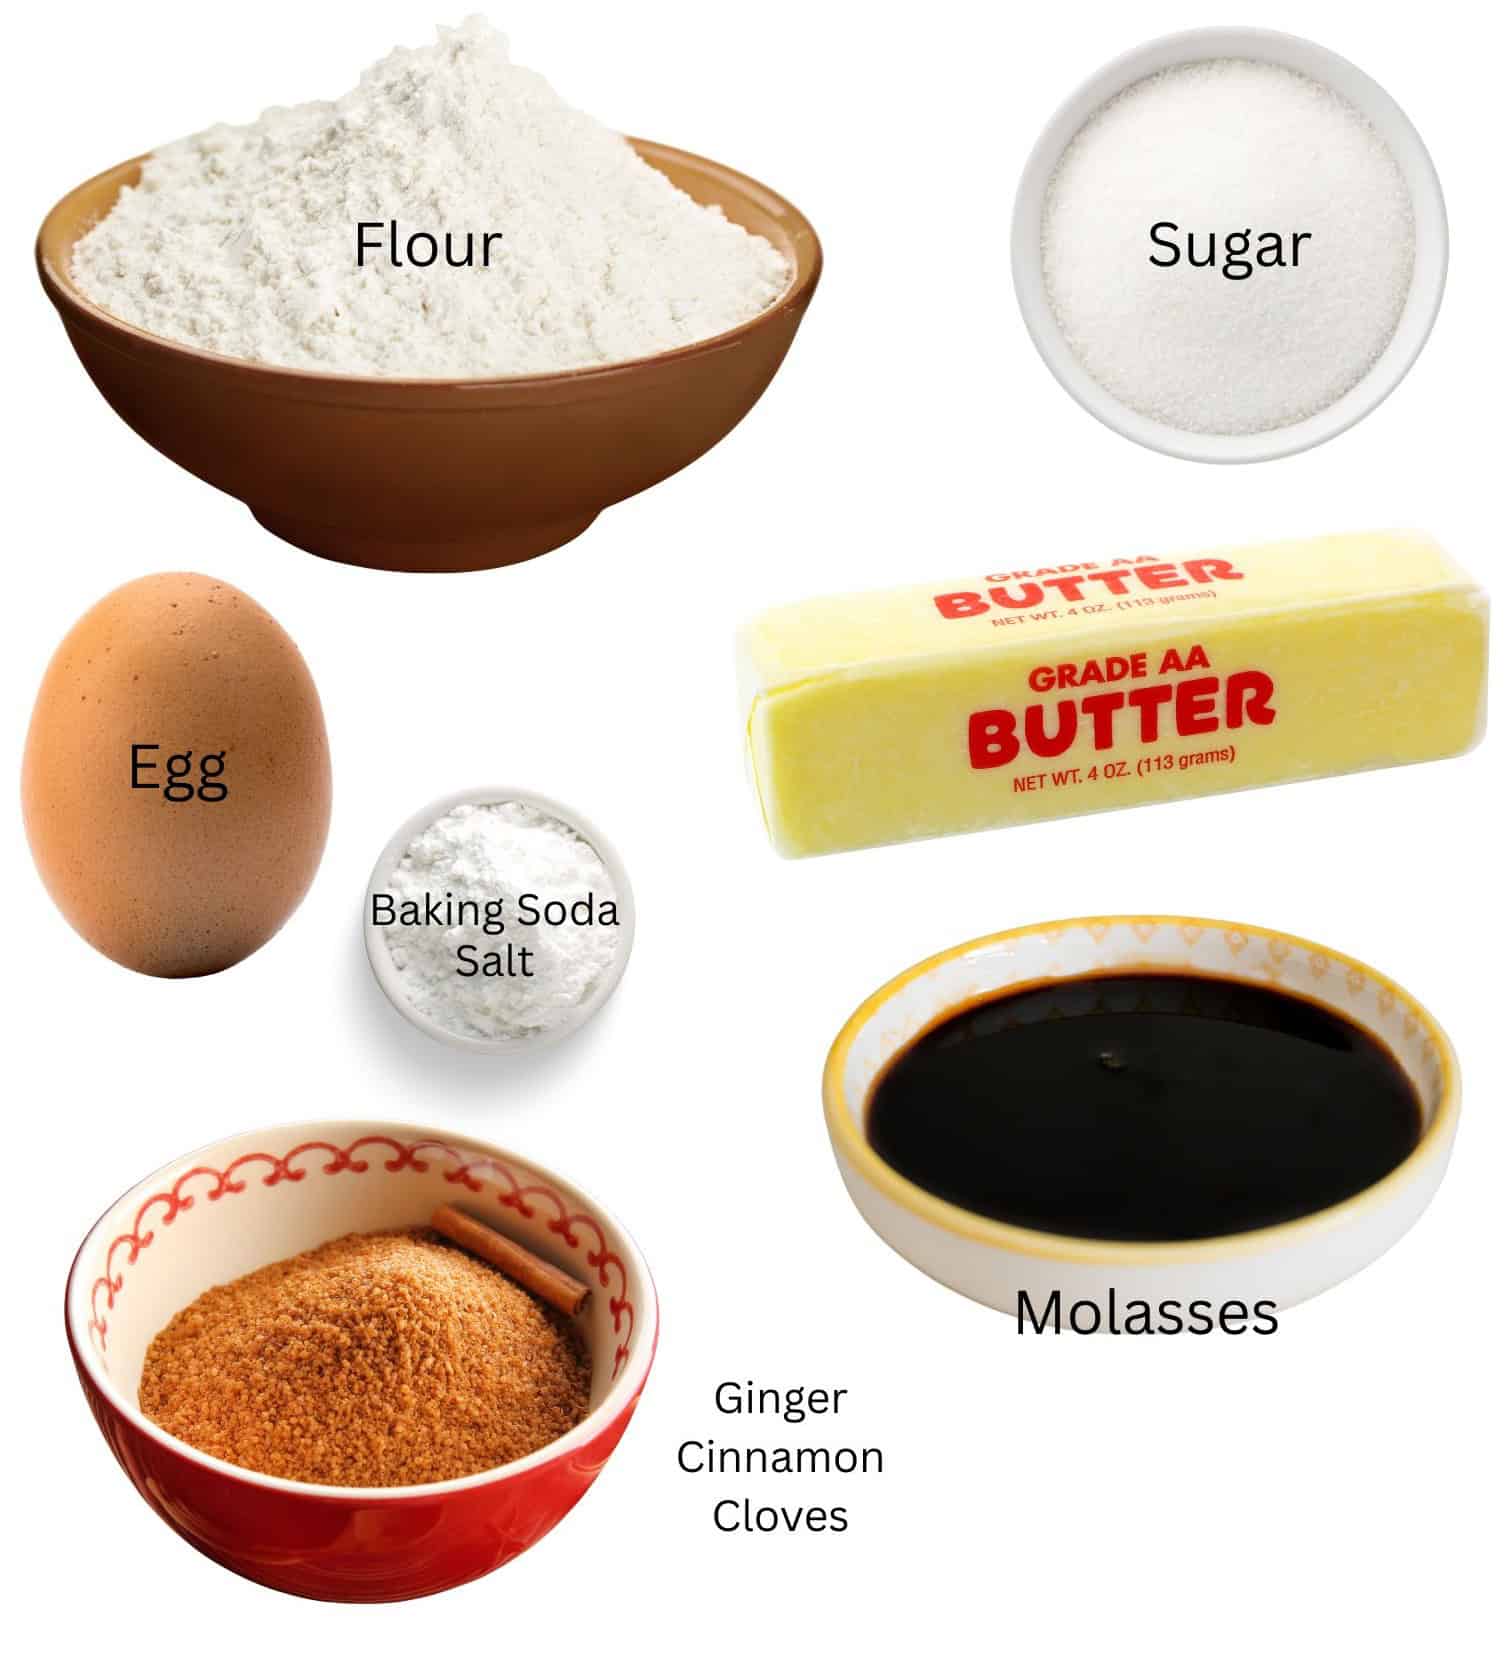
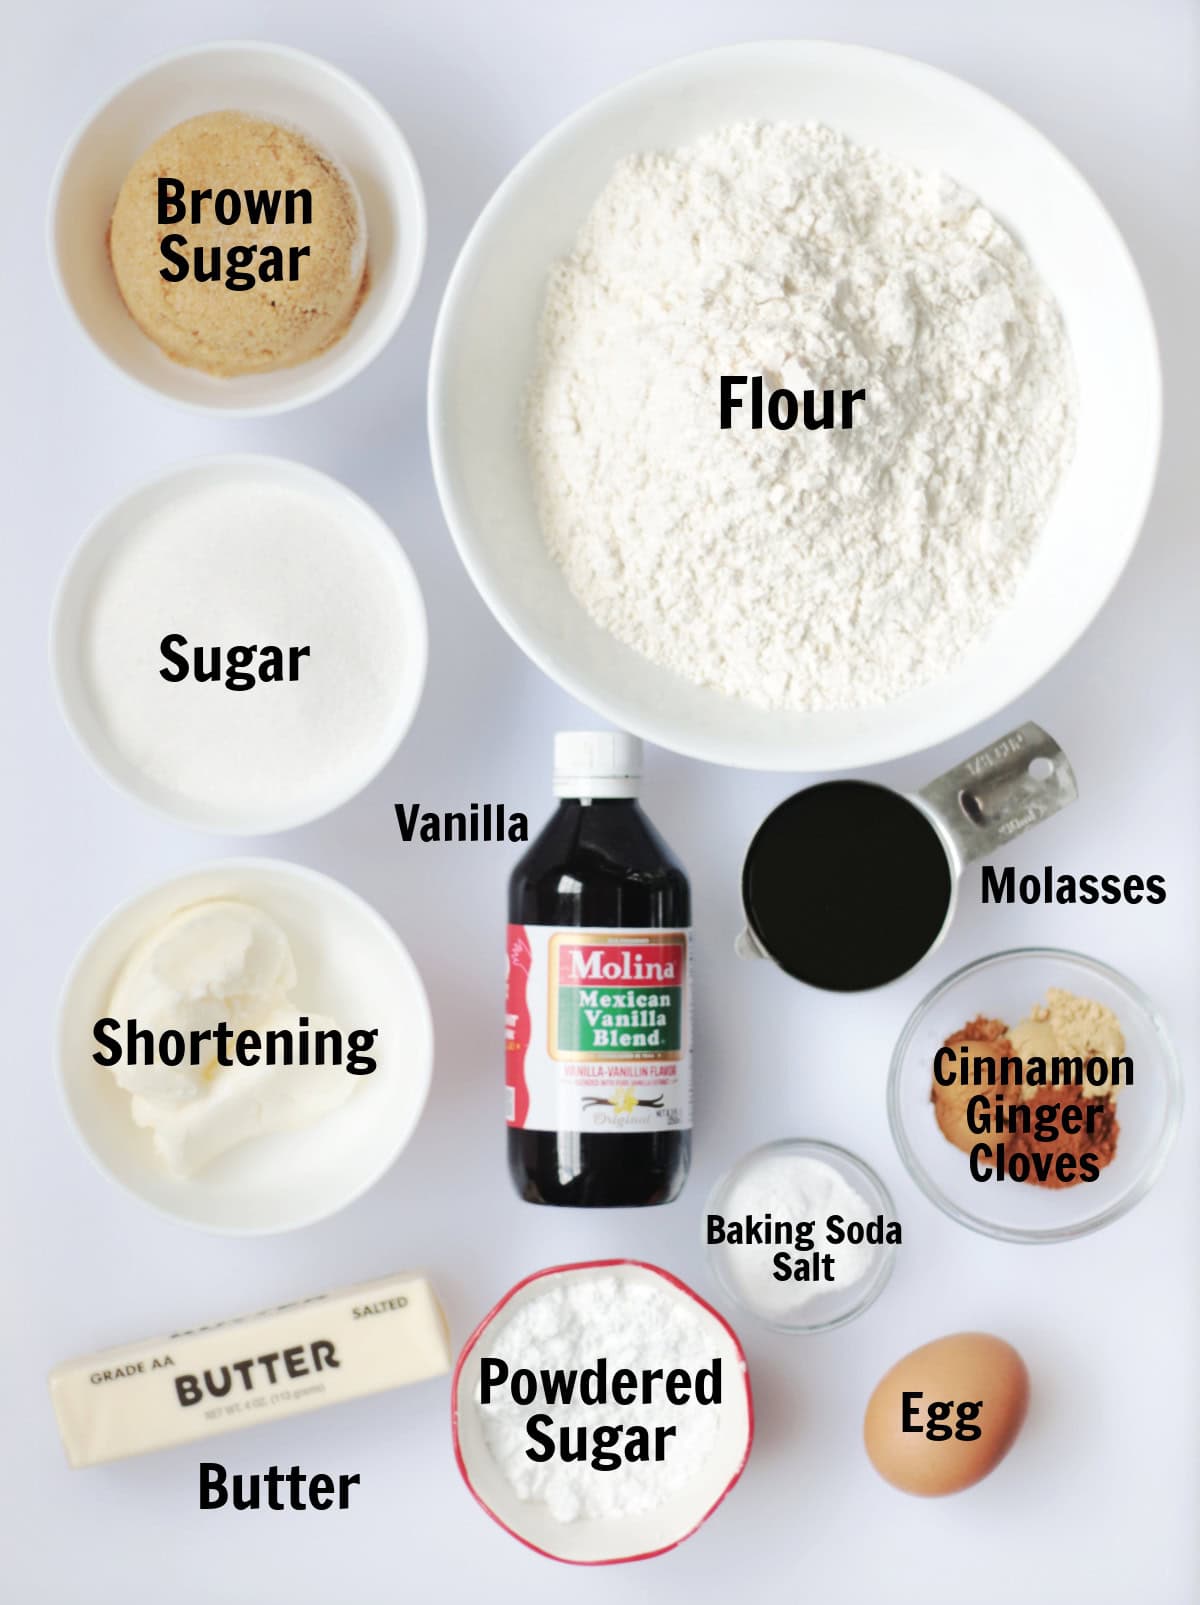
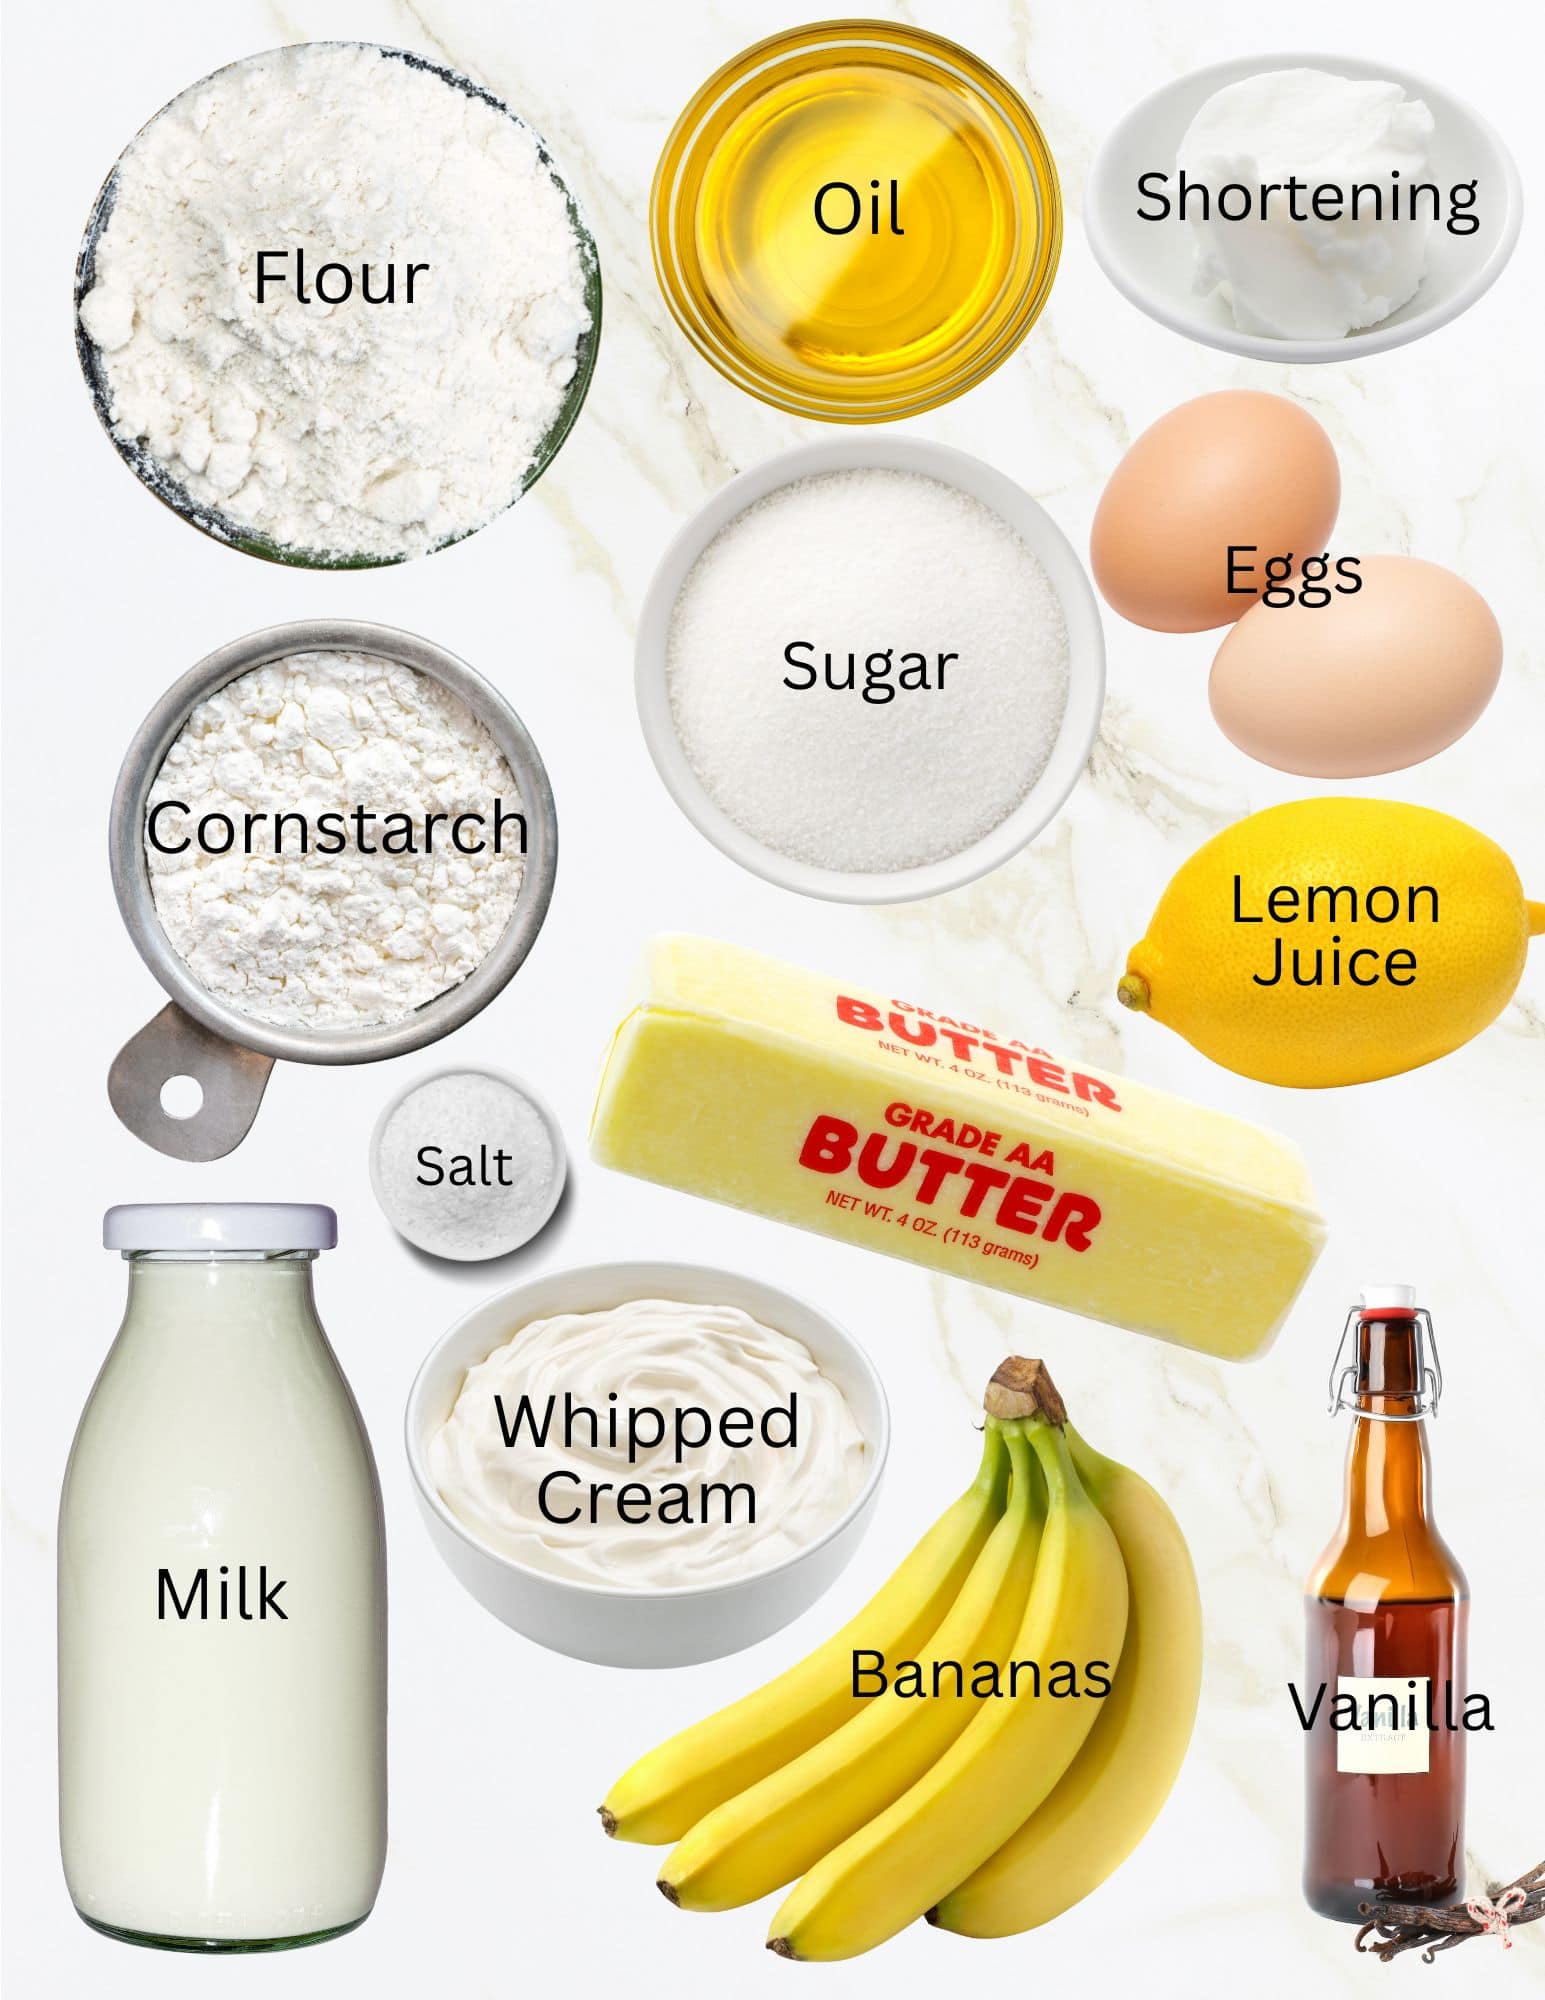
Ingredients
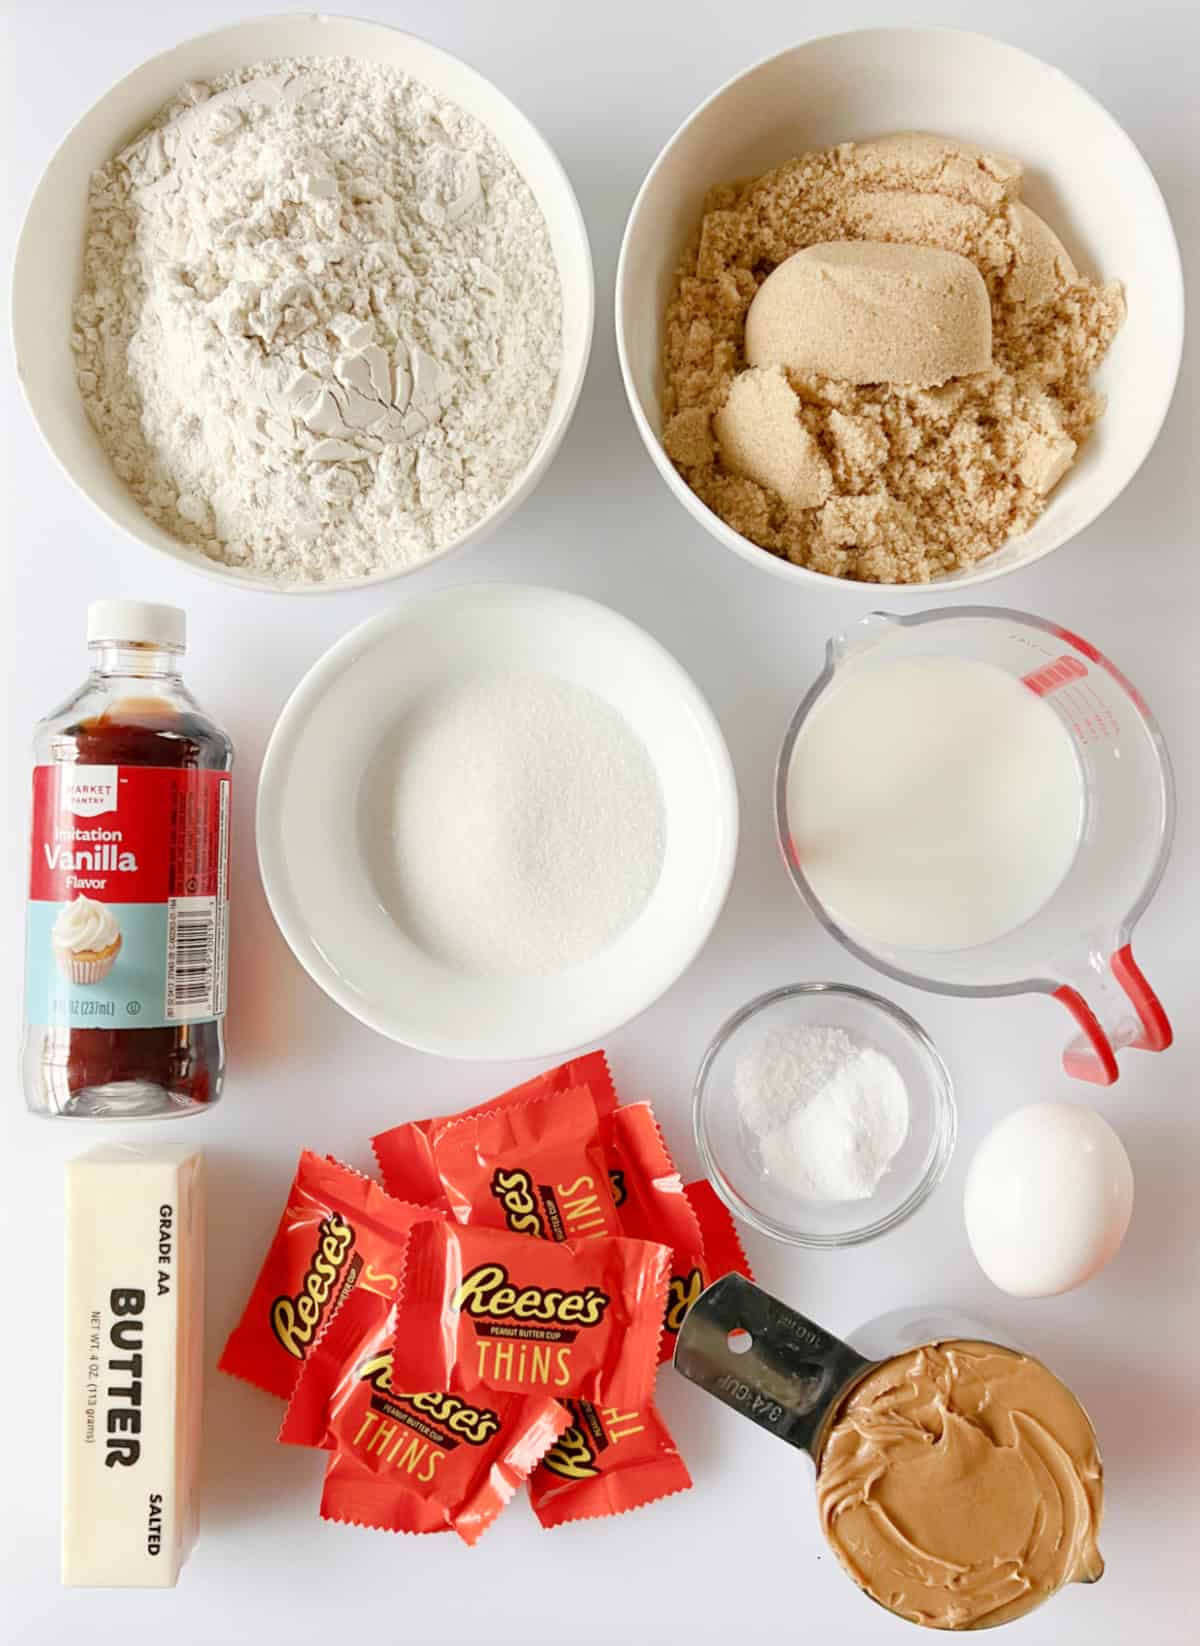
- Butter: I always bake with salted butter, but you can use unsalted butter if you'd like.
- Sugar: I use a combination of brown sugar and granulated white sugar (mostly brown sugar for moisture and chewiness).
- Peanut Butter: You can use creamy peanut butter or crunchy peanut butter. I use creamy. I haven't tried making these with natural peanut butter, but I'd imagine they'd be delicious with natural peanut butter as well.
- Egg: For richness and flavor.
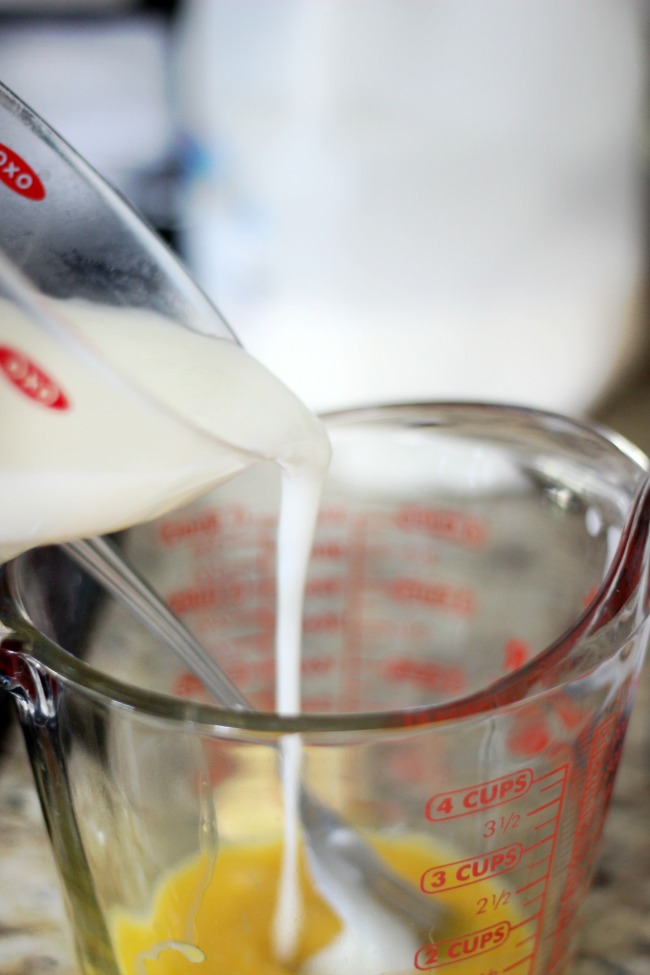
- Milk: You can use any kind of milk.
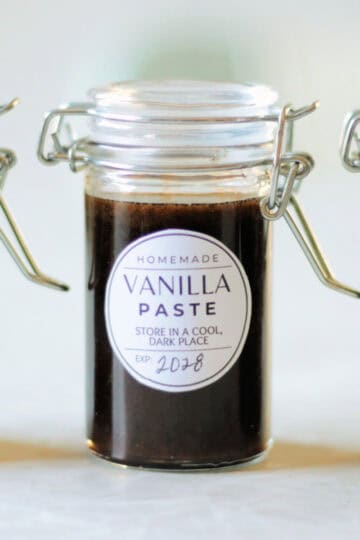
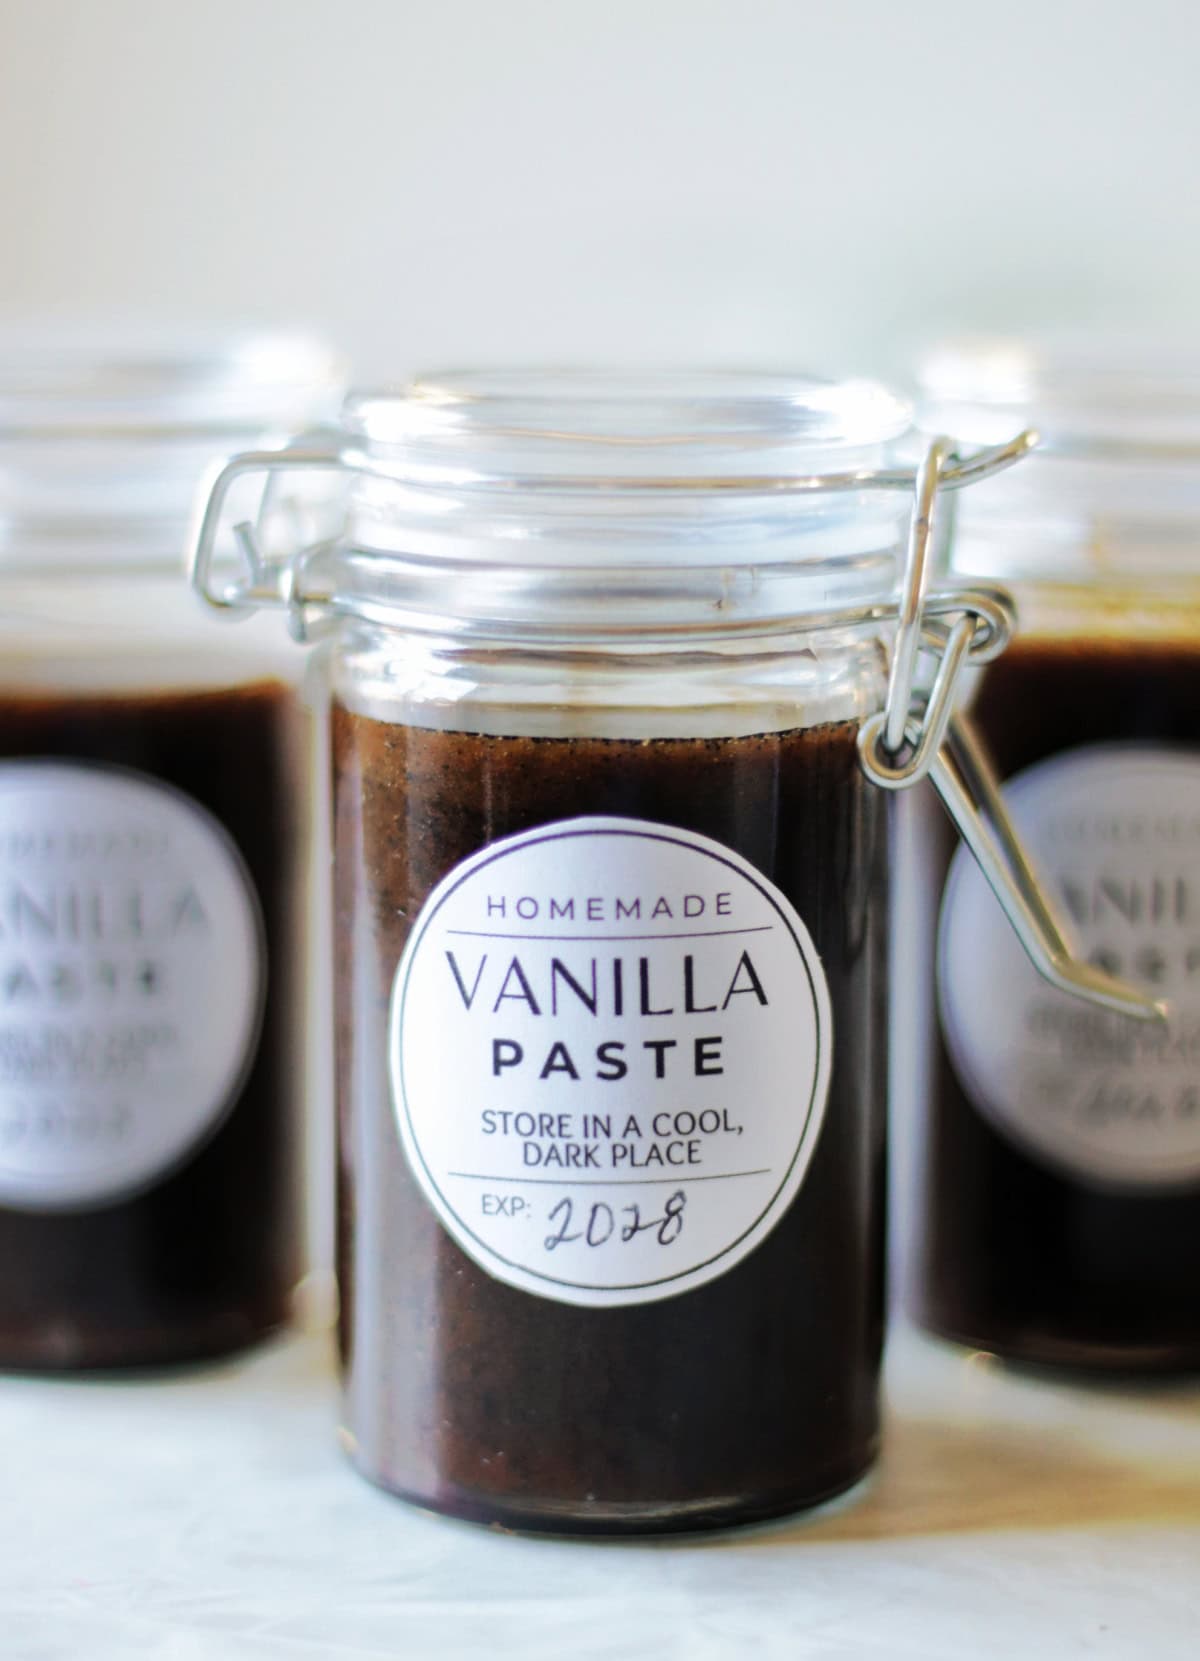
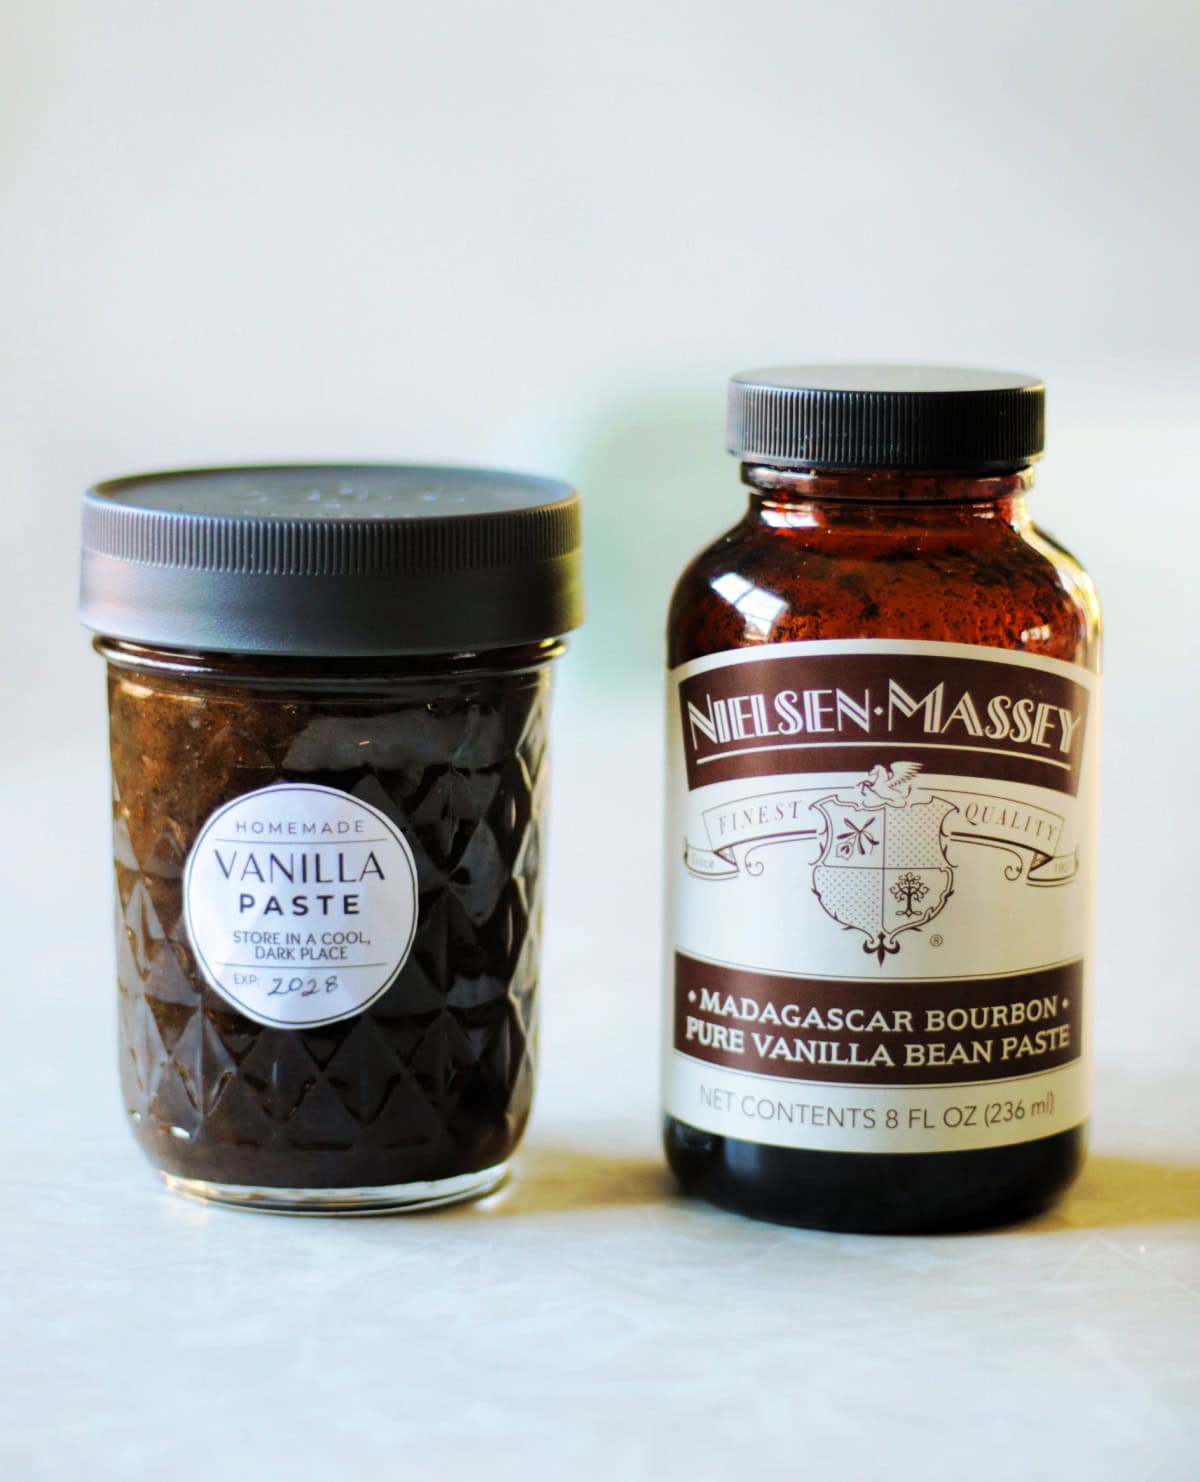
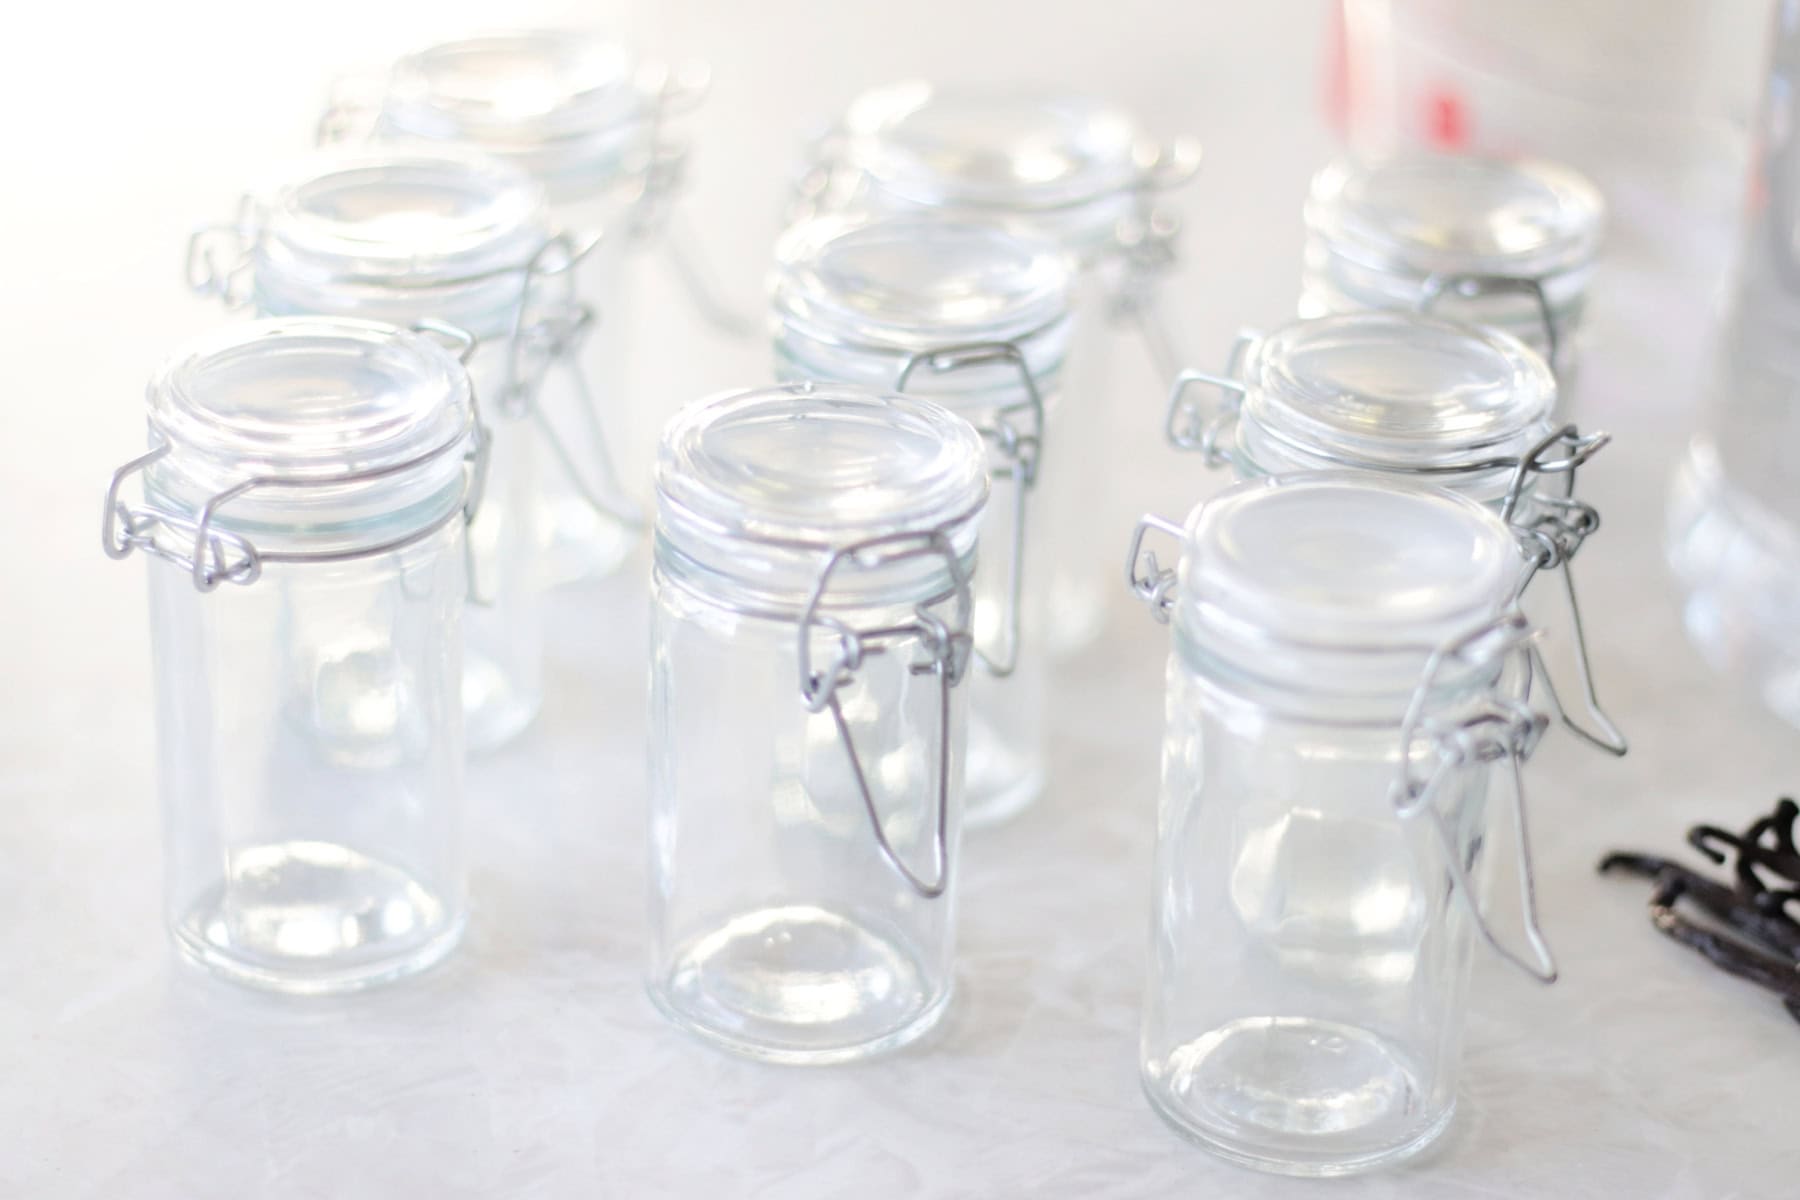
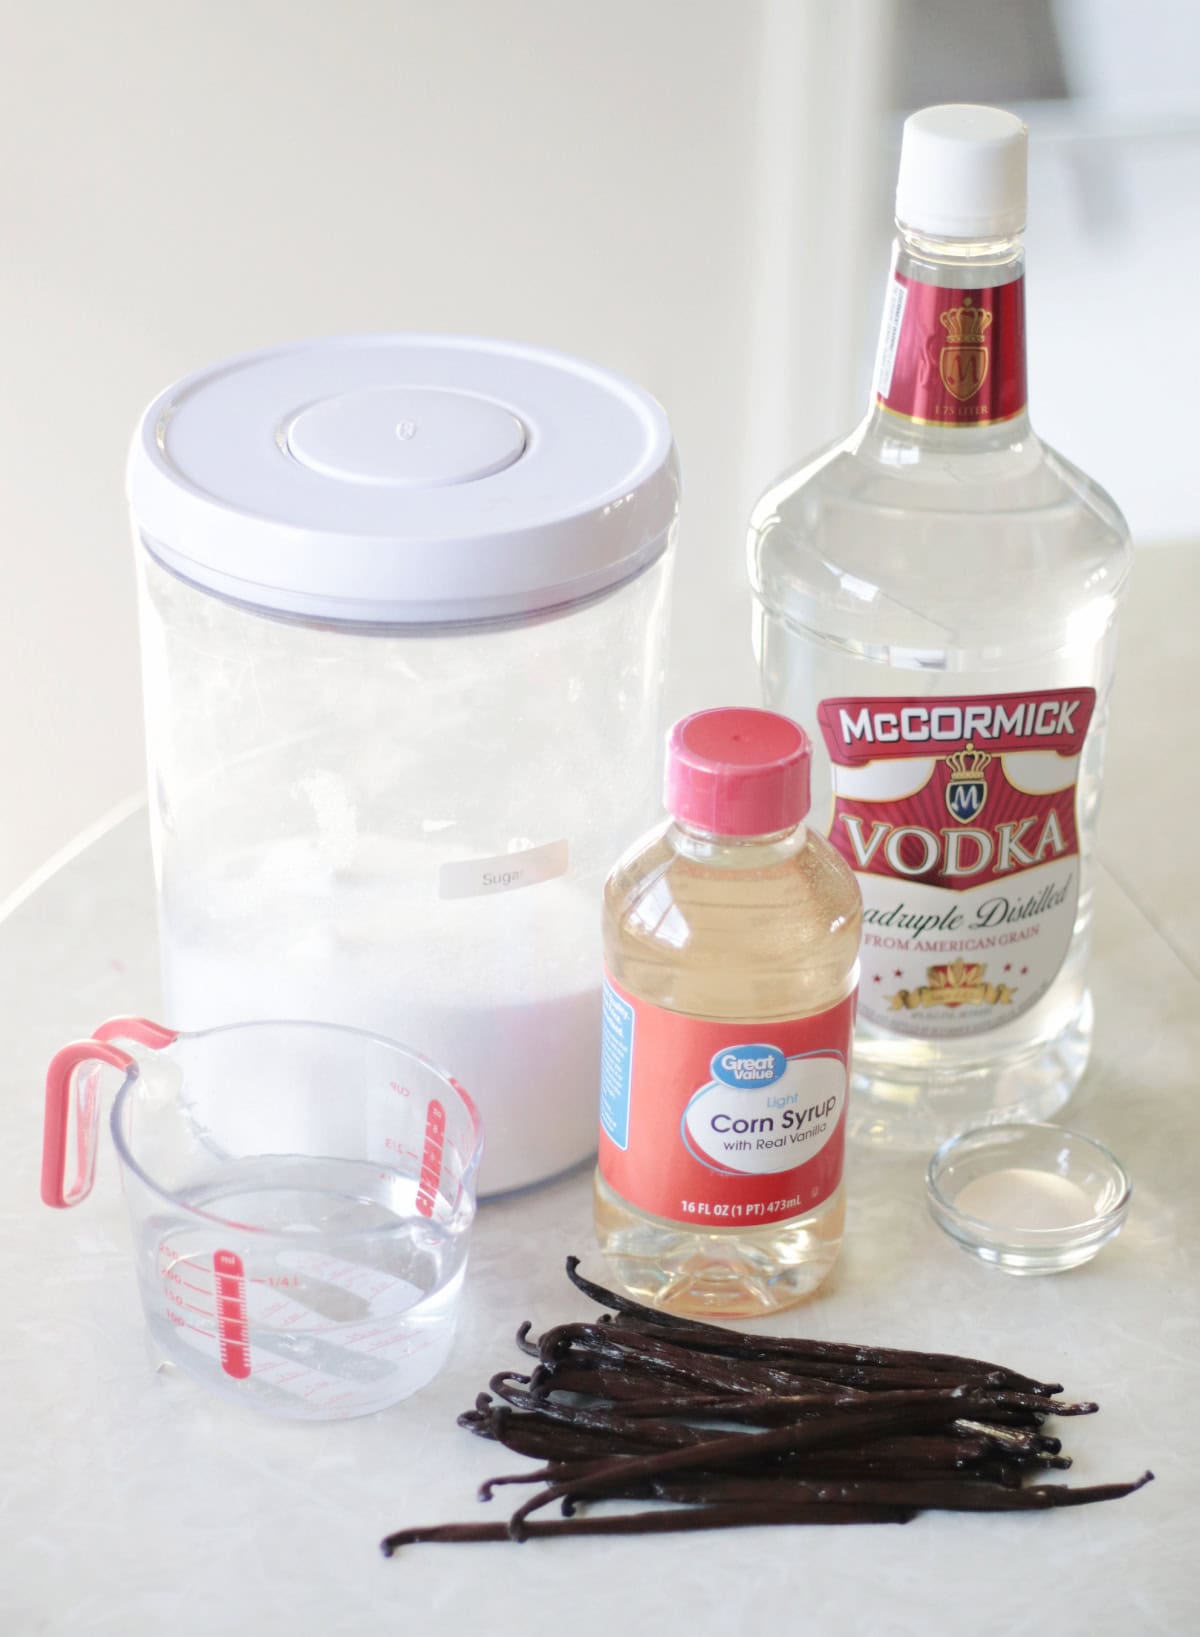
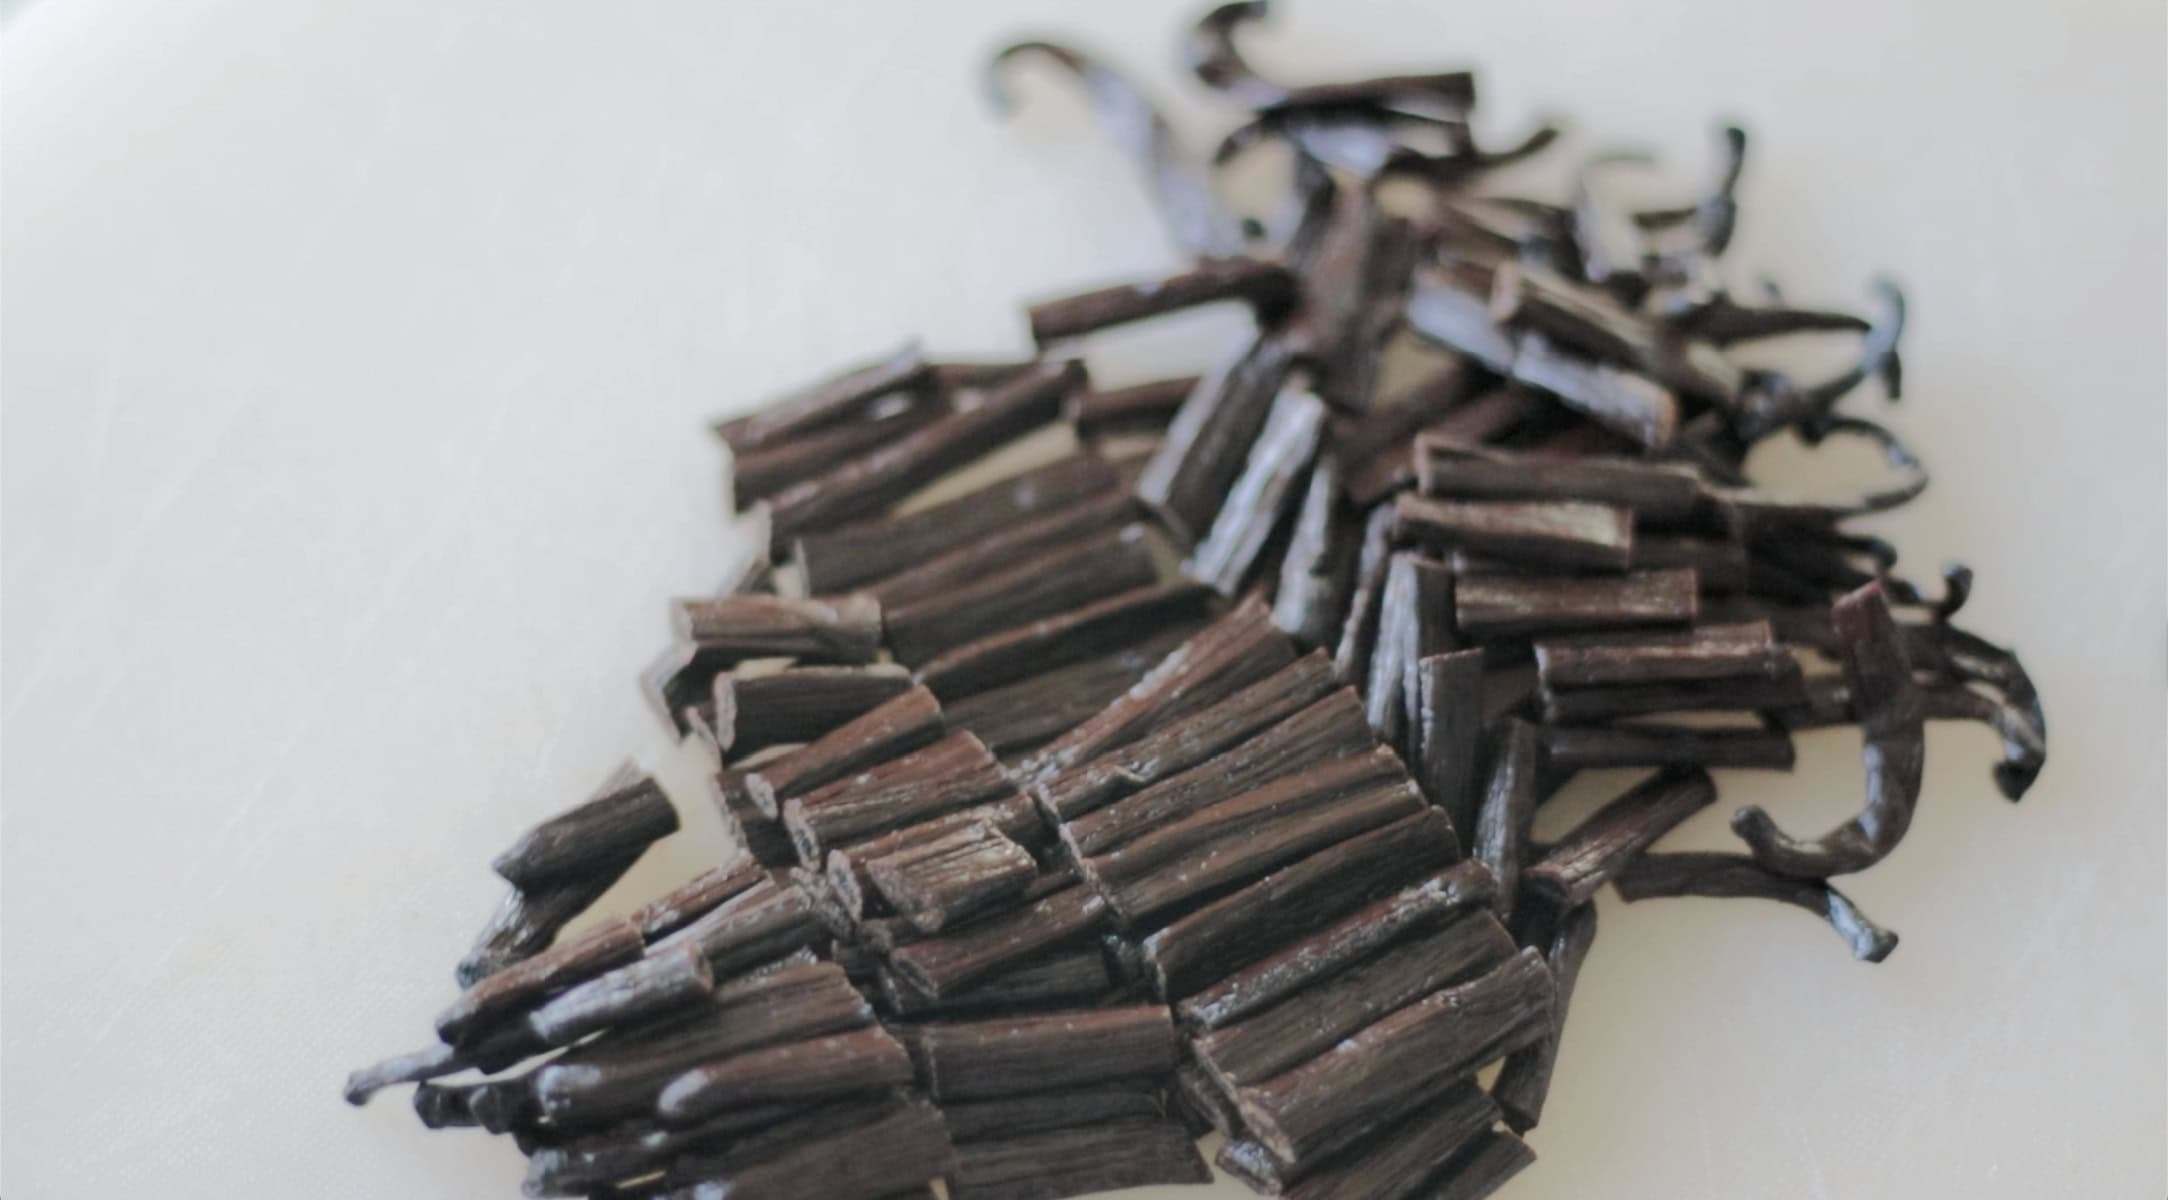
- Vanilla: Have you tried making your own vanilla extract or homemade vanilla paste? It's easy!
- Baking soda, baking powder and salt: for texture and leavening.
- Flour: all-purpose flour works great.
- Thin peanut butter cups: As mentioned before, you can use regular cups, but the flavor and texture will not be the same.
- Sprinkles, almond bark, candy: You'll need a variety of sprinkles and candy to create holiday designs.
See the recipe card for full information on ingredients and quantities.
How To Make Holiday Peanut Butter Cup Cookies
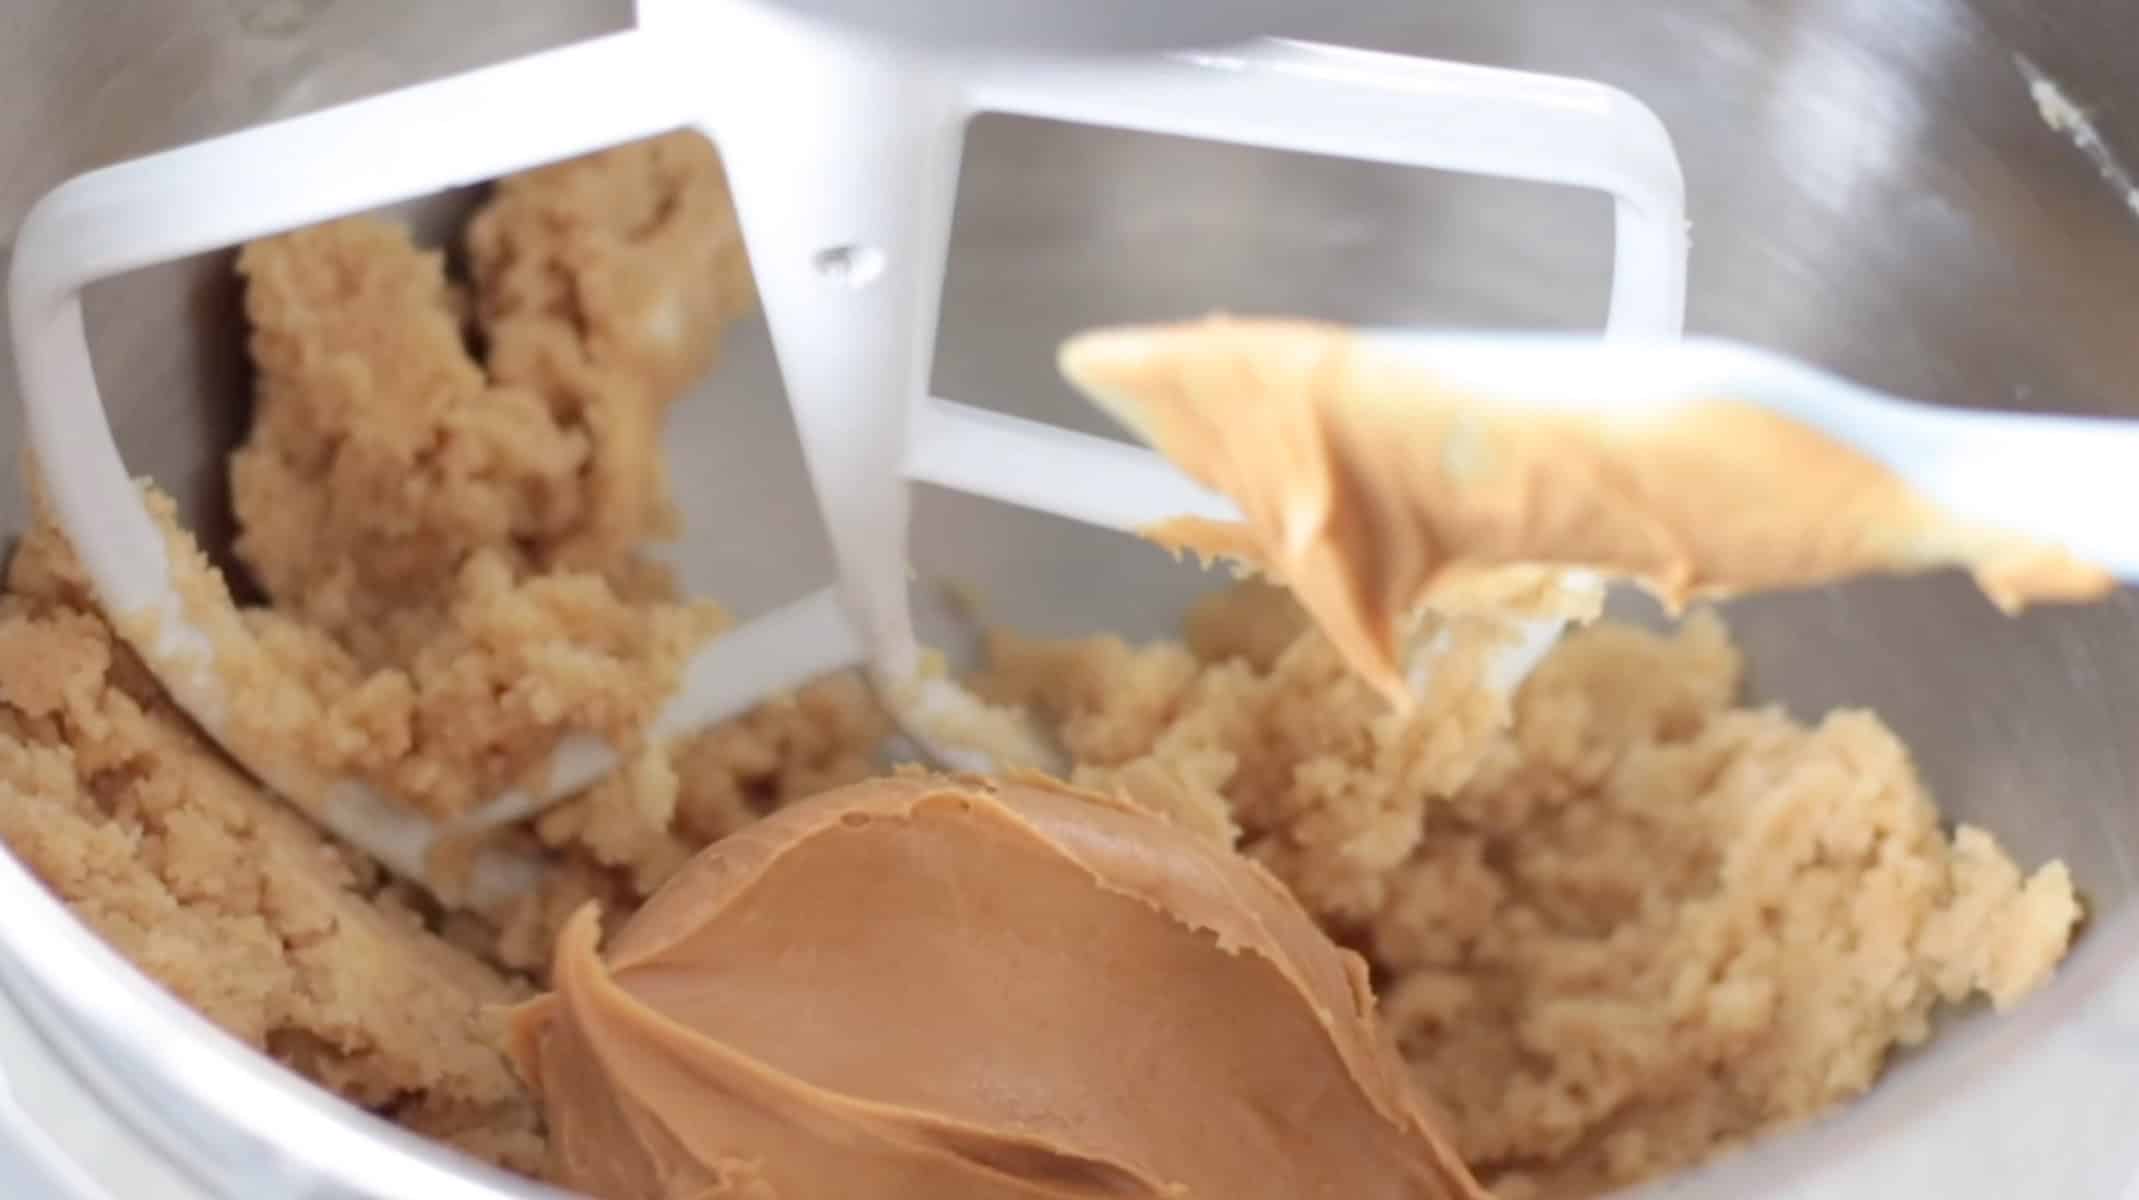
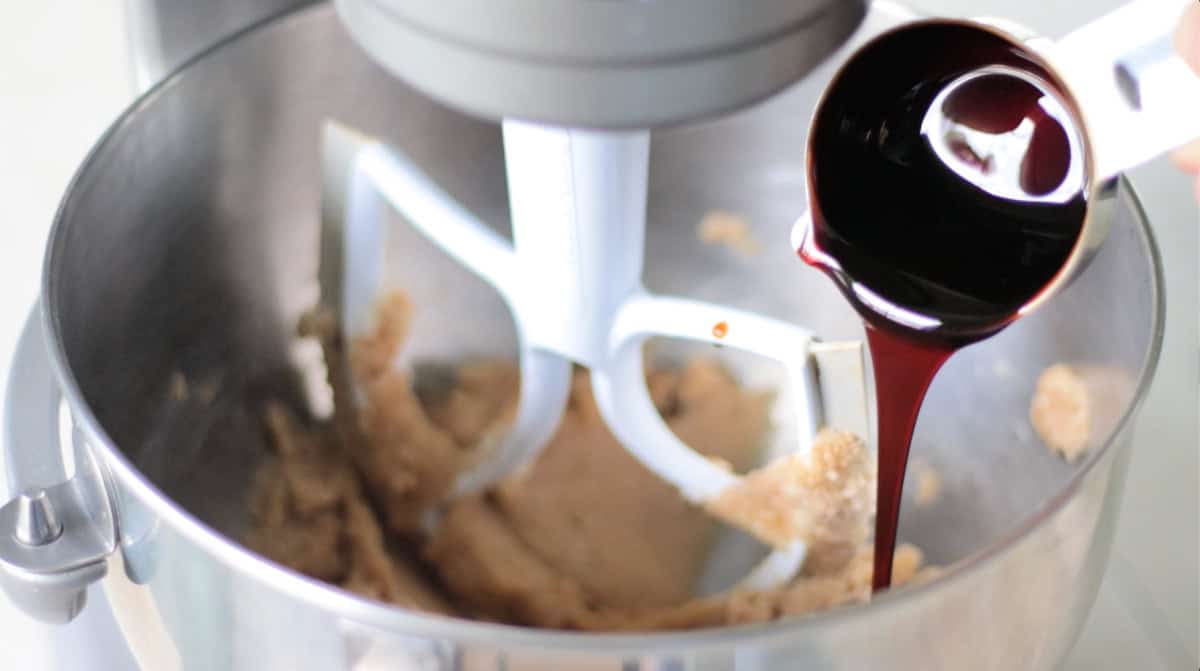
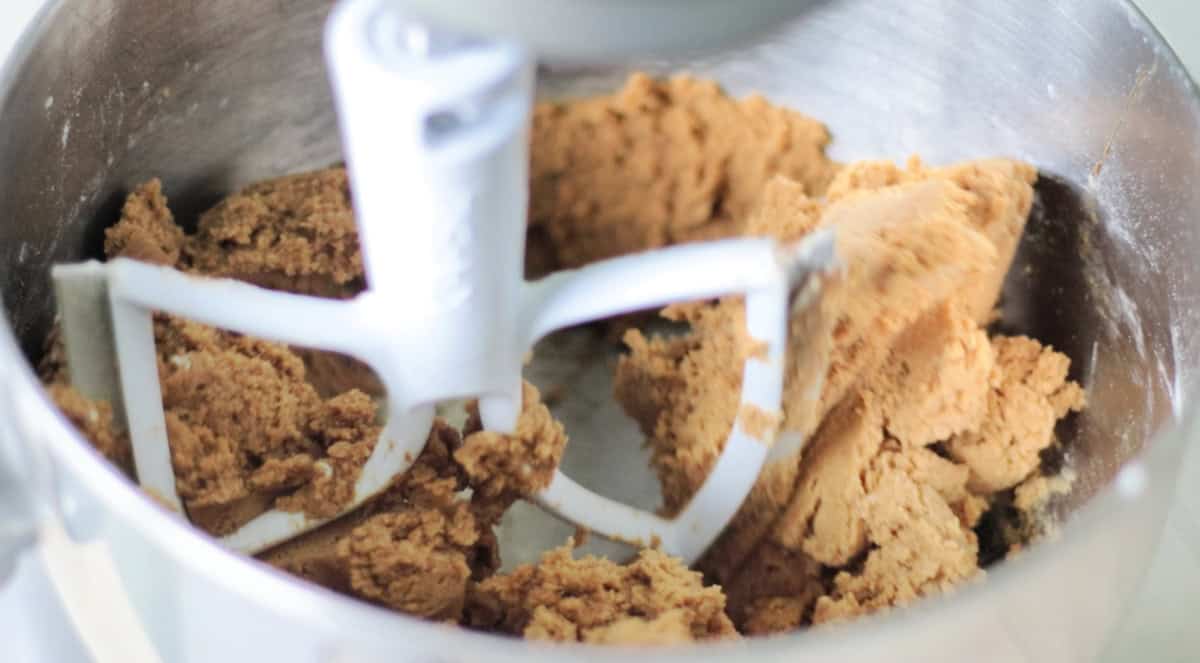
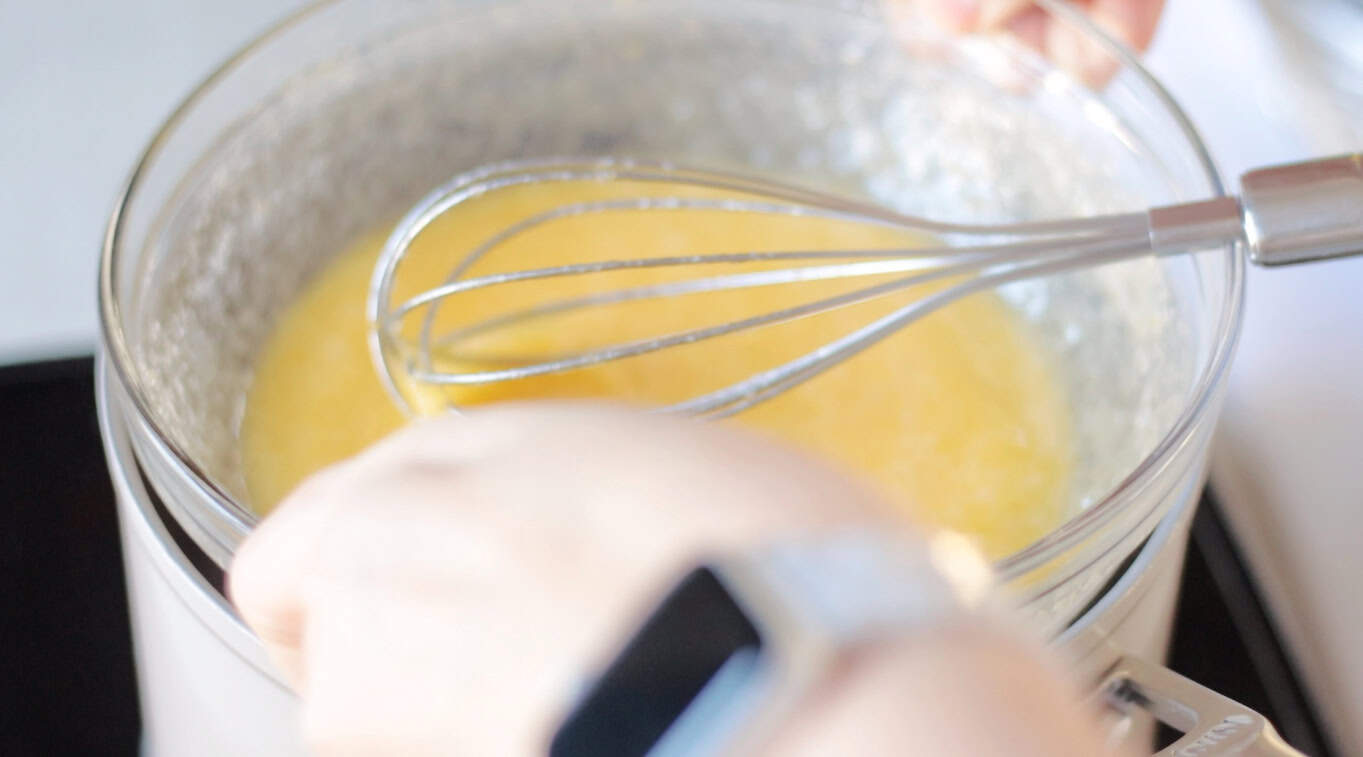
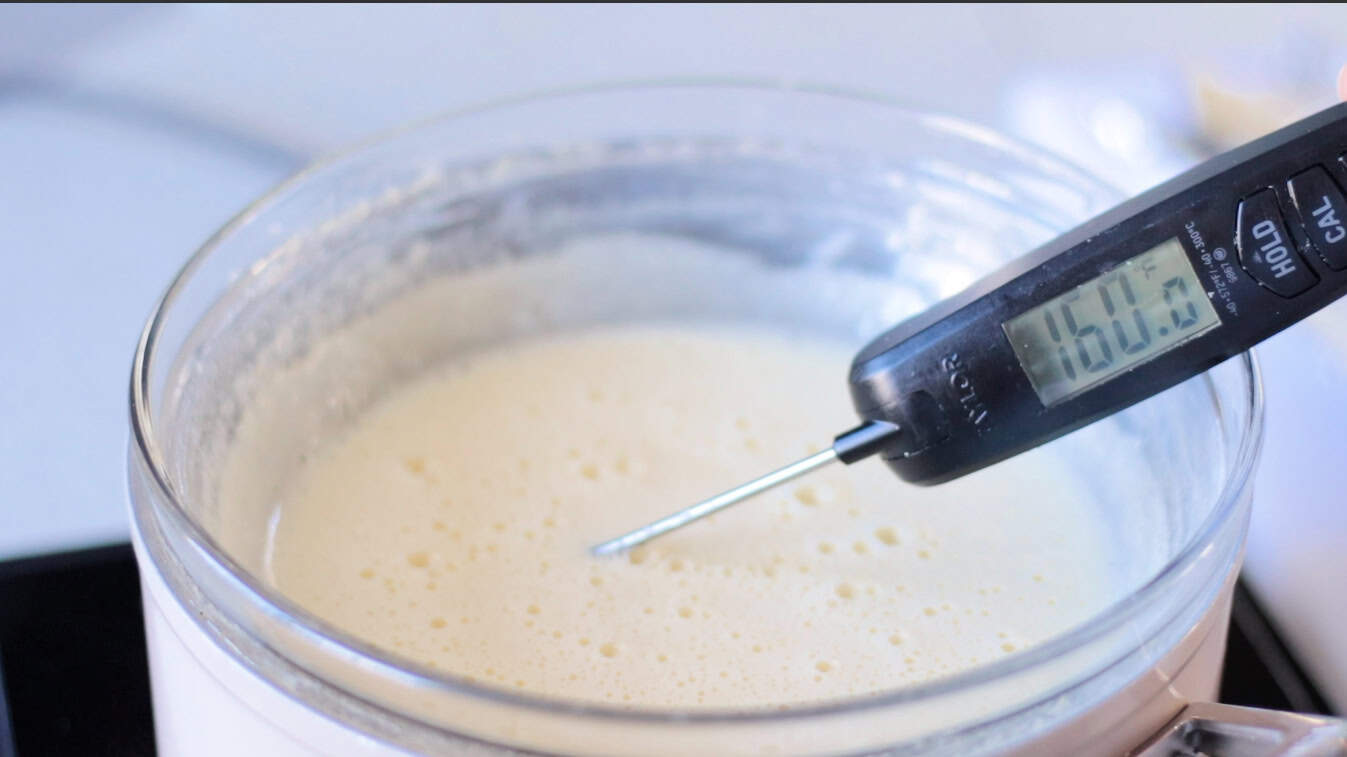
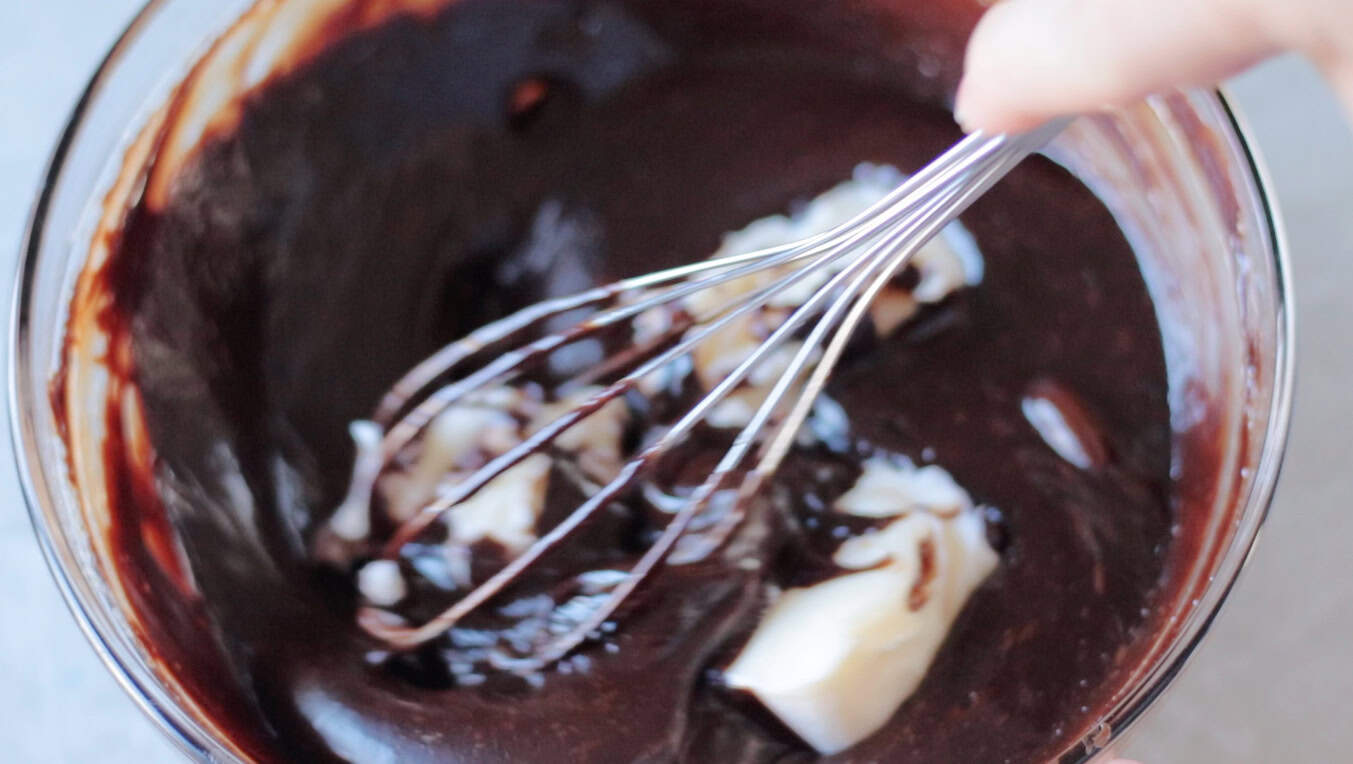
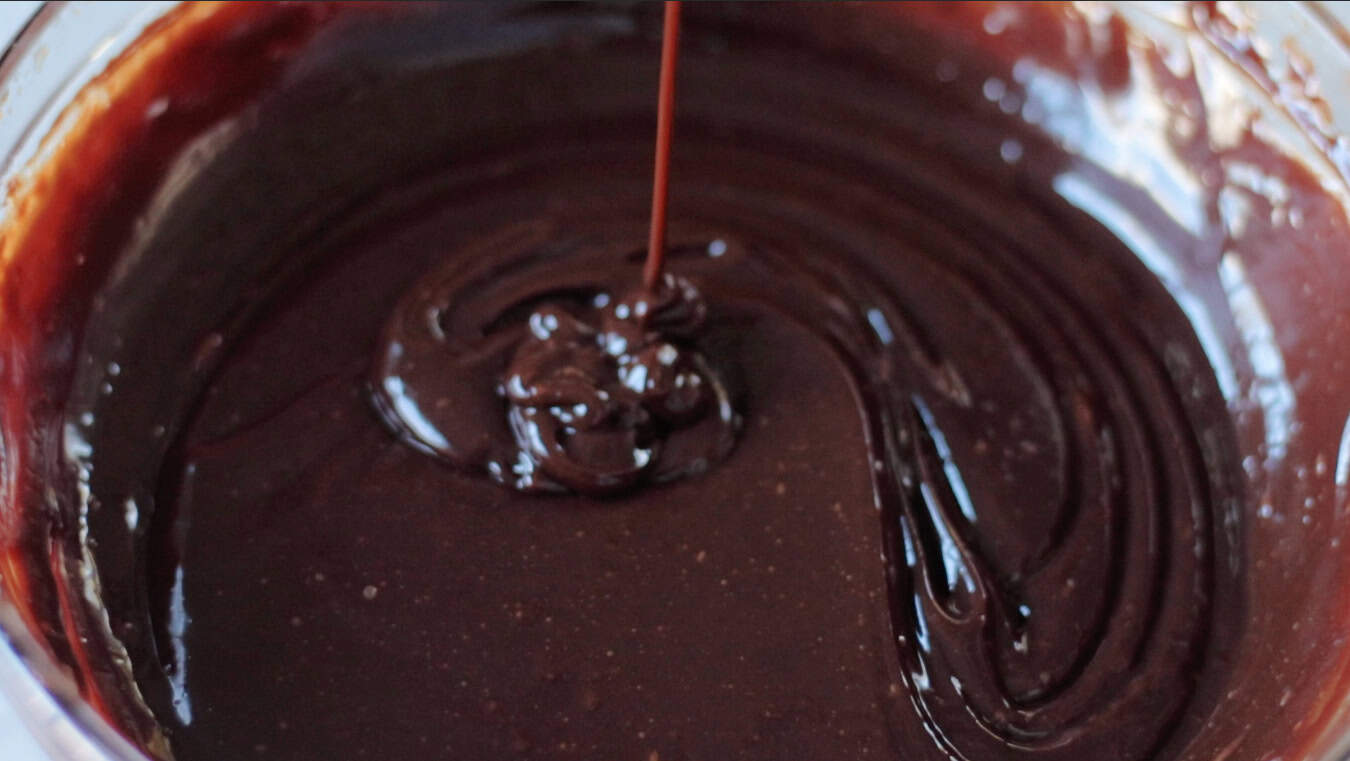
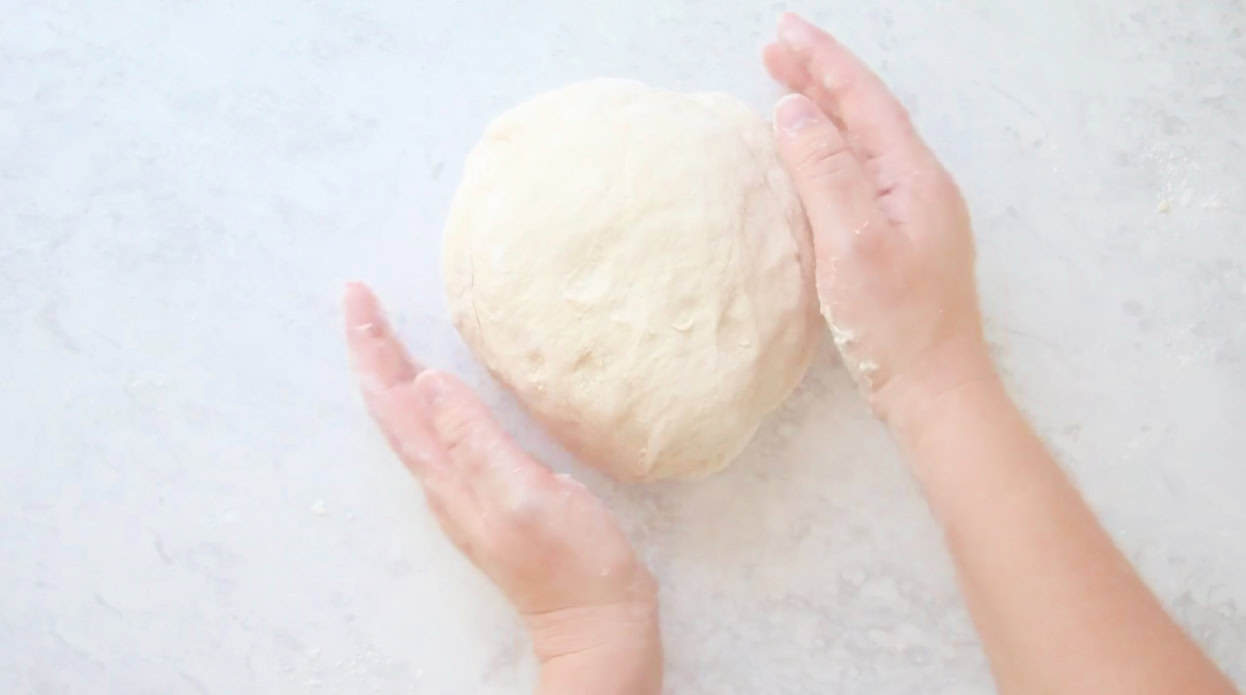
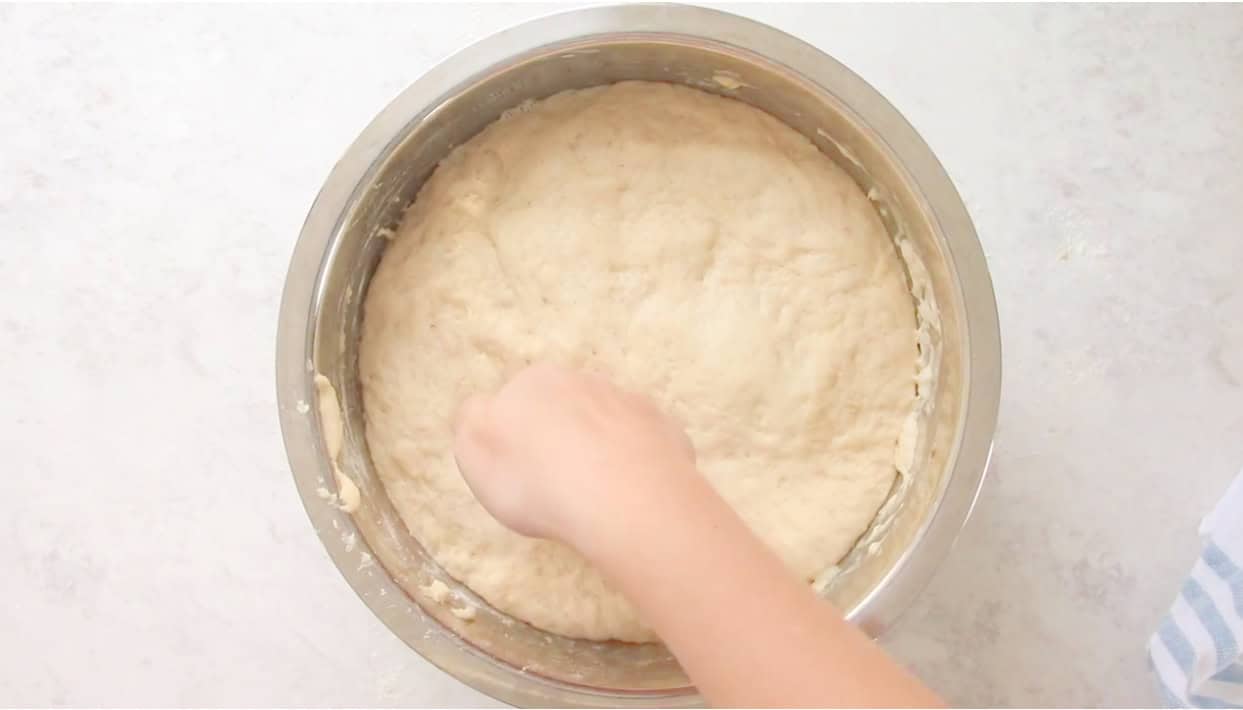
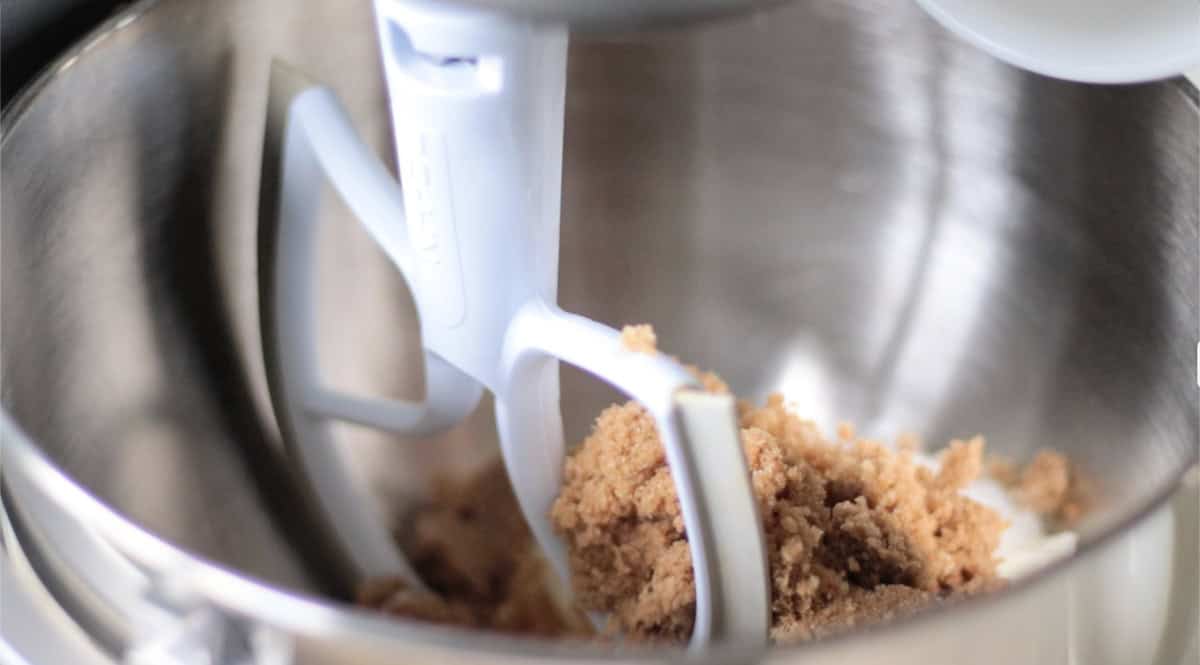
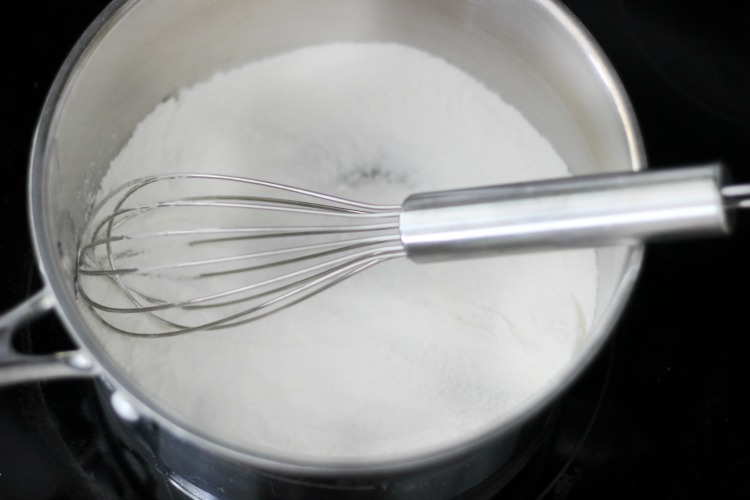
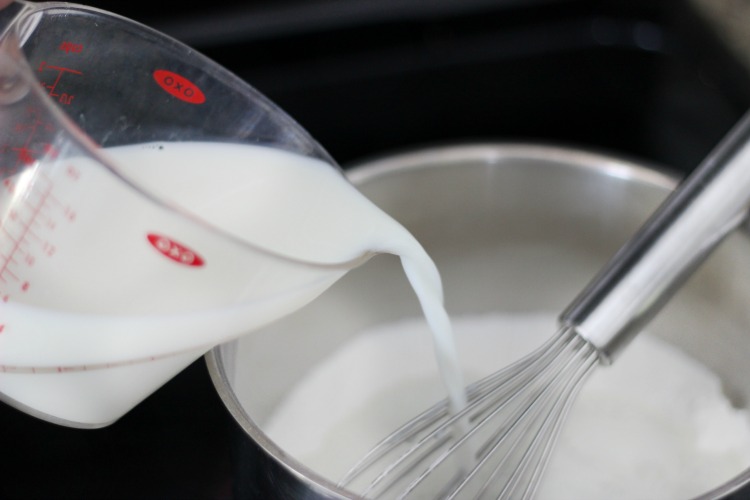
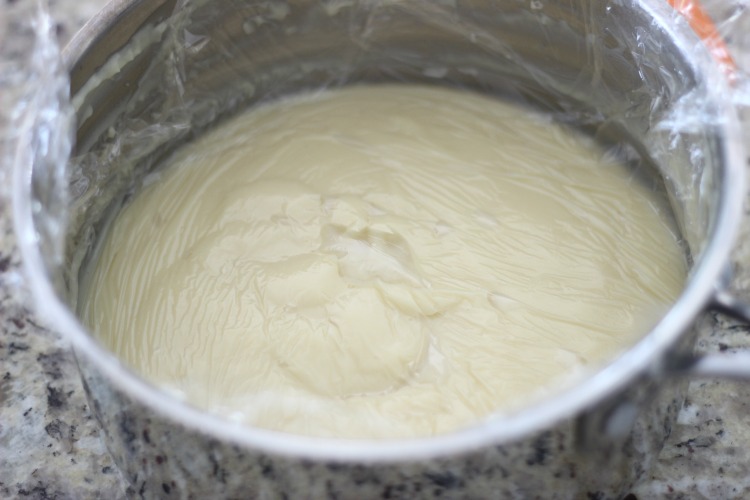
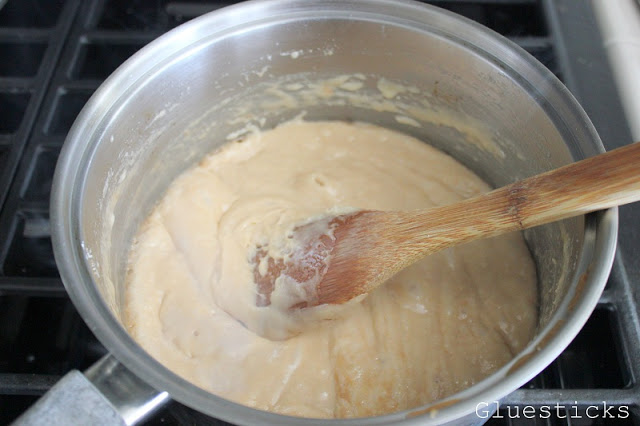
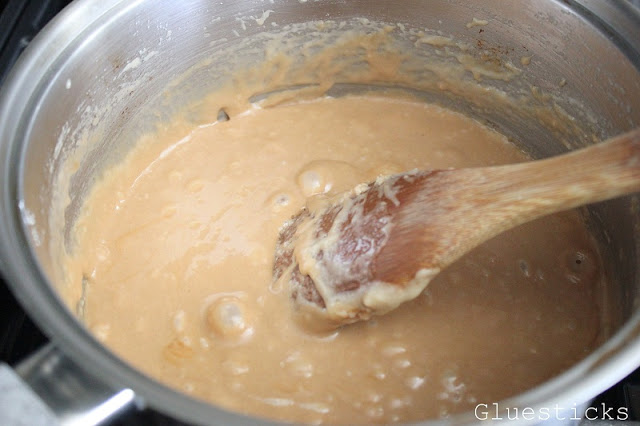
Step 1: Cream butter and sugars together until smooth. Beat in peanut butter, egg, milk, and vanilla, and mix until smooth and creamy. Add dry ingredients and mix just until dough forms.
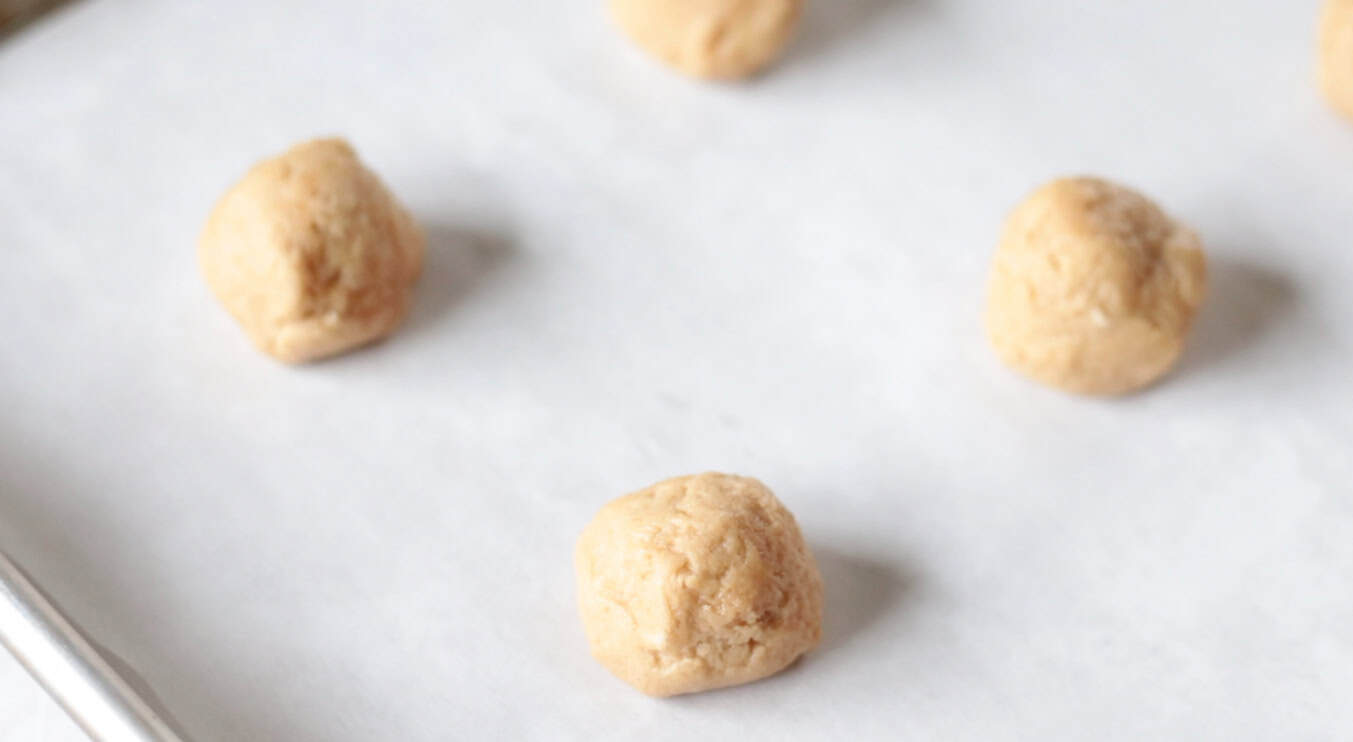
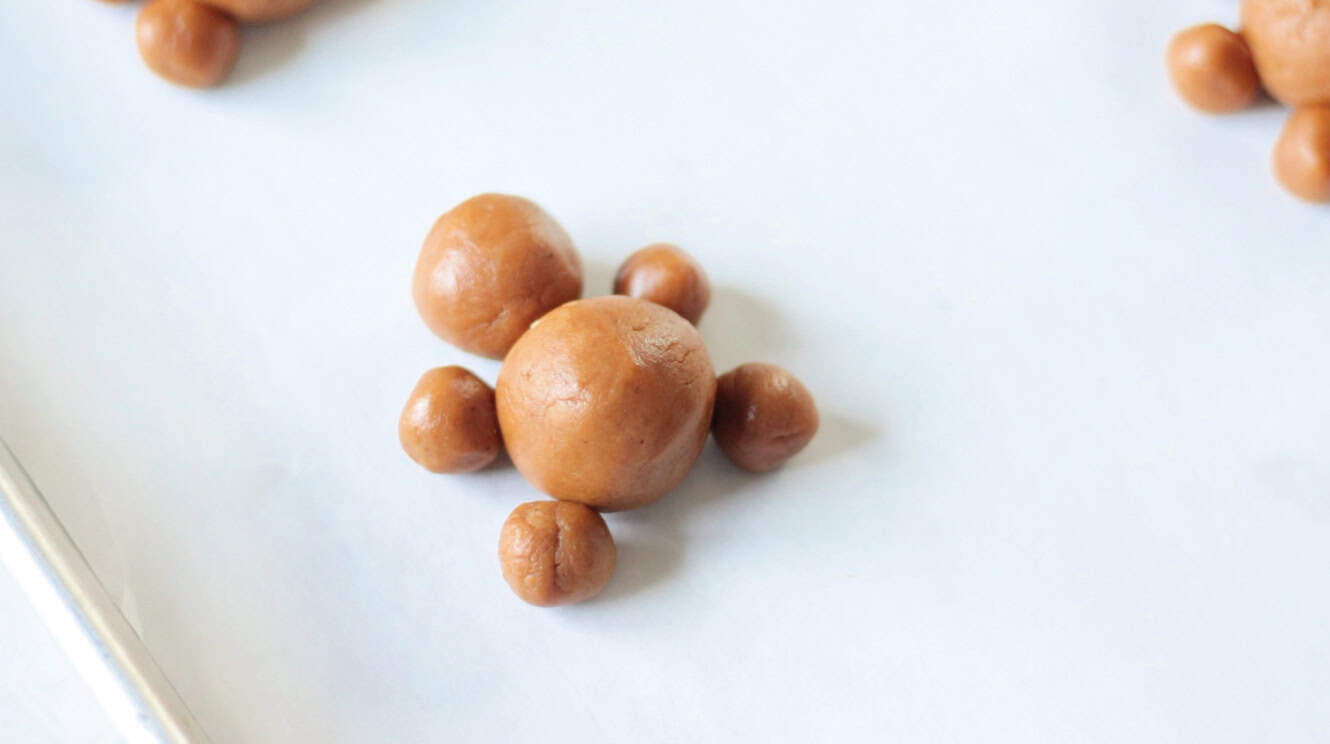
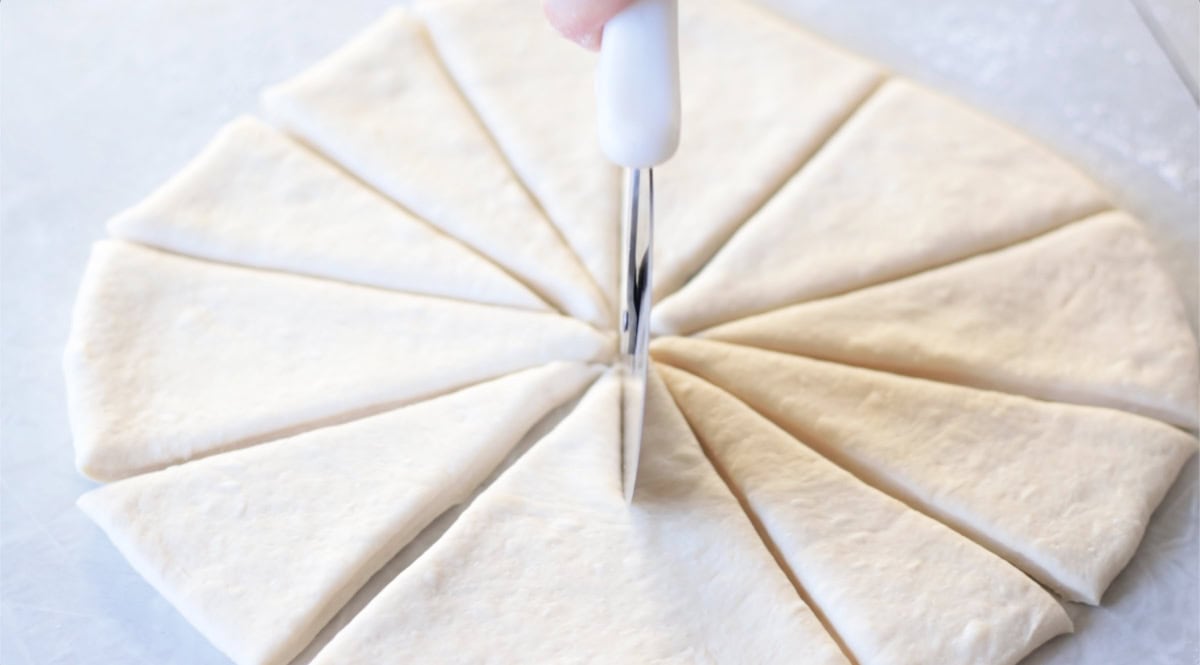
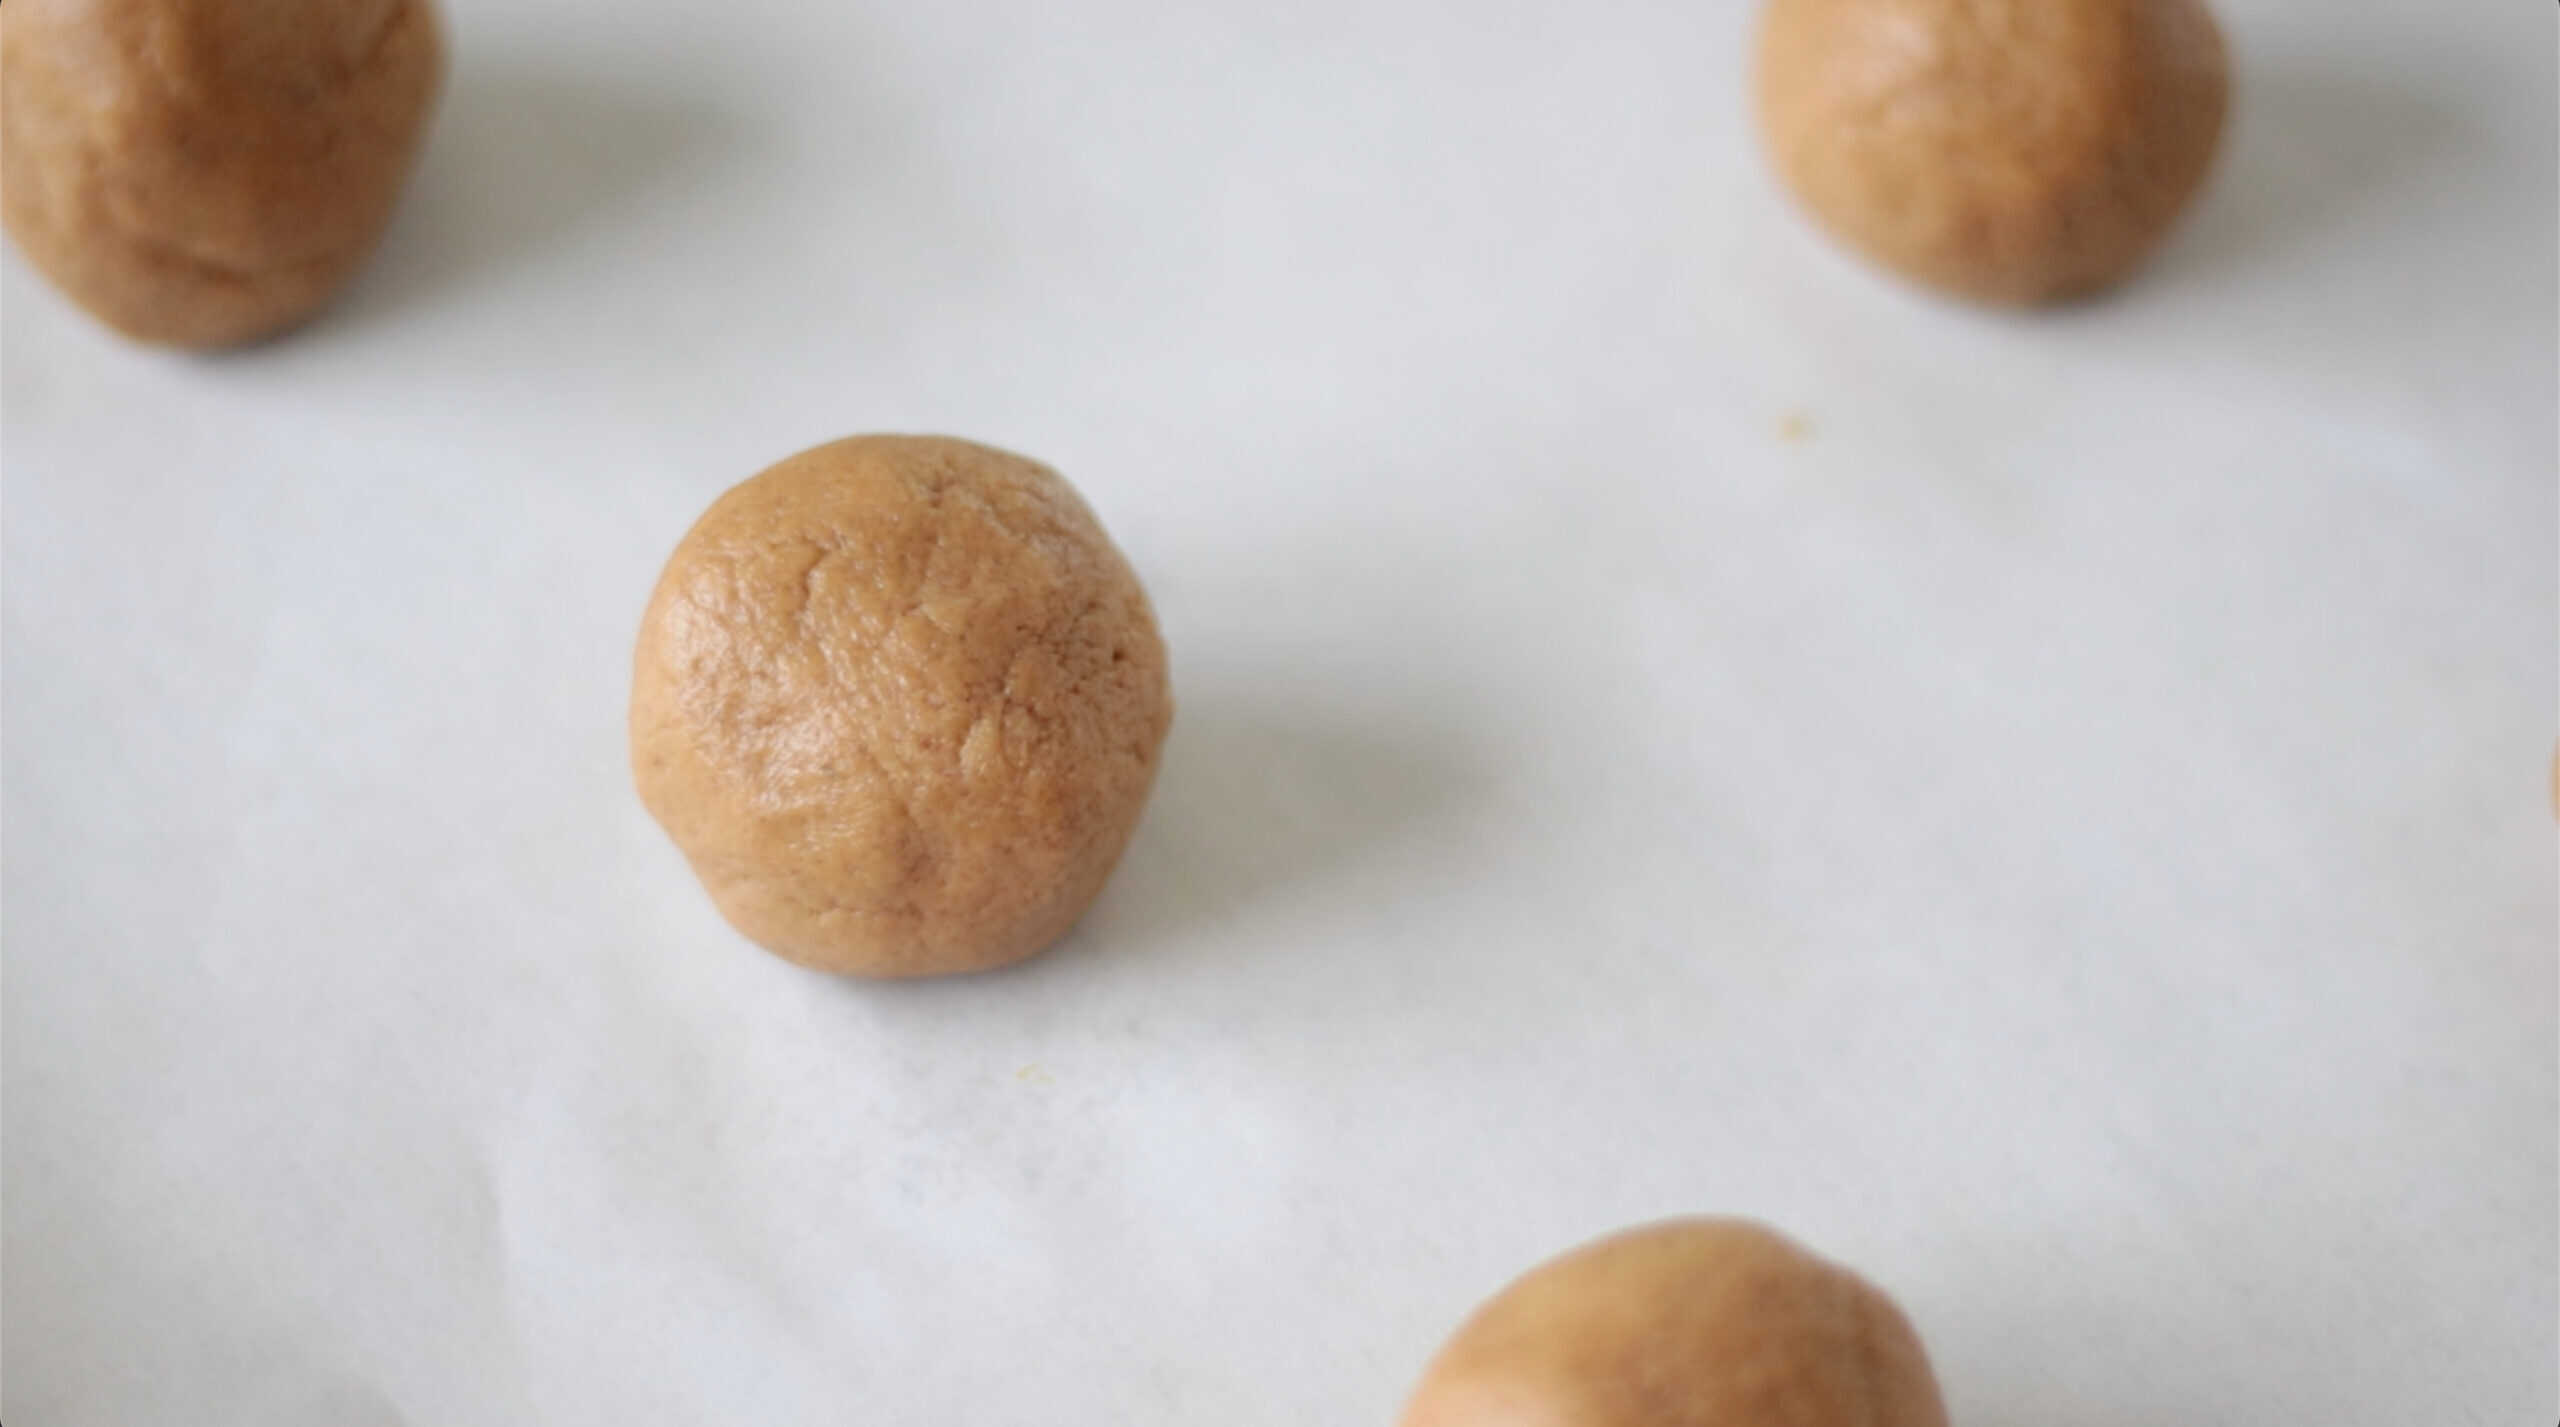
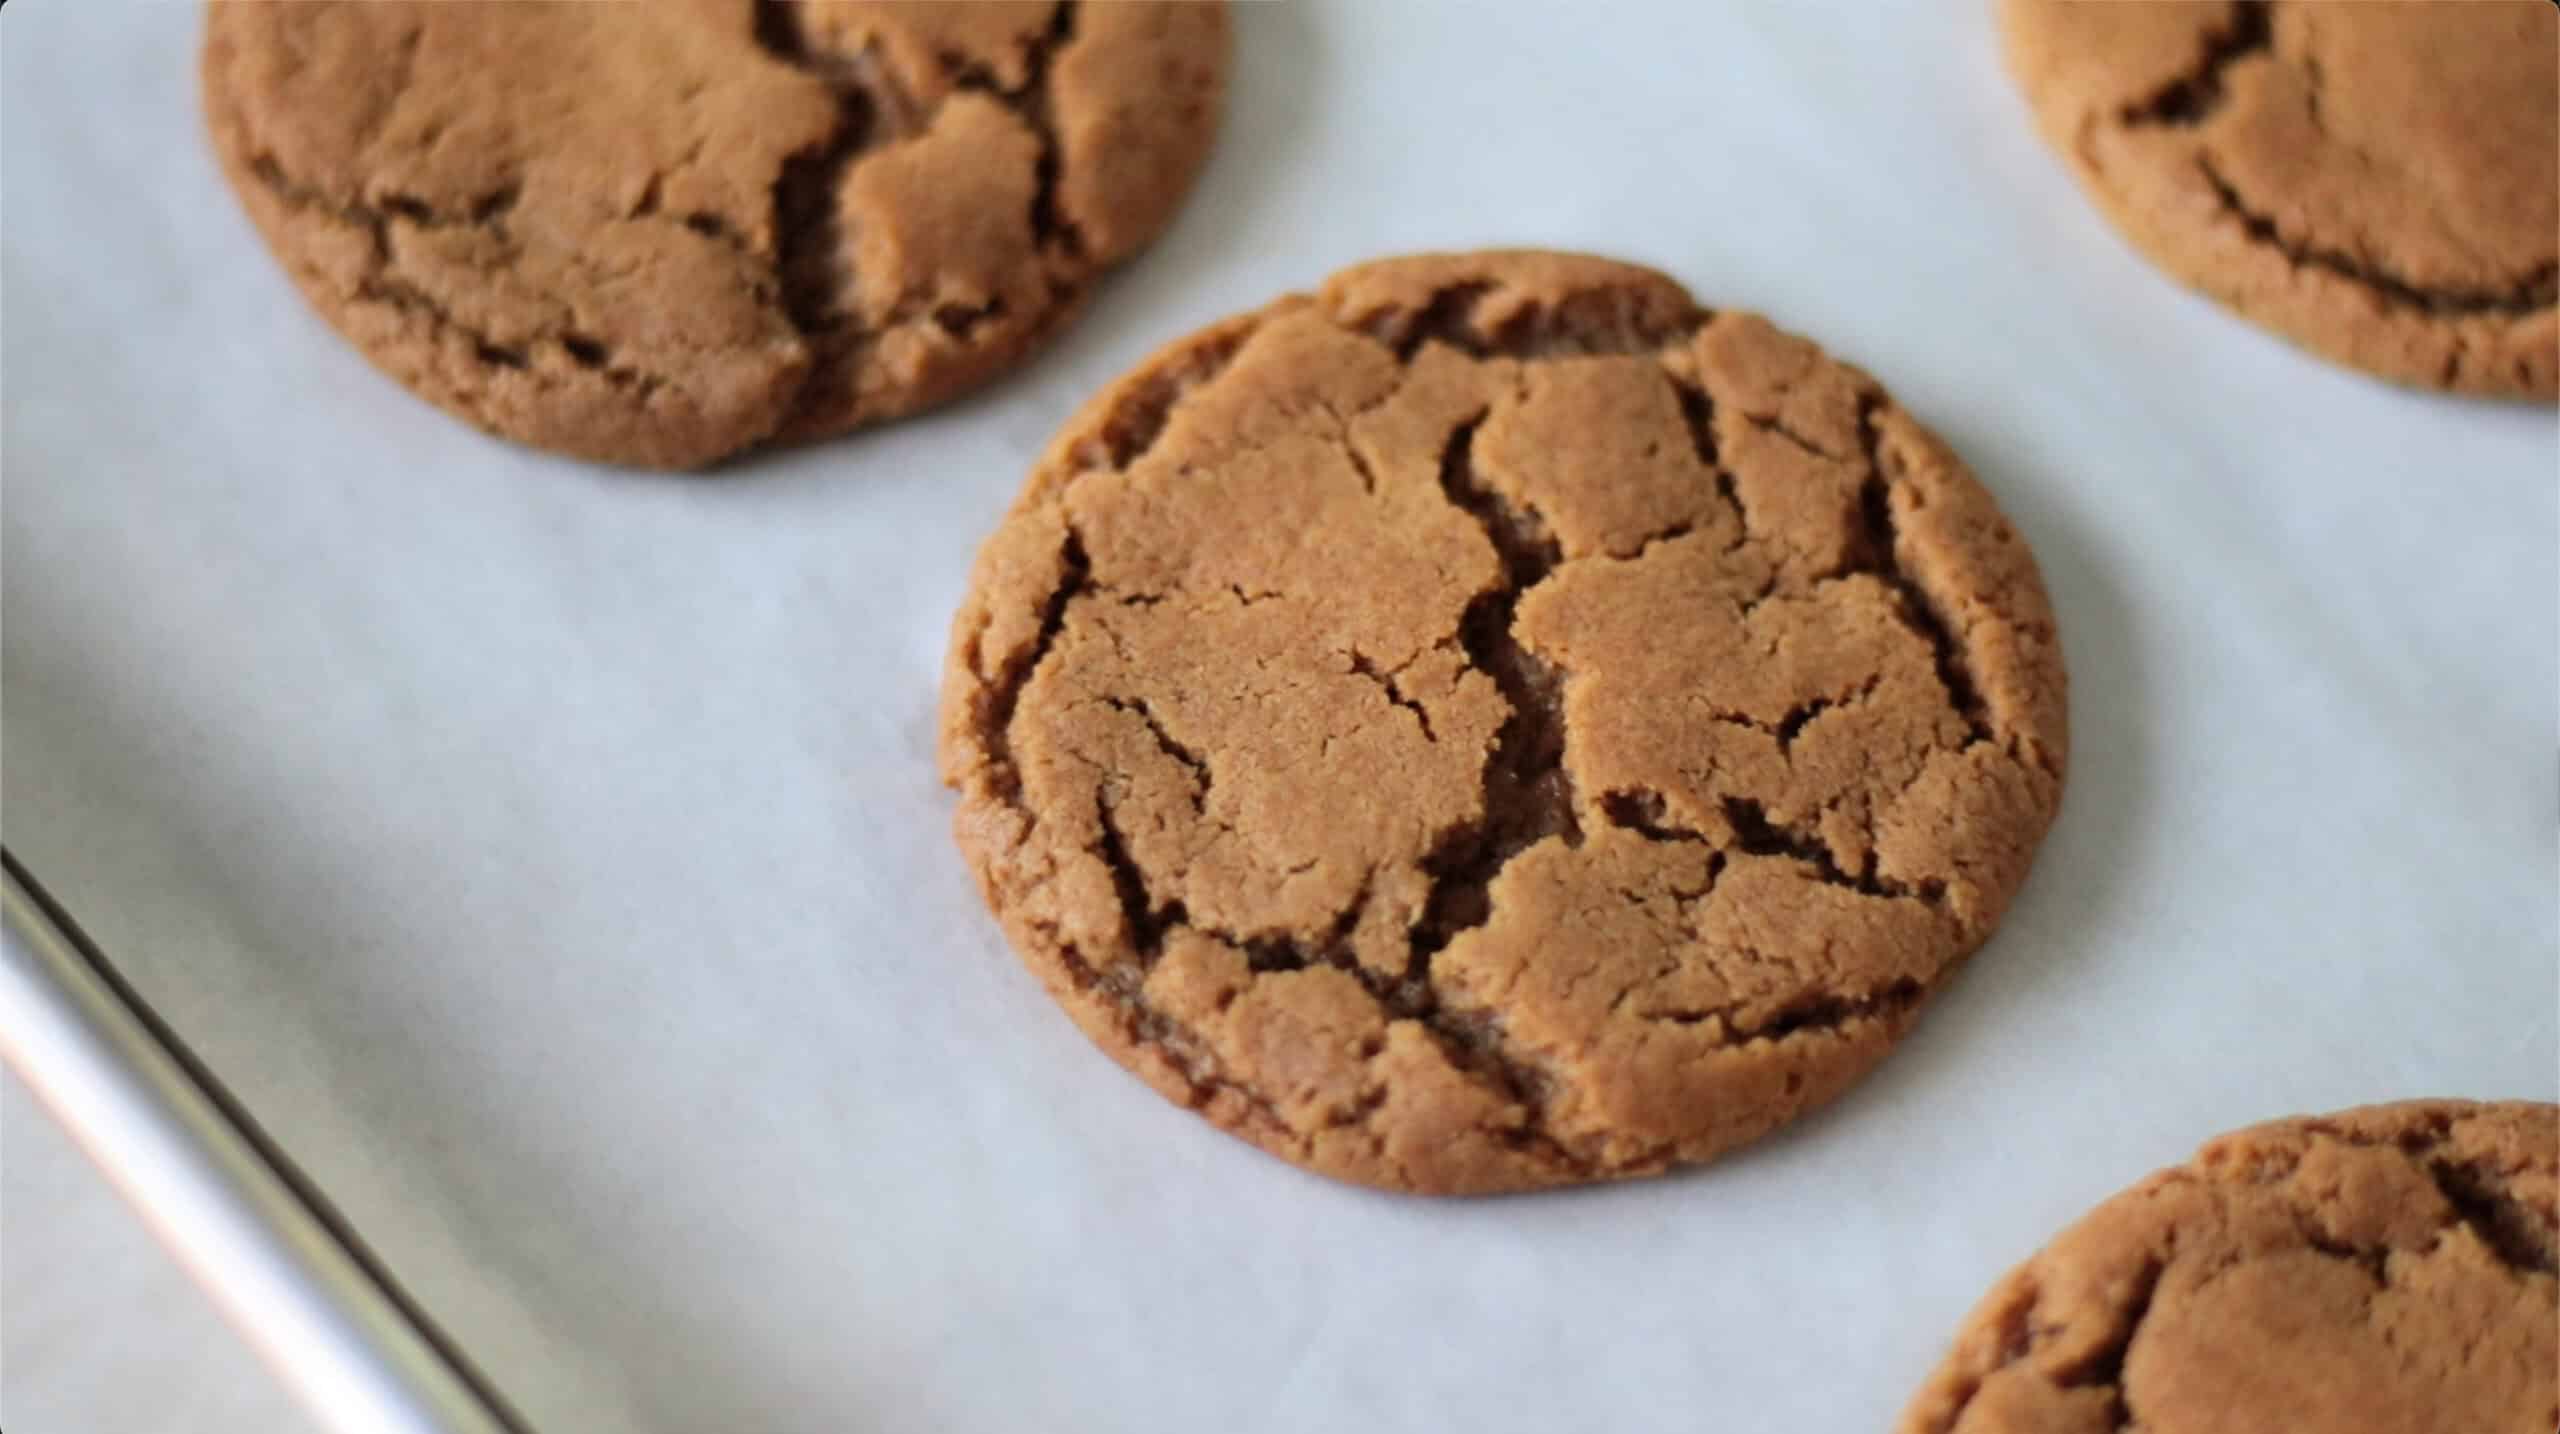
Step 2: Scoop dough into 1 tablespoon-sized balls and place on a baking sheet lined with parchment paper. Bake cookies at 375 degrees for 7-8 minutes.
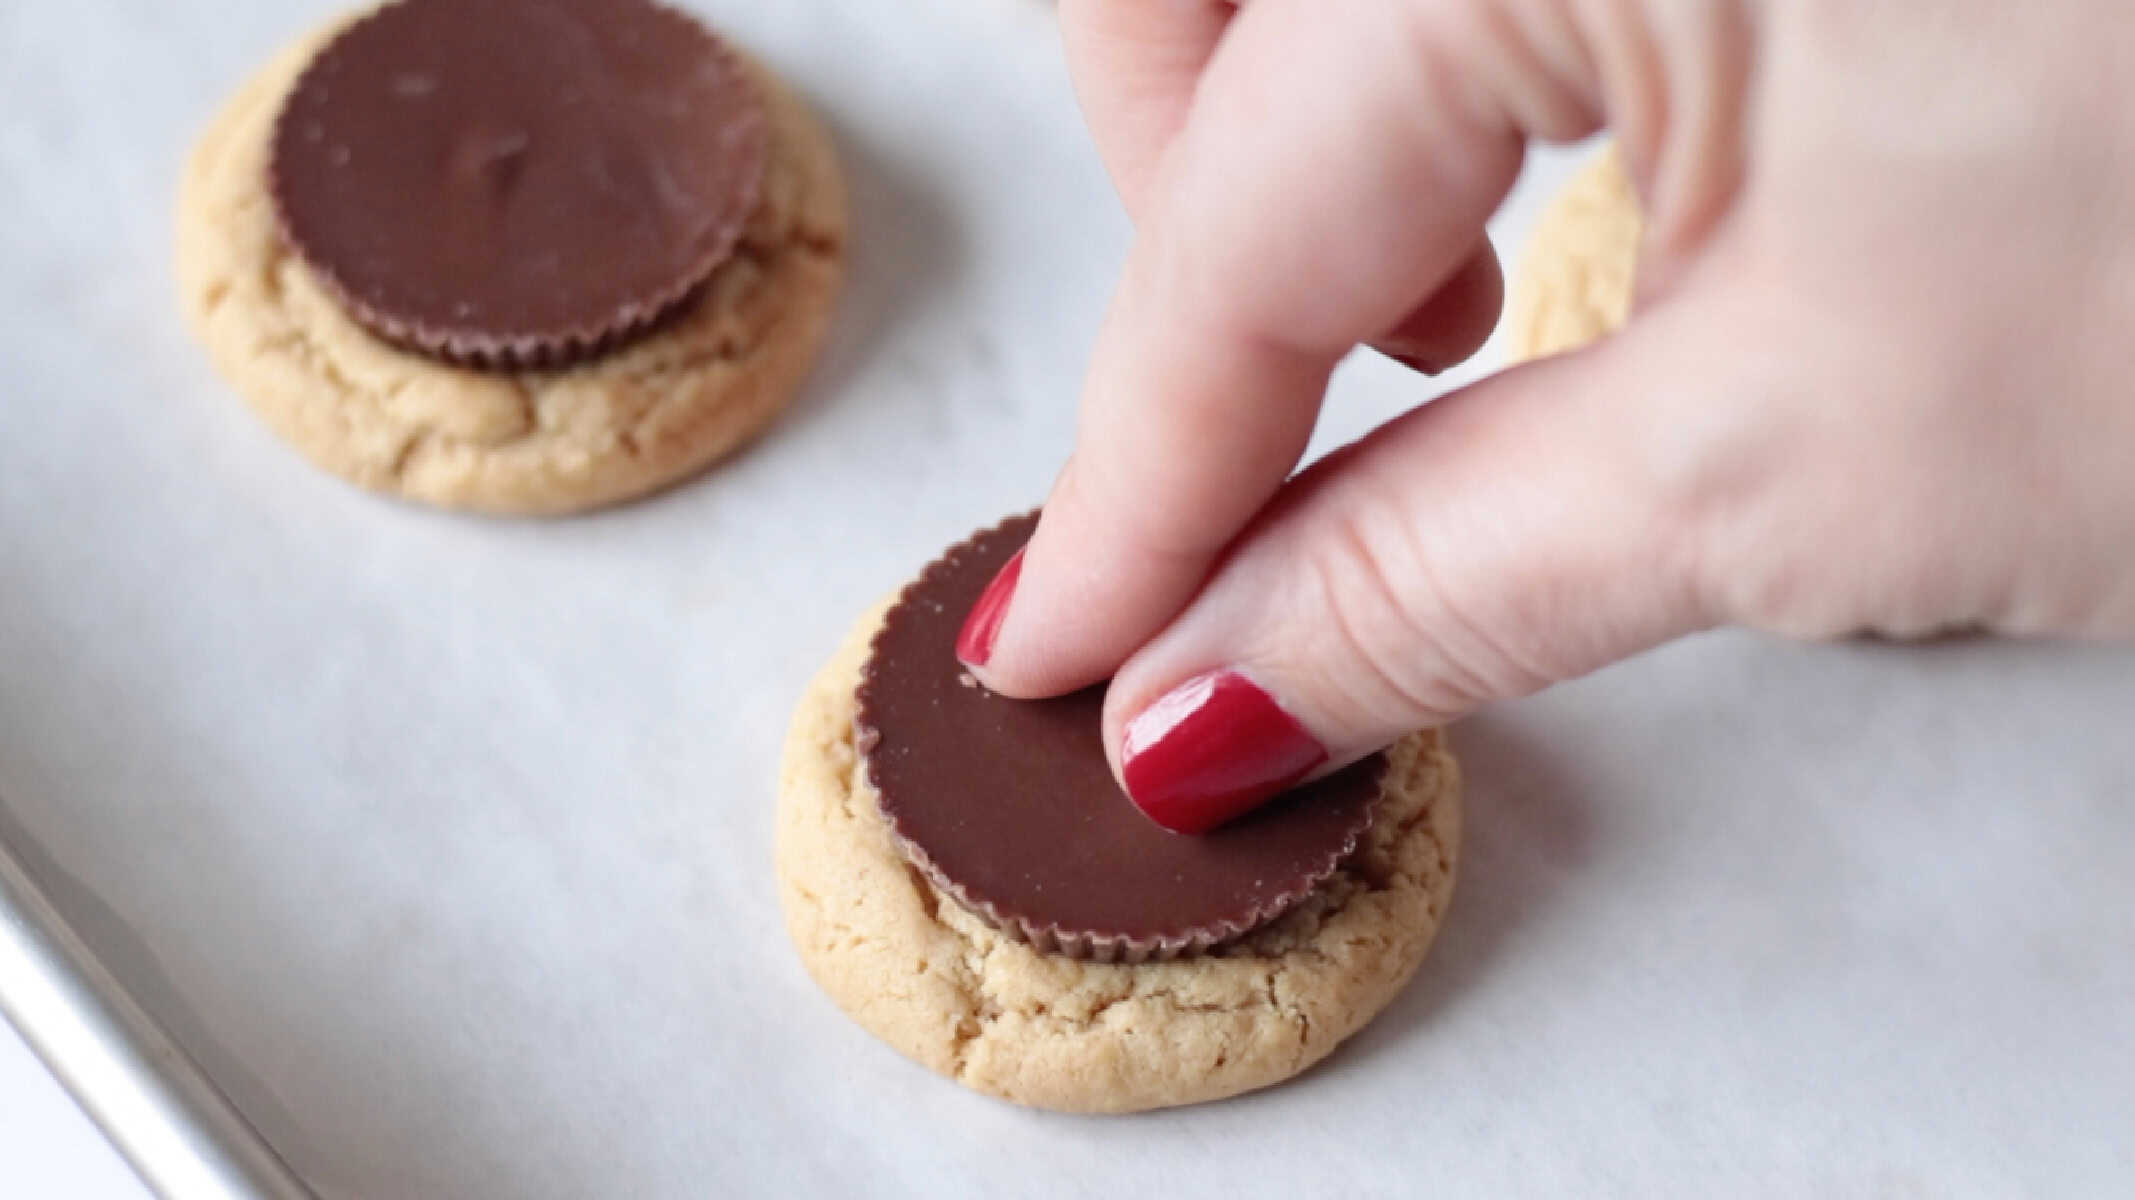
Step 3: Immediately press a thin peanut butter cup onto the top of each cookie as soon as they come out of the oven. Allow cookies to stand for a few minutes to allow the tops to get glossy and soft before decorating.
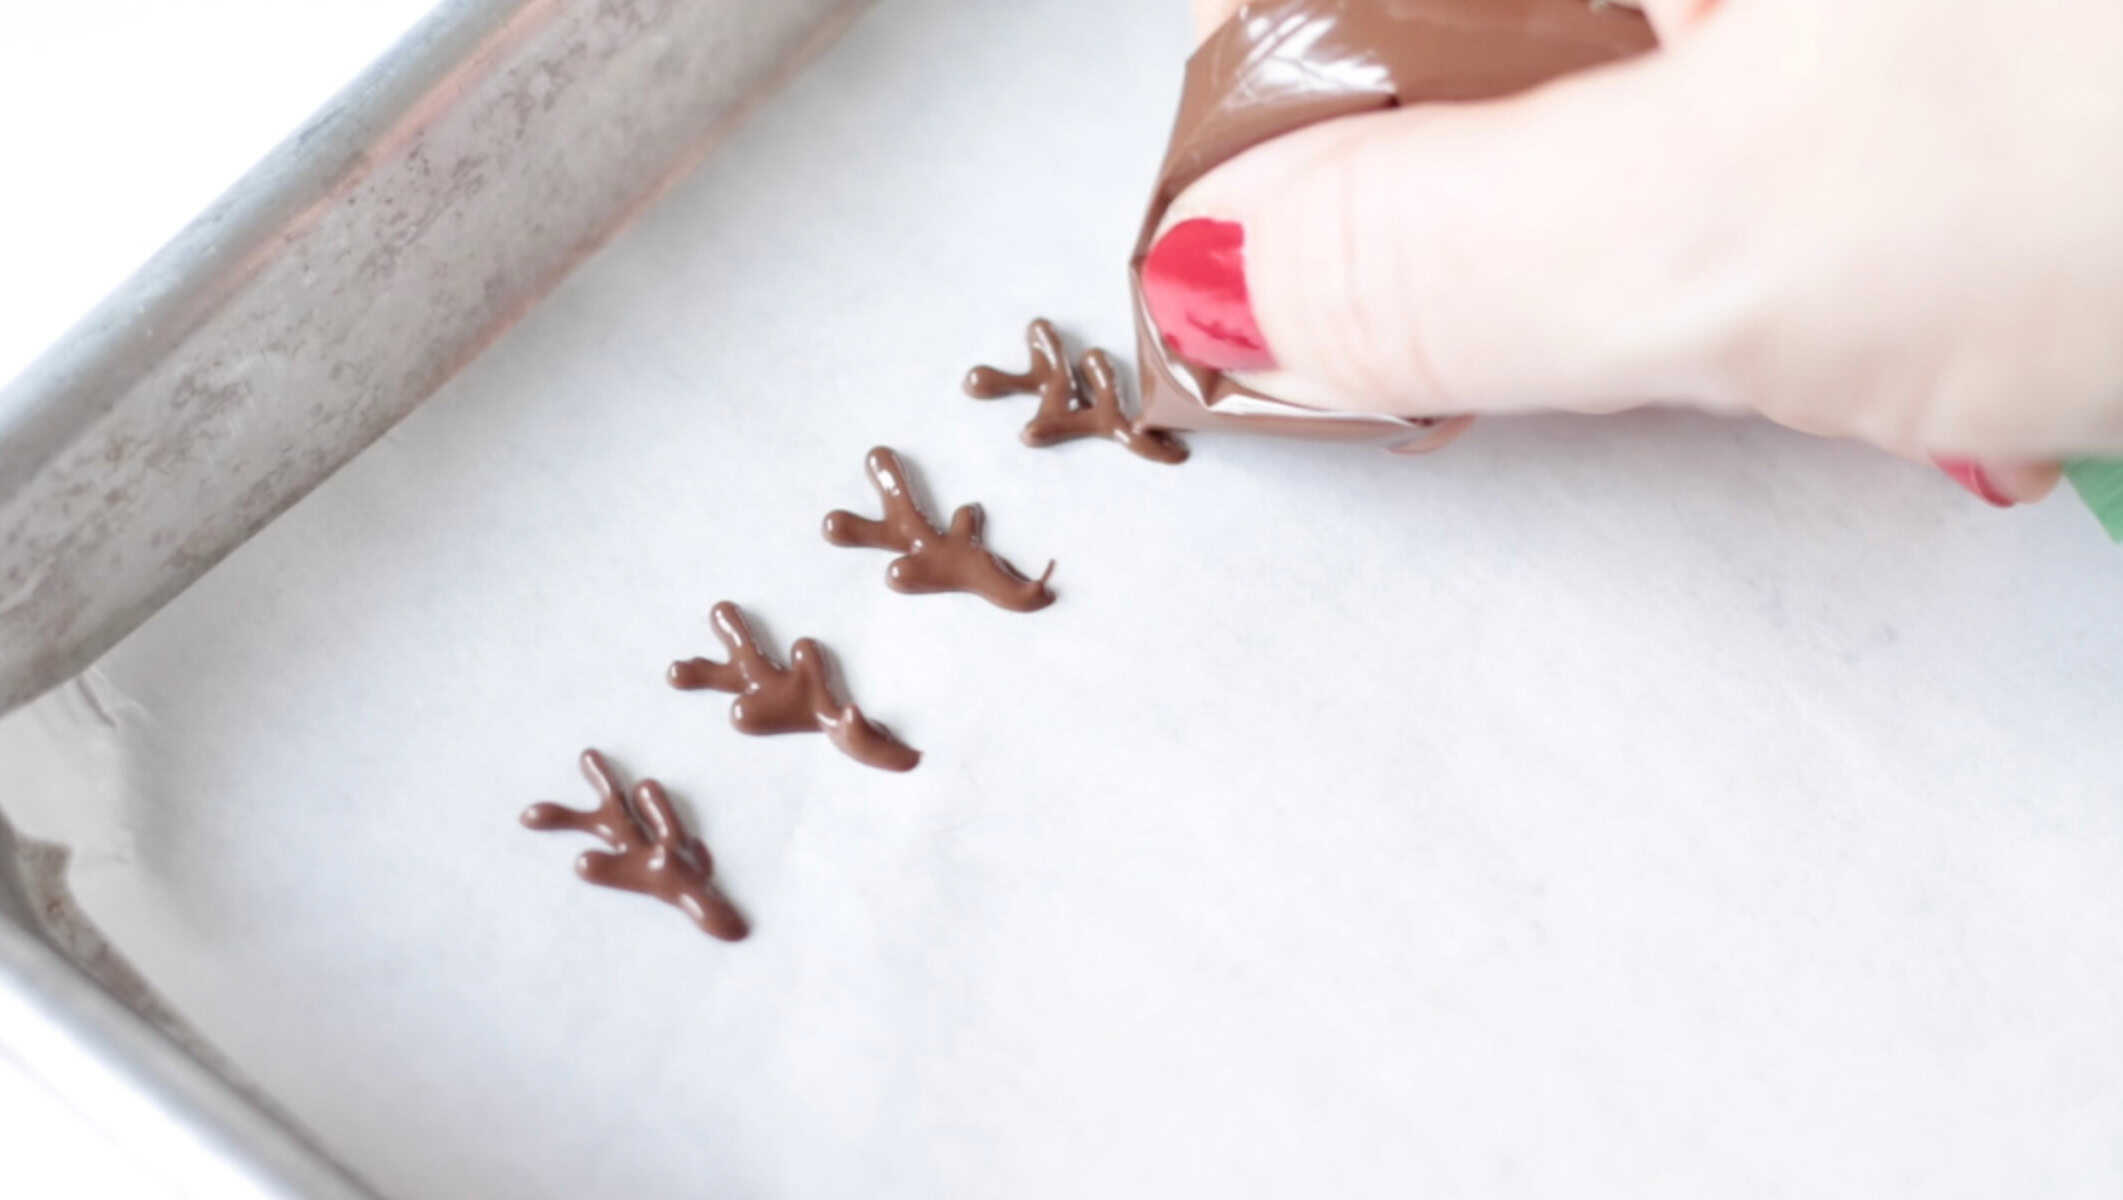
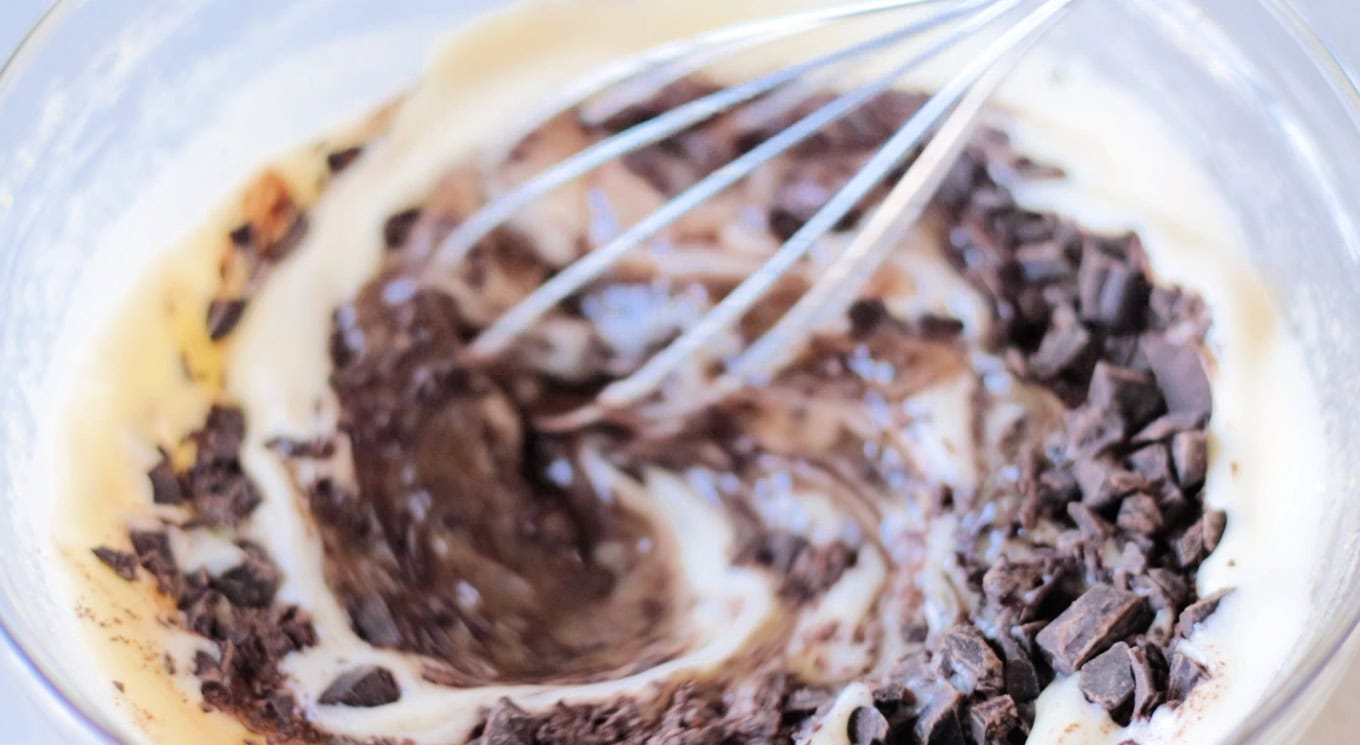
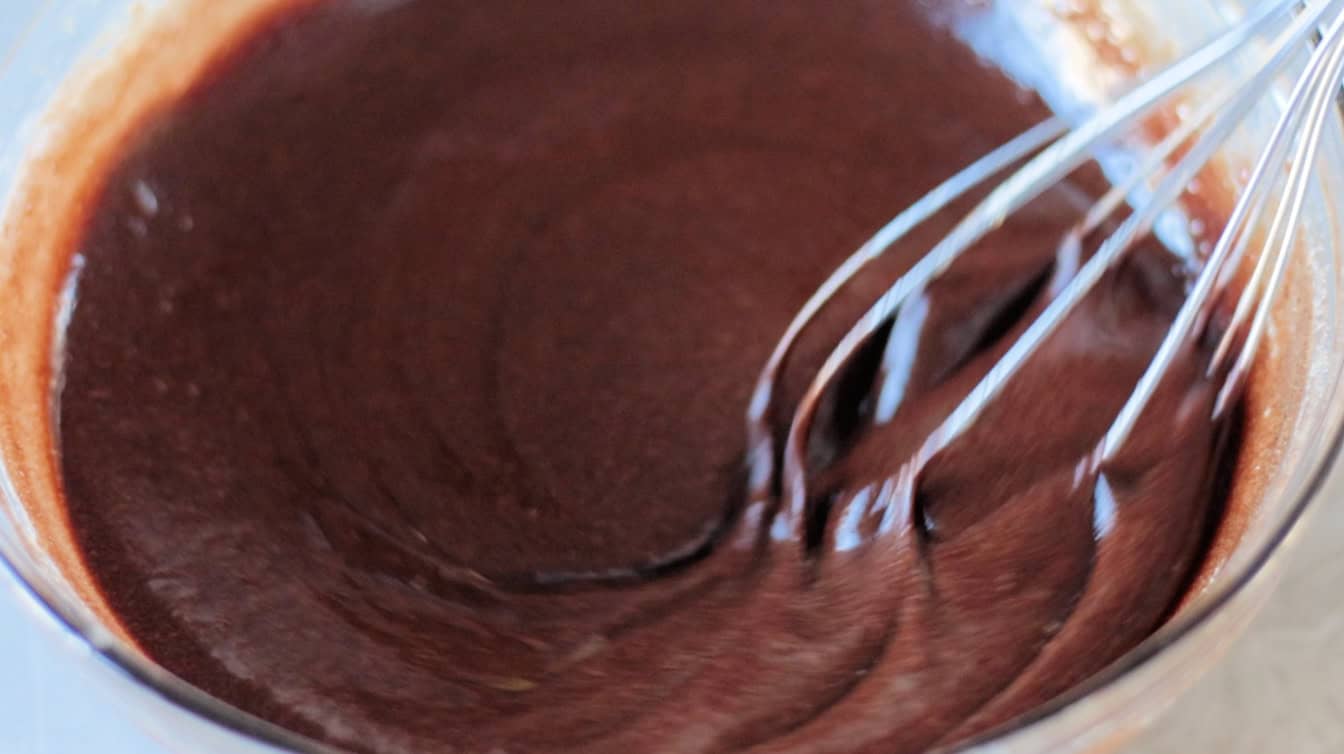
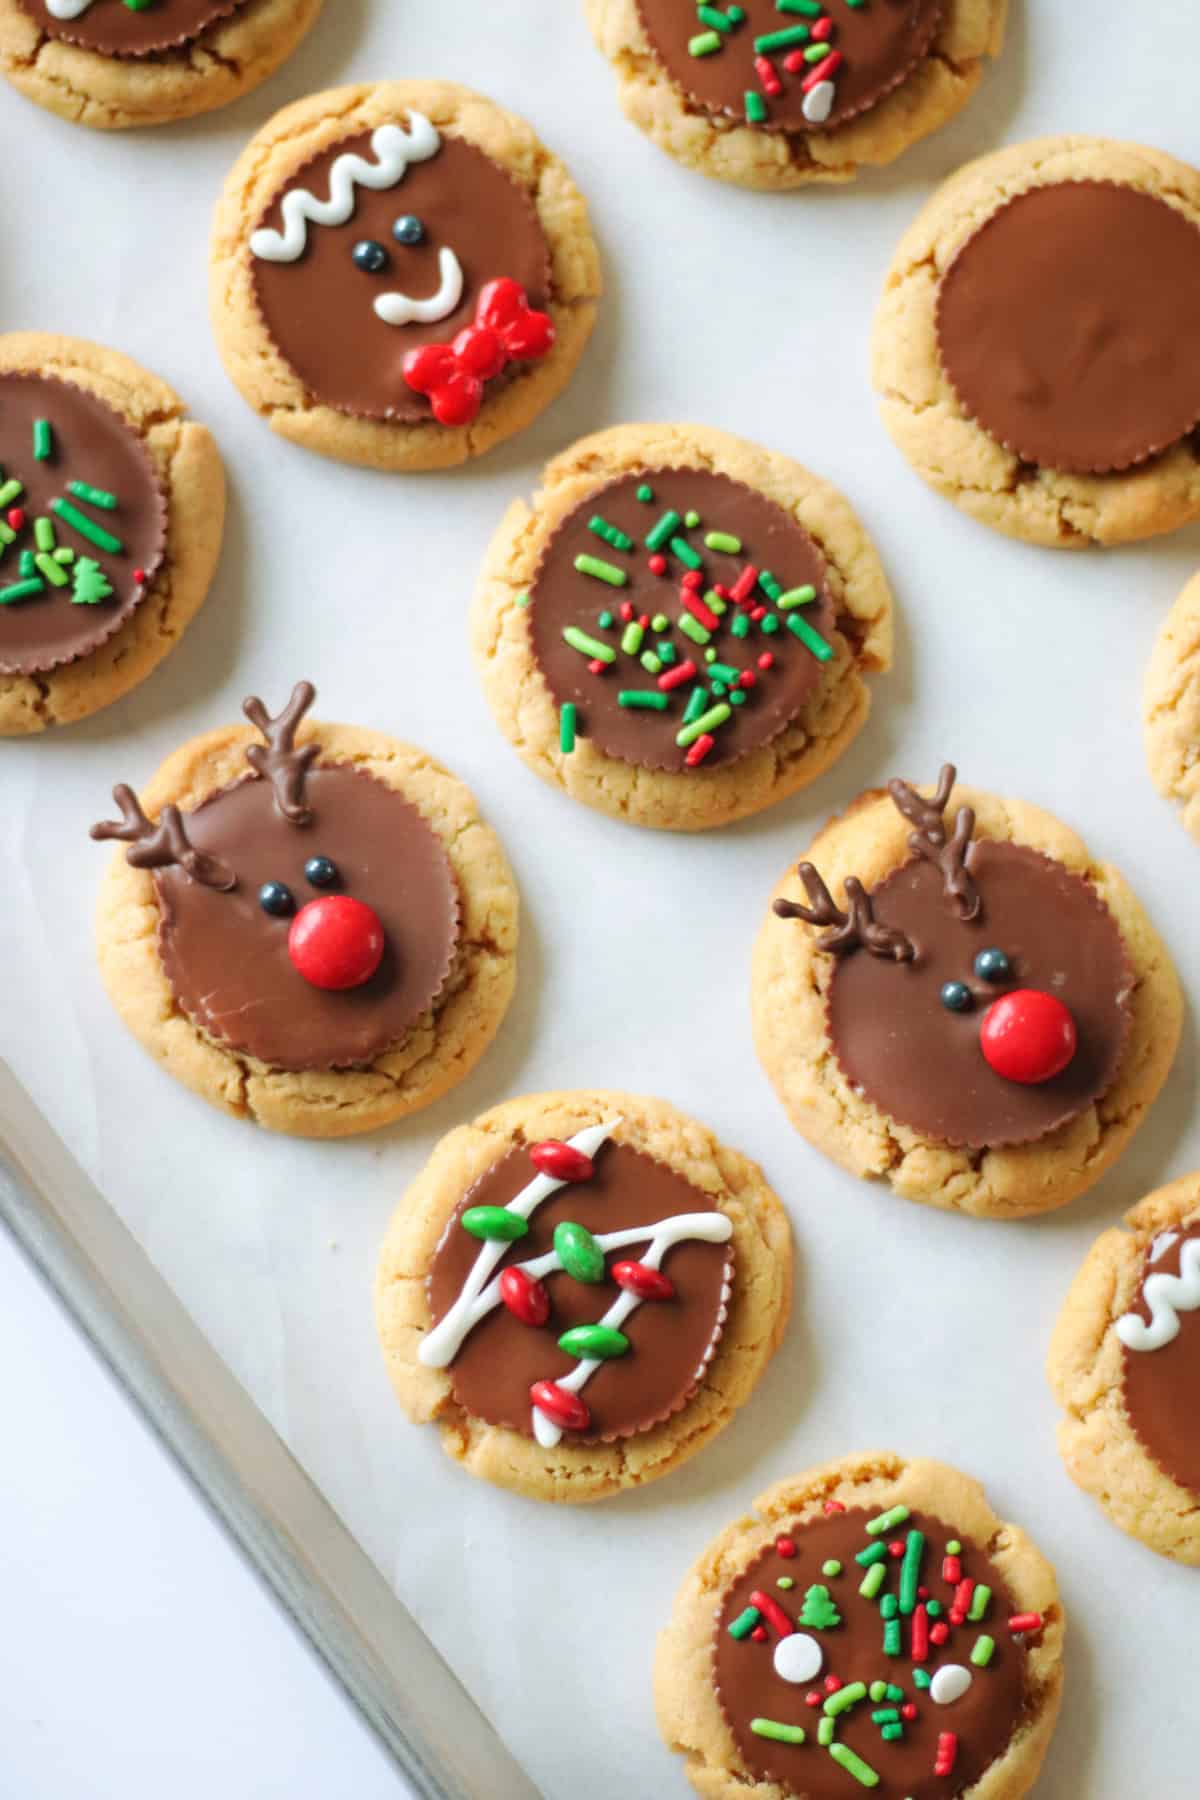
Reindeer Cookies Part 1: Melt chocolate almond bark and spoon it into a plastic baggie. Cut a TINY piece off the corner of the bag to create a tiny hold. Gently squeeze to make antlers on a piece of parchment paper. Antlers will set up within a few minutes.
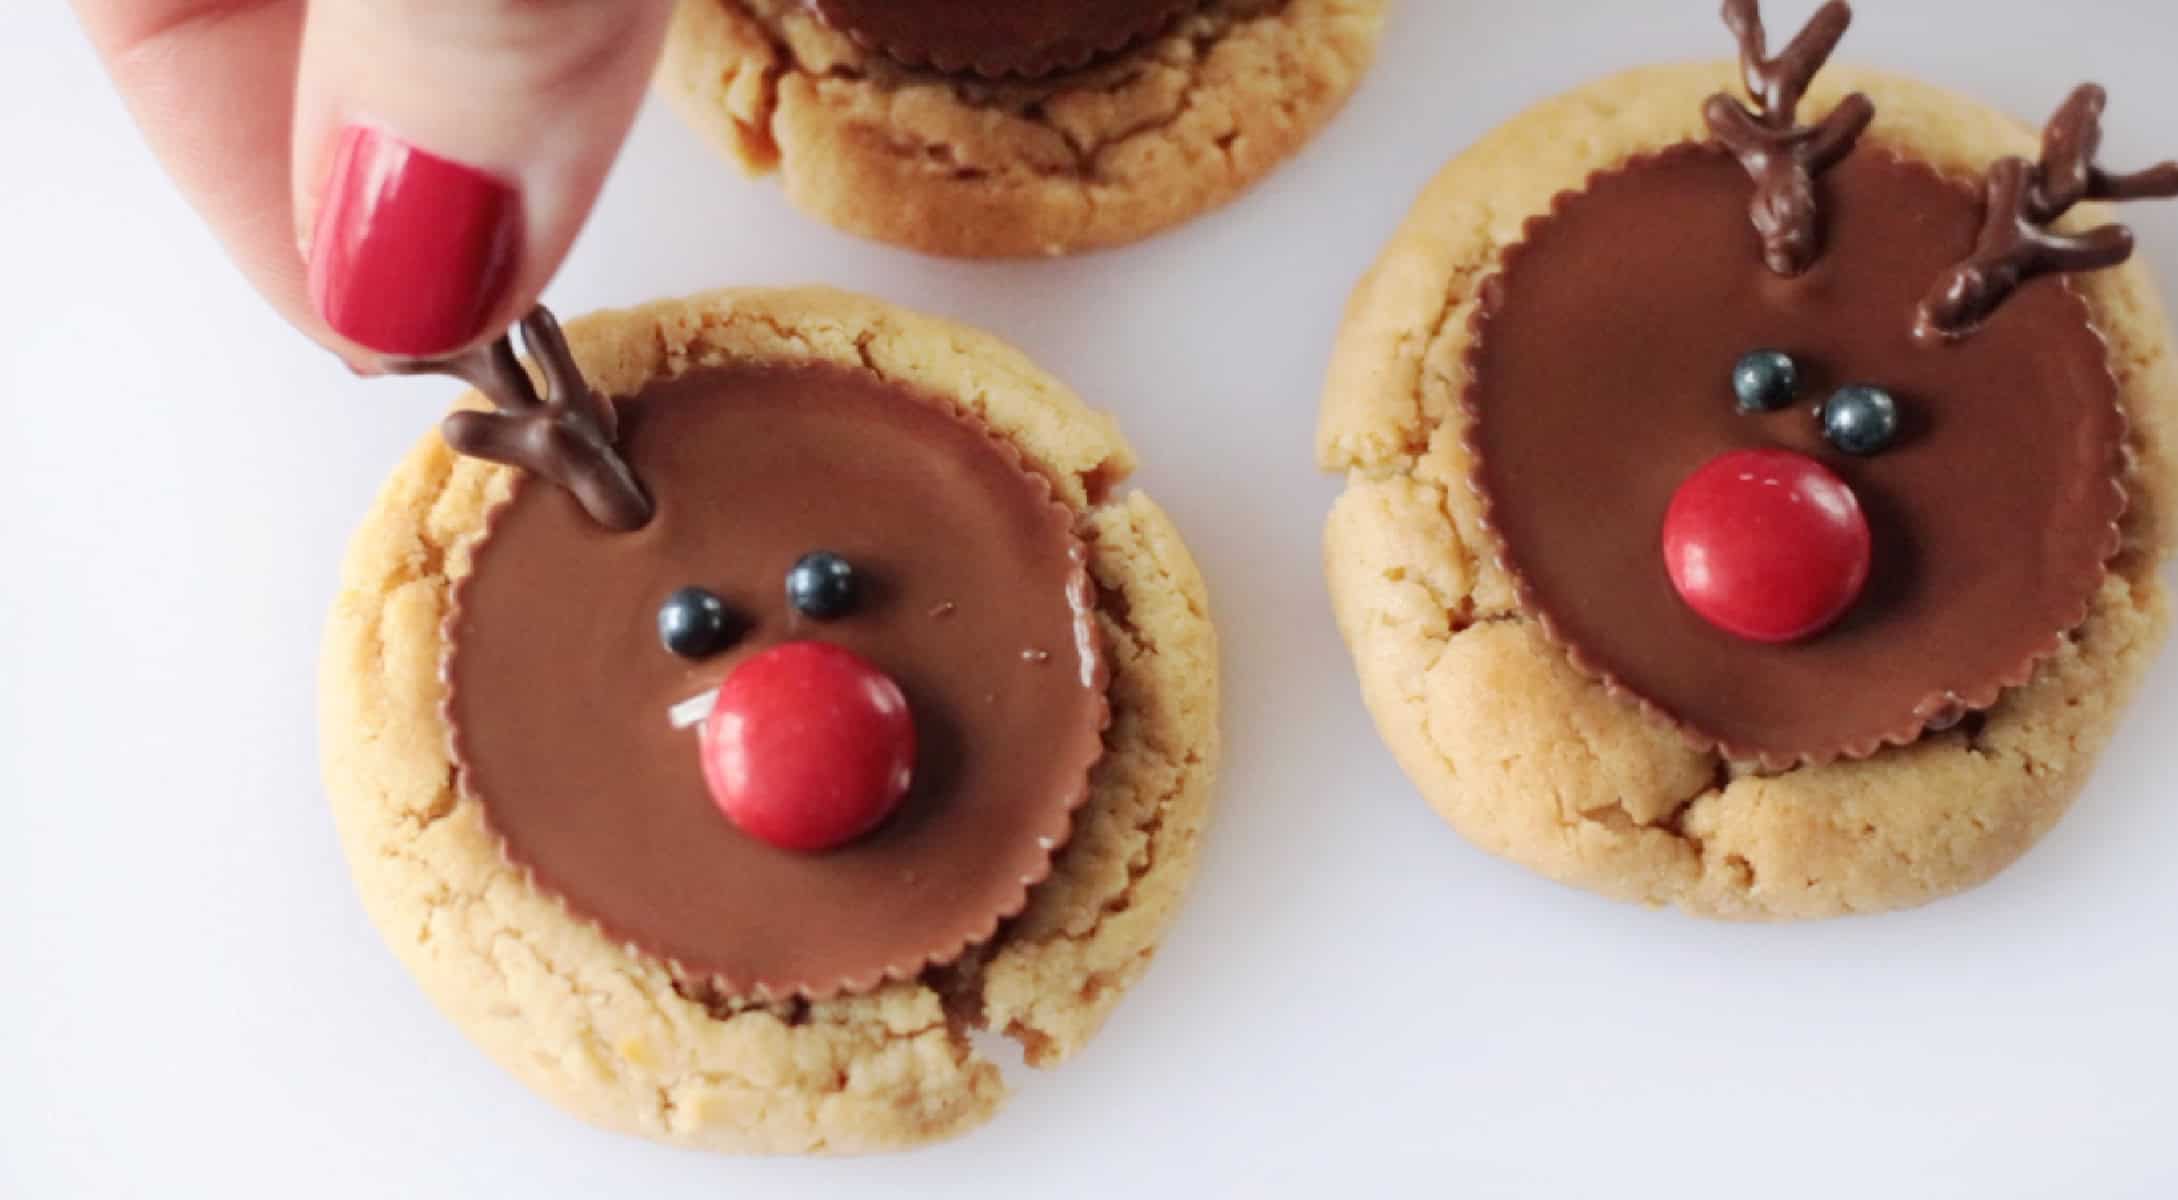
Reindeer Cookies Part 2: Use black edible pearls (sprinkles) for the eyes and a red M&M candy for the nose. Gently press antlers onto the top of each cookie. Allow the cookies to cool completely, and the peanut butter cup to harden before storing.
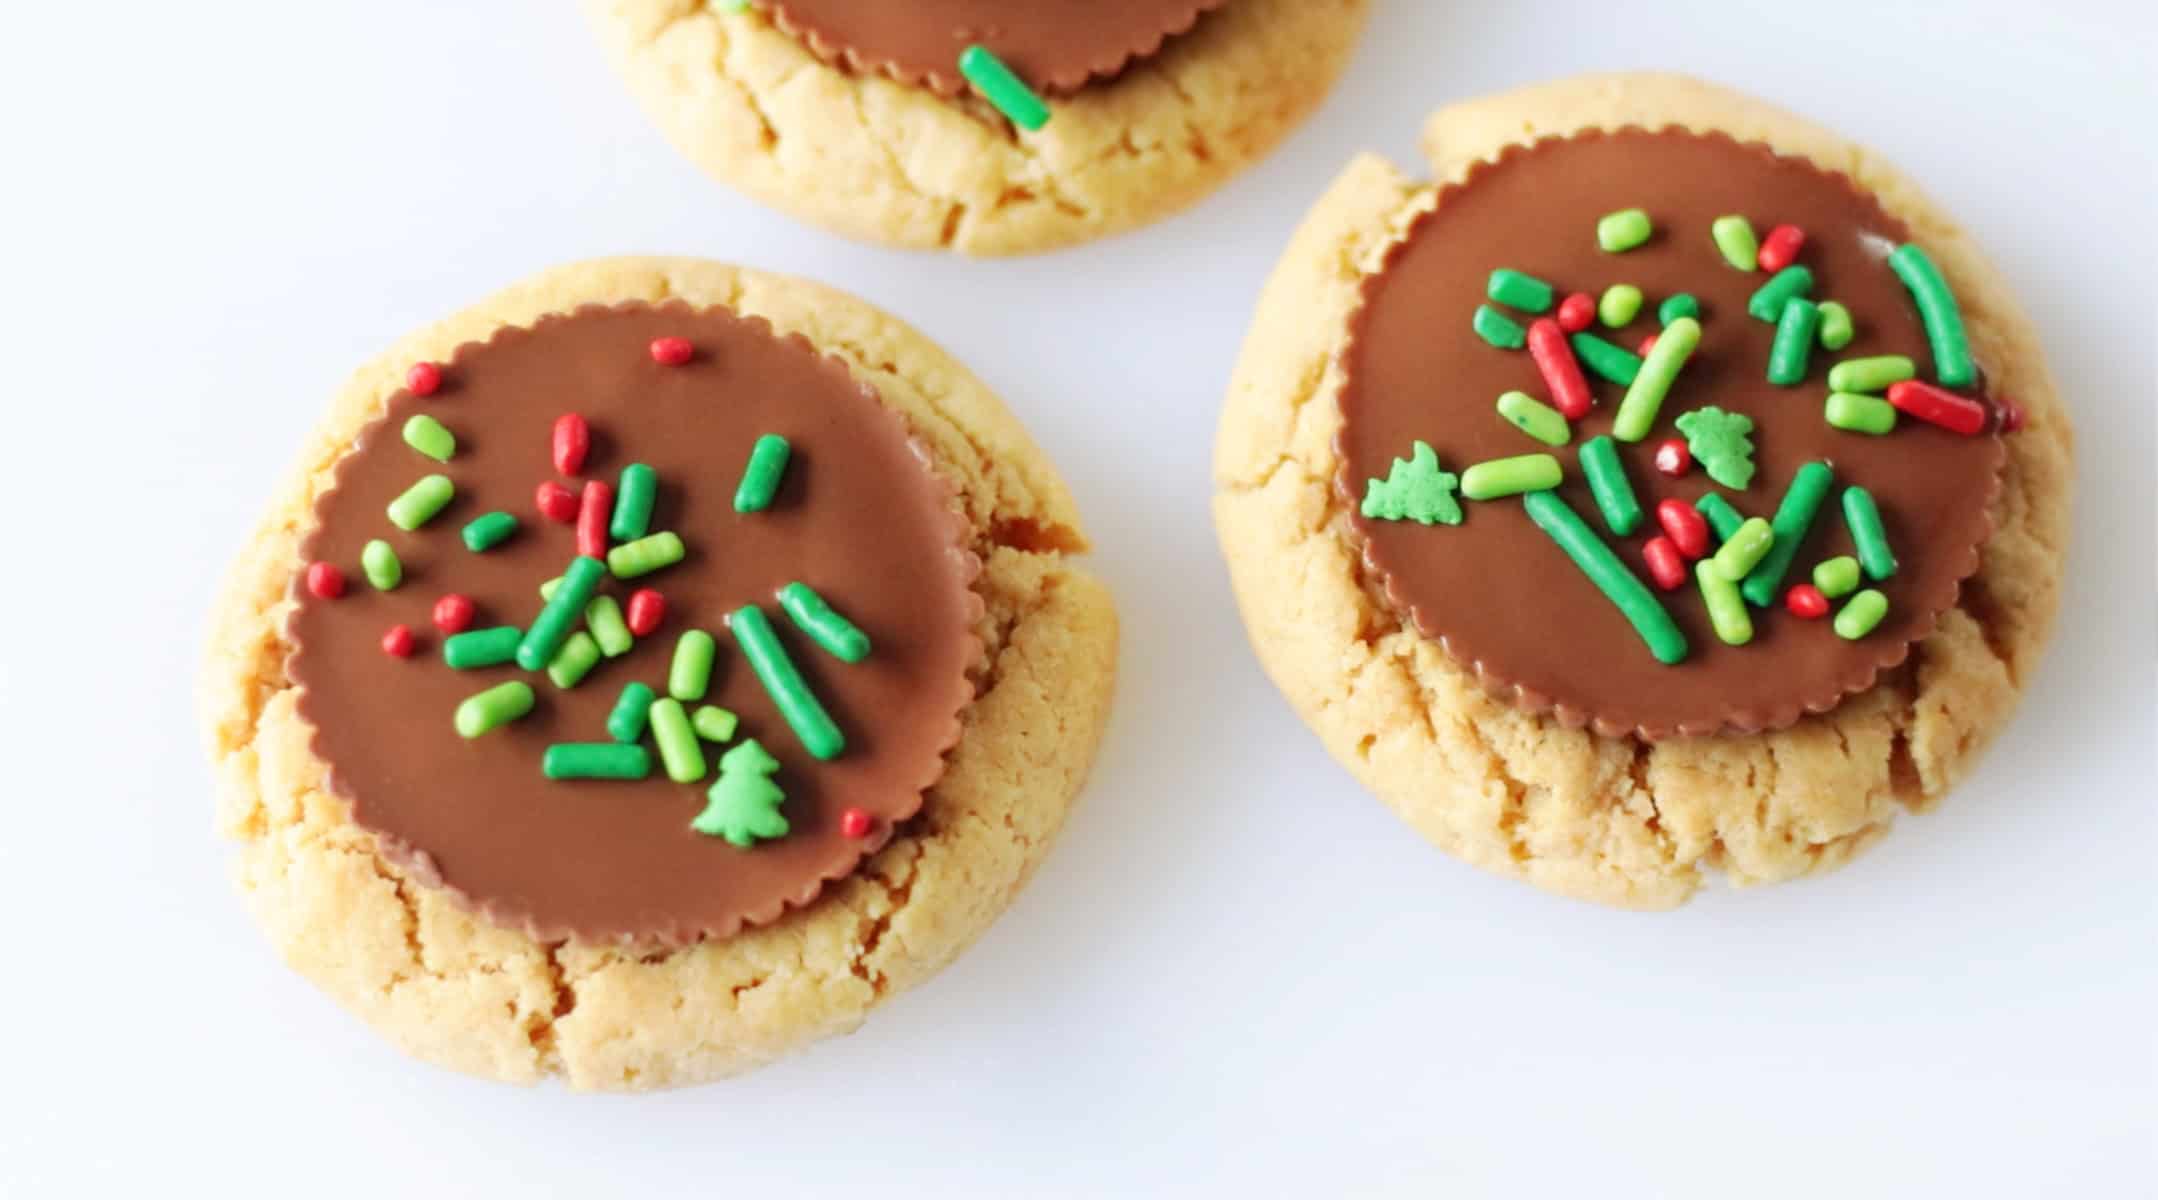
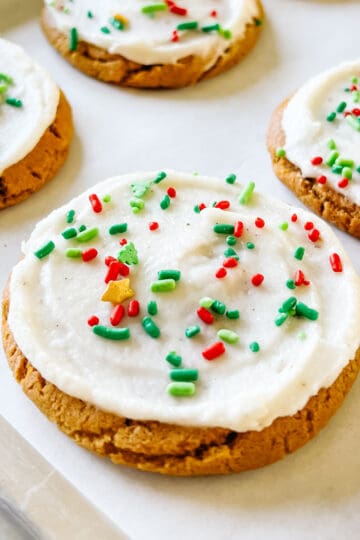
Sprinkles Cookie: Add holiday sprinkles to the top of each cookie. Allow the cookies to cool completely, and the peanut butter cup to harden before storing.
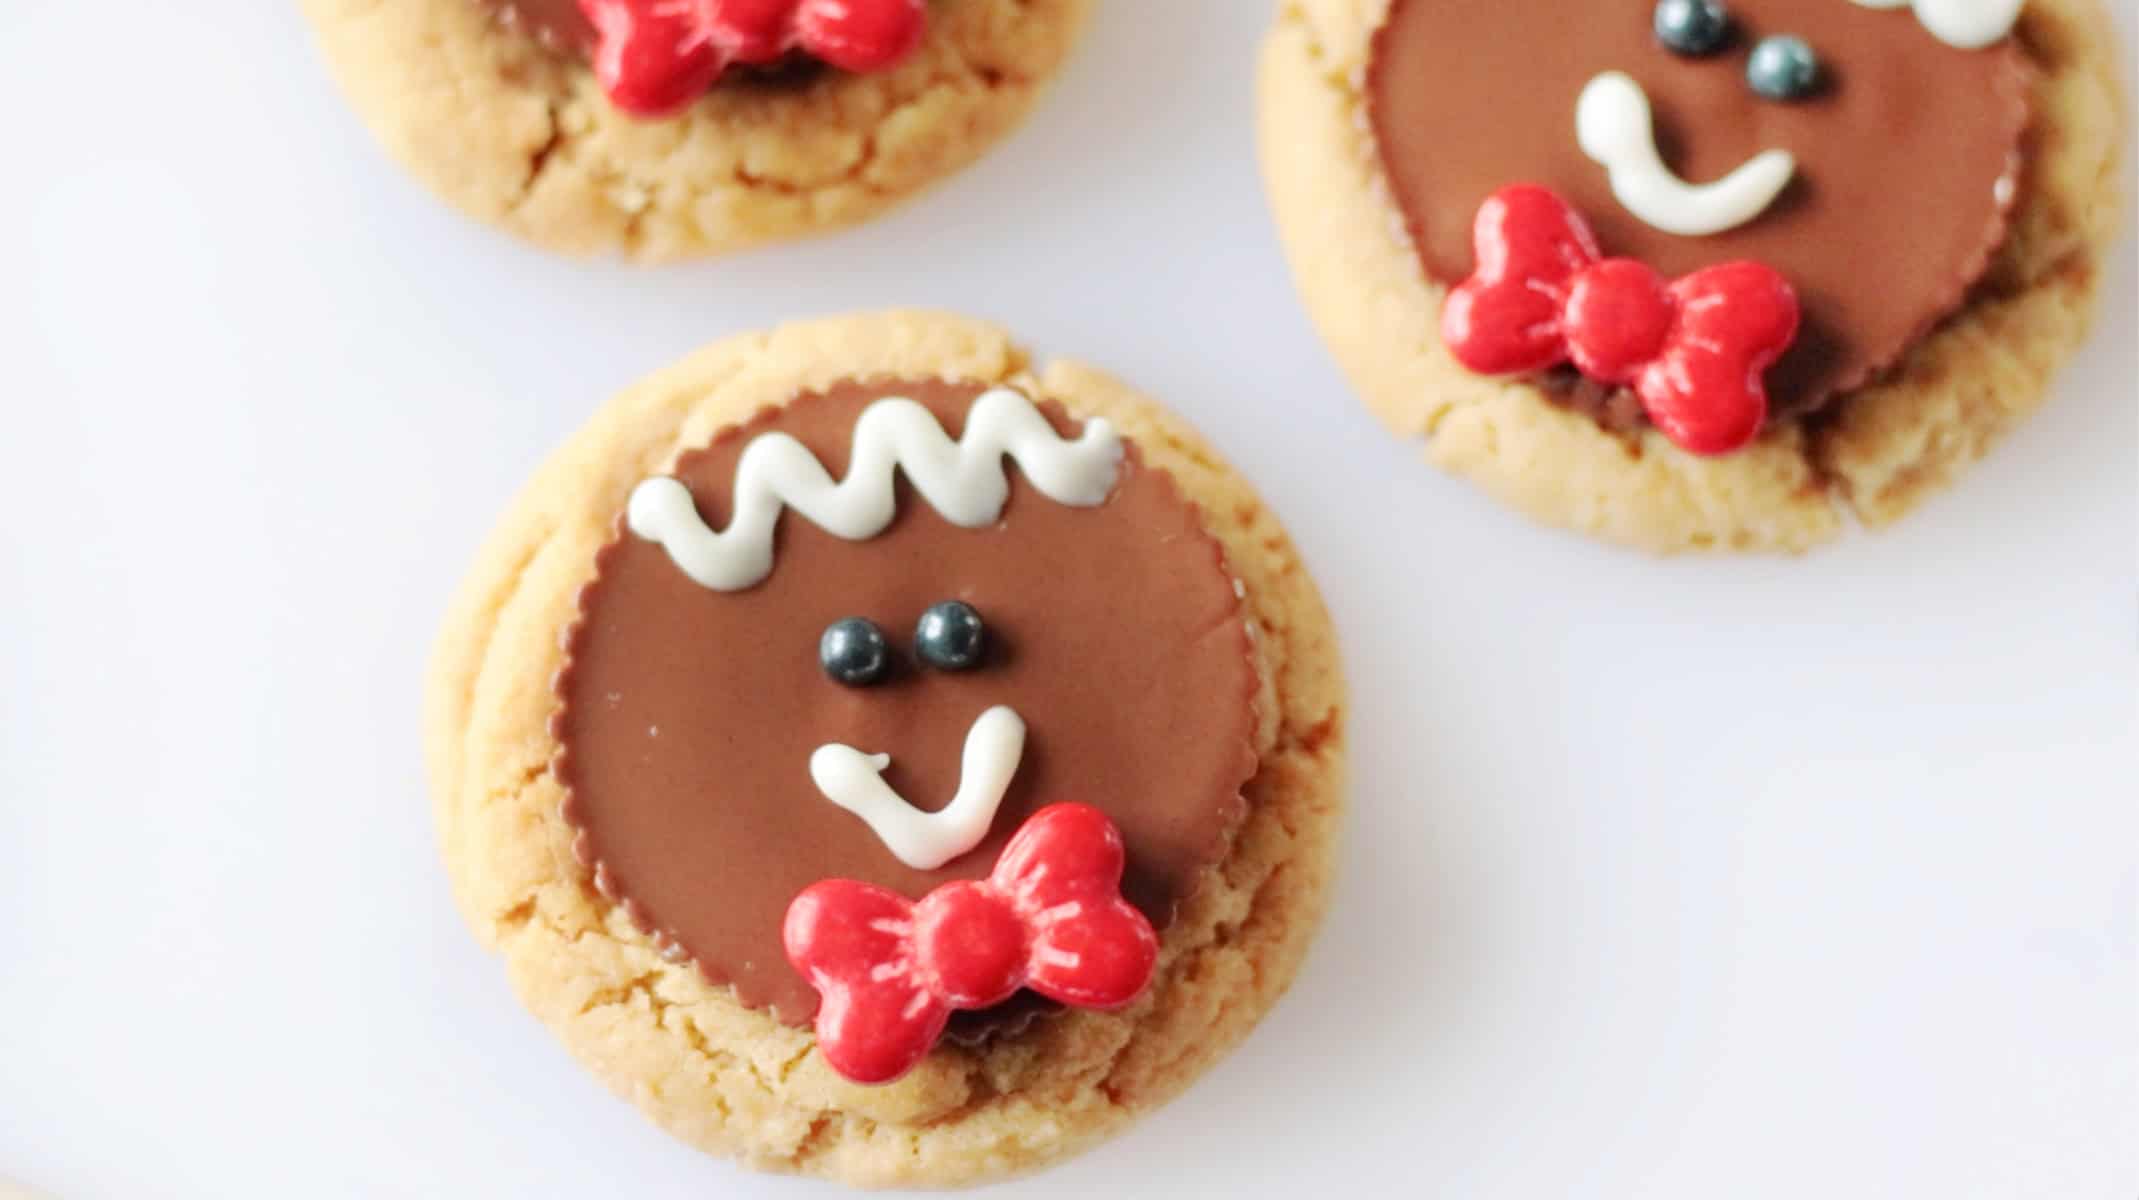
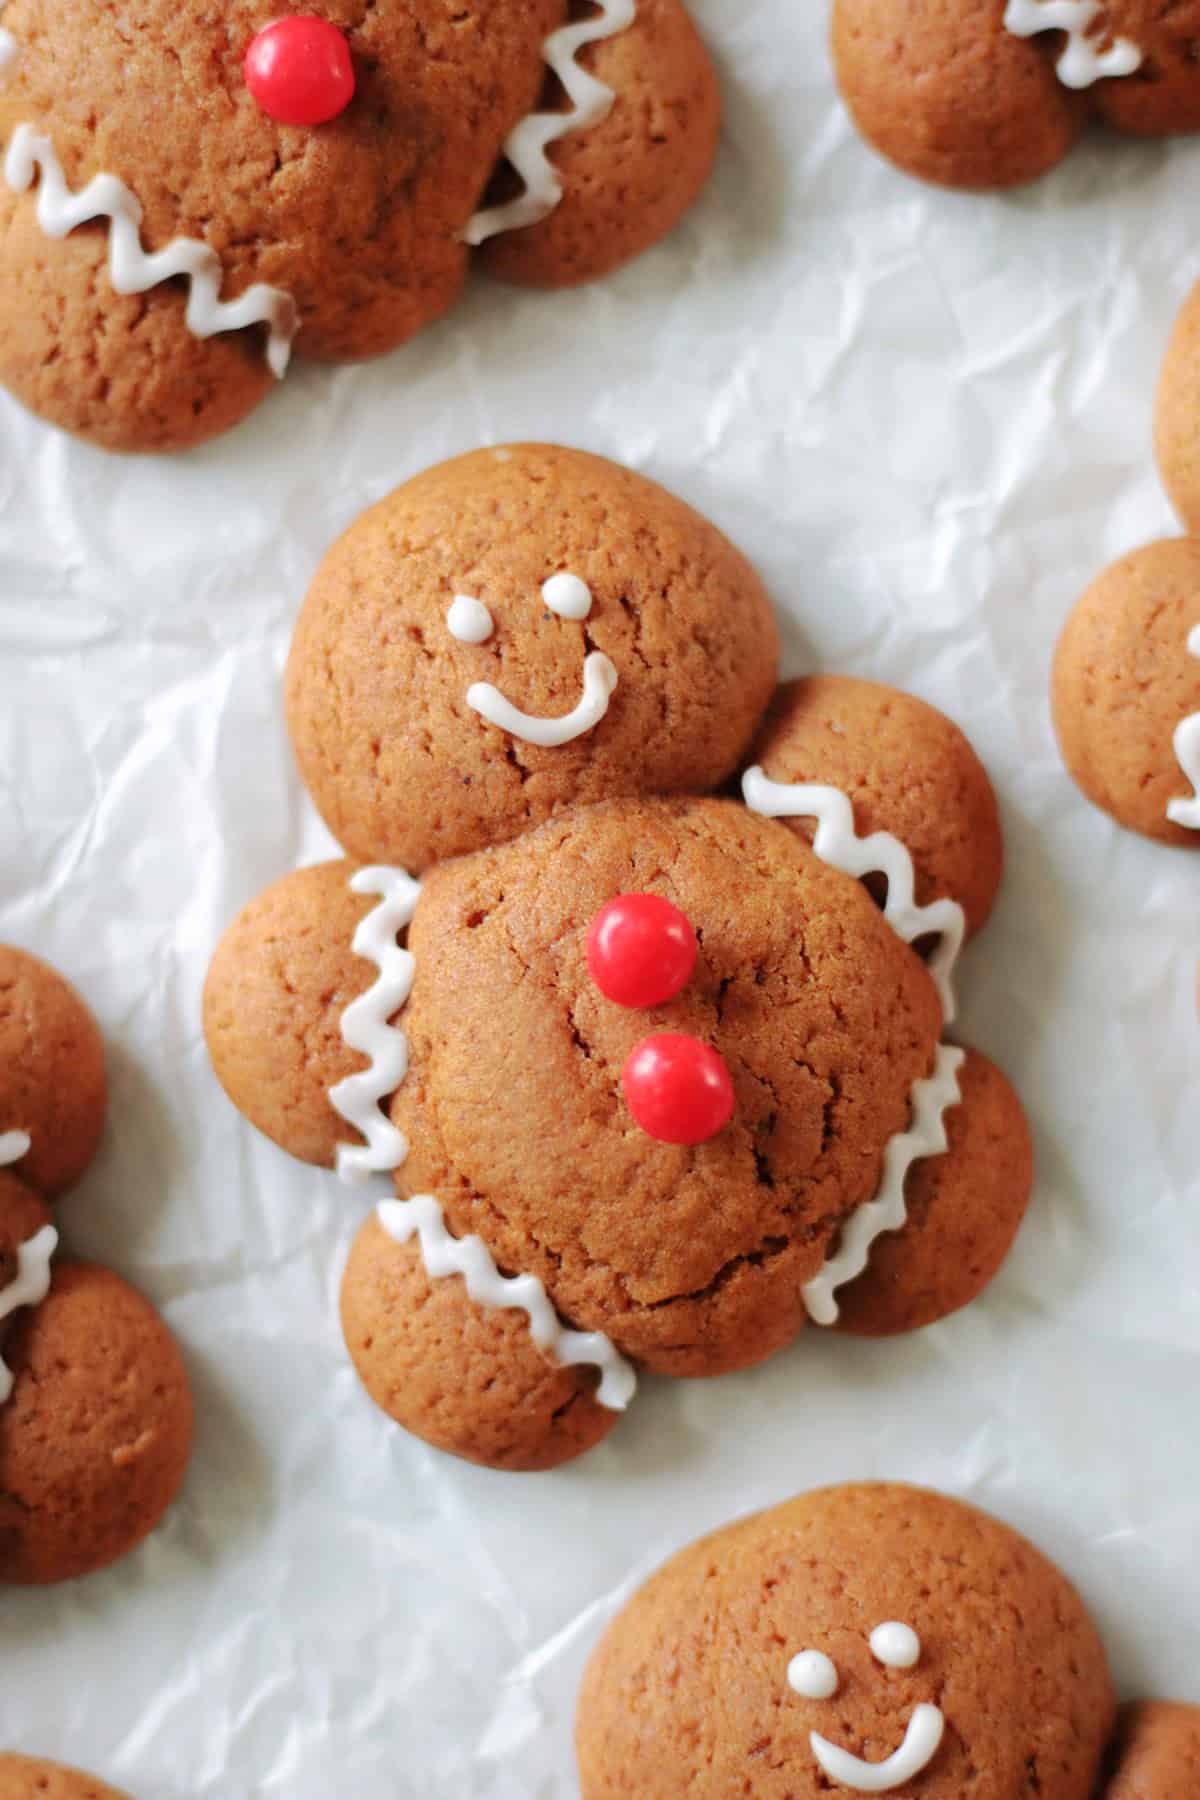
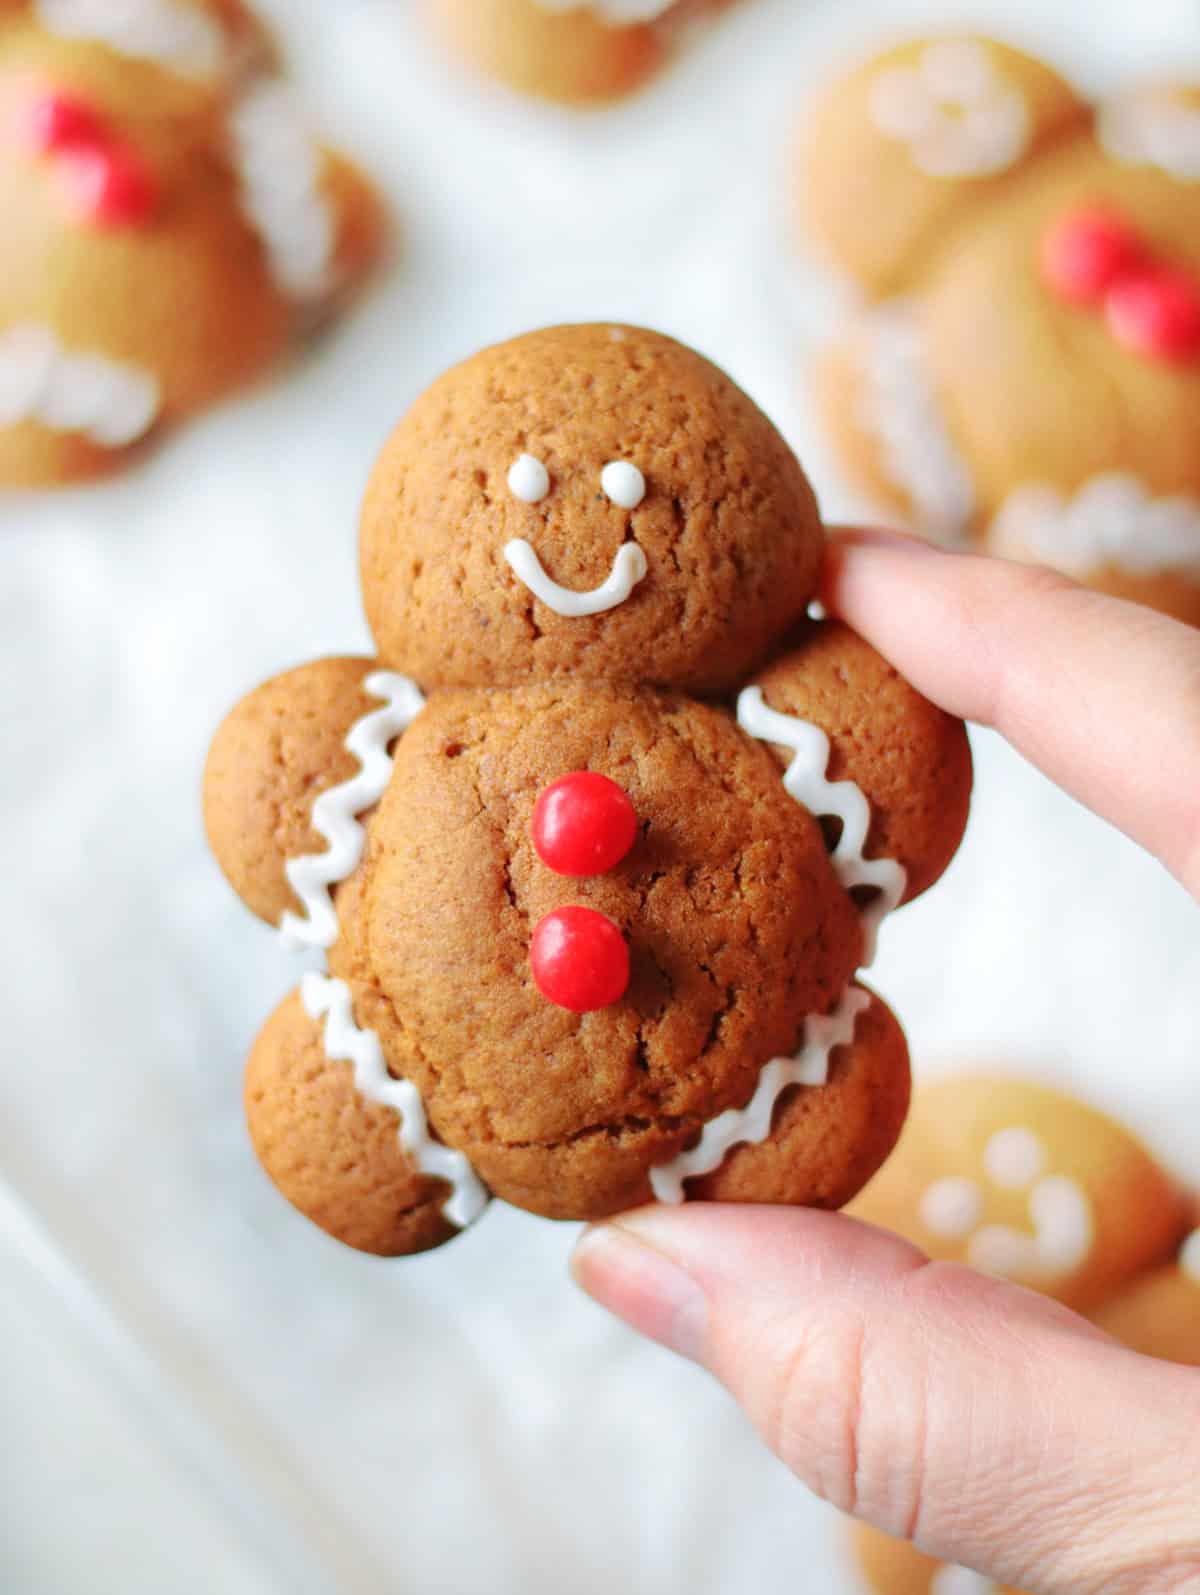
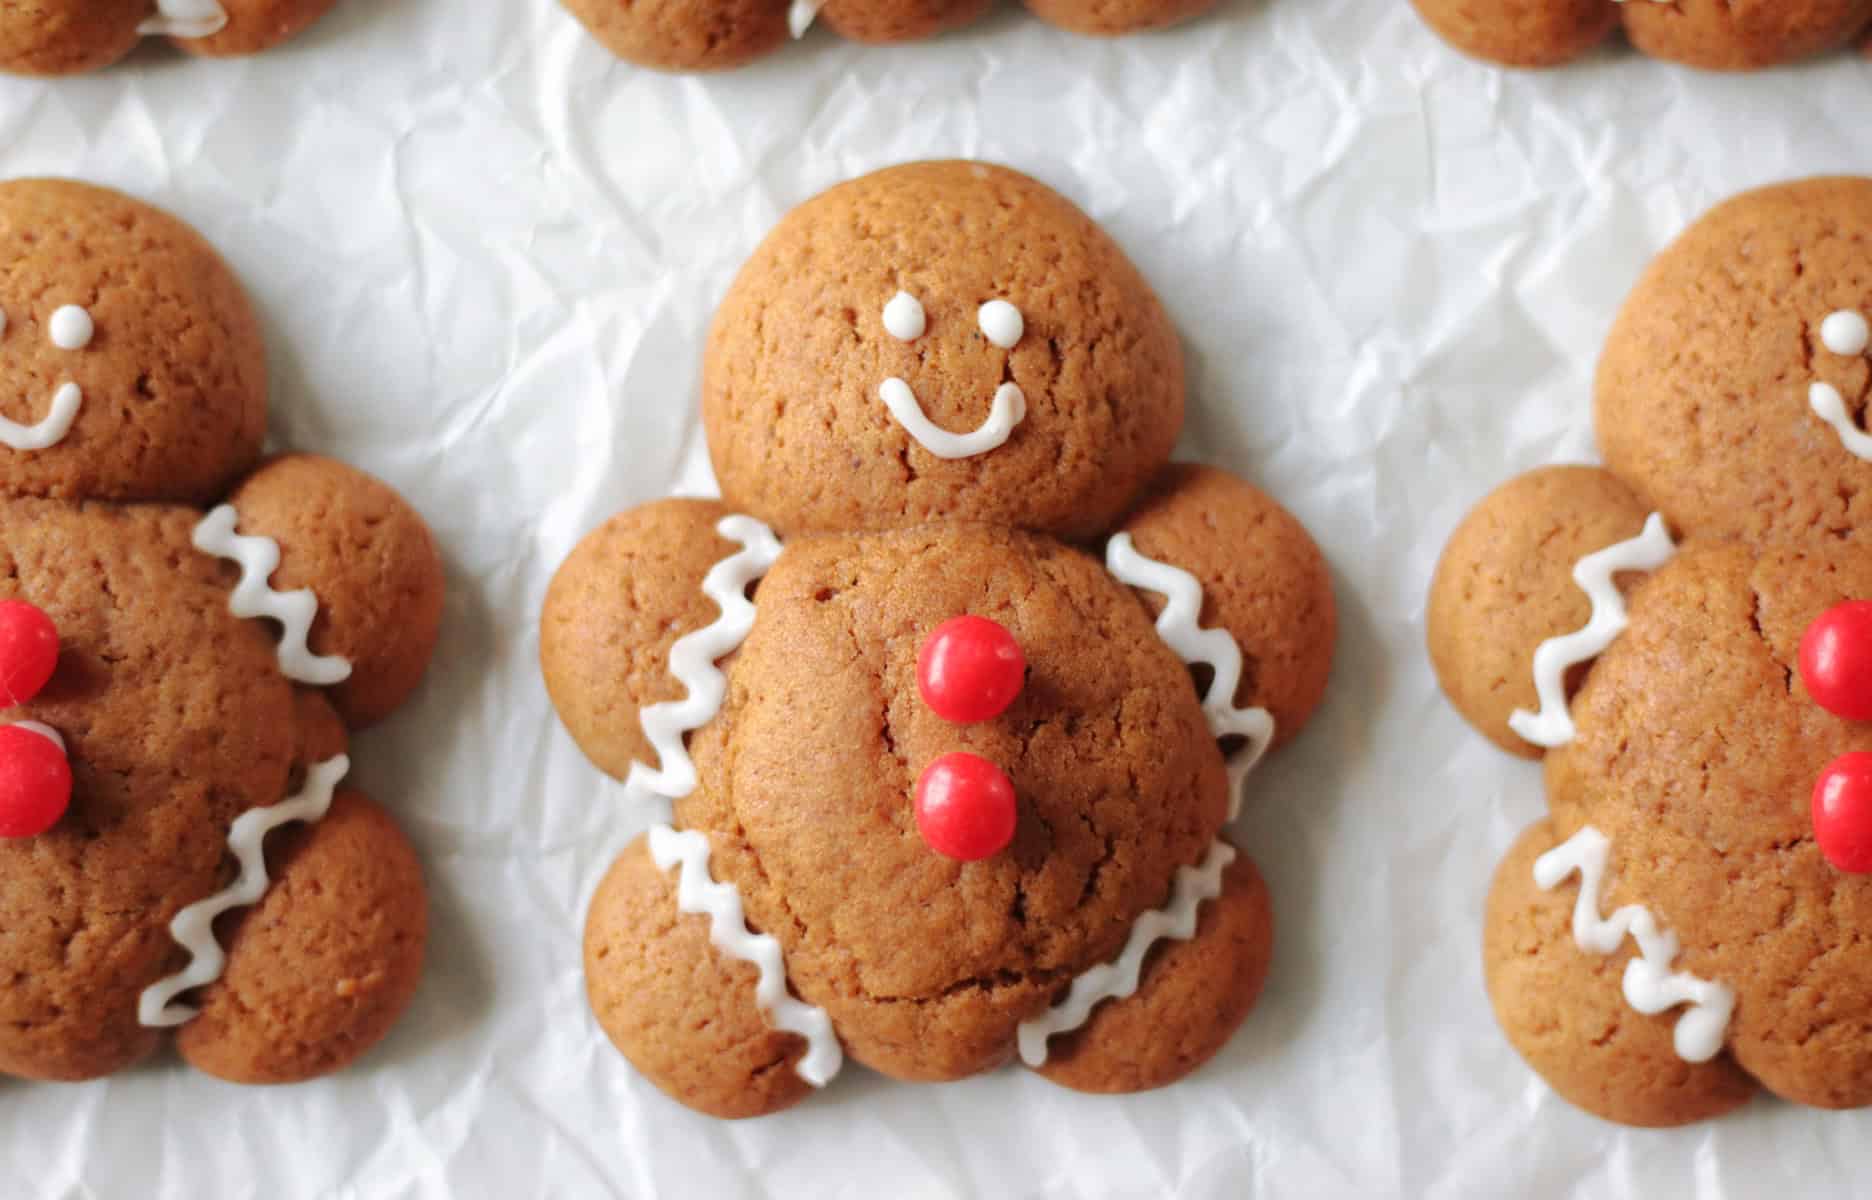
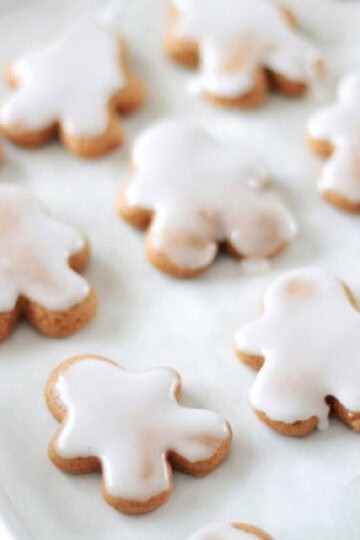
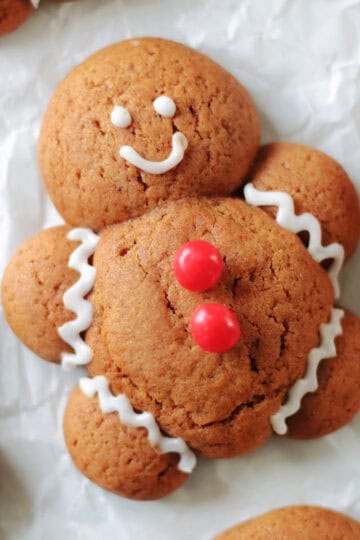
Gingerbread Man Cookie: Melt white almond bark and spoon it into a plastic baggie. Cut a TINY piece off the corner of the bag to create a tiny hole. Gently squeeze to make the squiggle and mouth. Use black edible pearls (sprinkles) for the eyes. You can also add mini M&M red cheeks if you'd like, or a candy bow (the little red bows came in a sprinkle kit that I purchased a couple of years ago. You can also use red melting chocolate).
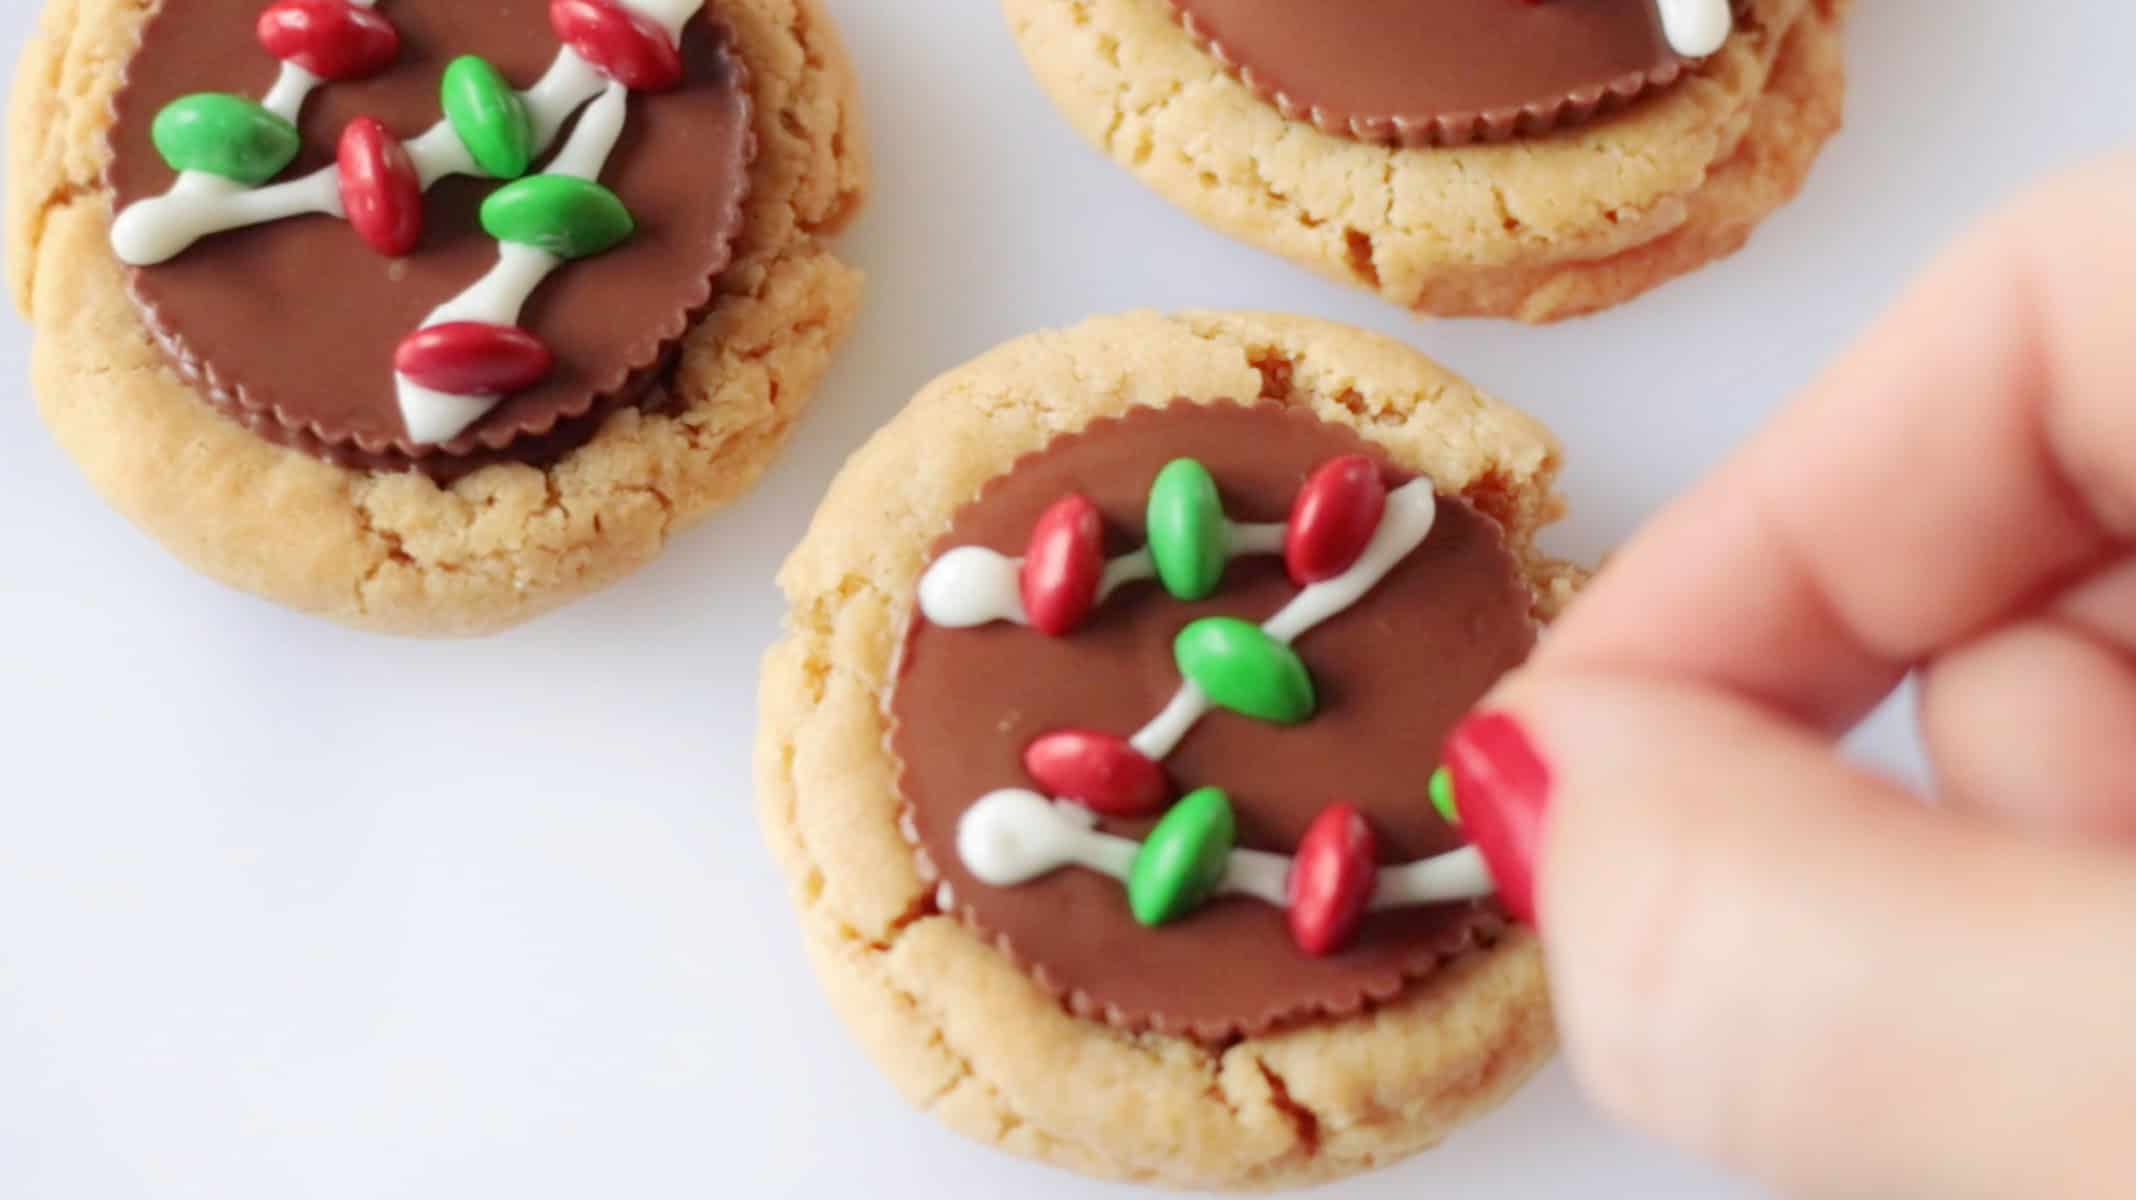
Holiday Lights Cookies: Melt white almond bark and spoon it into a plastic baggie. Cut a TINY piece off the corner of the bag to create a tiny hole. Gently squeeze to form a strand of lights across each cookie. Cut mini M&Ms in half. Press mini M&Ms onto the cookie to make lights.
Allow the cookies to cool completely, and the peanut butter cup to harden before storing.
Peanut Butter Cup Cookies FAQs
The trick to achieving the perfect balance of peanut butter and chocolate flavor is to use Reese's Thin Peanut Butter Cups. A regular-sized peanut butter cup would be delicious, too, but it will overpower the cookie underneath. Thin peanut butter cups meld seamlessly into the cookie and don't protrude too much from the top of the cookie.
Many peanut butter cookie recipes call for rolling each peanut butter ball in sugar. I don't do this and do not find it necessary. These cookies are already sweet and have the perfect crackly texture.
Store cooled cookies in an airtight container for up to 3 days. You can also freeze peanut butter cup cookies for up to 3 months.

More Holiday Cookies To Make
MADE THIS RECIPE AND LOVED IT? 💛 Please leave a STAR rating and COMMENT below! Post it to Facebook or Pinterest to easily share with friends!

Holiday Peanut Butter Cup Cookies
Ingredients
- ½ cup butter softened
- ¾ cup brown sugar
- ¼ cup white sugar
- ¾ cup peanut butter
- 1 large egg
- 1 teaspoon vanilla extract
- ¼ cup milk
- ½ teaspoon salt
- 1 teaspoon baking soda
- 1 teaspoon baking powder
- 2 cups flour
- 45 Reese's Thin Peanut Butter Cups
- sprinkles and candy for decorating
- 1 square white almond bark for decorating
- 1 square chocolate almond bark for decorating
Instructions
- Cream butter and sugars together until smooth. Beat in peanut butter, egg, milk, and vanilla, and mix until smooth and creamy. Add dry ingredients and mix just until dough forms.
- Scoop dough into 1 tablespoon-sized balls and place on a baking sheet lined with parchment paper. Bake cookies at 375 degrees for 7-8 minutes.
- Immediately press a thin peanut butter cup onto the top of each cookie as soon as they come out of the oven. Allow cookies to stand for a few minutes to allow the tops to get glossy and soft before decorating.
Decorating Tips
- Reindeer: Melt the chocolate almond bark and spoon it into a plastic baggie. Cut a TINY piece off the corner of the bag to create a tiny hold. Gently squeeze to make antlers on a piece of parchment paper. Antlers will set up within a few minutes.Use black edible pearls (sprinkles) for the eyes and a red M&M candy for the nose. Gently press antlers onto the top of each cookie. Allow the cookies to cool completely, and the peanut butter cup to harden before storing.
- Sprinkles: Add holiday sprinkles to the top of each cookie. Allow the cookies to cool completely, and the peanut butter cup to harden before storing.
- Gingerbread Men:Melt white almond bark and spoon it into a plastic baggie. Cut a TINY piece off the corner of the bag to create a tiny hole. Gently squeeze to make the squiggle and mouth. Use black edible pearls (sprinkles) for the eyes. You can also add mini M&M red cheeks if you'd like, or a candy bow.
- Holiday Lights:Melt white almond bark and spoon it into a plastic baggie. Cut a TINY piece off the corner of the bag to create a tiny hole. Gently squeeze to form a strand of lights across each cookie. Cut mini M&Ms in half. Press mini M&Ms onto the cookie to make lights.Allow the cookies to cool completely, and the peanut butter cup to harden before storing.