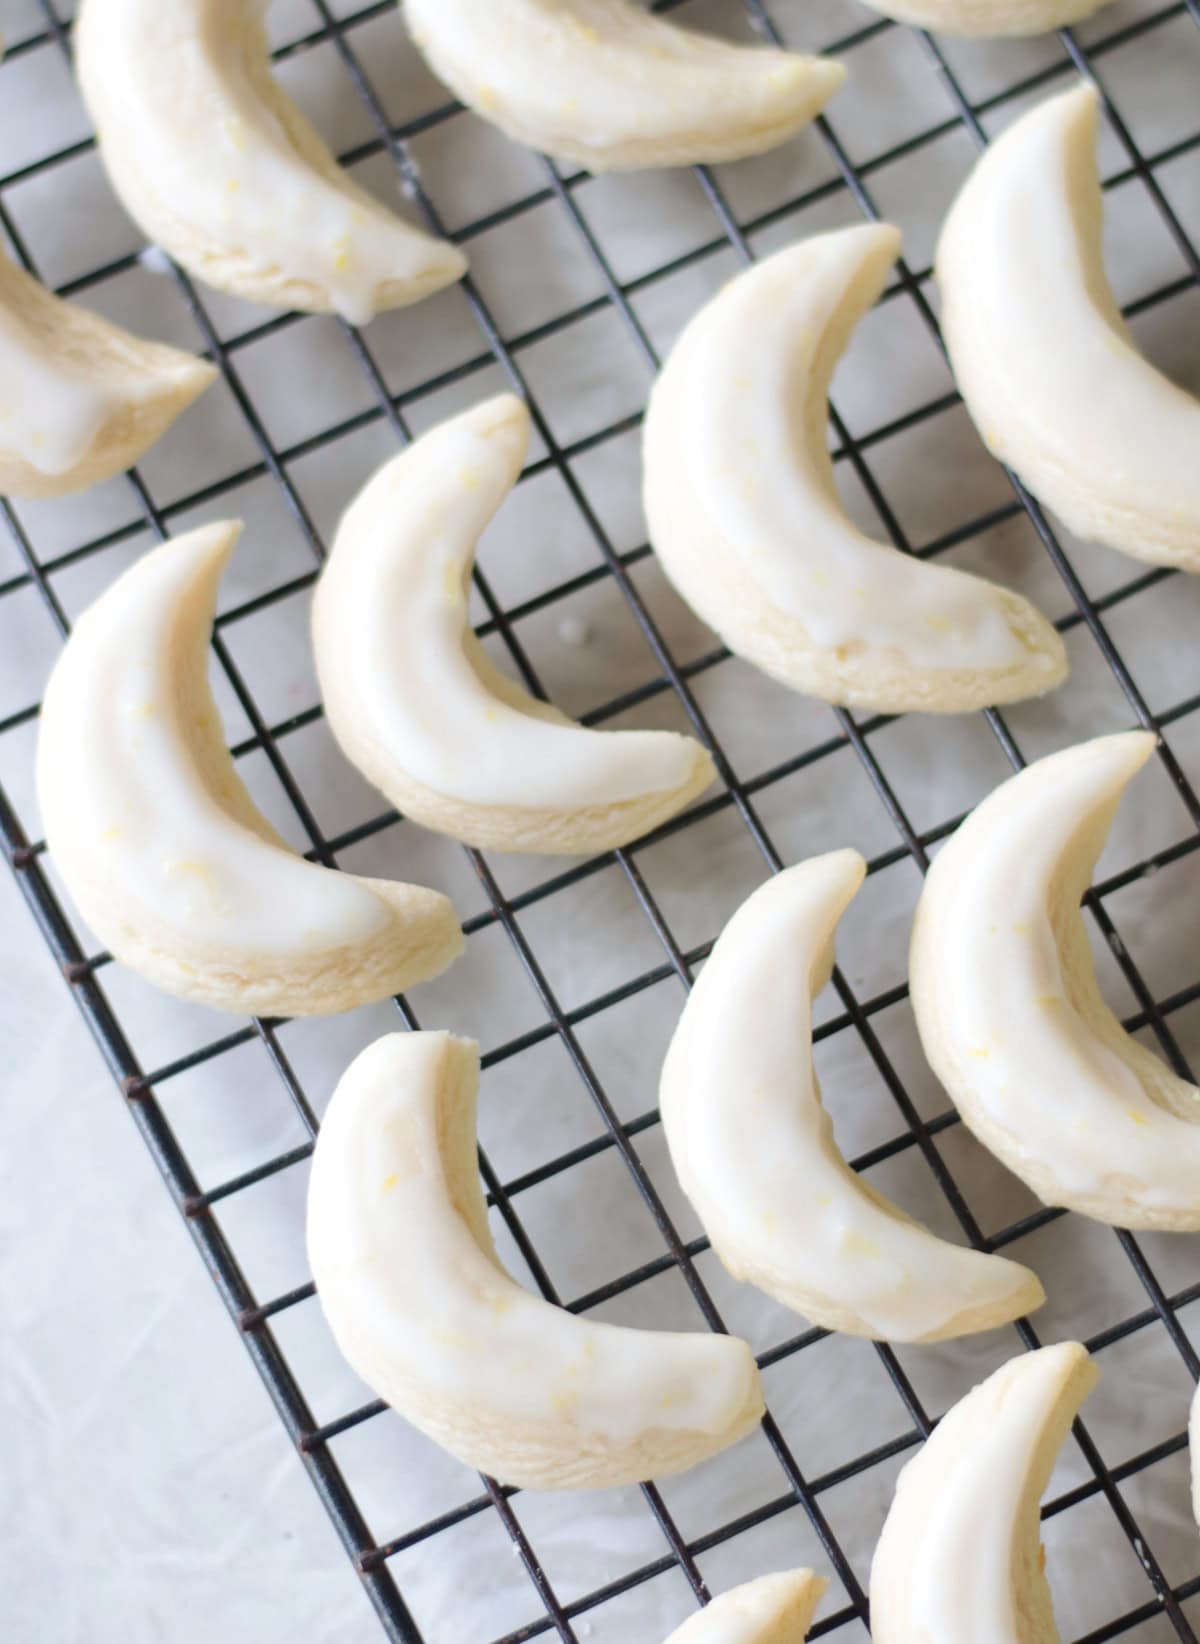
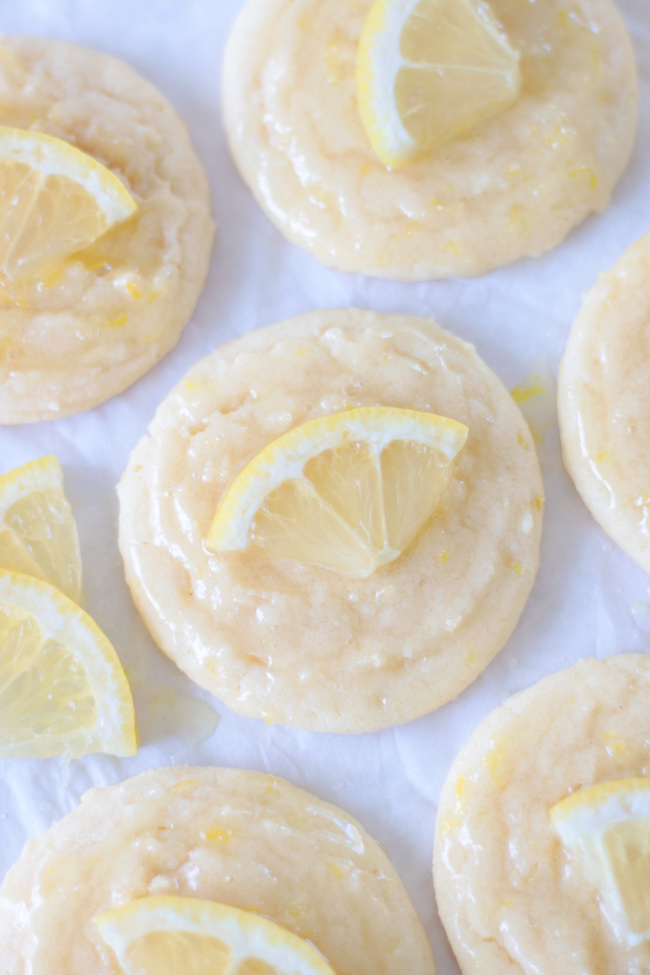
Identical to the real deal, these copycat Maggiano's lemon cookies are soft, buttery, and loaded with lemon zest and flavor. Now you can make the famous cookies at home!
If you love lemons as much as I do, try my lemon cooler cookies, copycat Starbucks lemon loaf, or strawberry lemon sugar cookie bars!
My friend Nora recently enlisted my help in recreating the famous lemon cookies from Maggiano's. On the menu, they are known as Vera's Lemon Cookies. She said they are her FAVORITE cookie, and none of the copycat recipes that she tried have lived up to the hype. She brought me a container of cookies to study and sample and said, "If anyone can do it, you can!" Challenge accepted.
I love lemon cookies as much as she does and was happy to give it a shot. I got busy altering one of my sugar cookie recipes, making test batch after test batch to recreate the buttery soft, melt-in-your-mouth texture of the Maggiano's cookies. Swapping out the granulated sugar and using powdered sugar made all the difference.
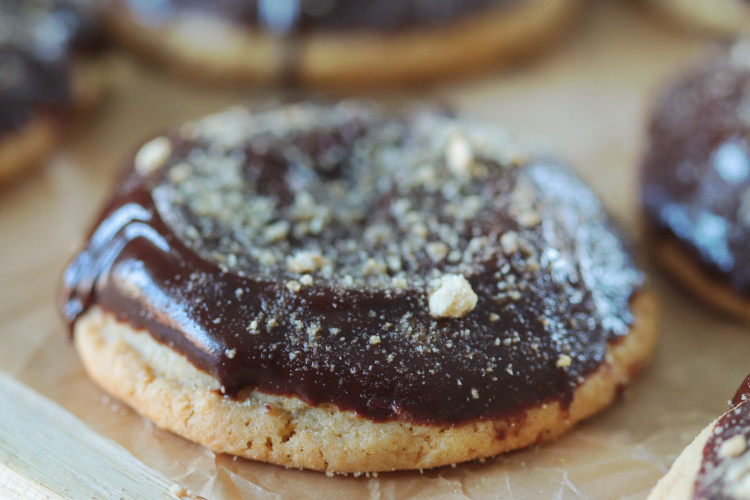
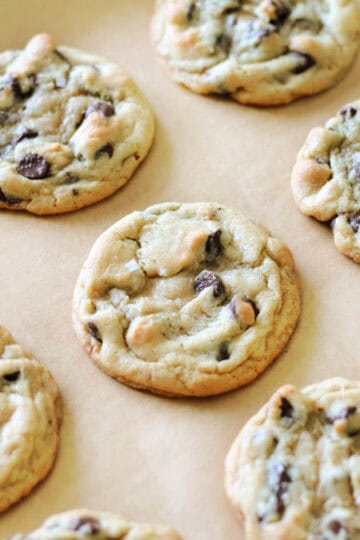
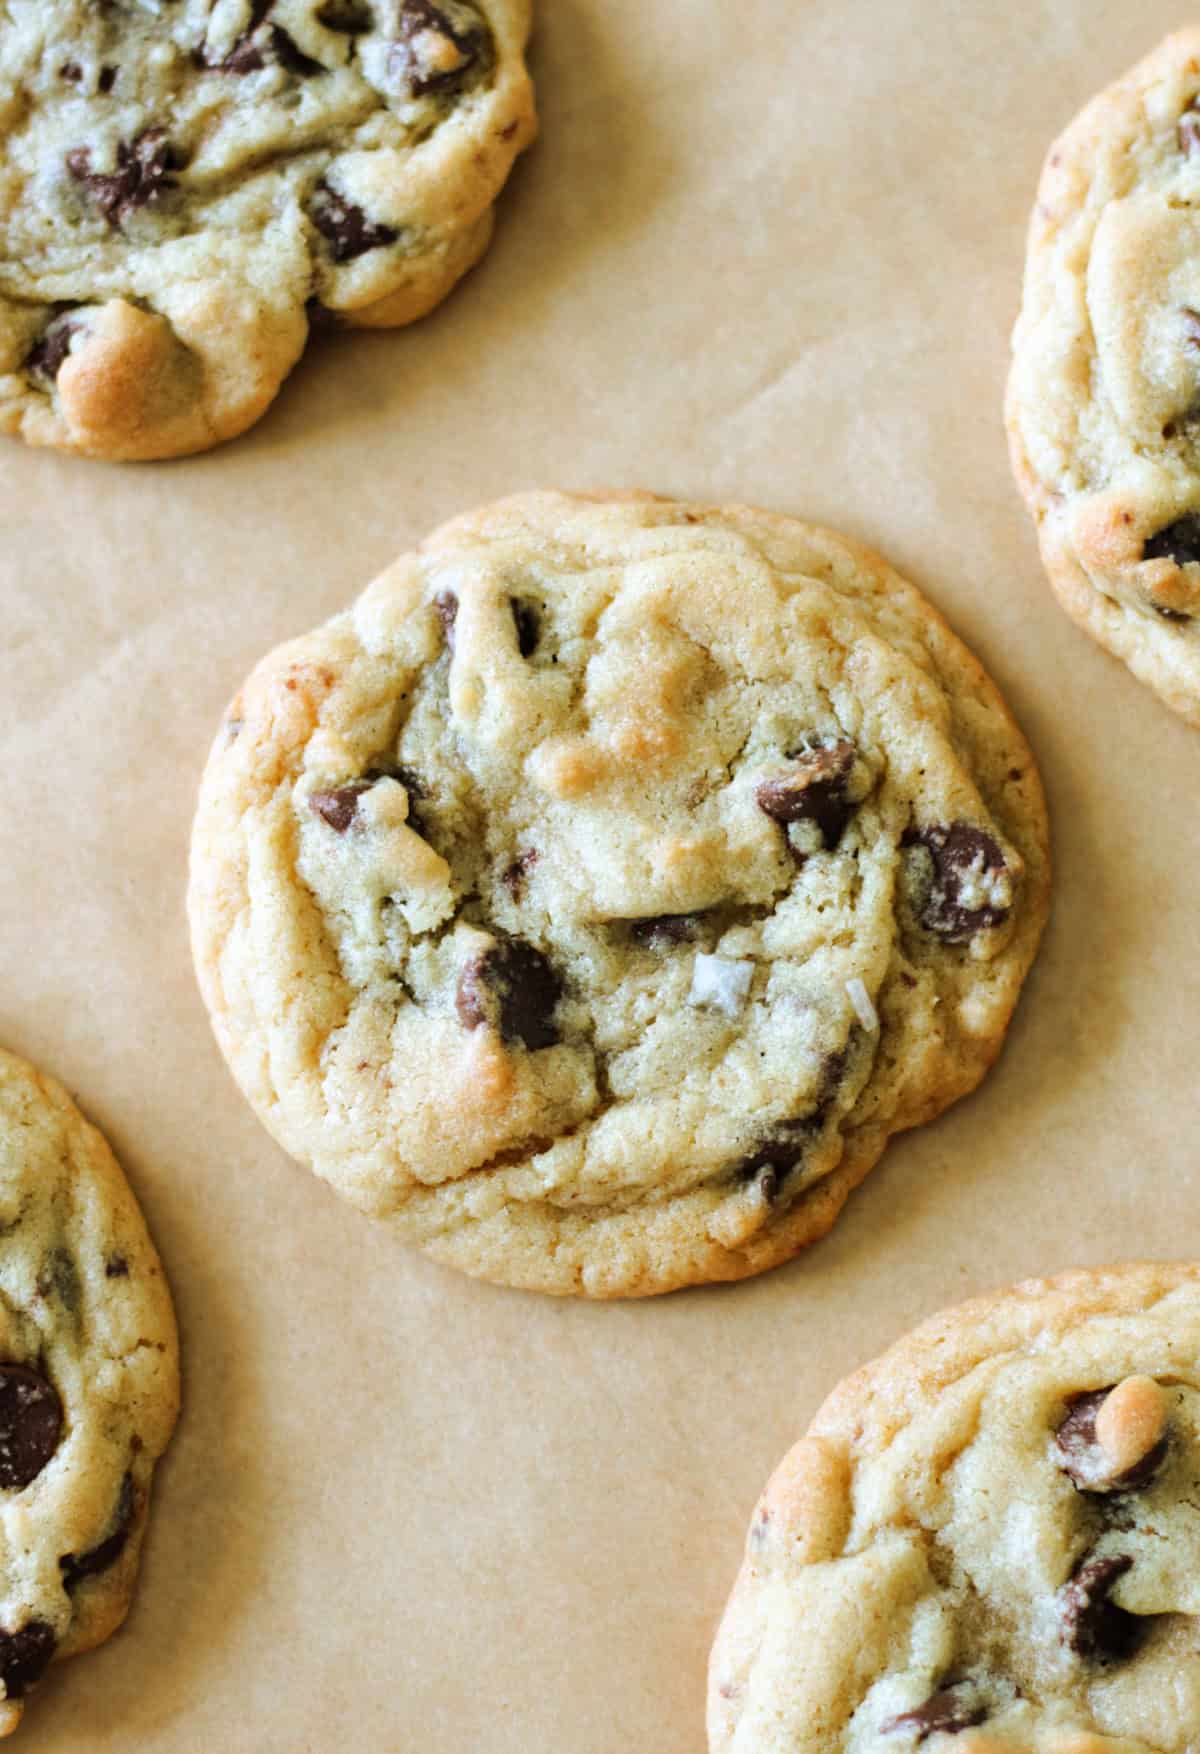
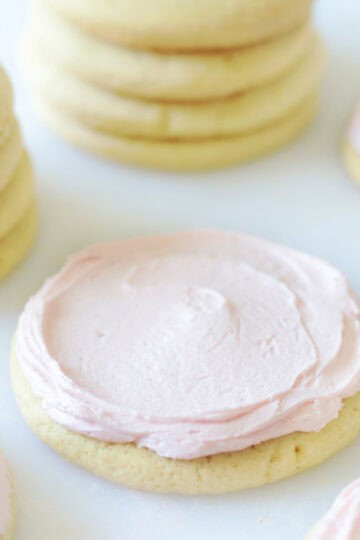
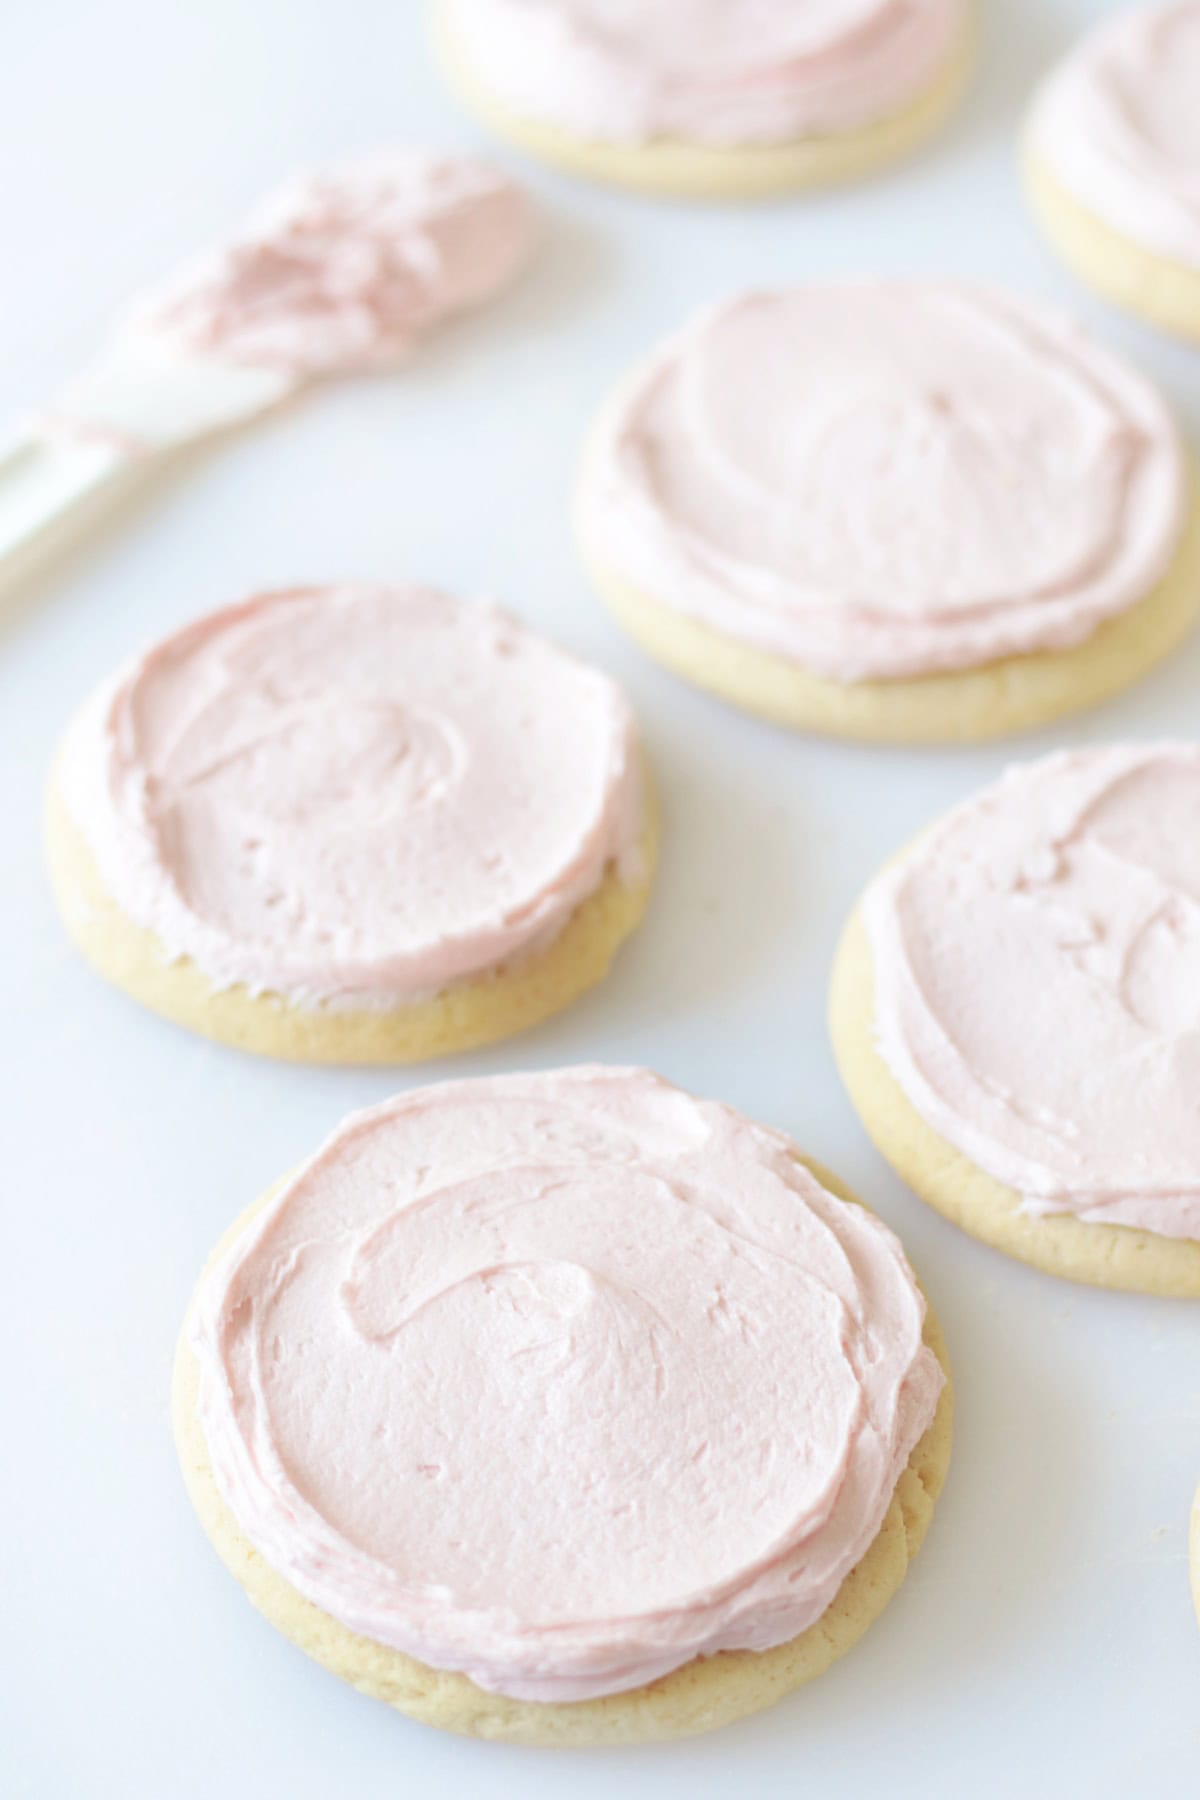
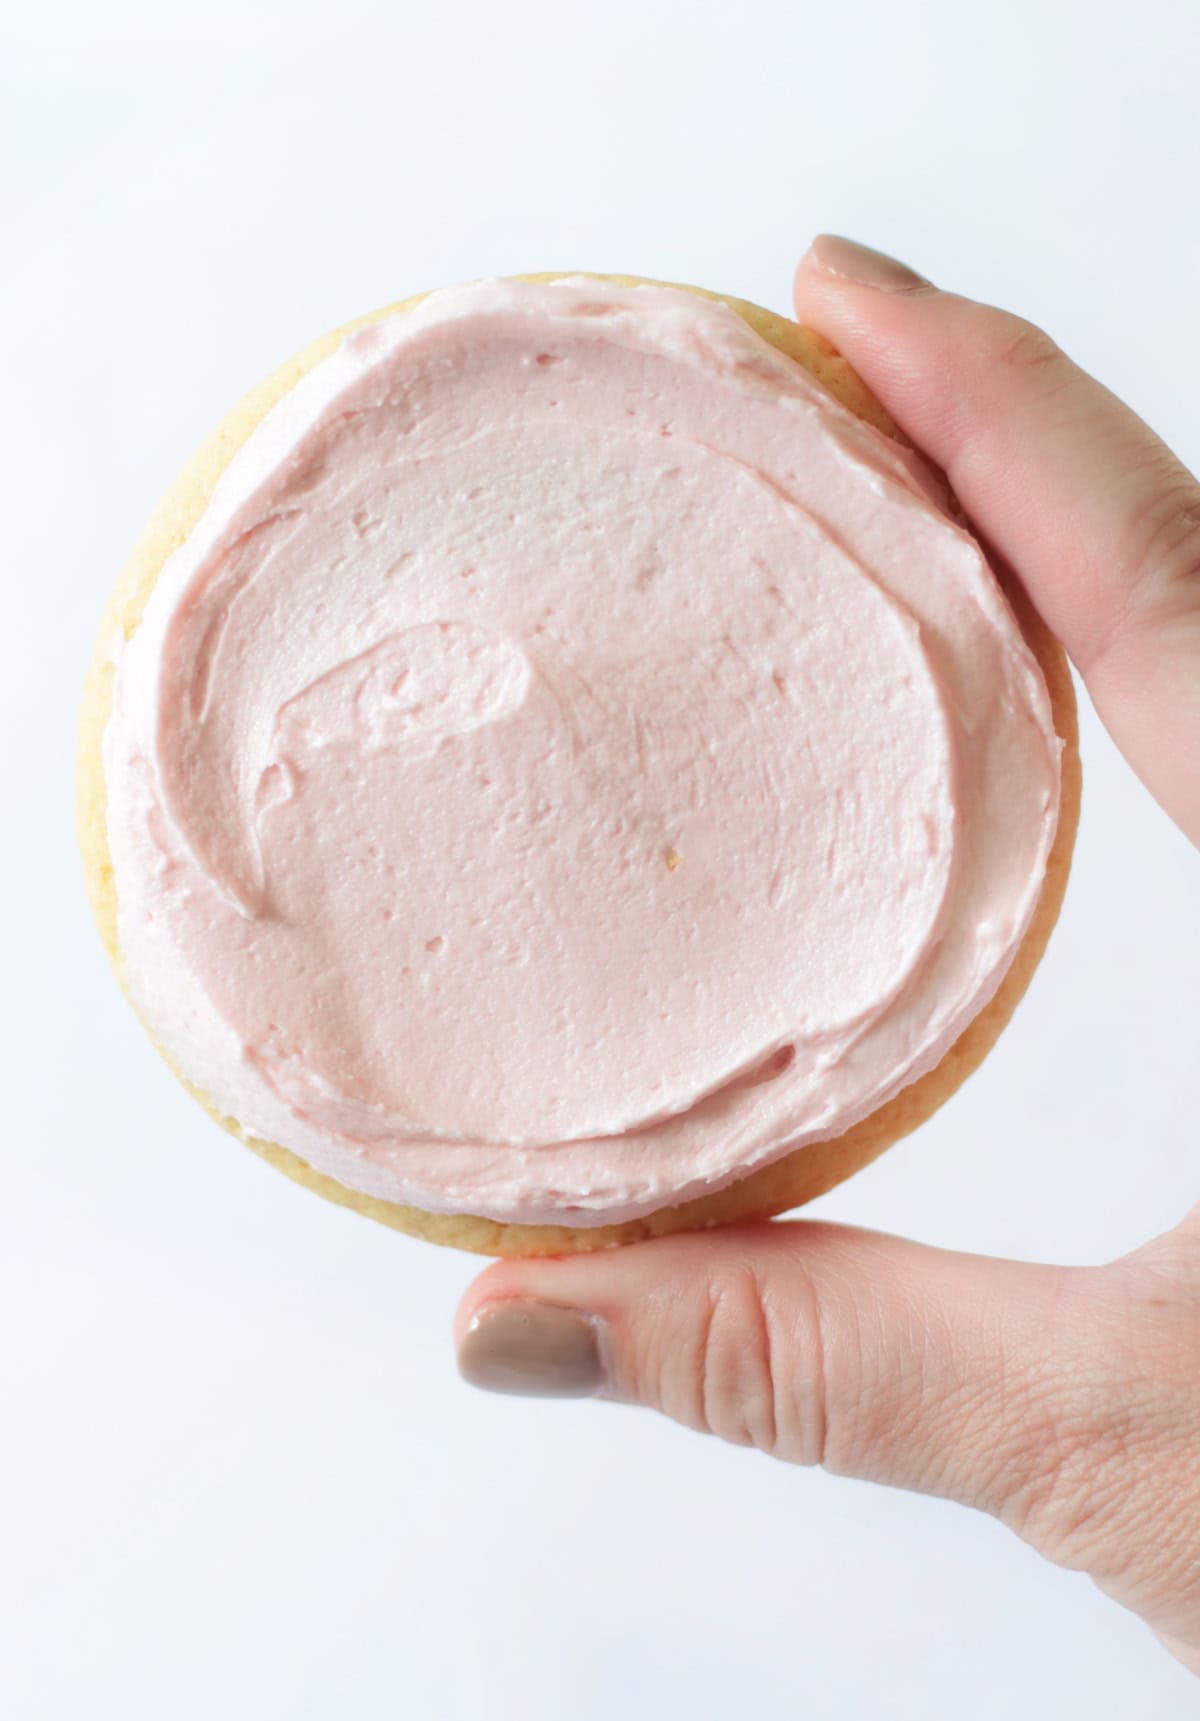
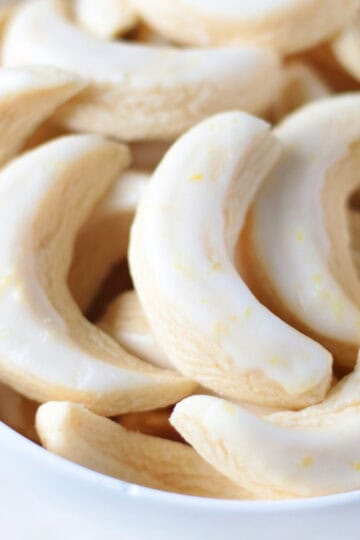
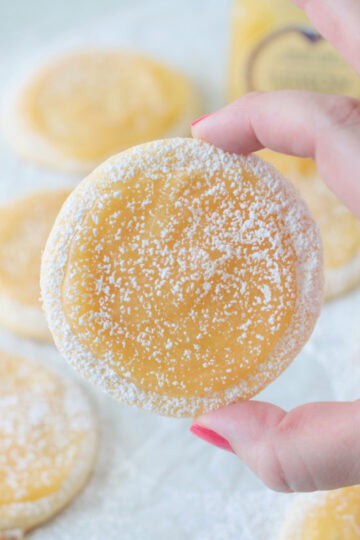
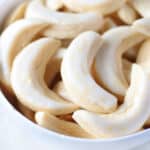
One of the cookies in the photo above is the real deal, and the other is my copycat version. Same size, same texture, same taste. Can you tell which is which?
Why I Like This Recipe
- Flavorful. These lemon cookies are loaded with lemon zest, and the glaze includes both zest and juice for a punch of tangy lemon flavoring.
- No Chill Recipe. That's right! I love no-chill recipes, and these cookies bake up perfectly without chilling for an hour or two, just like my bakery style sugar cookie recipe.
- Easy to Cut Out Shapes: Maggiano's cookies are cut into a classic crescent shape. You don't need a crescent moon cookie cutter to get that same shape at home. I used a 2" circle cookie cutter, and I'll show you how to make the same shape; it's easy.
What Others Are Saying
"Made them tonight, we can't stay out of them. This is a problem and I mean that in the best way!---Stephanie (Facebook)
"Oh my gosh! They are so soft! These are AMAZING." ---Nora
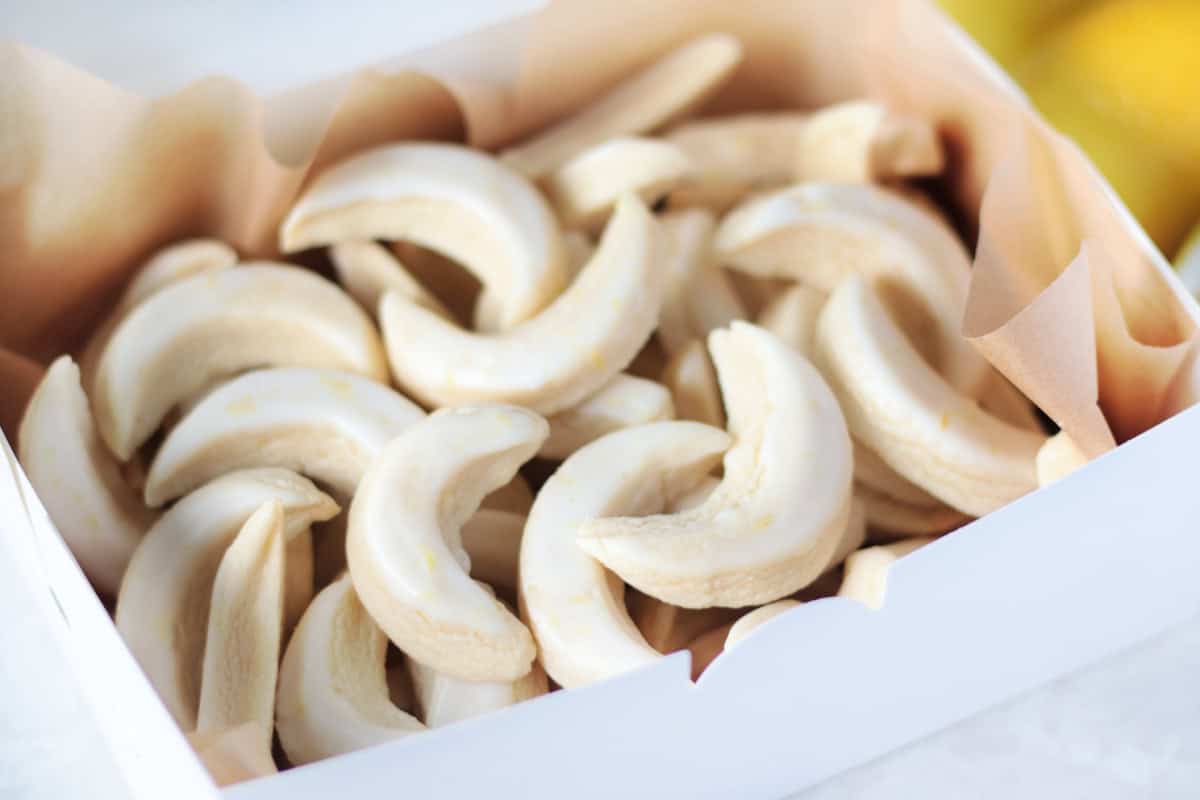
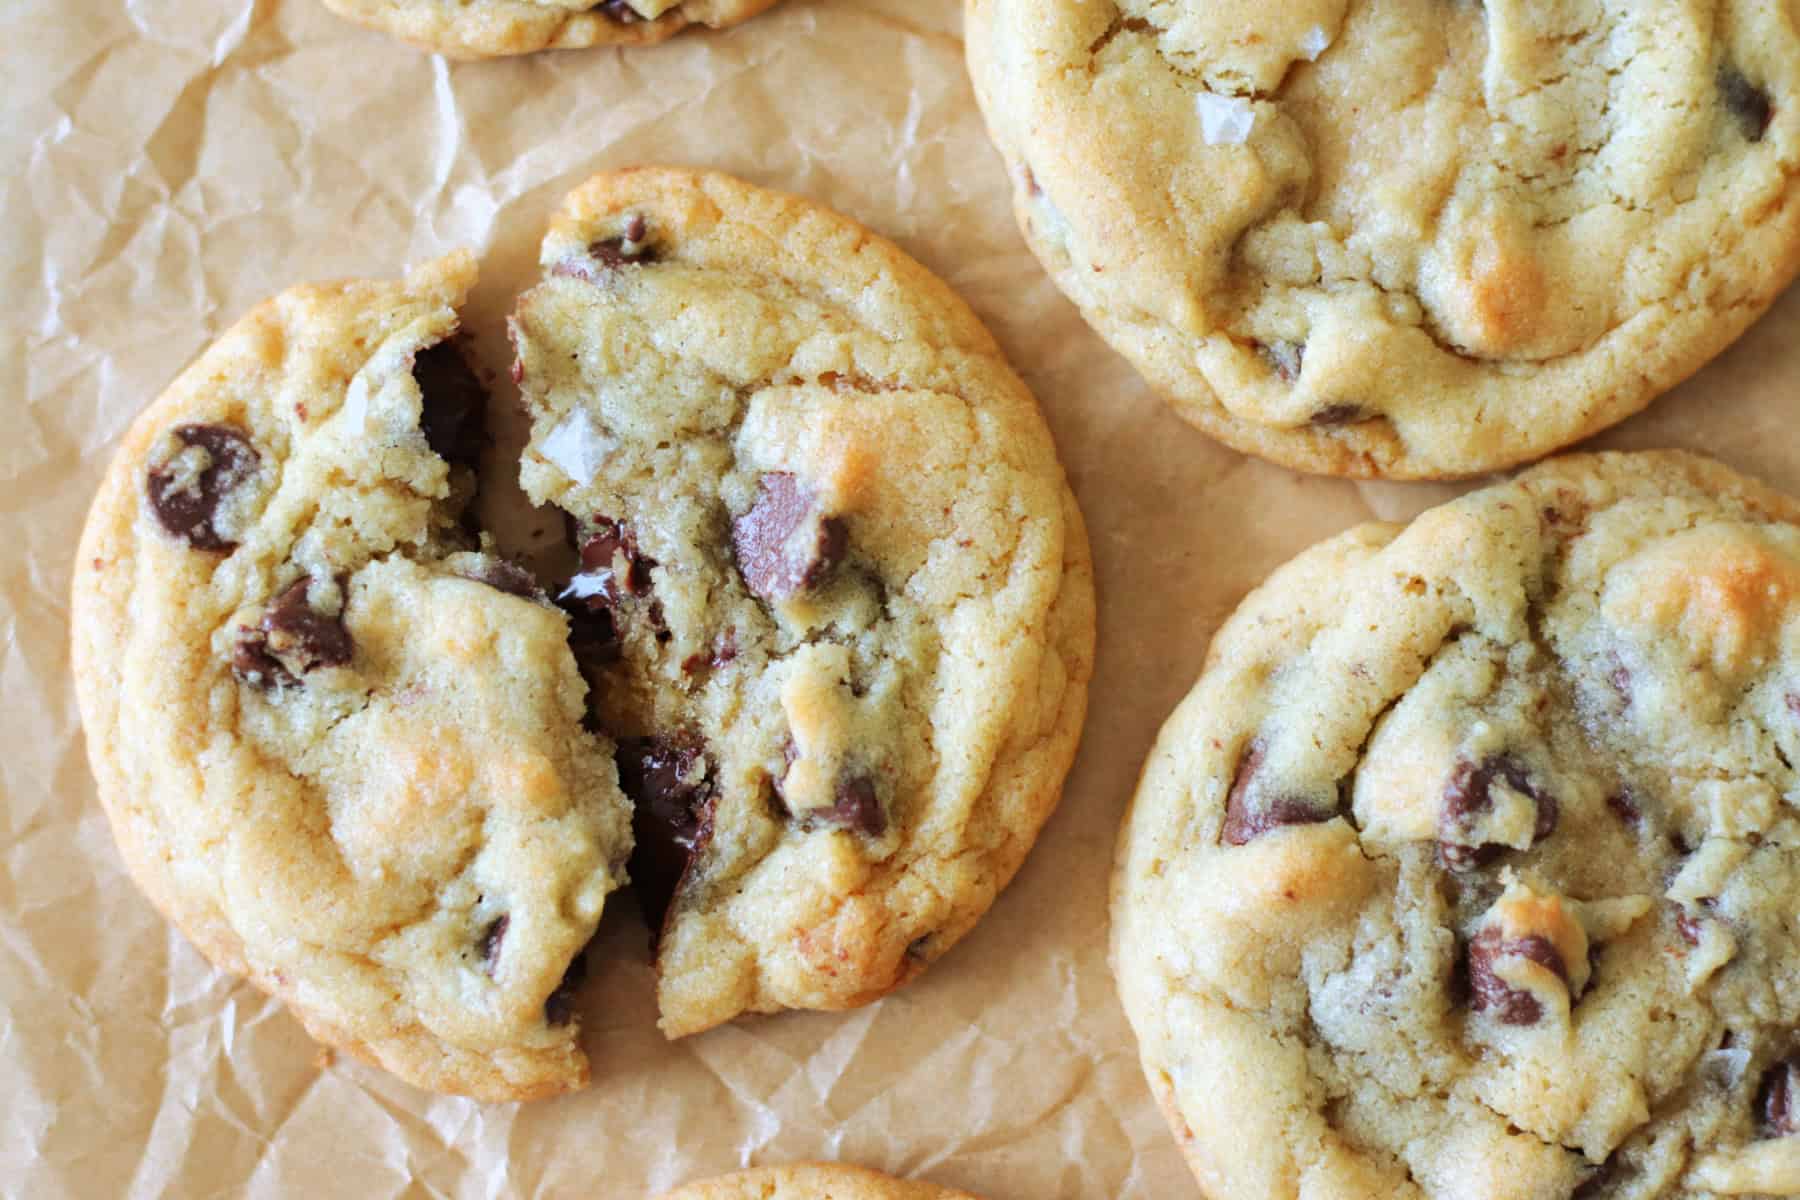
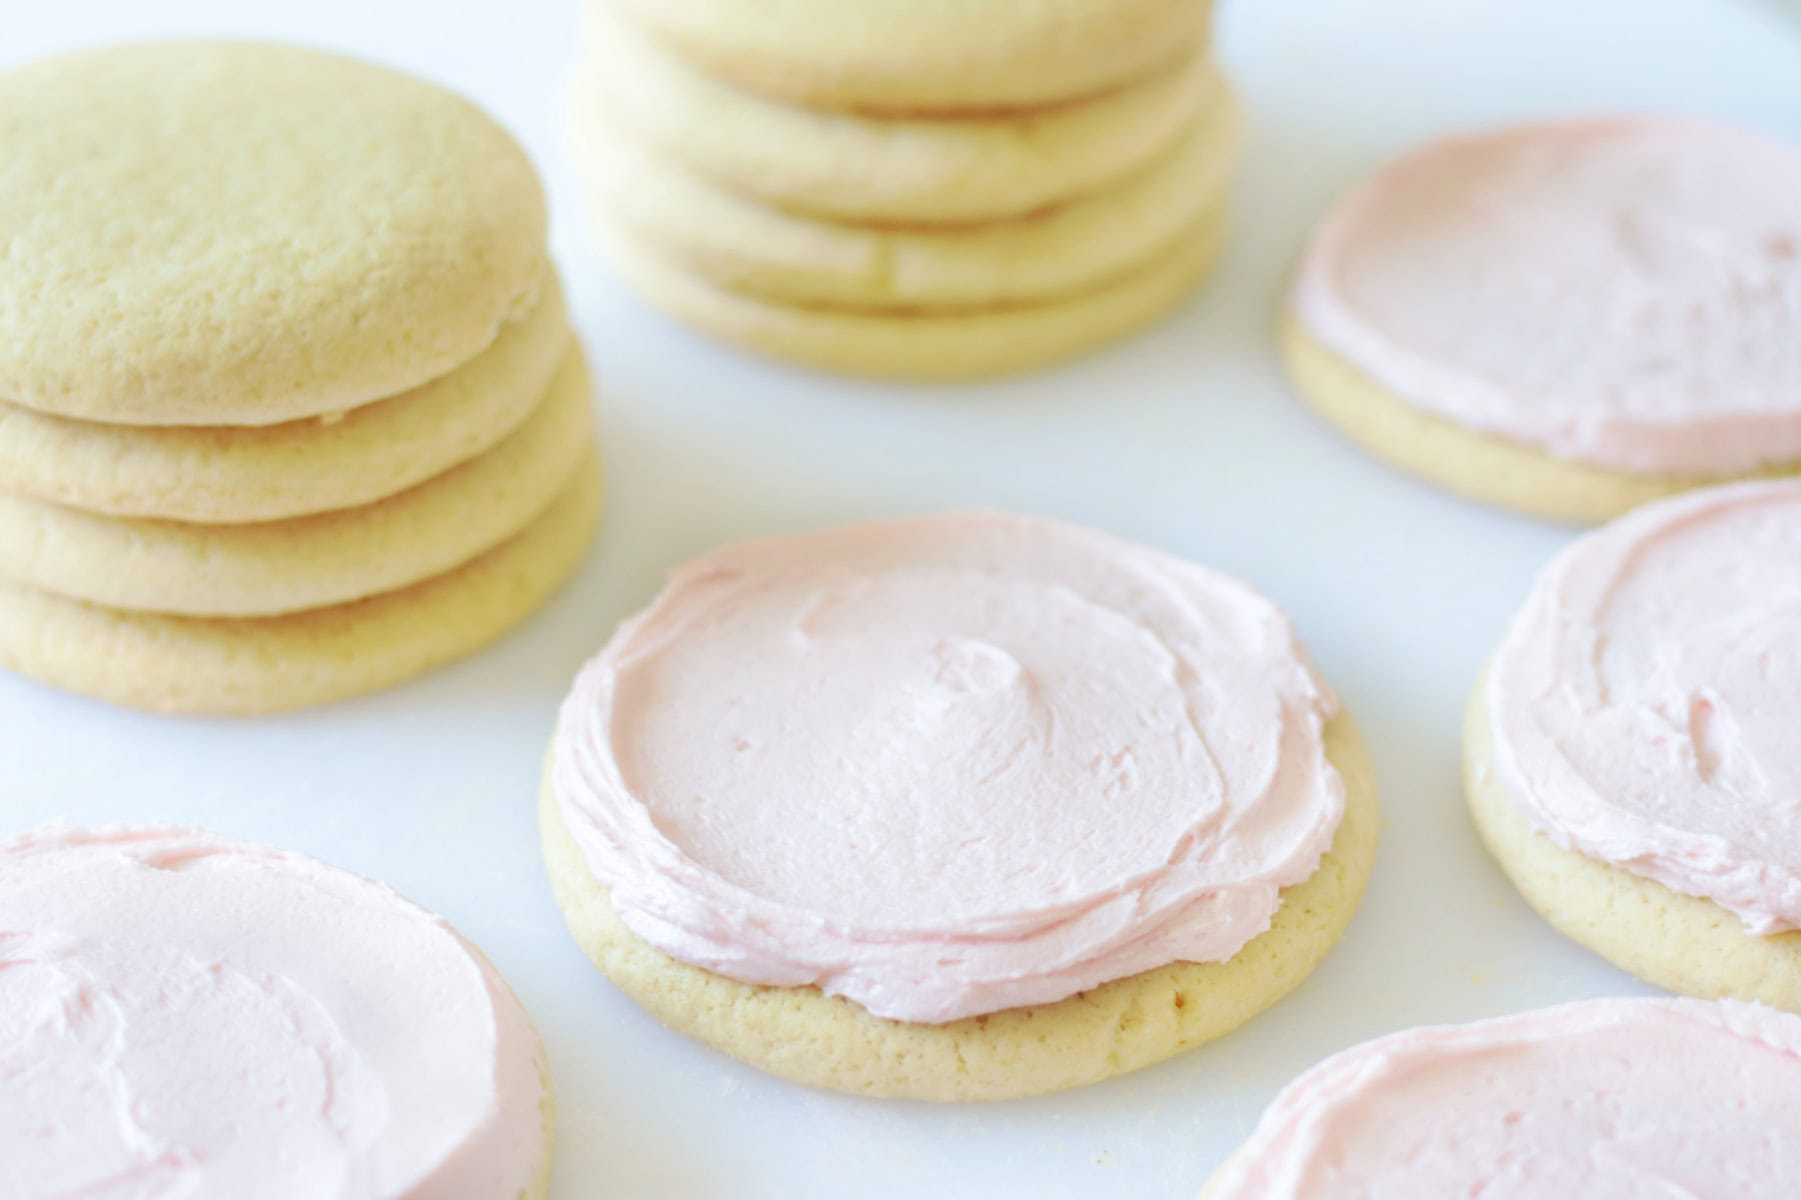
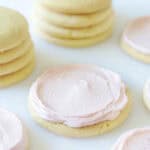
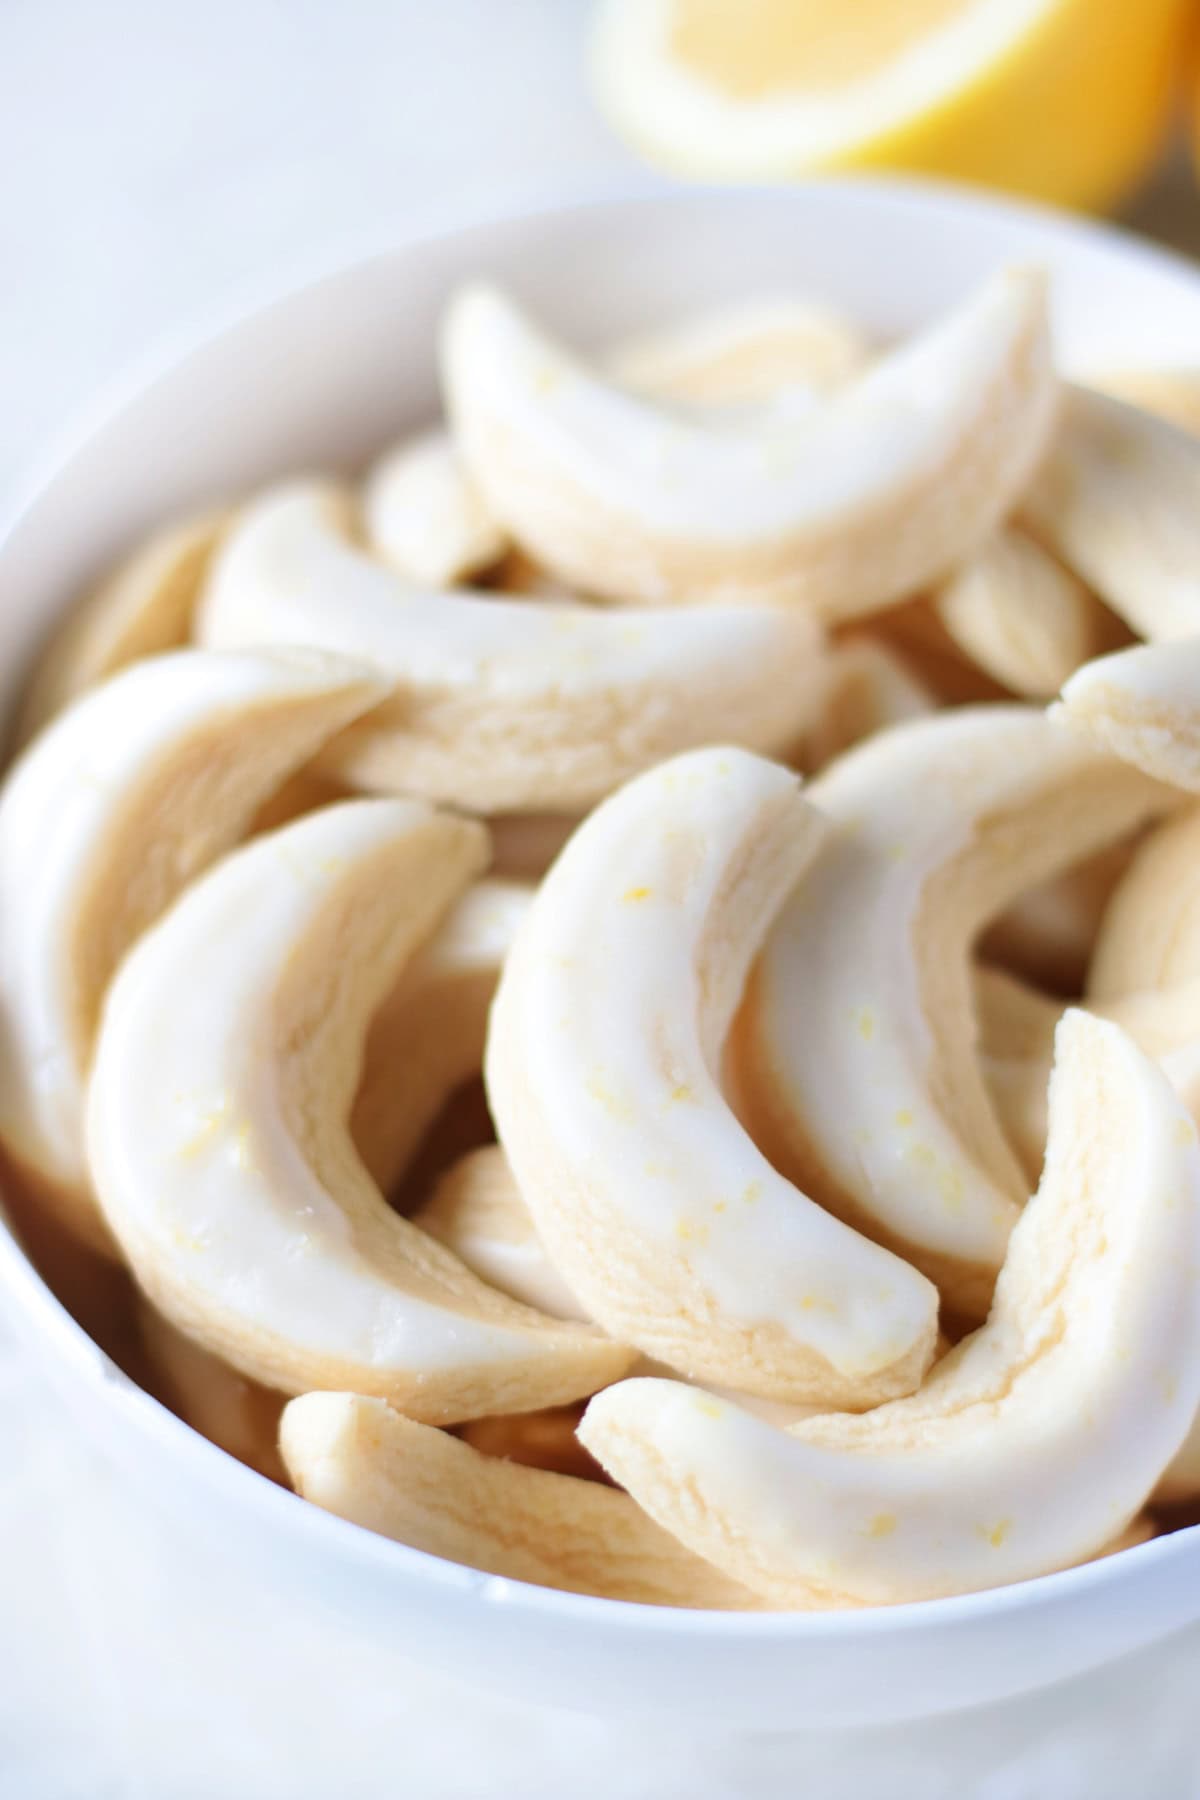
This is the box of lemon cookies that I delivered to Nora once I had perfected the recipe and method. These are THE BEST lemon cookies I've ever had, and I have many lemon cookie recipes on this site! All are delicious in their own right, but these are next level.
🍋 Tips and Tricks For Perfect Crescent Lemon Cookies
- Do not overbake cookies. Many sugar cookie recipes say to bake until the bottoms are lightly golden. Don't. We don't want crispy cookies here or cookies with a "snap" when you break them in half. These bake for 9-10 minutes at a lower heat (325 degrees), then cool for 2 minutes on the pan before being pulled off. This keeps the centers soft and the bottoms baked, but not golden.
- Store cookies in an airtight container. Allow the cookies to cool completely, then store them in a container with a lid. They actually taste even better after an hour or two in the container, as it allows the centers to soften even more and the lemon flavoring to develop.
- Chill the baking sheets. This is optional, but I find this helpful if my kitchen is warm. I cut out the first tray of cookies and place them directly in the oven to bake. While they bake, I get the second tray ready and place it in the refrigerator to keep cool. Again, this is a no-chill recipe, but I find that keeping the baking sheets cold helps the cookies to hold their shape. Once the oven is available, the tray goes straight from the refrigerator to the oven, and the next one goes into the refrigerator to chill.
- Bake on light colored baking sheets. I ONLY bake on light metal sheets. Dark metal cooks faster and less evenly than light metal. If you use dark baking sheets, you'll need to watch the cookies carefully to prevent them from browning too quickly.
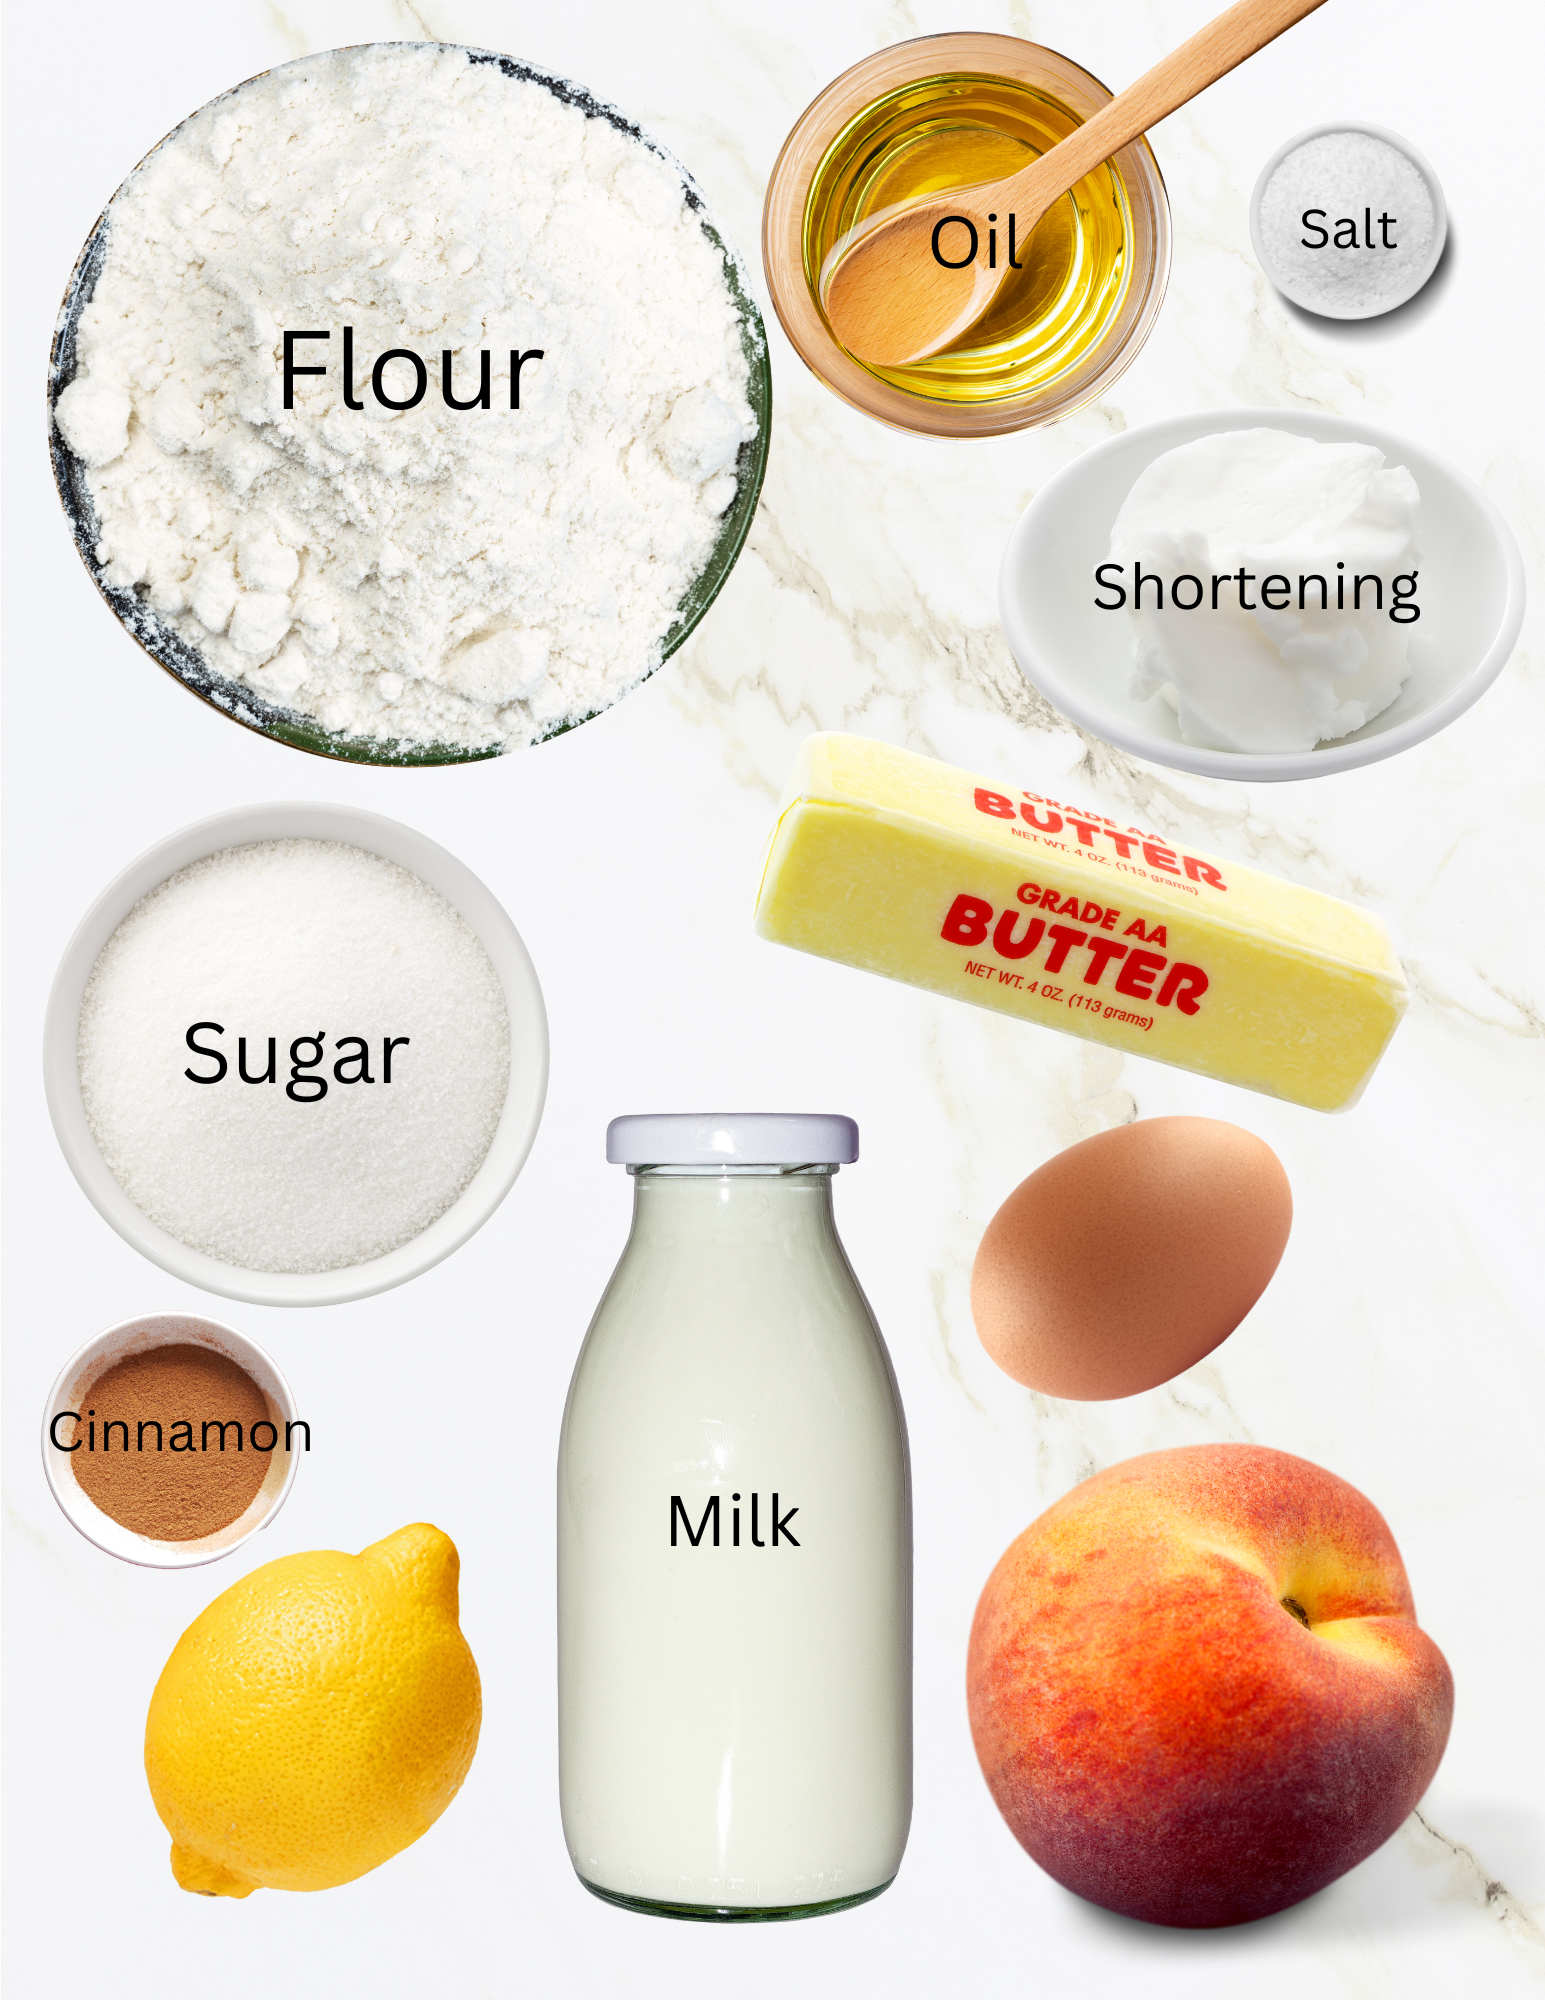
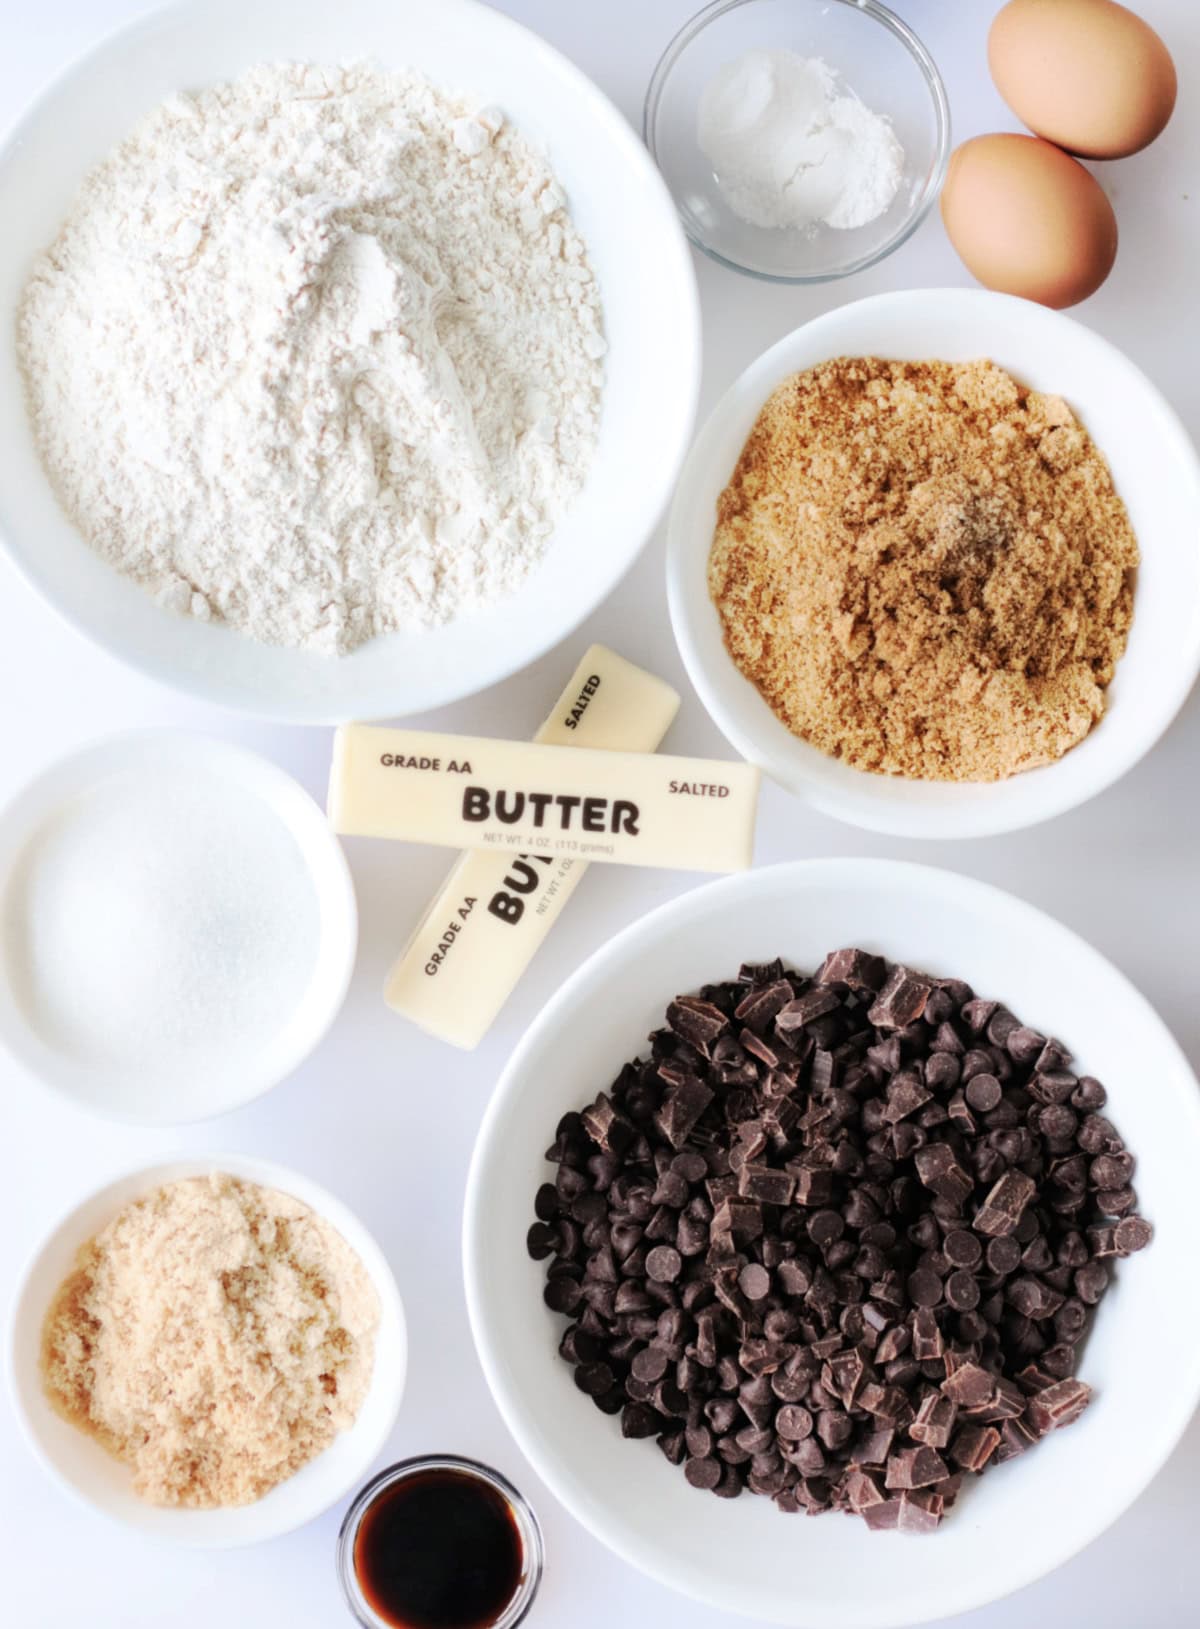
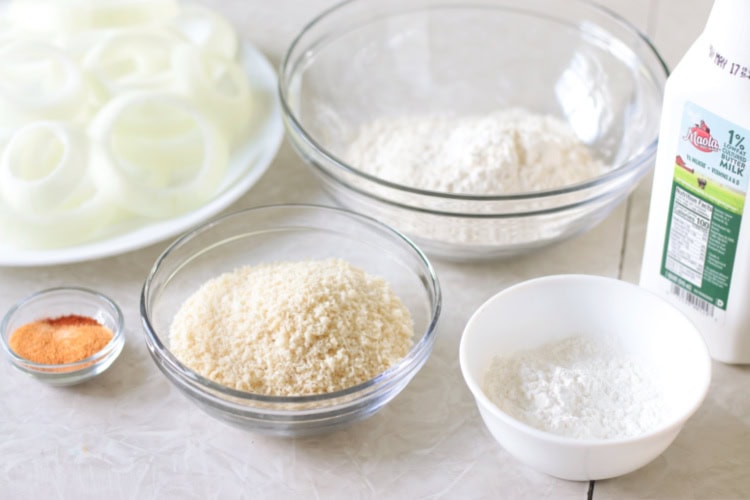
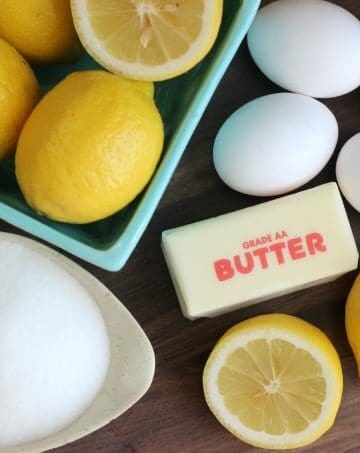
🥣 Copycat Maggiano's Lemon Cookie Ingredients
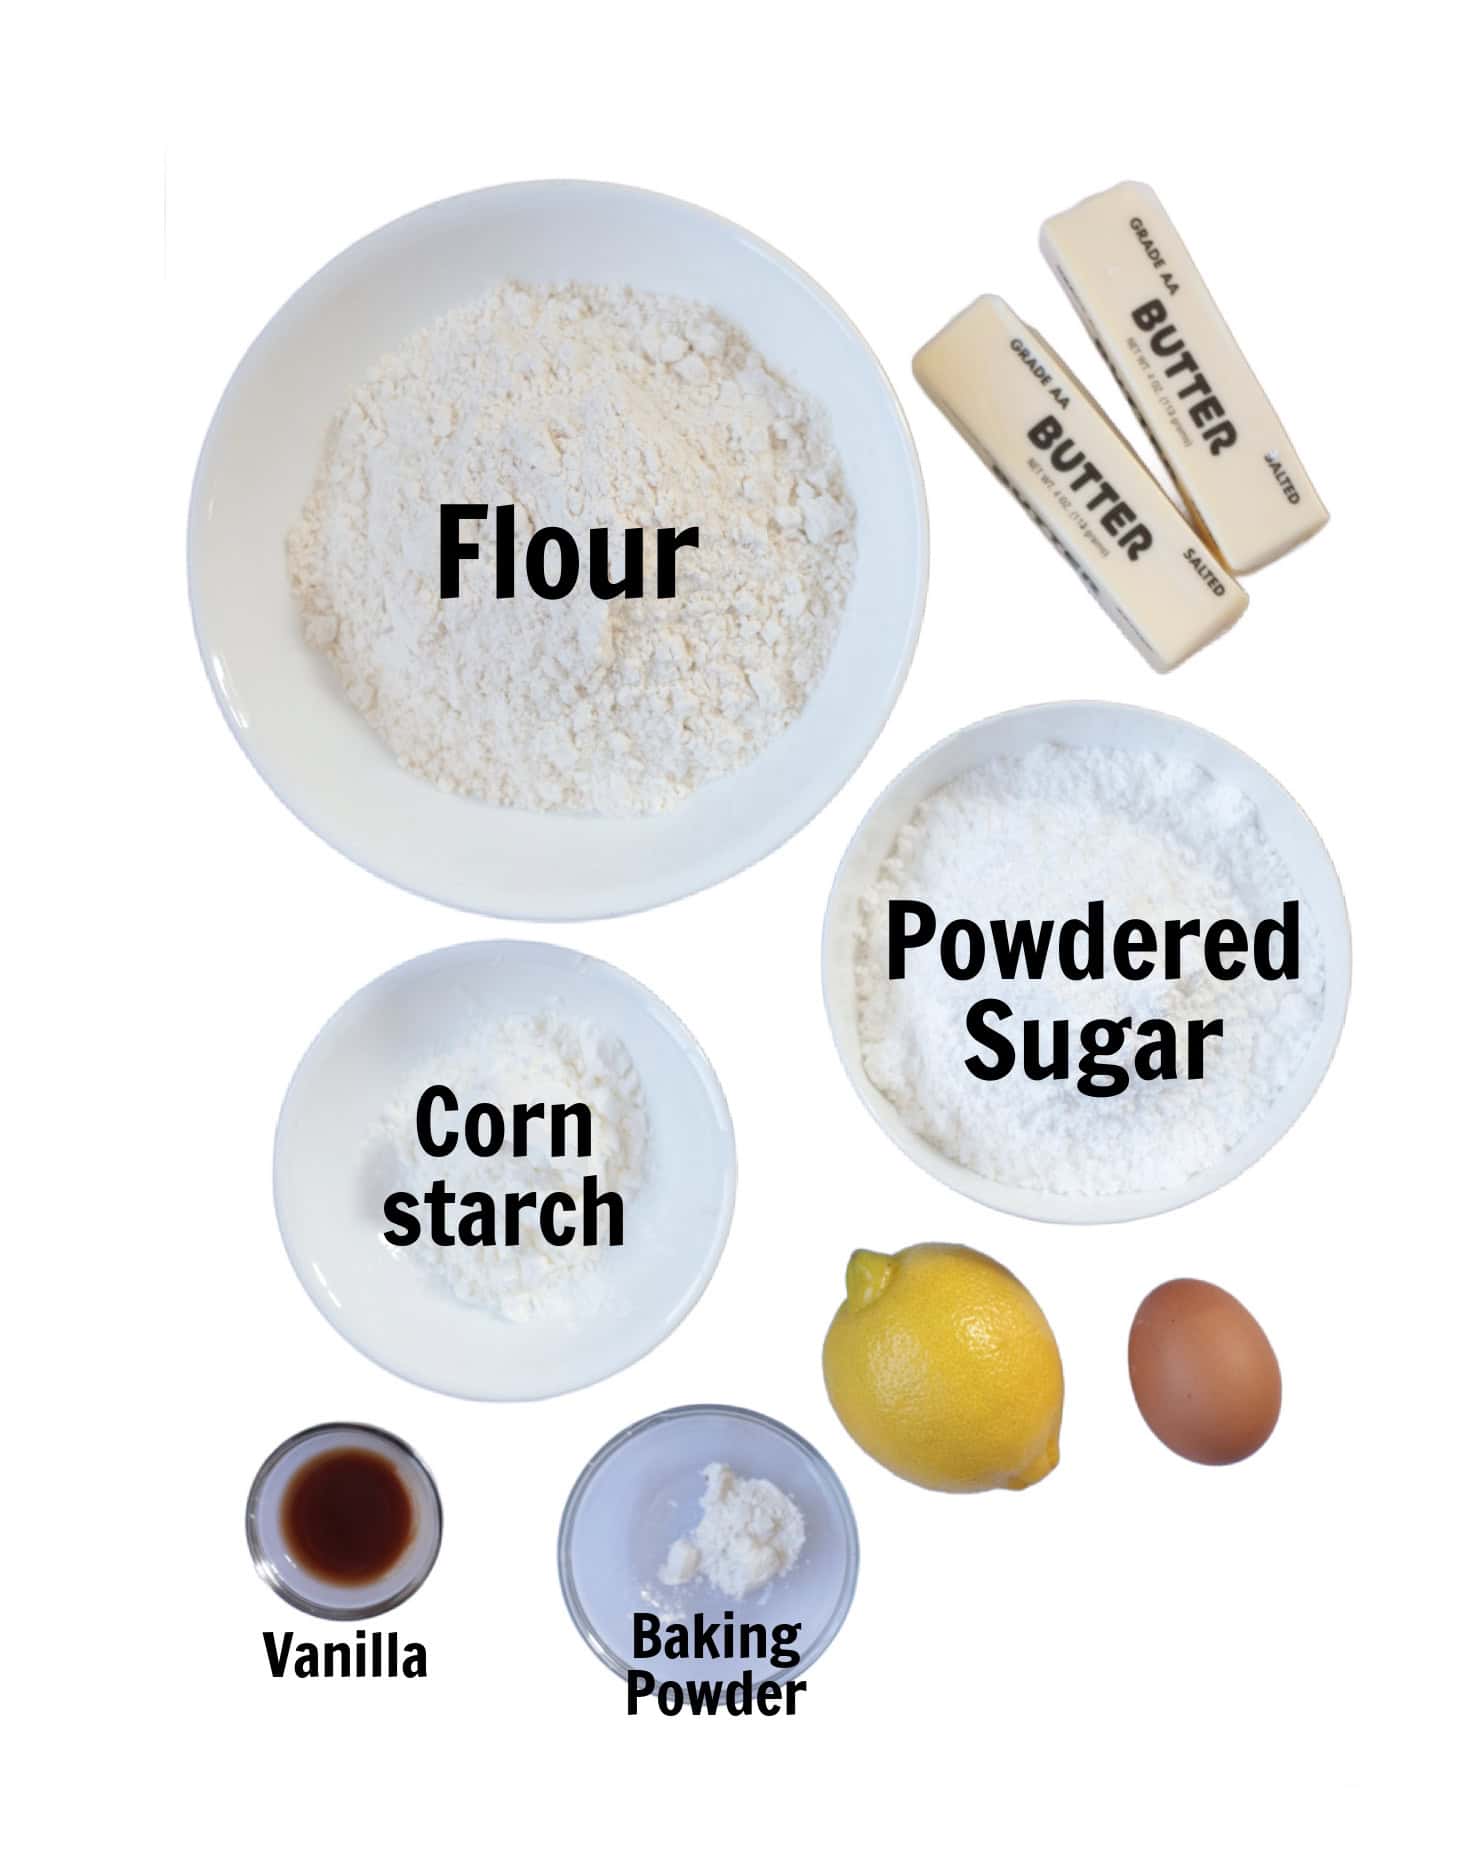
- Butter: I always bake with salted butter, but you can use unsalted. If you use unsalted butter, you'll need to add ½ teaspoon of salt to the recipe.
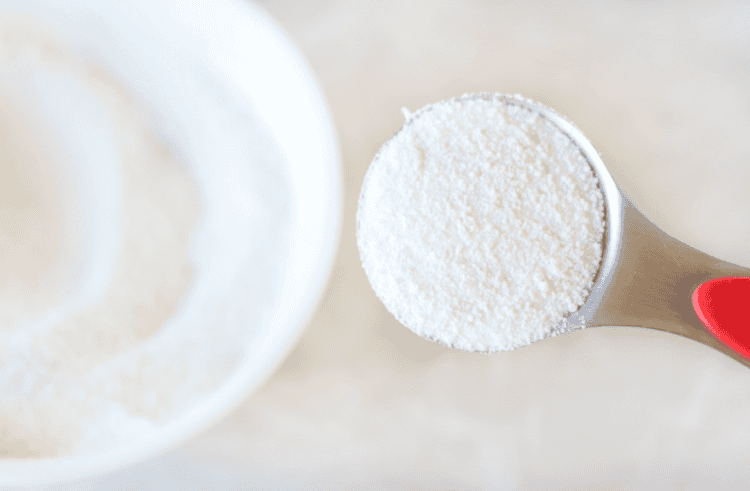
- Powdered sugar: I use powdered sugar instead of granulated sugar for a soft, melt-in-your-mouth cookies.
- Corn Starch: Powdered sugar already has a bit of corn starch in it to prevent it from clumping, but I always add a generous scoop of corn starch to my sugar cookie recipes. This is what gives the cookies their velvety texture.
- Fresh Lemon: We're using zest plus lemon juice so grab a fresh lemon instead of using bottled lemon juice.
See the recipe card for full information on ingredients and quantities.
👩🍳 How To Make Maggiano's Lemon Cookies At Home
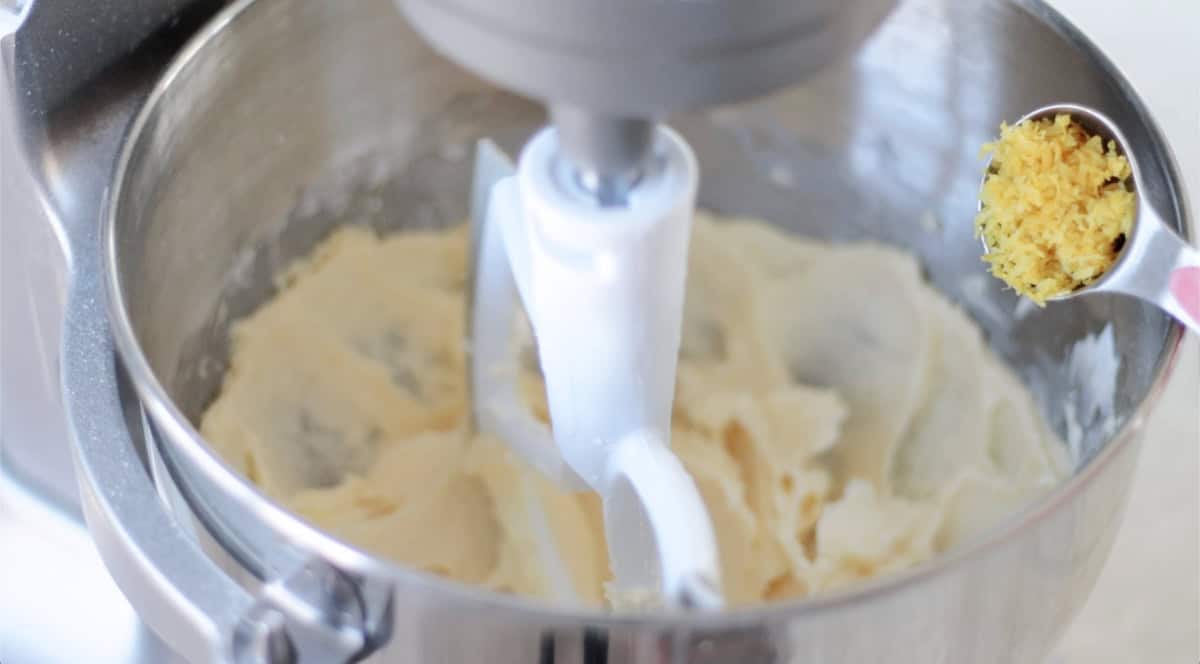
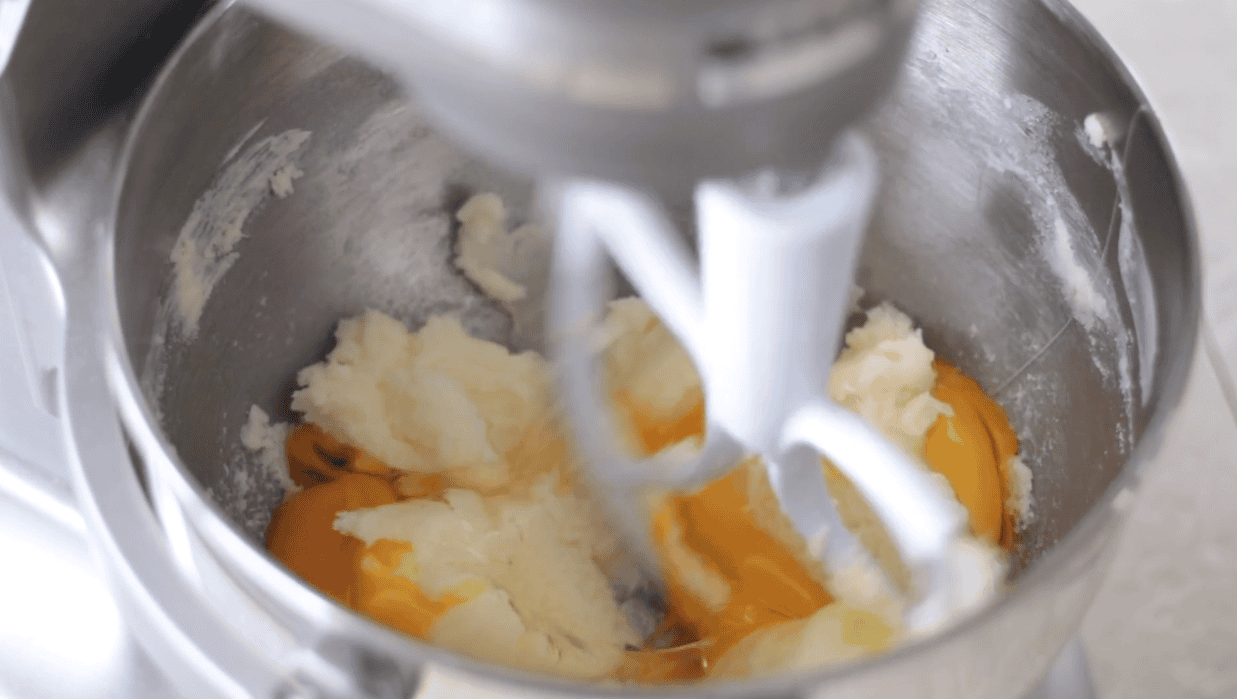
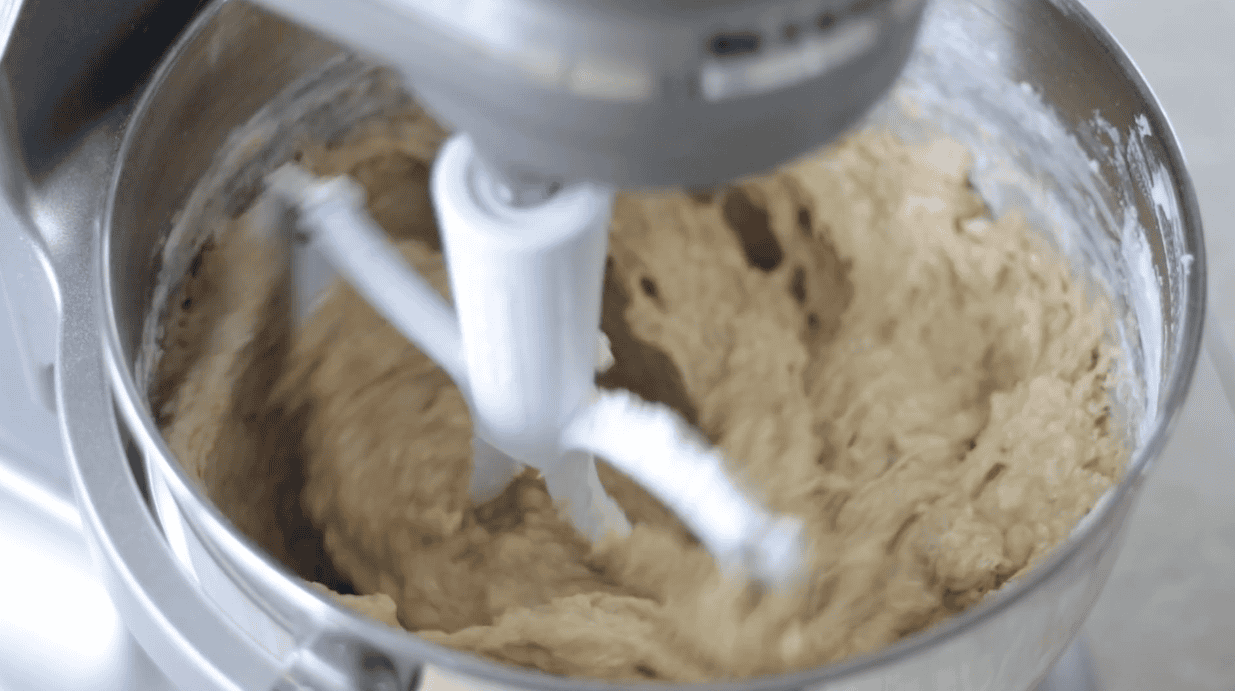
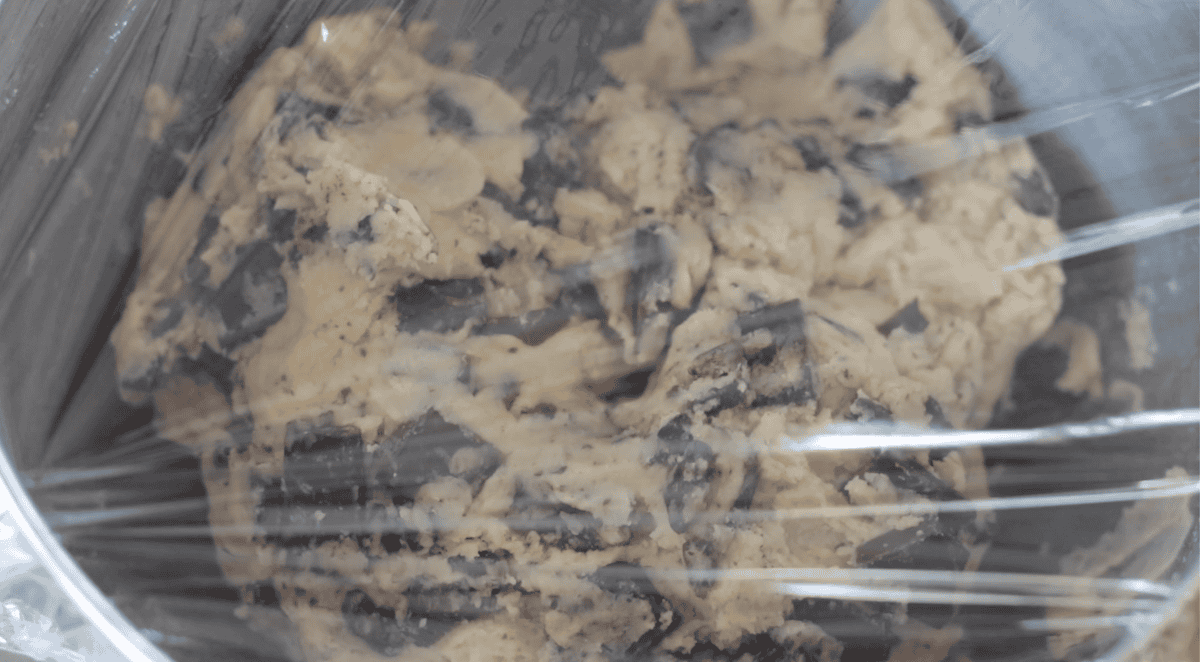
Step 1: In a large mixing bowl, combine butter and powdered sugar. Beat until fluffy. Turn the mixer down and add the egg, lemon zest, and vanilla. Add baking powder. Add the flour and cornstarch and mix thoroughly. Keep mixing until the dough comes together.

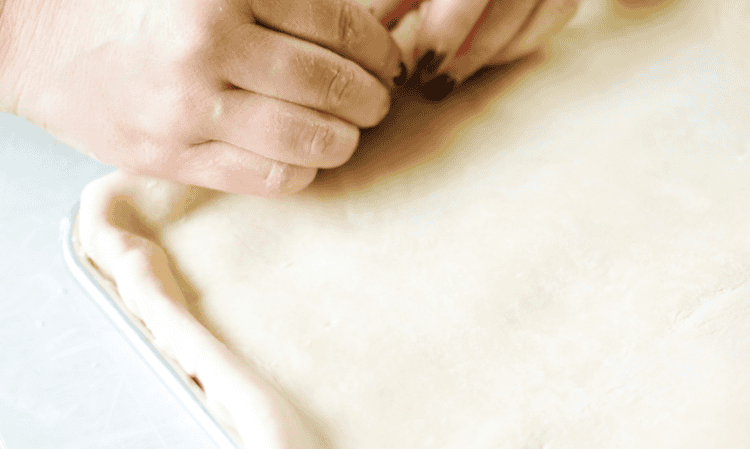
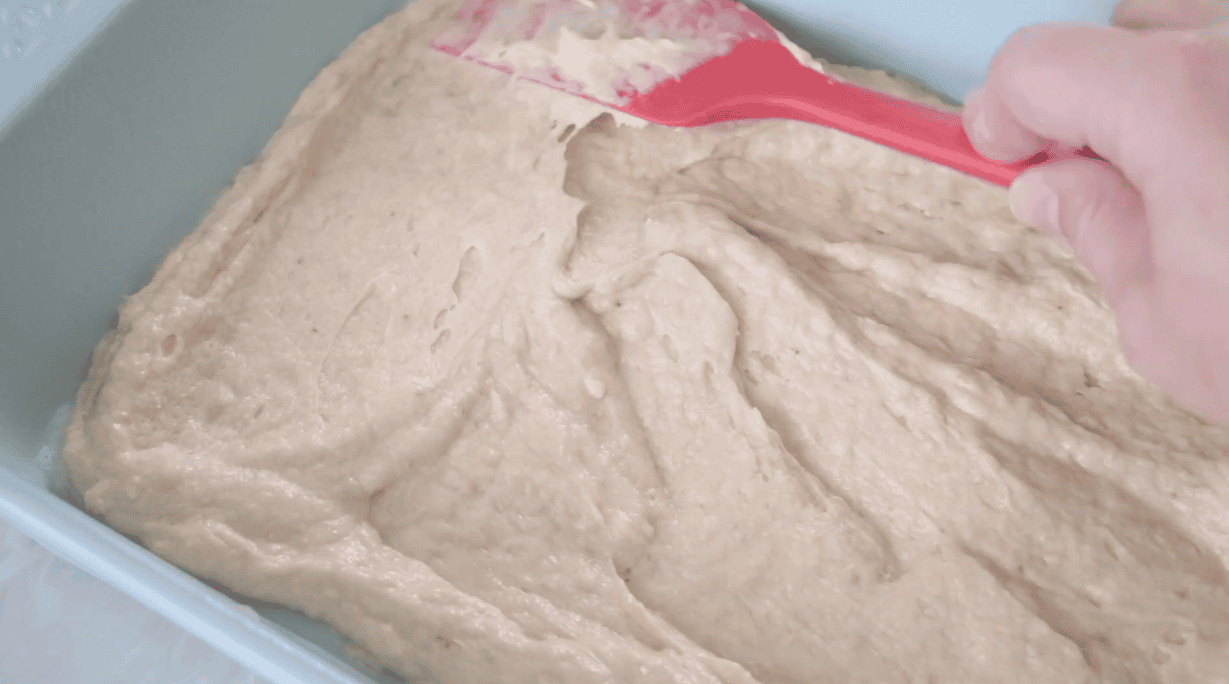
Step 2: Transfer the dough to a floured surface and roll out ½" thick.
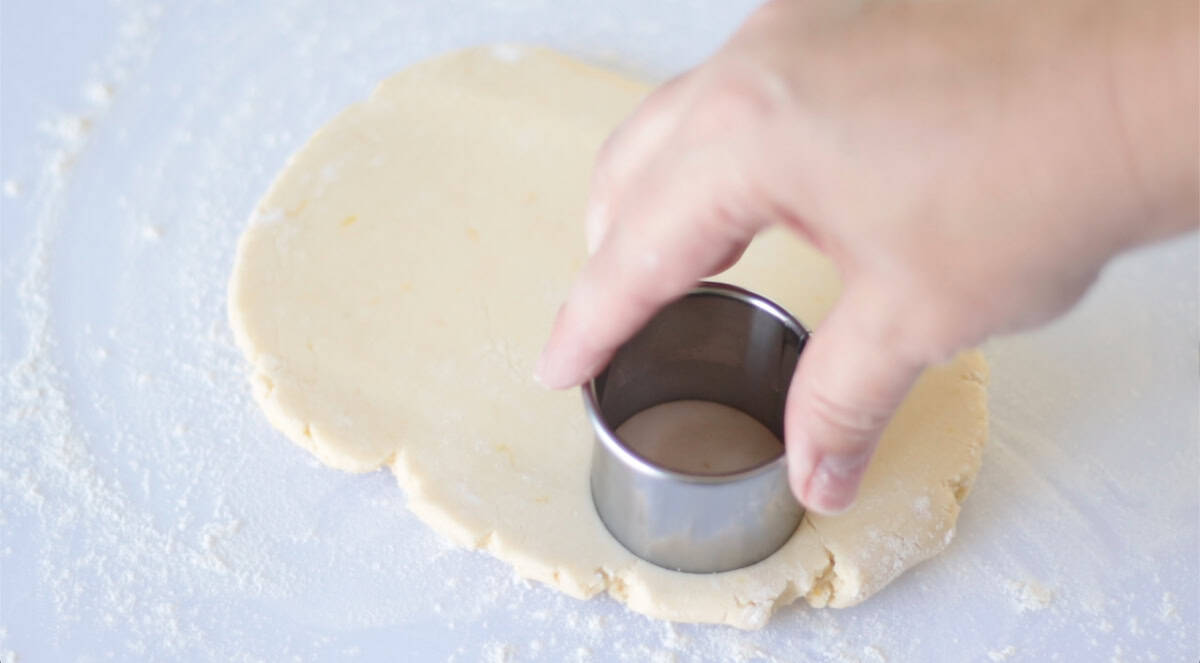
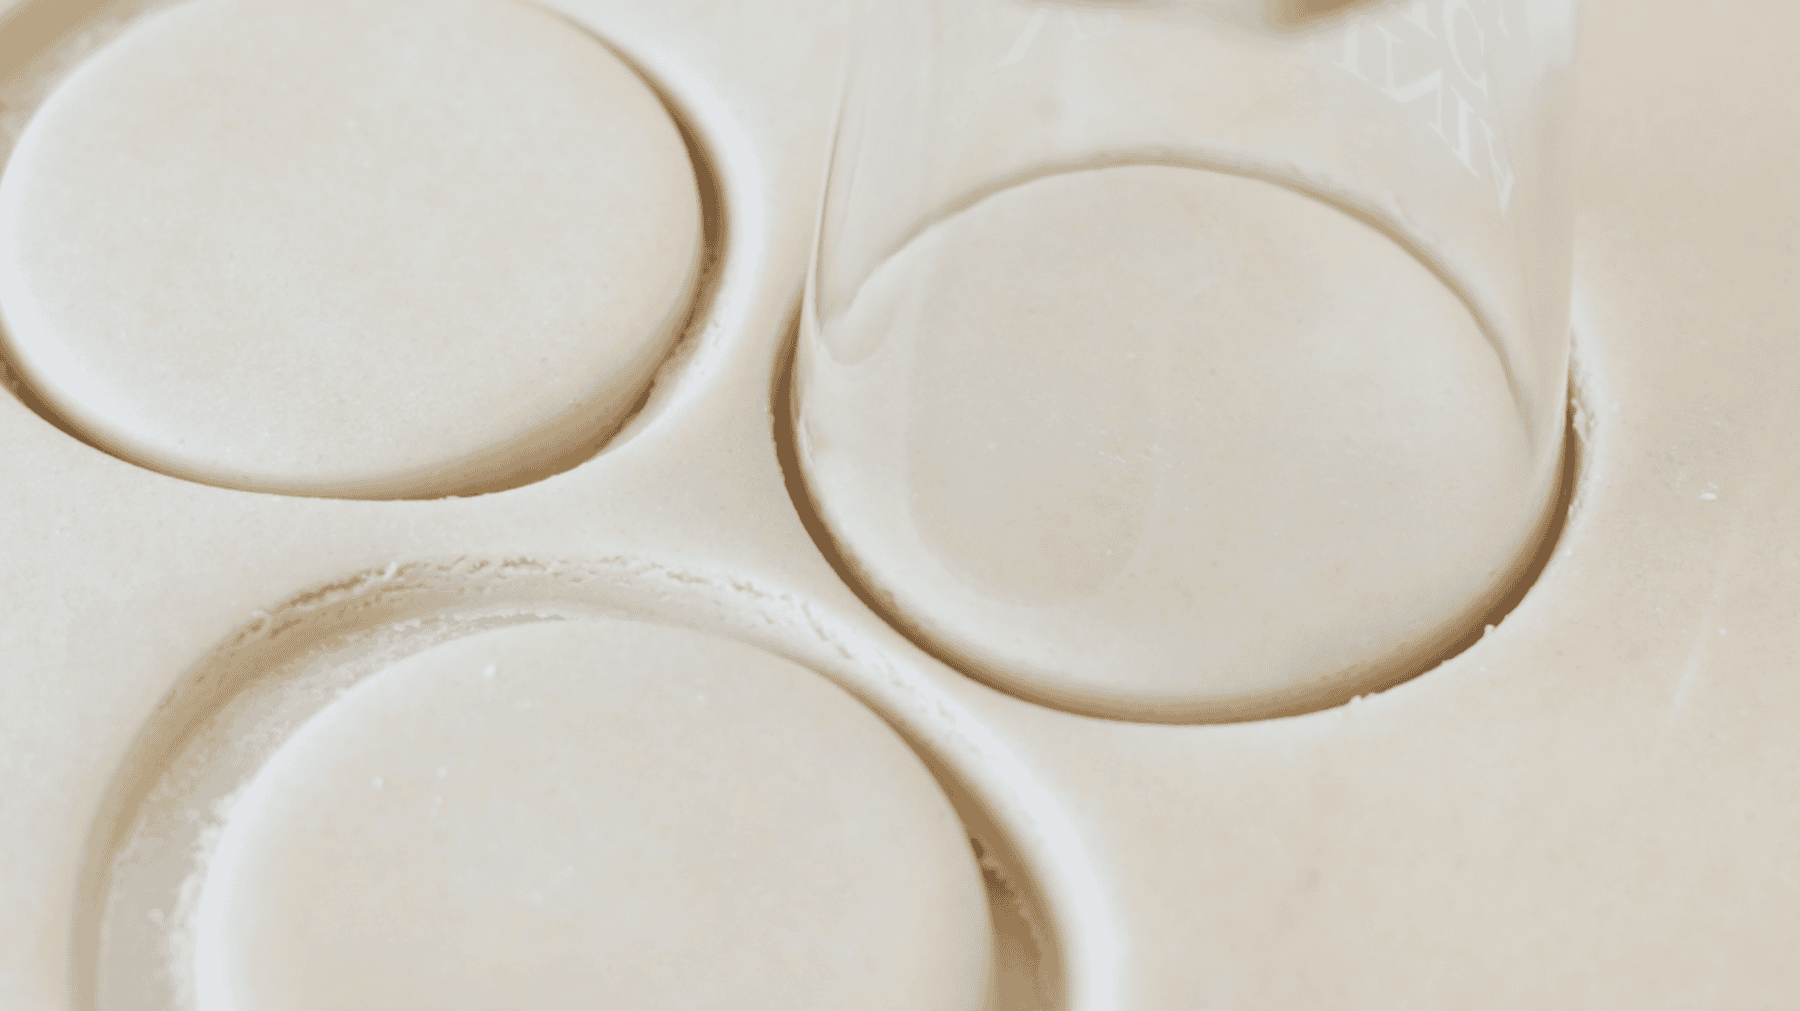
Step 3: Use a 2” circle cookie cutter to cut the dough into round shapes.
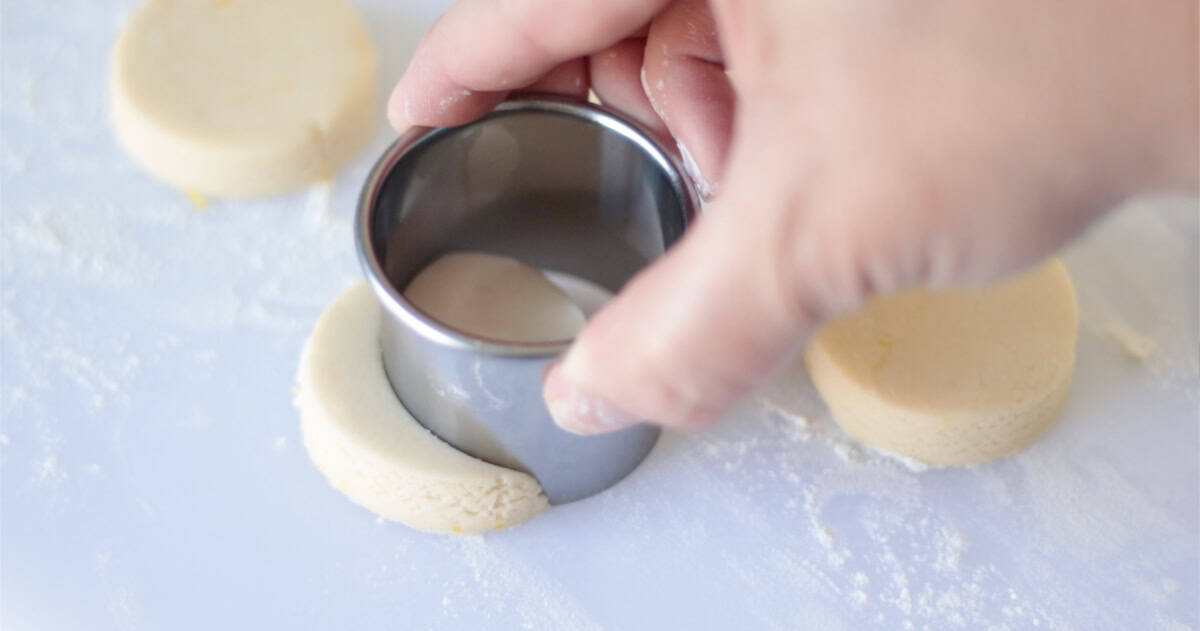
Step 4: Use that SAME cookie cutter to cut out a crescent shape. Check out my video for a great visual on how to do this. Continue cutting out shapes, pressing scraps together and rolling out again, until all of the dough has been used.
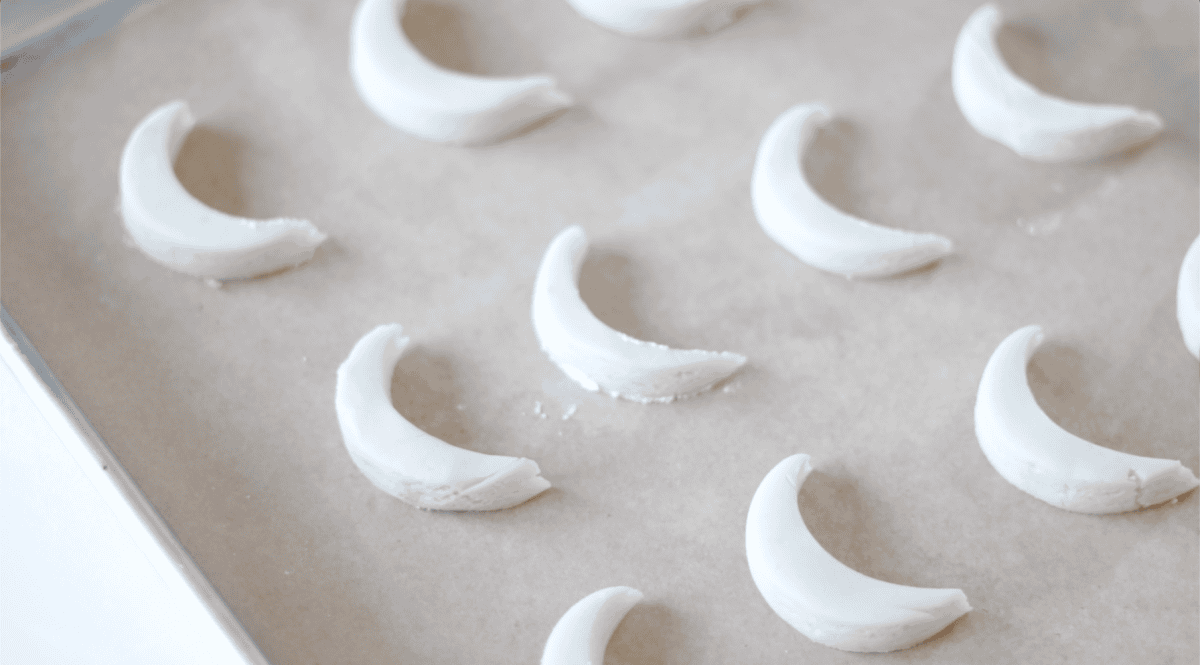
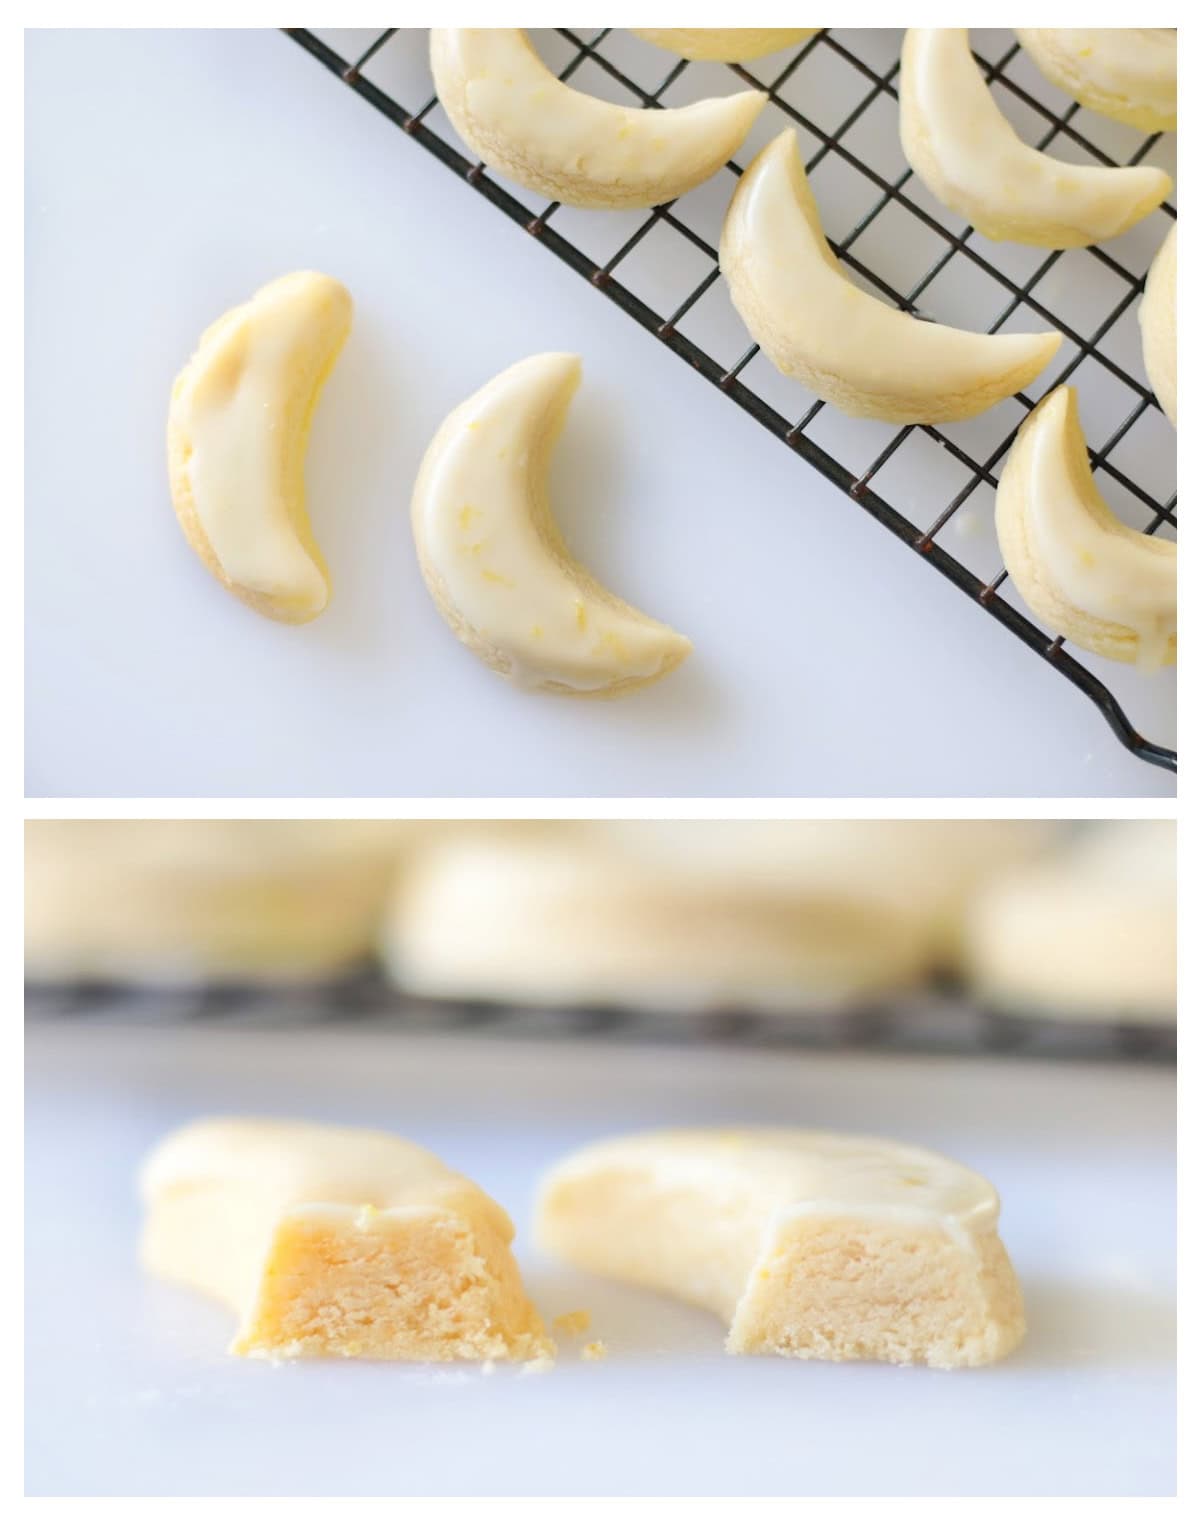
Step 5: Bake cookies at 325 degrees on a parchment-lined baking sheet for 9-10 minutes. Let cookies cool on the pan for 2 minutes before transferring to a wire cooling rack to cool completely.

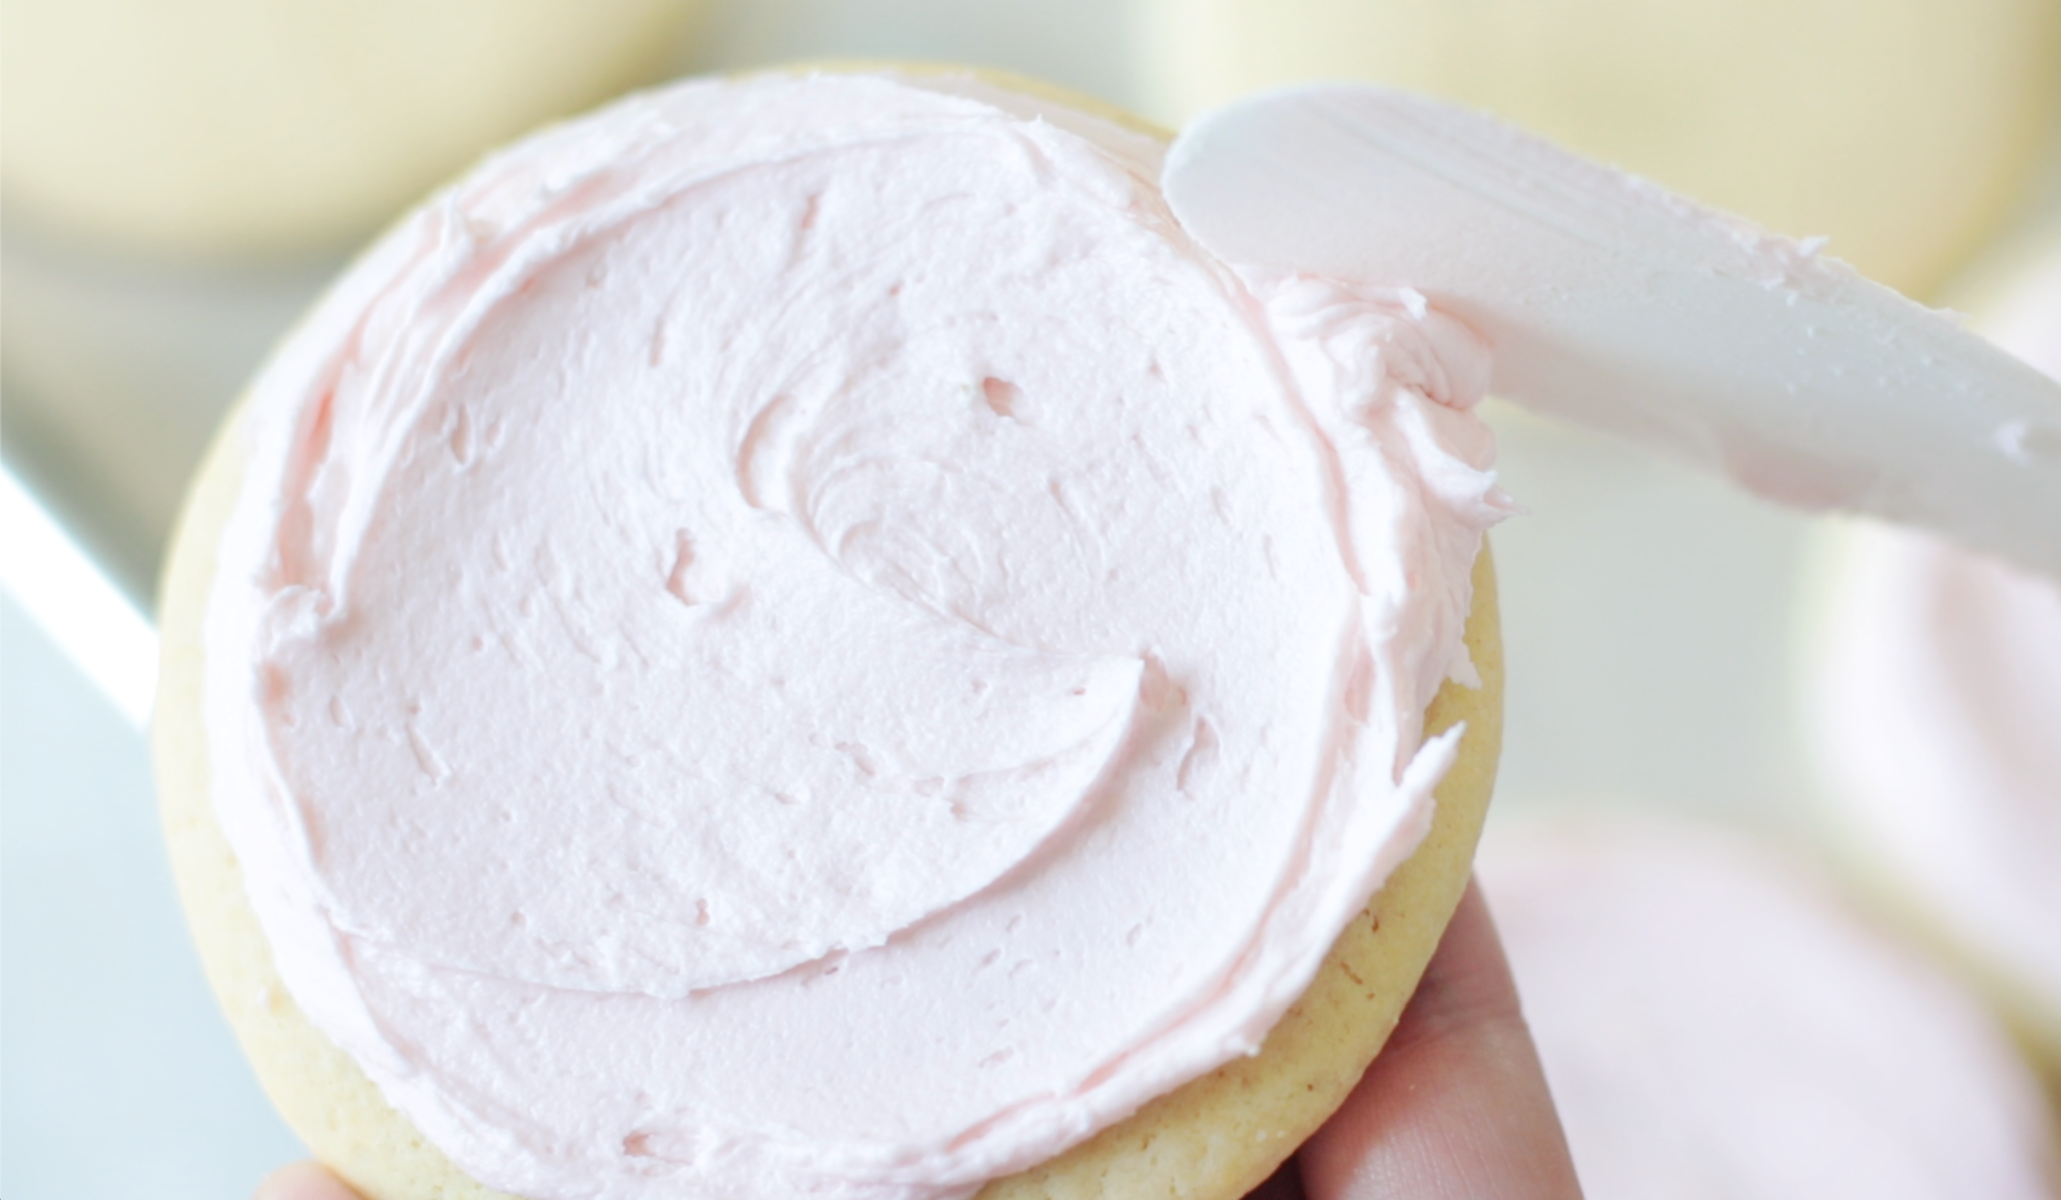
Step 6: Whisk glaze ingredients together. Dip the top of each cookie in glaze, allowing excess to drip off. You don't need much glaze on each cookie, just a light coating.
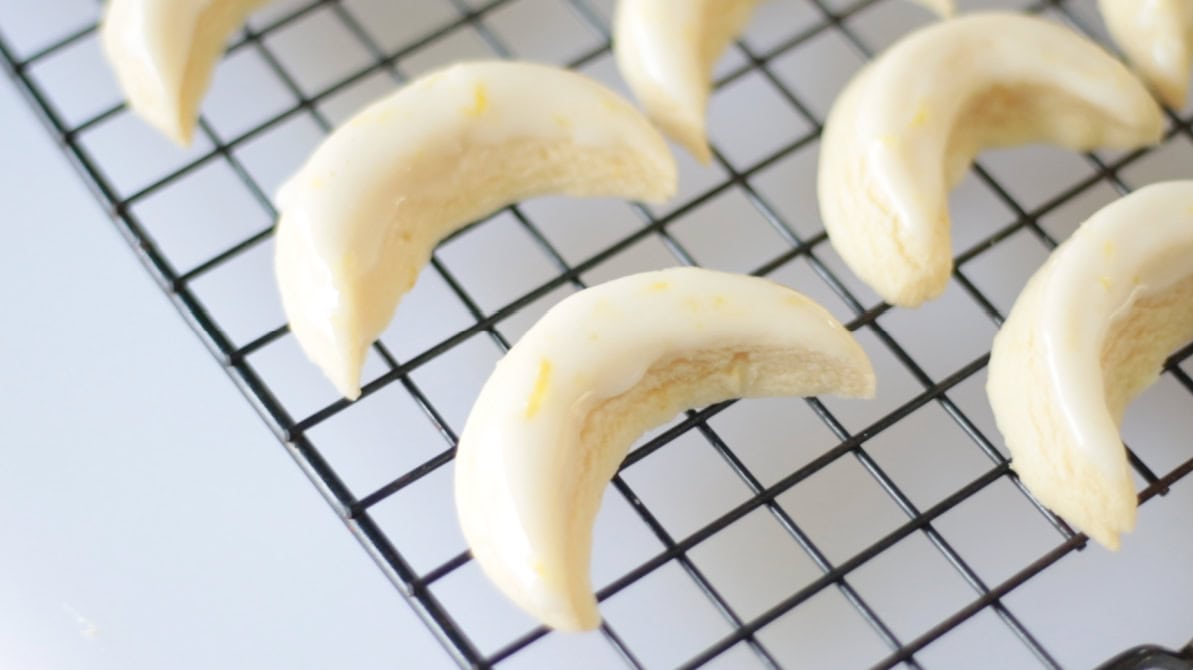
The glaze will set up quickly. Store cookies in an airtight container to keep them fresh.
Vera's Lemon Cookies FAQs
Some people may not care for the texture of lemon zest, but I highly recommend using it in both the cookies and the glaze for the best lemon flavor. If you choose to omit it, you can add a bit of lemon extract in its place.
Not overbaking these cookies is key. Tip #1: Use light colored baking sheets for even baking. Tip #2: Only bake the cookies 9-11 minutes. Do not bake until they are golden. They will continue to bake as they cool on the baking sheet for 2 minutes after they come out of the oven.
Yes, you can absolutely use margarine instead of butter. Margarine does not taste as good as butter, but it does help cookies keep their shape.
More Lemon Recipes To Make
MADE THIS RECIPE AND LOVED IT? 💛 Please leave a STAR rating and COMMENT below! Post it to Facebook or Pinterest to easily share with friends!
Copycat Maggiano's Lemon Cookies
Ingredients
- 1 cup butter softened, but still cool to the touch.
- 1 ½ cups powdered sugar
- 1 large egg
- 1 teaspoon vanilla
- 1 Tbsp. lemon zest
- 1 teaspoon baking powder
- ¼ cup corn starch
- 2 ¾ cup all-purpose flour
Lemon Glaze
- 1 ½ cup powdered sugar
- 3-4 Tbsp. lemon juice
- 1 teaspoon lemon zest
Instructions
- Preheat oven to 325 degrees. Line a few baking sheets with parchment paper.
- In a large mixing bowl, combine butter and powdered sugar. Beat until fluffy. Turn the mixer down and add the egg, lemon zest, and vanilla extract. Add baking powder. Add the flour and cornstarch and mix thoroughly. Keep mixing until the dough comes together.
- Transfer the dough to a floured surface and roll out ½" thick.
- Use a circle cookie cutter to cut the dough into round shapes.
- Use that SAME cookie cutter to cut out a crescent shape. Check out my video for a great visual on how to do this. Continue cutting out shapes, pressing scraps together, and rolling out again, until all of the dough has been used.
- Place cookies on baking sheets, 1" apart. Bake cookies for 9-10 minutes. Let cookies cool on the pan for 2 minutes before transferring to a wire cooling rack to cool completely.
- Whisk glaze ingredients together. Dip the top of each cookie in glaze, allowing excess to drip off. Place cookies back on the wire cooling rack or baking sheet. The glaze will set up quickly.
Video
Notes
-
- Do not overbake cookies. Many sugar cookie recipes say to bake until the bottoms are lightly golden. Don't. These bake for 9-10 minutes at a lower heat (325 degrees), then cool for 2 minutes on the pan before being pulled off. This keeps the centers soft and the bottoms baked, but not golden.
-
- Store cookies in an airtight container. Allow the cookies to cool completely, then store them in a container with a lid. They actually taste even better after an hour or two in the container, as it allows the centers to soften even more and the lemon flavoring to develop.