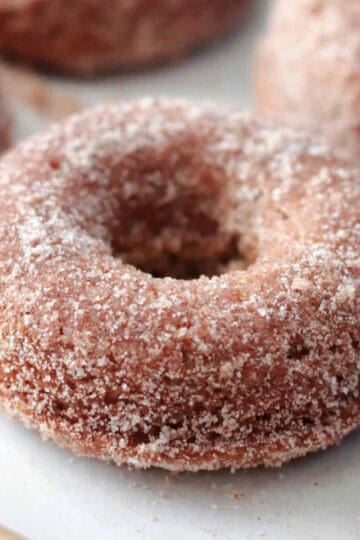
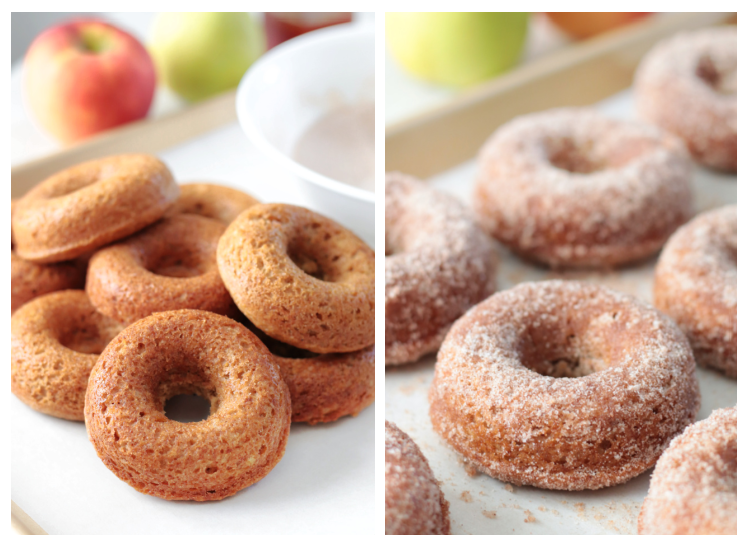
Nothing brings in the flavors and scents of fall like cinnamon and cider. These baked apple cider donuts are easy to make, with a soft texture and cinnamon sugar coating. They stay soft for several days and are simply delicious!
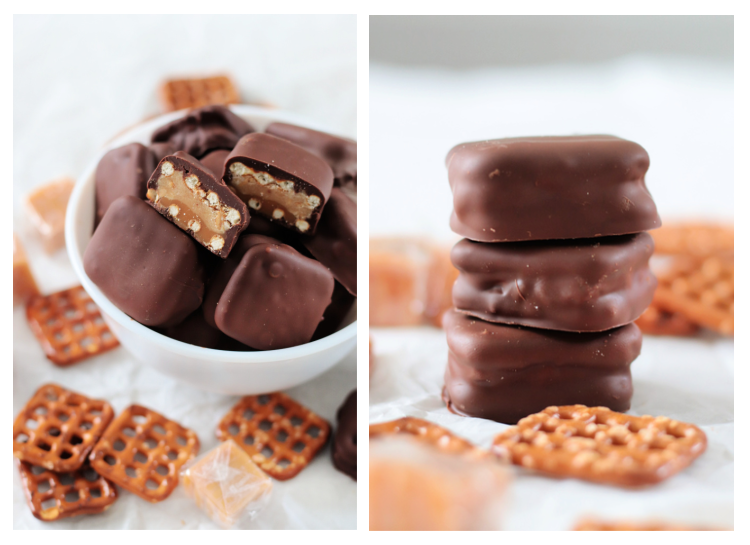
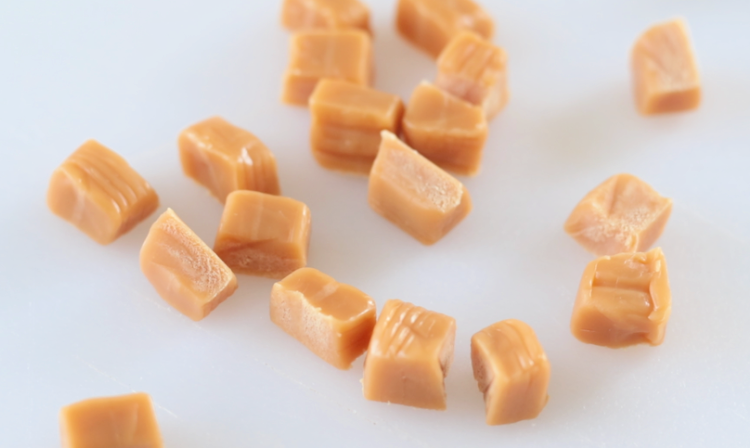
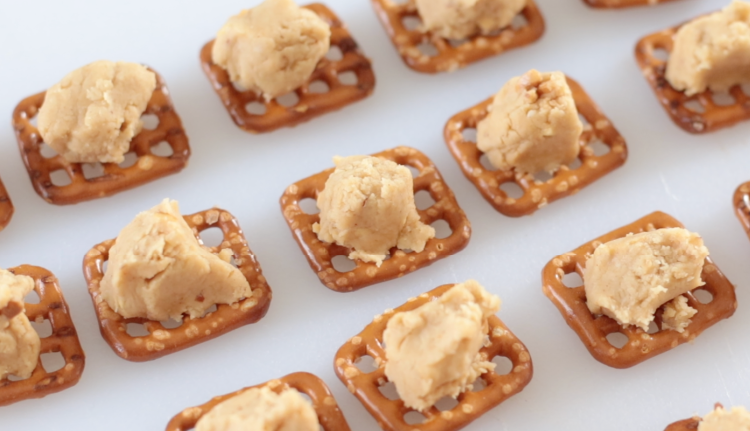
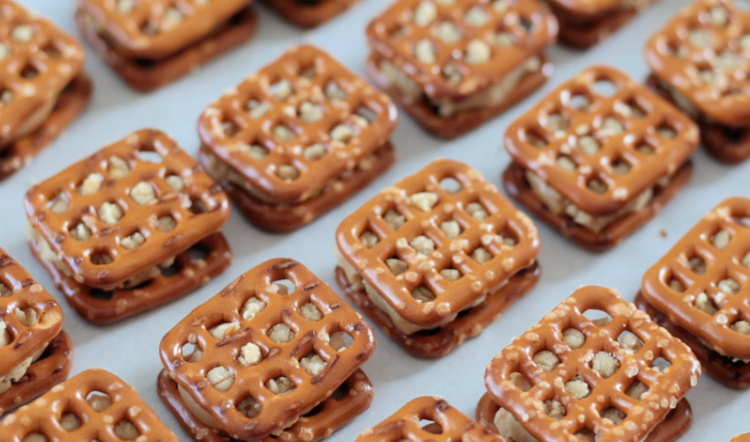
You might also like our apple cider caramels, apple cider fried donuts, or our boiled cider syrup recipe.
When we lived in California, cider donuts were a staple treat in the fall. Everyone in Northern California knows about Apple Hill and its dozens of adorable shops, orchards, and food stands. One of our favorite shops sold fresh apple cider donuts. They were warm and melted in your mouth. Today I'm sharing an easy baked version of their famous cider donuts.
Why I Like This Recipe
- 30-minute Recipe. You can't say that about most donut recipes, but baked donuts like these and my baked pumpkin donuts come together quickly!
- Burst of Flavor. Because the cider is simmered down to a concentrate, you get a burst of flavor in every bite. The combination of apple cider and fall spices is so cozy and comforting.
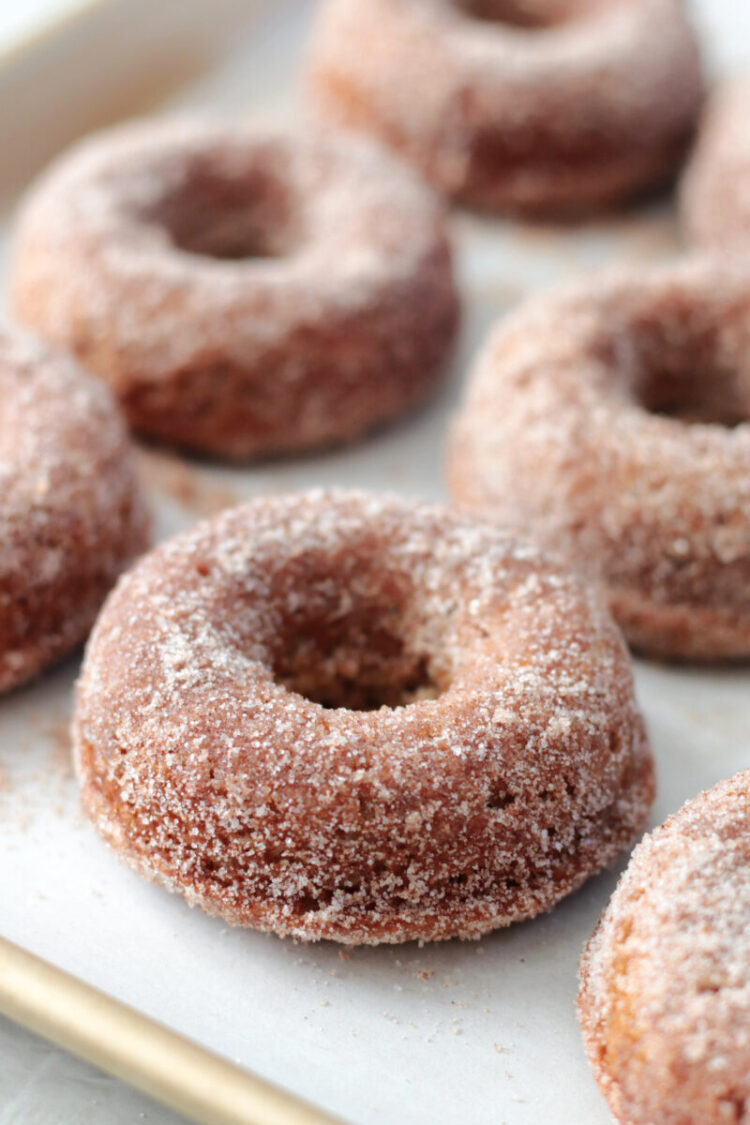
- Makes Wonderful Leftovers. One batch makes 12-14 donuts, and they'll stay soft for a few days. You can reheat any leftovers for a few seconds in the microwave, bringing them right back to their fresh-from-the-oven glory.
Tips and Tricks
- Coat with Cinnamon and Sugar. These donuts are delicious straight from the oven, but even more delicious brushed with butter and covered in cinnamon and sugar. This gives them their signature flavor and sticky texture.
- Use Boiled Cider Syrup (if possible). I discovered boiled cider this year and am a huge fan! Boiled cider is an apple cider reduction made from 100% apple cider. That’s it! It’s simmered down until it produces an absolutely delicious syrup, added to recipes or reconstituted into cider by adding hot water. You can make these cider donuts by simmering 2-4 cups of cider down to ½ cup, but I HIGHLY recommend following our boiled cider syrup method and using an entire gallon of cider so that you’ll have extra. I promise that you’ll find so many ways to use it (hot cider, pour over pancakes, add to muffin, easy homemade caramels, or pancake batter-so many possibilities!). One gallon will reduce to 2 cups of boiled cider syrup, which is shelf-stable and lasts a long time.
- Don't Overfill the Donut Pan. This recipe yields 12-14 donuts, depending on how much you fill the pan. The more you fill the pan, the more you risk losing the hole in the center when they bake, so try to avoid overfilling the pan.
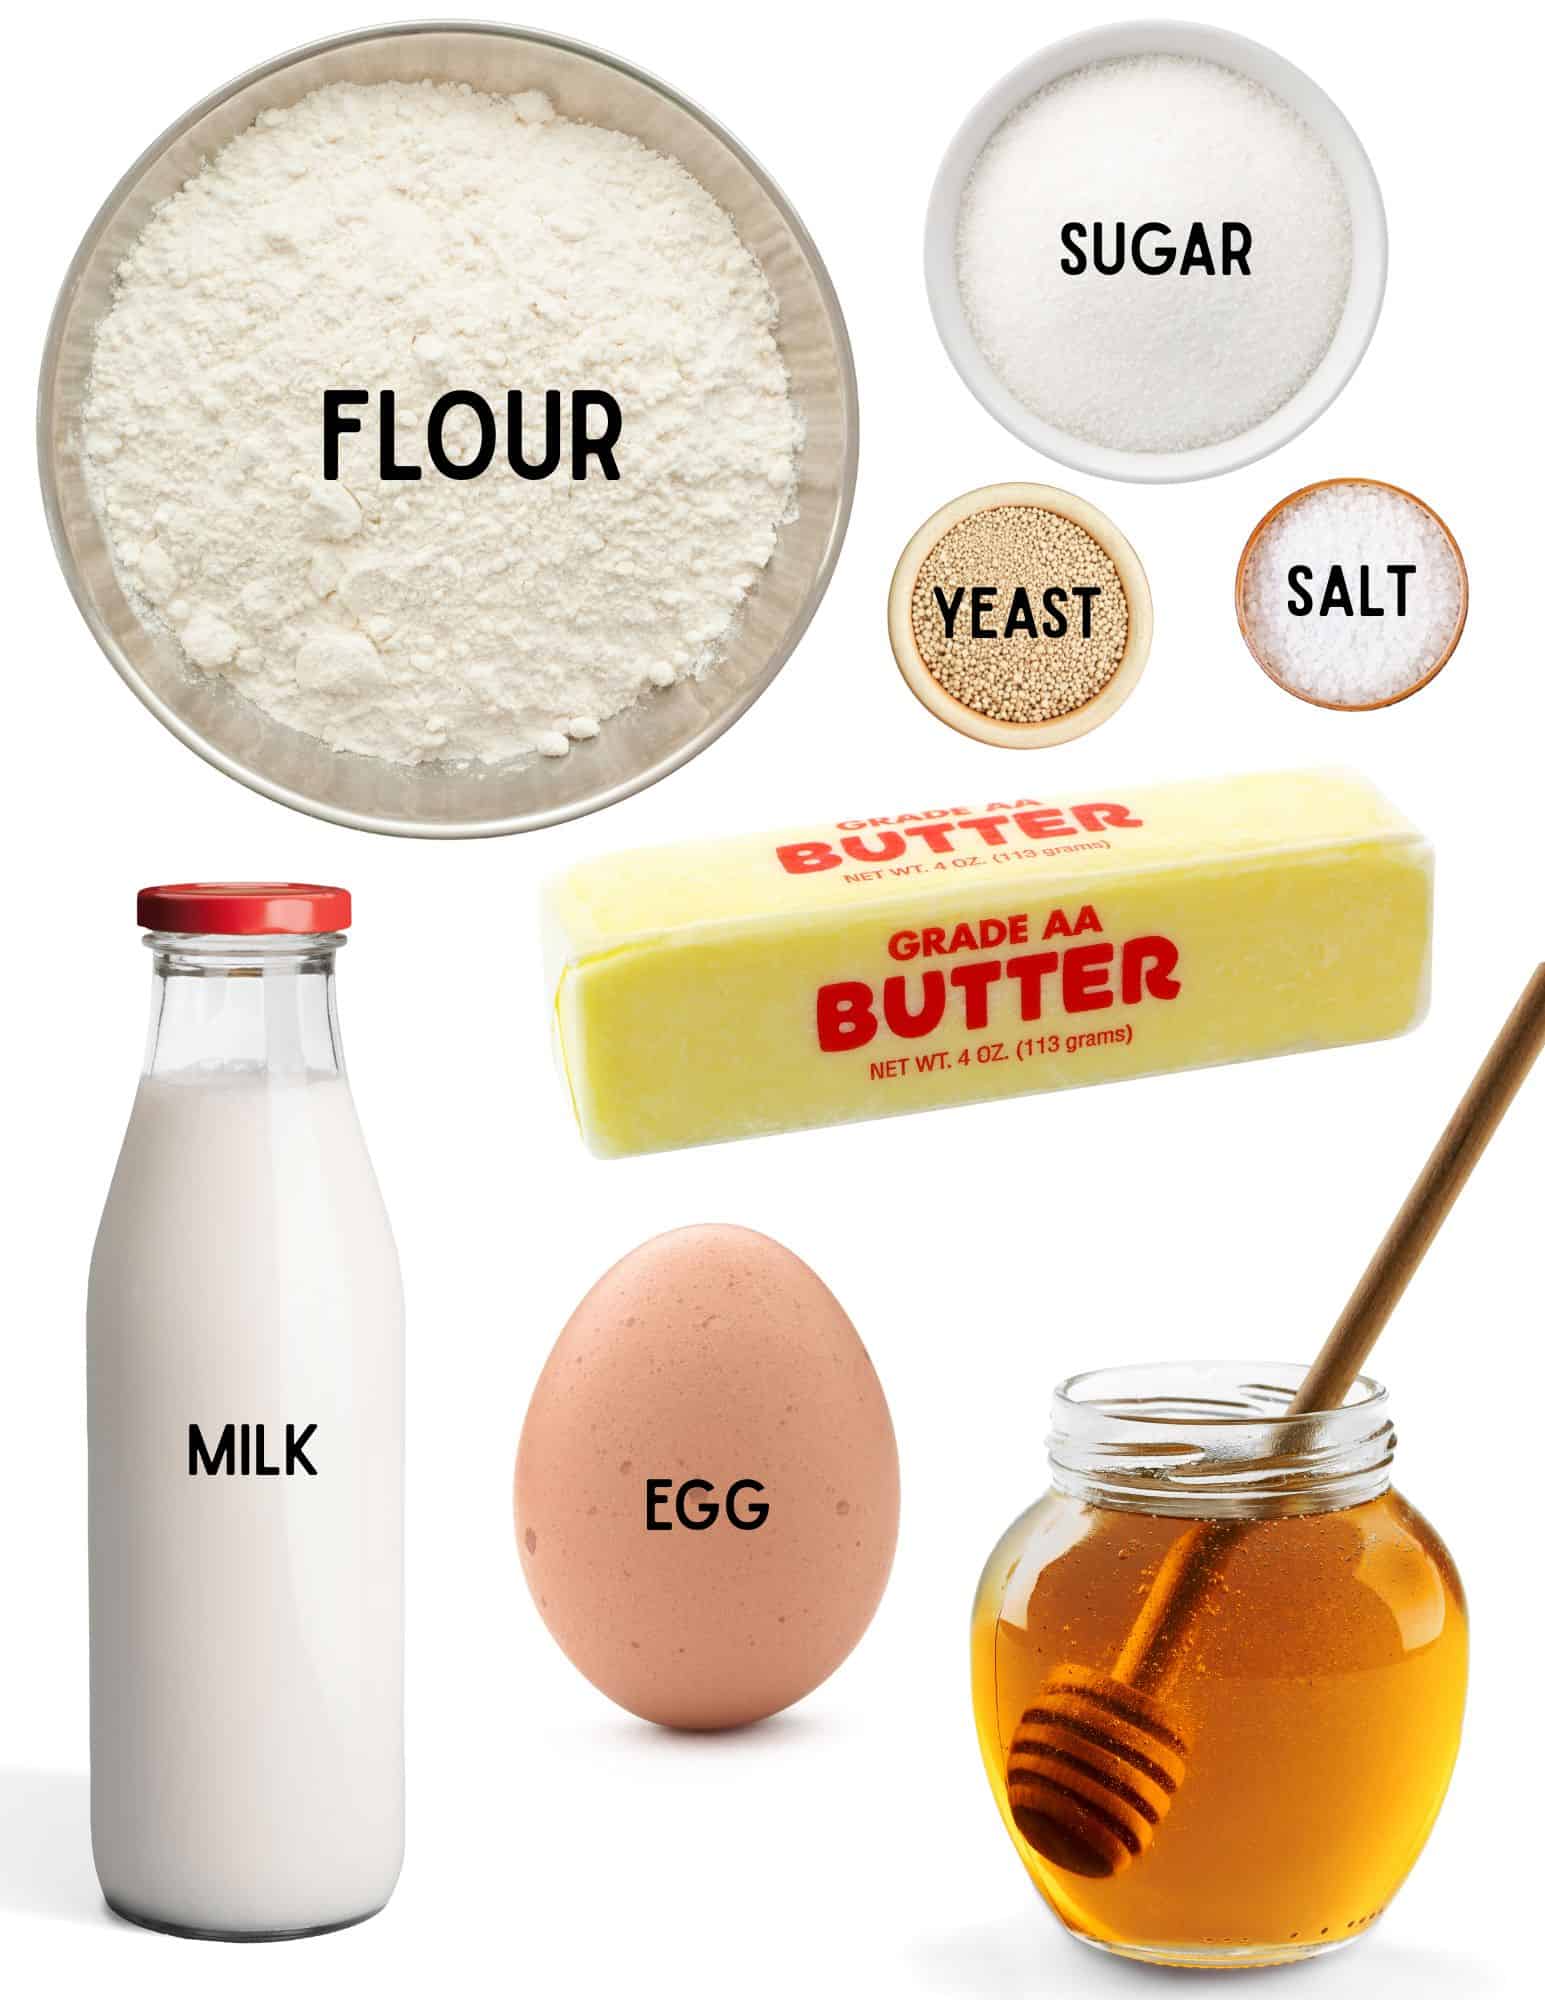
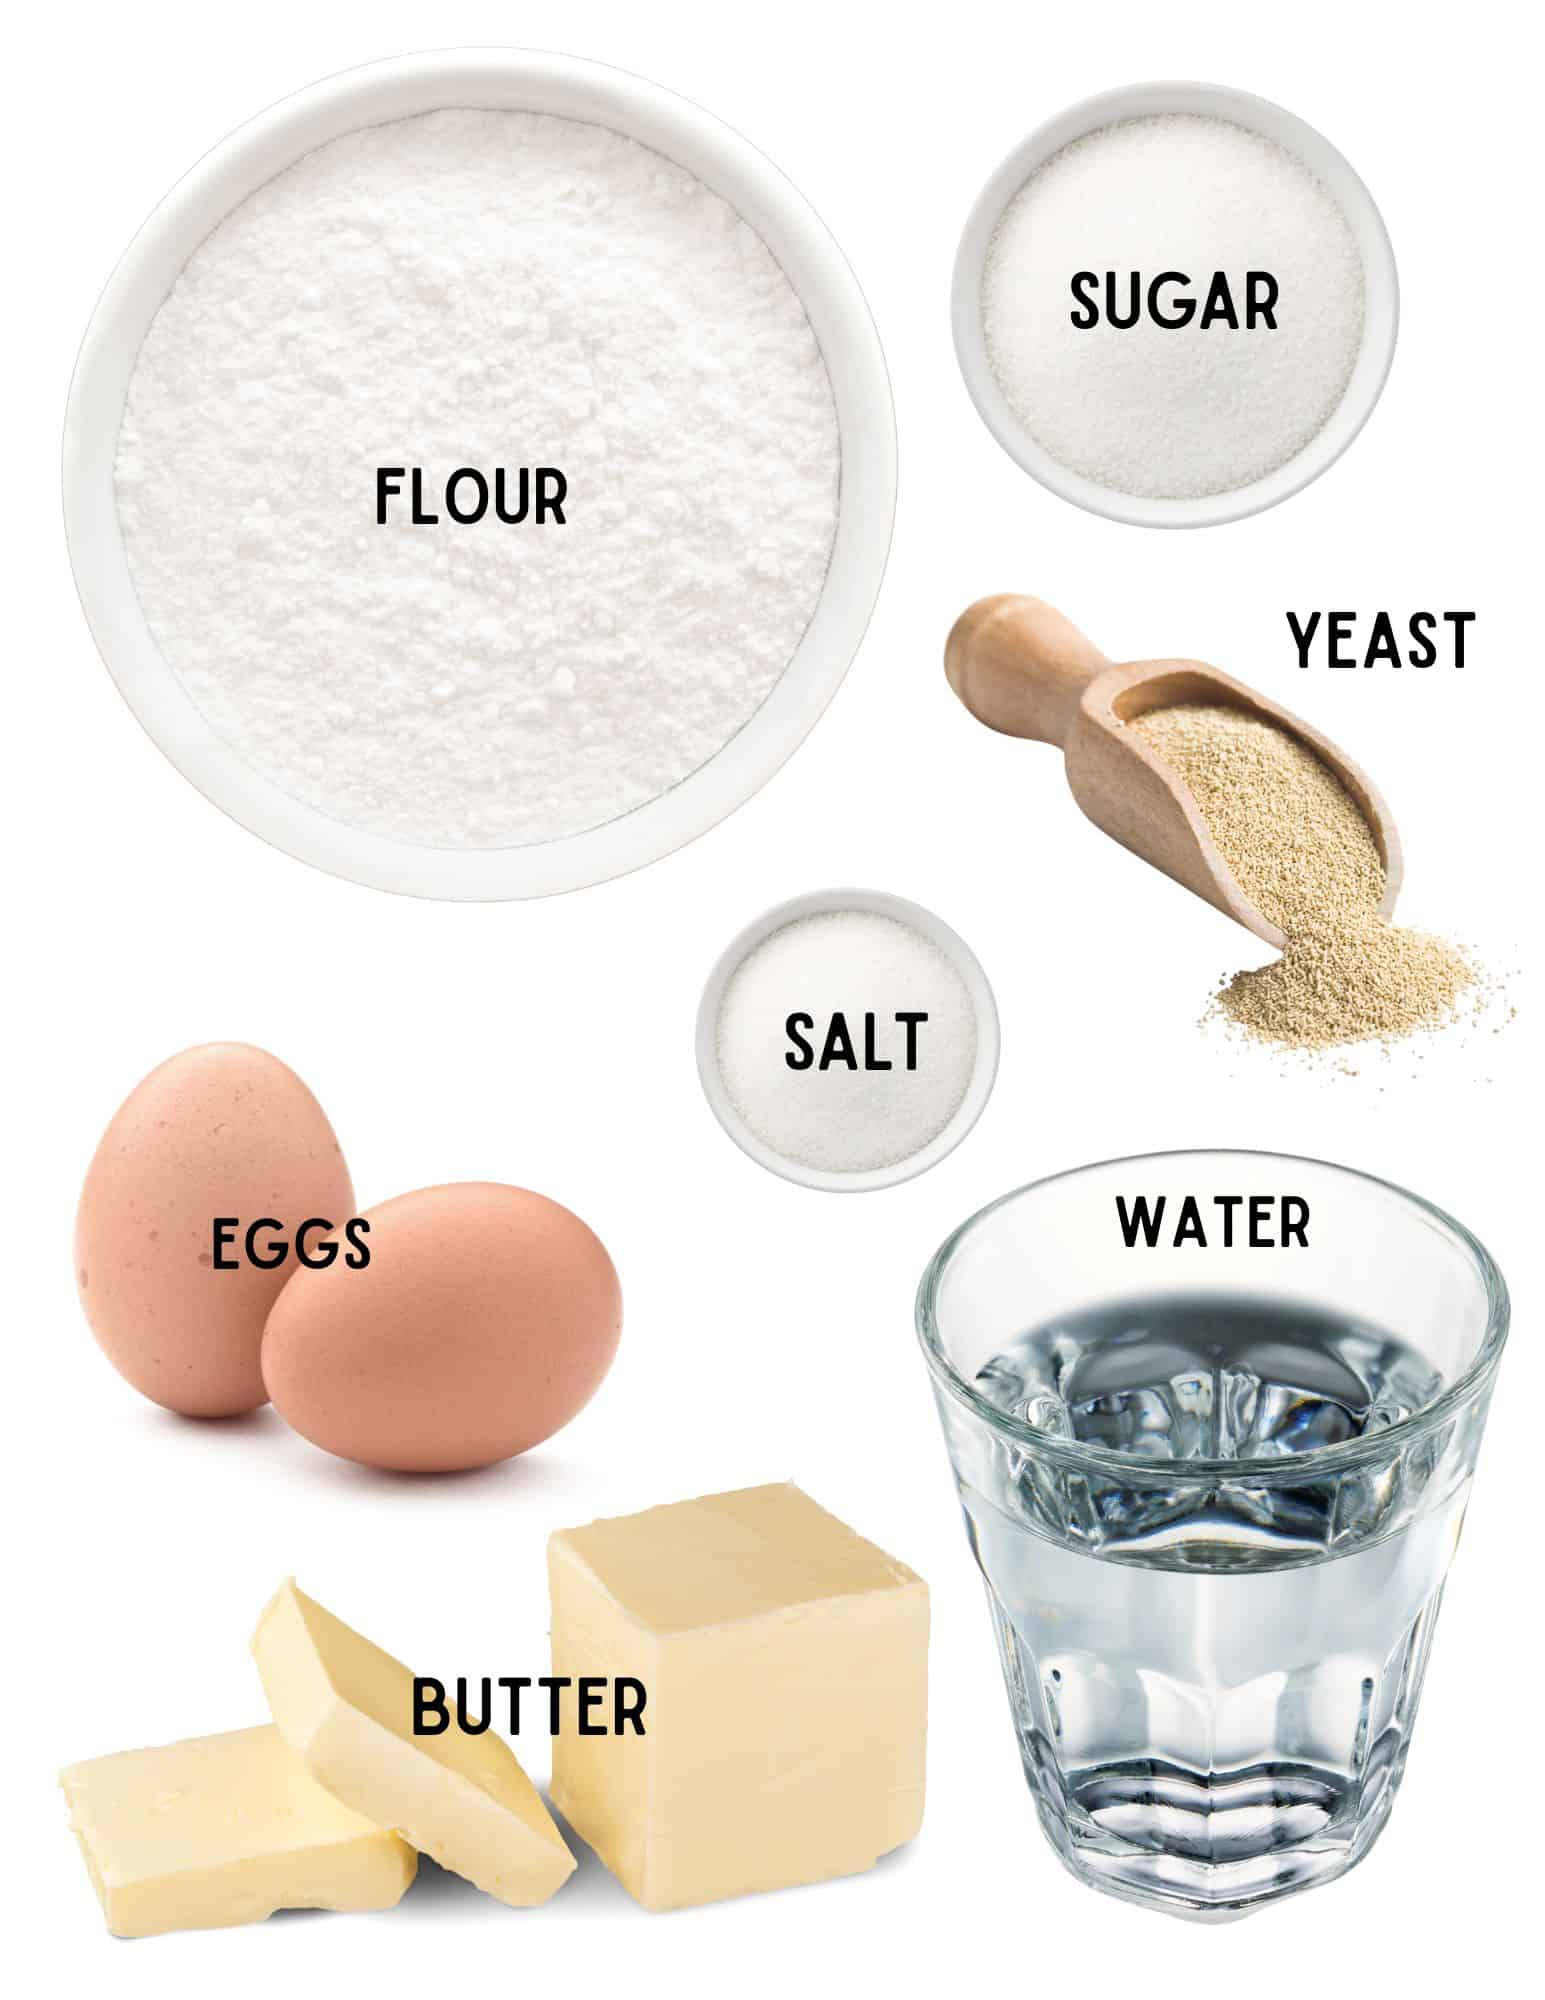
🥣Recipe Ingredients
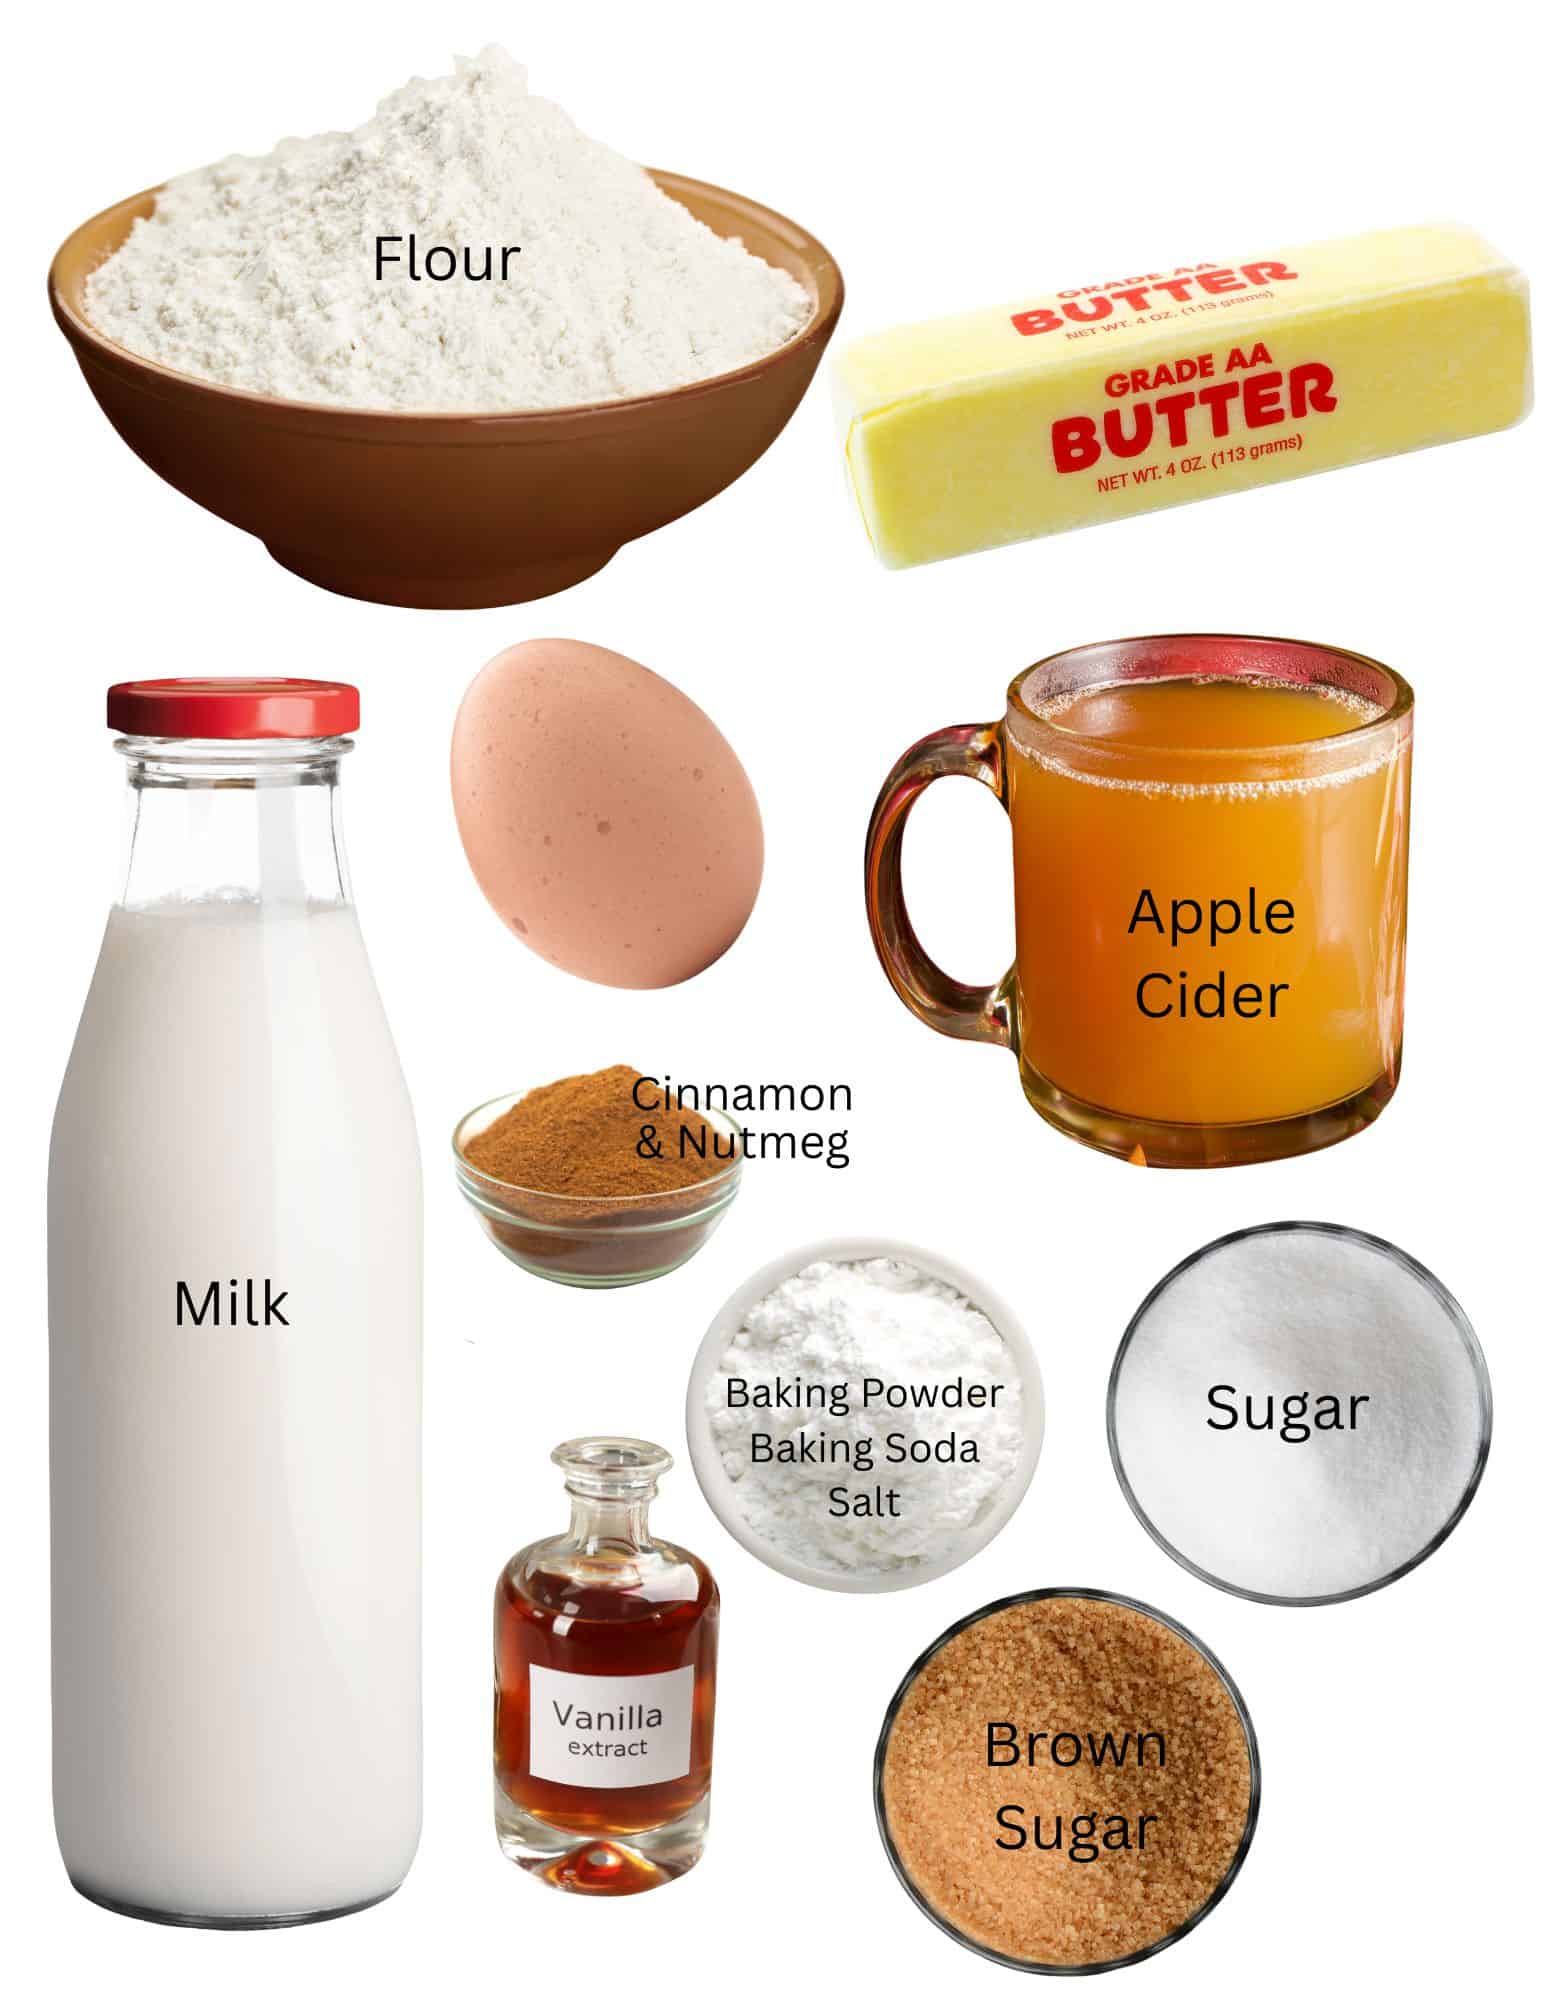
- Boiled apple cider (if you don't want to use an entire gallon of cider, you can simmer 4 cups of apple cider down to ½ cup.)
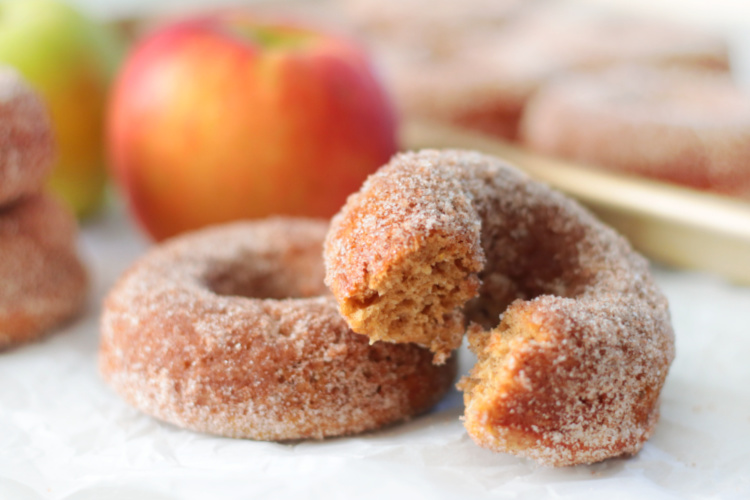
- Cinnamon and nutmeg: the combination of ground cinnamon and nutmeg gives the donuts a wonderful flavor, reminiscent of apple pie.
- Brown sugar and white sugar: I use both for the right balance of sweetness and moisture.
- Melted butter: not only is melted butter used in the batter, a light coating of melted butter also helps the cinnamon and sugar stick.
- Cinnamon and sugar: You can add a pinch of nutmeg to the mixture if you'd like, but I like the classic cinnamon and sugar coating.
See the recipe card for full information on ingredients and quantities.
How To Make Baked Cider Donuts
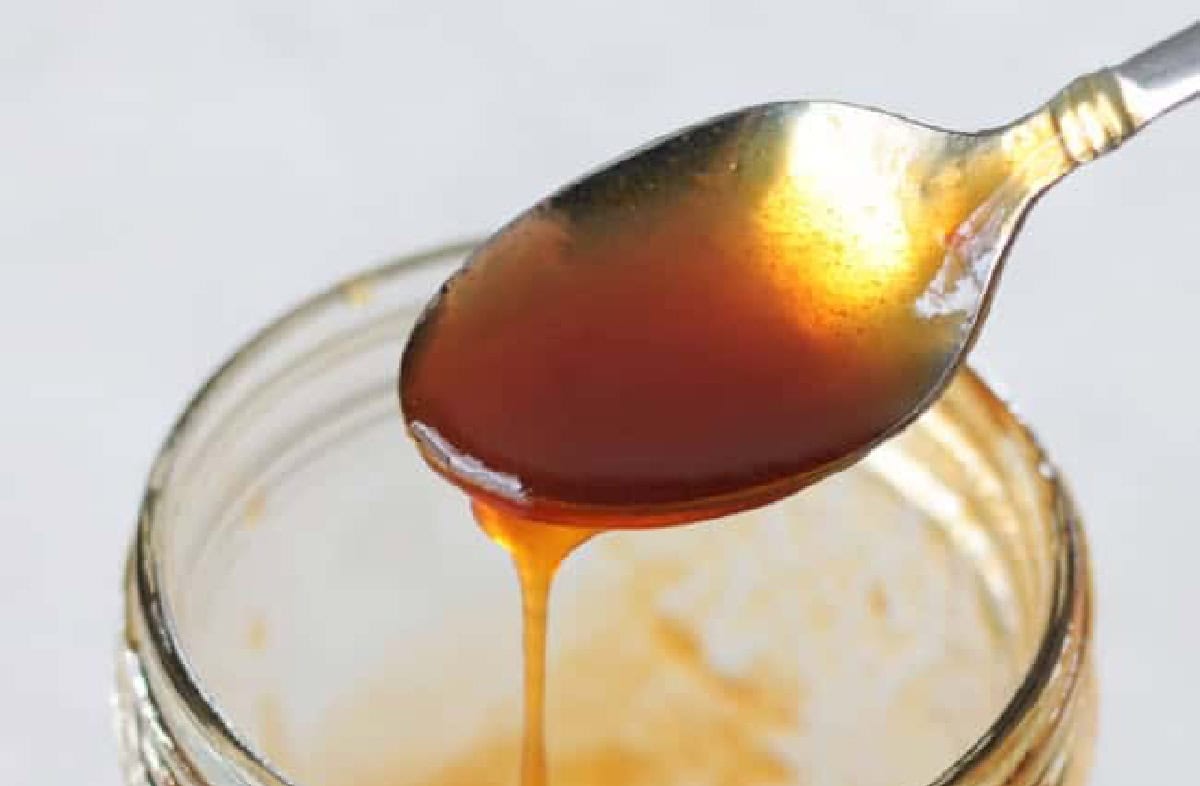
Step 1: Measure out ½ cup of boiled cider or make your own by simmering 4 cups of 100% apple cider (no preservatives) down to ½ cup in a small saucepan. Follow my instructions in this post, watching carefully as it approaches the ½ cup measurement to prevent burning. Set aside.
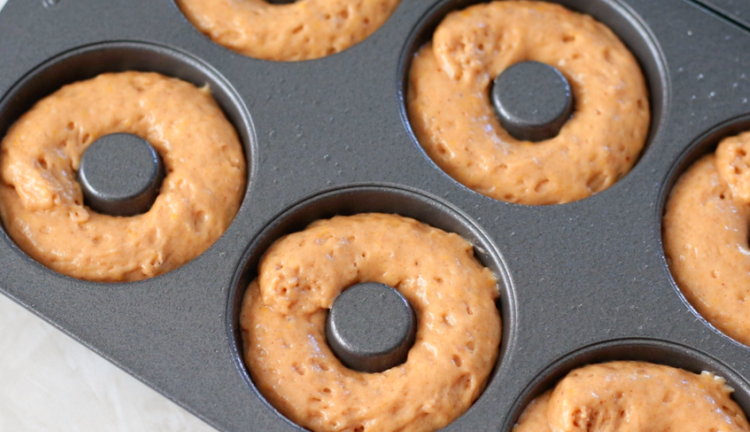
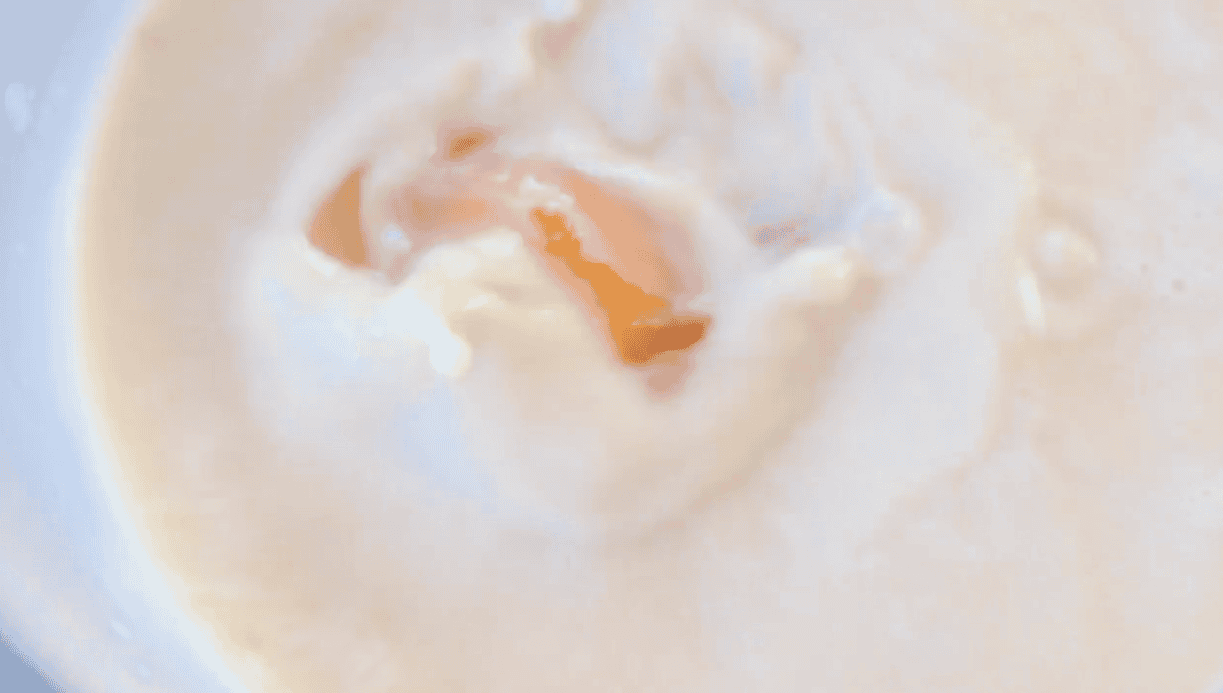
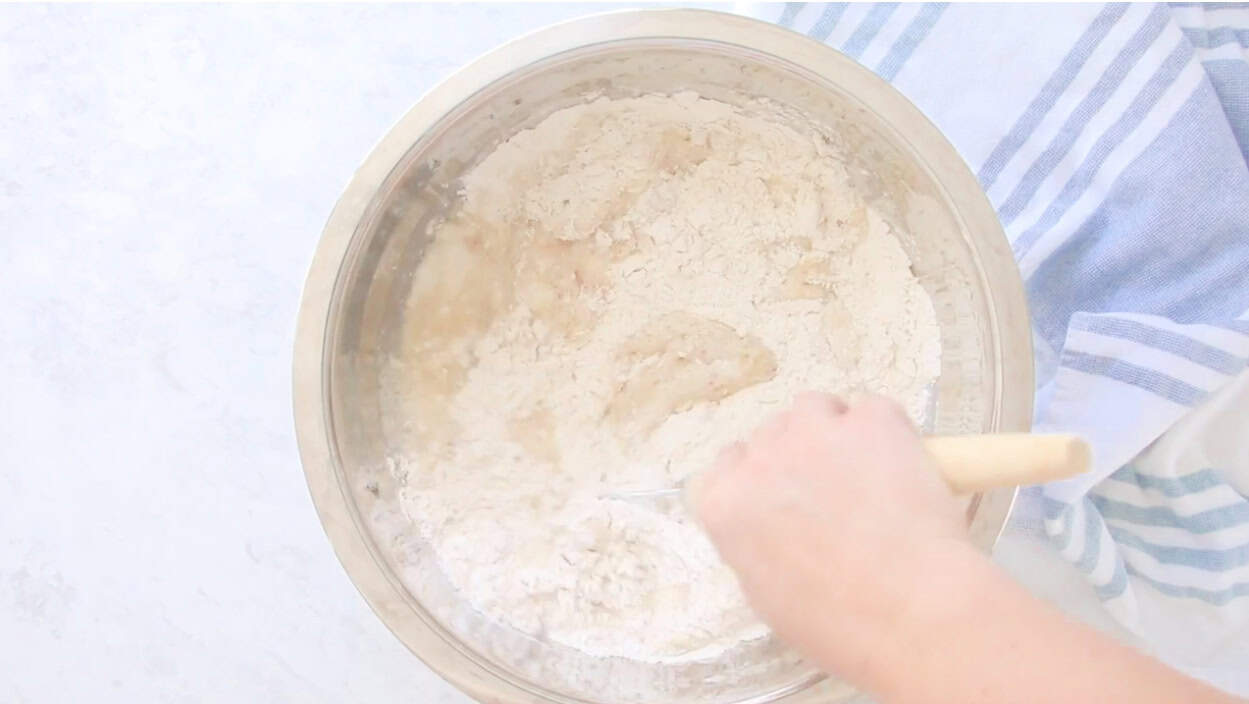
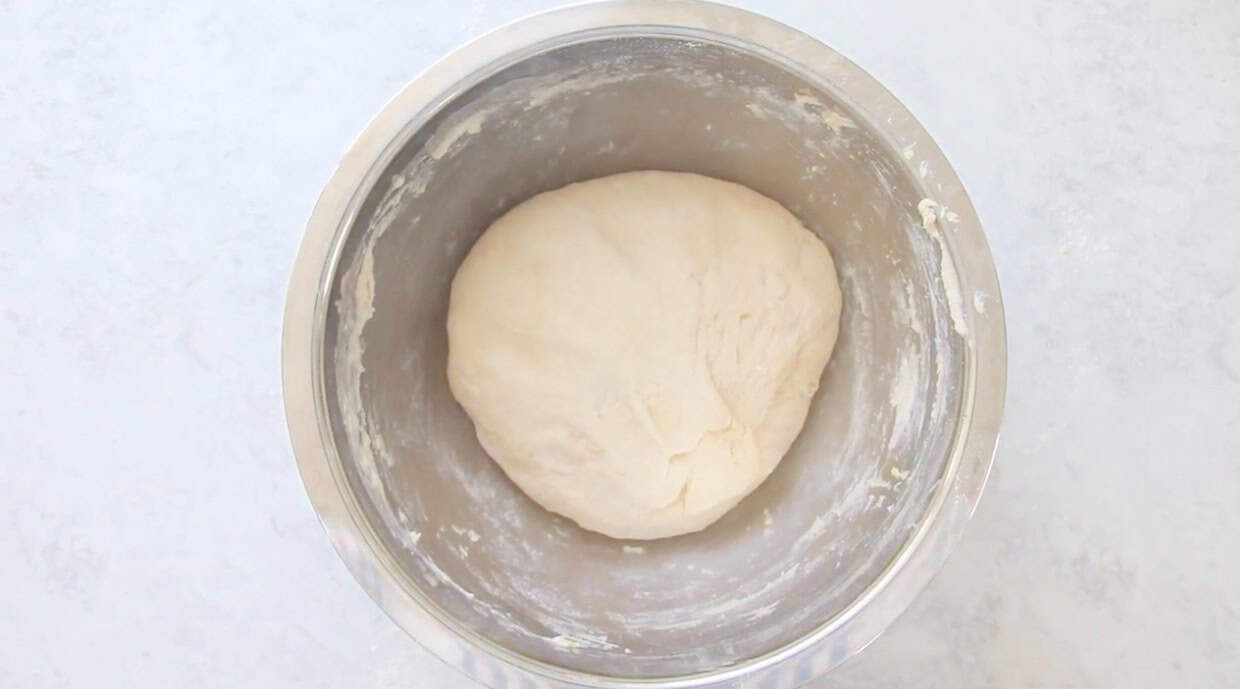
Step 2: Combine the donut ingredients together in a large mixing bowl. Transfer the batter into a gallon-sized Ziploc bag and cut the corner of the bag off using a pair of scissors. Squeeze the batter into the donut cavities.
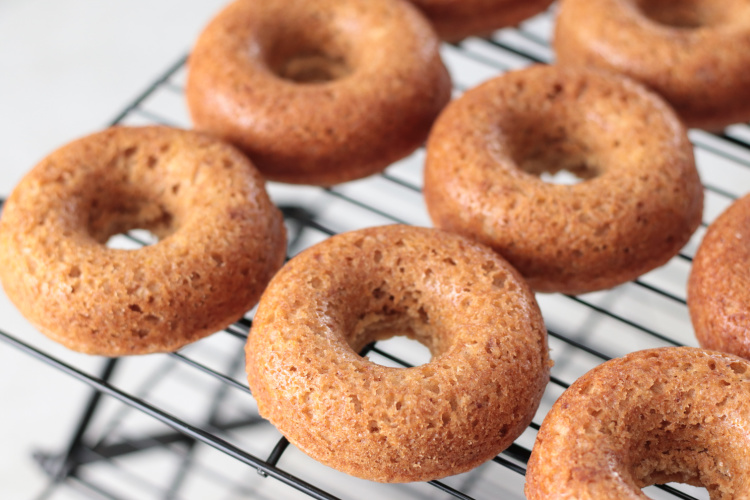
Step 3: Bake the cider donuts at 350 degrees for 10-11 minutes. A toothpick inserted should come out clean. Let donuts cool in the pan for a couple of minutes, then transfer to a cooling rack.

Step 4: Let the donuts cool until they are easy to handle. Brush each donut on both sides with a thin layer of melted butter.
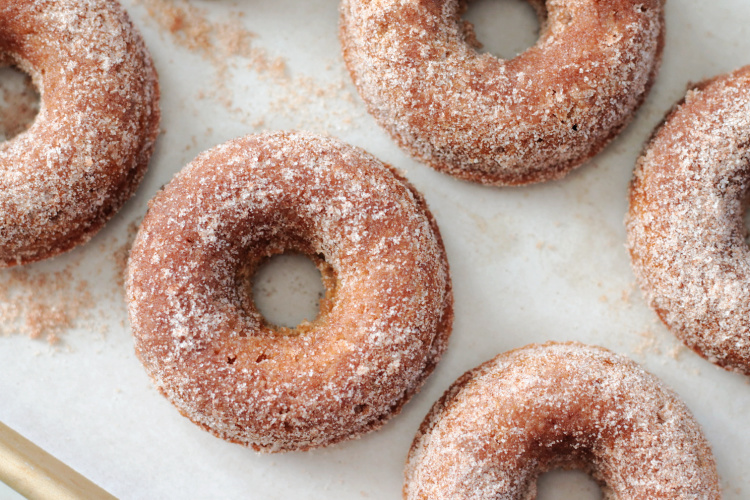
Step 5: Cover the donuts with cinnamon and sugar, tapping to allow excess to fall back into the bowl.
Baked Donut FAQs
Store donuts in an airtight bag or container for up to 3 days at room temperature.
For this recipe, yes. The batter is not sturdy enough to roll out and cut with a donut cutter like I do when making fried apple cider donuts. You'll need to use a metal donut pan to create the perfect shape when baked.
Fried raised donuts will always have a classic texture and taste that cannot be completely replicated. That said, baked donuts are delicious in their own right.
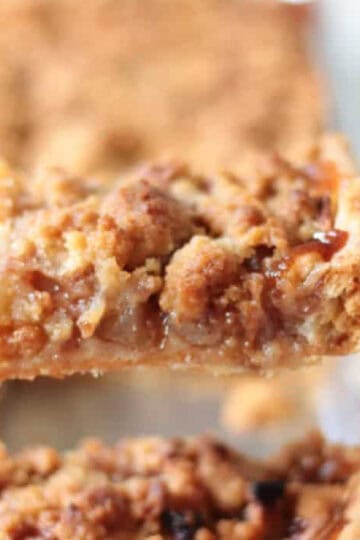
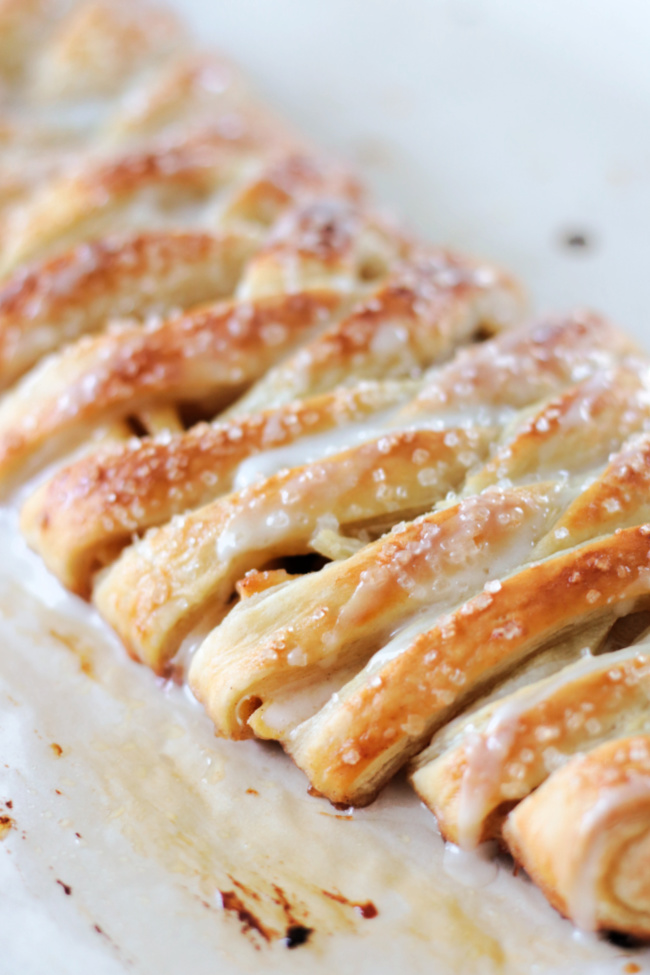
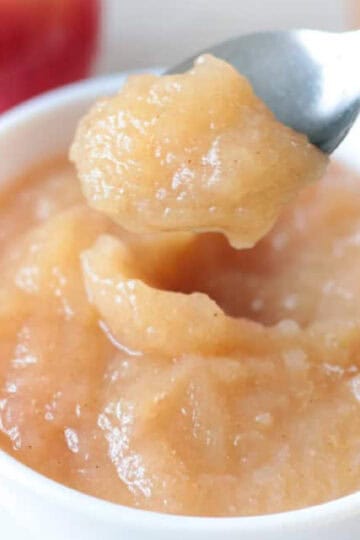
More Apple Recipes To Make
MADE THIS RECIPE AND LOVED IT? 💛 Please leave a STAR rating and COMMENT below! Post it to Facebook or Pinterest to easily share with friends!

Baked Apple Cider Donuts
Ingredients
- ½ cup boiled cider
- 2 cups all purpose flour
- 1 teaspoon baking soda
- ½ teaspoon baking powder
- ¼ teaspoon salt
- 1 ½ teaspoons ground cinnamon
- ½ teaspoon ground nutmeg
- ¼ cup melted butter
- ½ cup brown sugar
- ⅓ cup white sugar
- 1 large egg
- ½ cup milk
- 1 teaspoon vanilla extract
Topping
- ¼-1/3 cup melted butter
- 1 cup sugar
- 2 teaspoons ground cinnamon
Instructions
- Prepare a donut pan by spraying with non stick cooking spray. Most donut pans have 6 cavities. I have two pans so that I can make more donuts at once. If you only have one pan, just bake the donuts in 2-3 batches.
- Measure out ½ cup of boiled cider or make your own by simmering 4 cups of 100% apple cider (no preservatives) down to ½ cup in a small saucepan. Set aside.
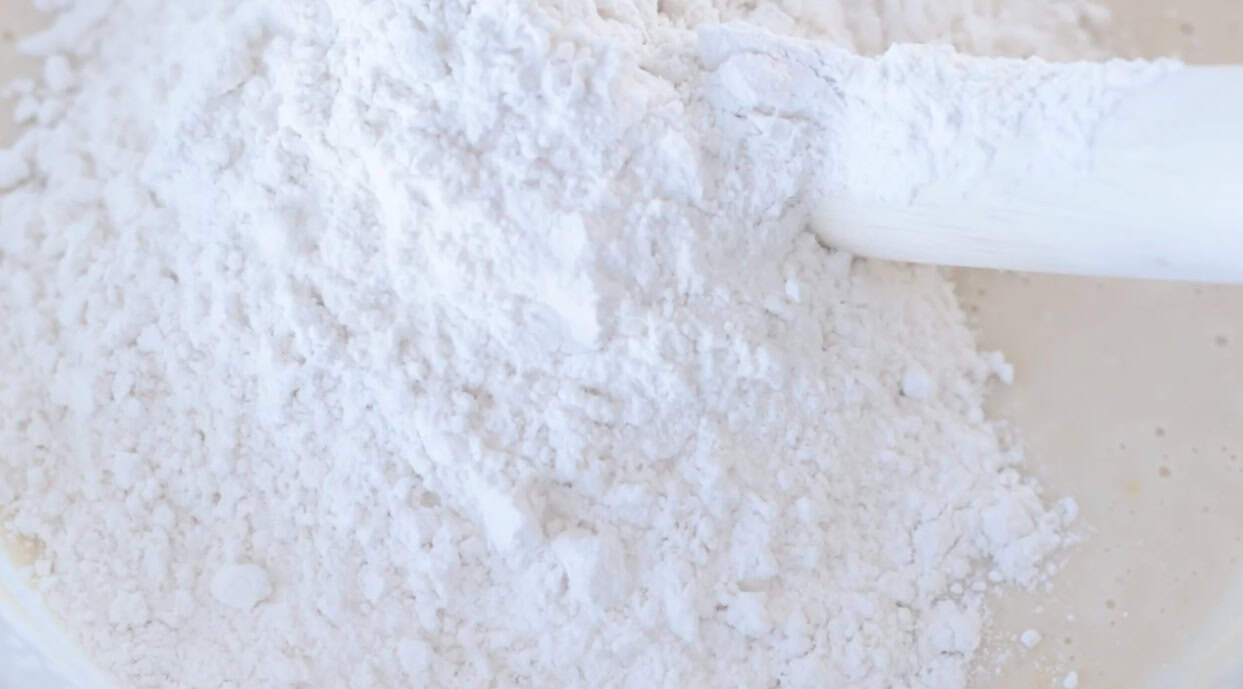
- Whisk dry ingredients together. Set aside.
- Combine melted butter, sugars, egg, milk, boiled cider, and vanilla together in a mixing bowl. Add dry ingredients and mix just until everything is incorporated.
- Transfer the batter into a gallon-sized Ziploc bag and cut the corner of the bag off using a pair of scissors. Squeeze the batter into the donut cavities of the pan.
- Bake the cider donuts at 350 degrees for 10-11 minutes. A toothpick inserted should come out clean. Let donuts cool in the pan for a couple of minutes then transfer to a cooling rack.
- Let the donuts cool until they are easy to handle.
- Brush each donut on both sides with a thin layer of melted butter. Combine cinnamon and sugar in a small bowl.
- Cover the donuts with cinnamon and sugar, tapping to allow excess to fall back into the bowl.
- This recipe yields 12-14 donuts, depending on how much you fill the pan. The more you fill the pan the more you risk losing the hole in the center when they bake so try to avoid overfilling the pan.


