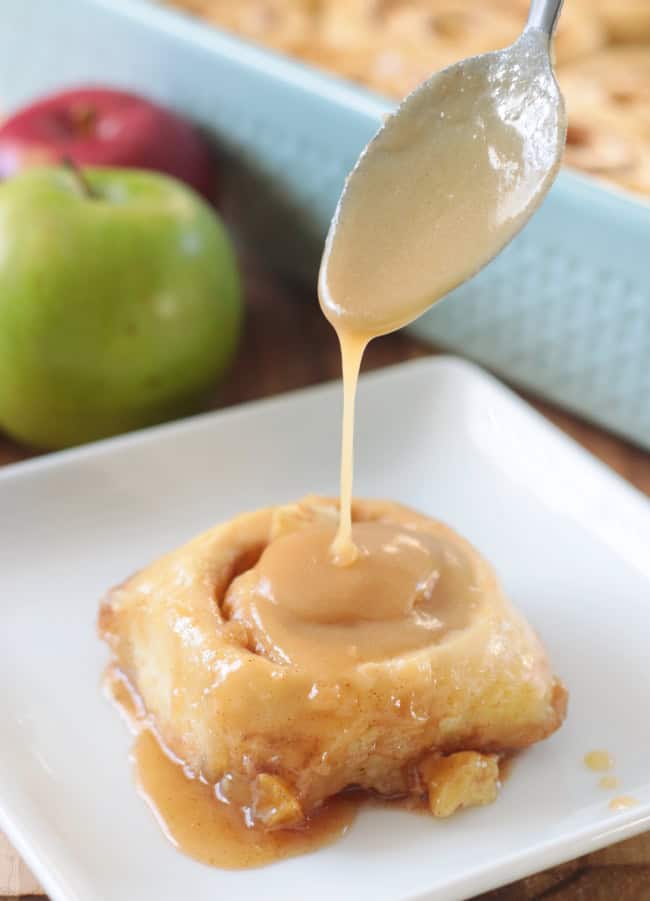
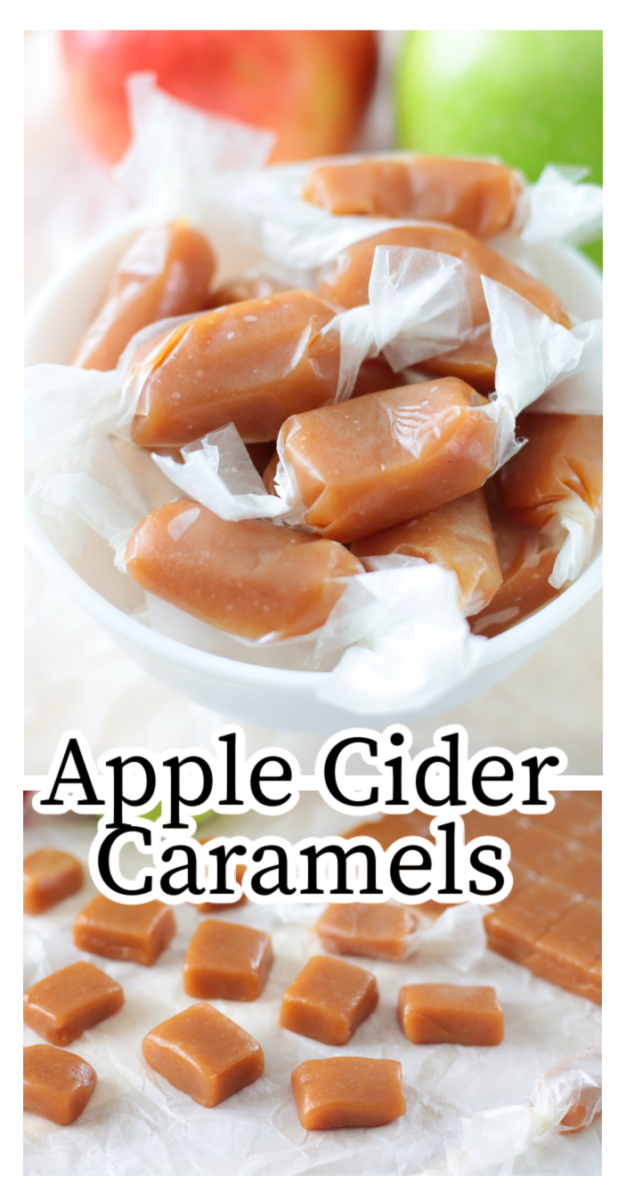
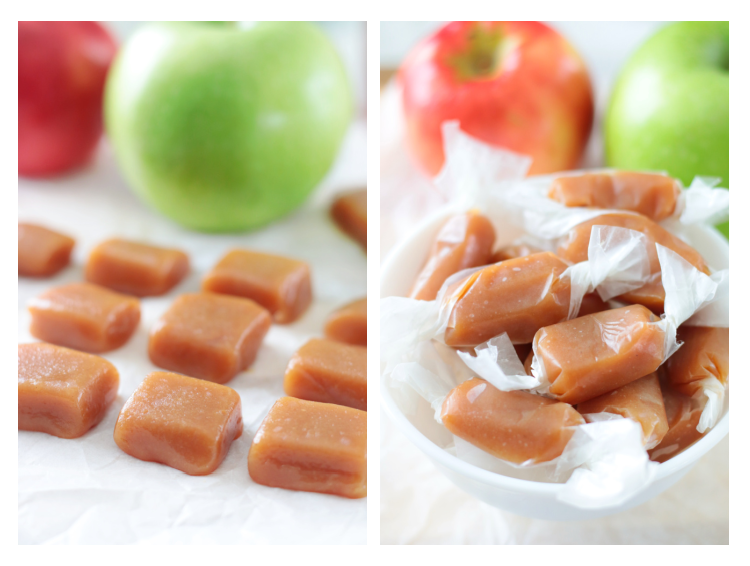
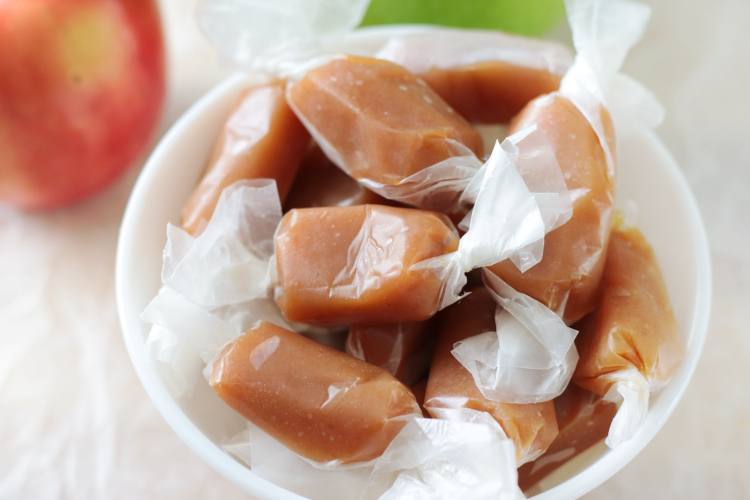
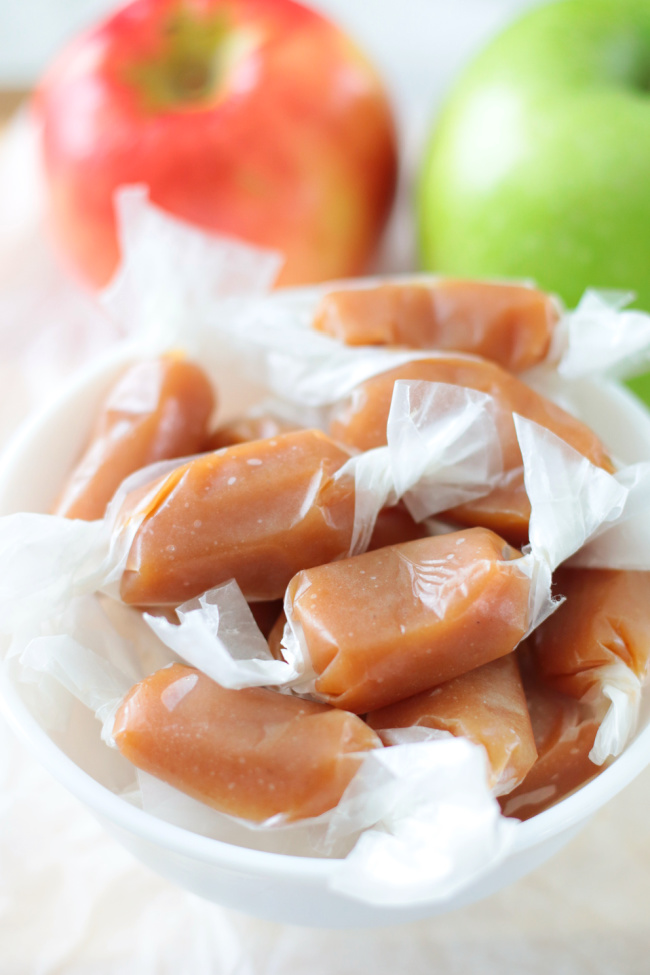
Made with boiled cider, brown sugar, and butter these apple cider caramels are absolutely delicious and easily made in the microwave!
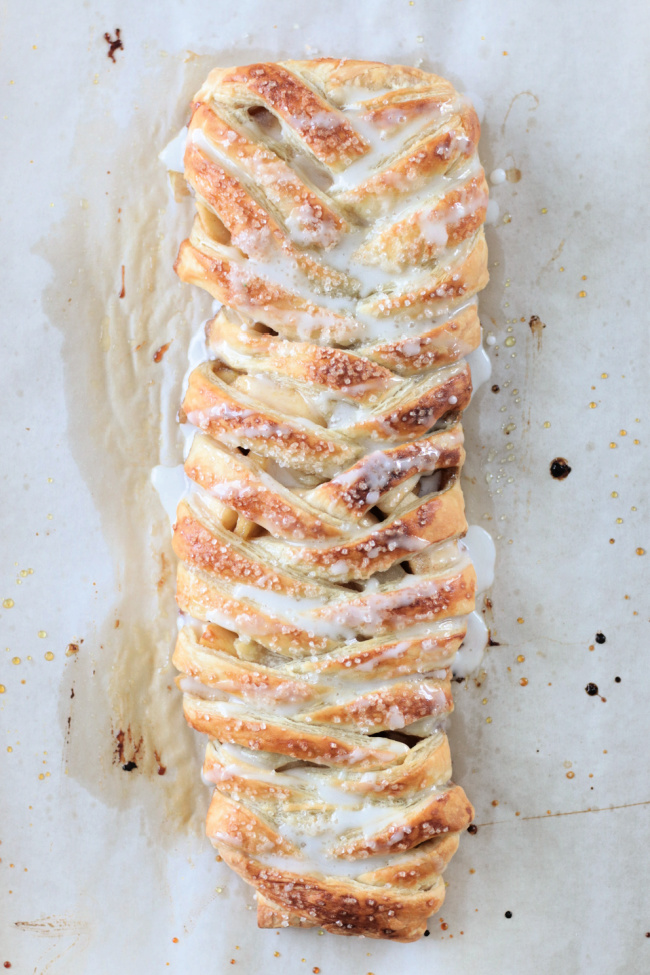
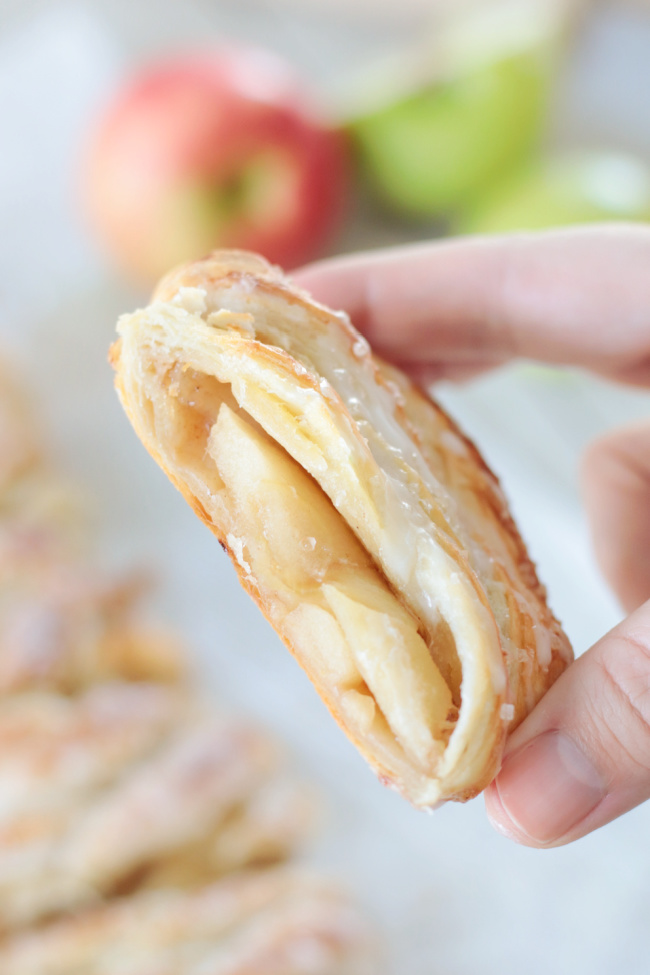
You might also like our easy microwave caramels, our boiled cider (cider syrup) recipe, or our English toffee!
Watch our step by step video!
Apple Cider Caramels
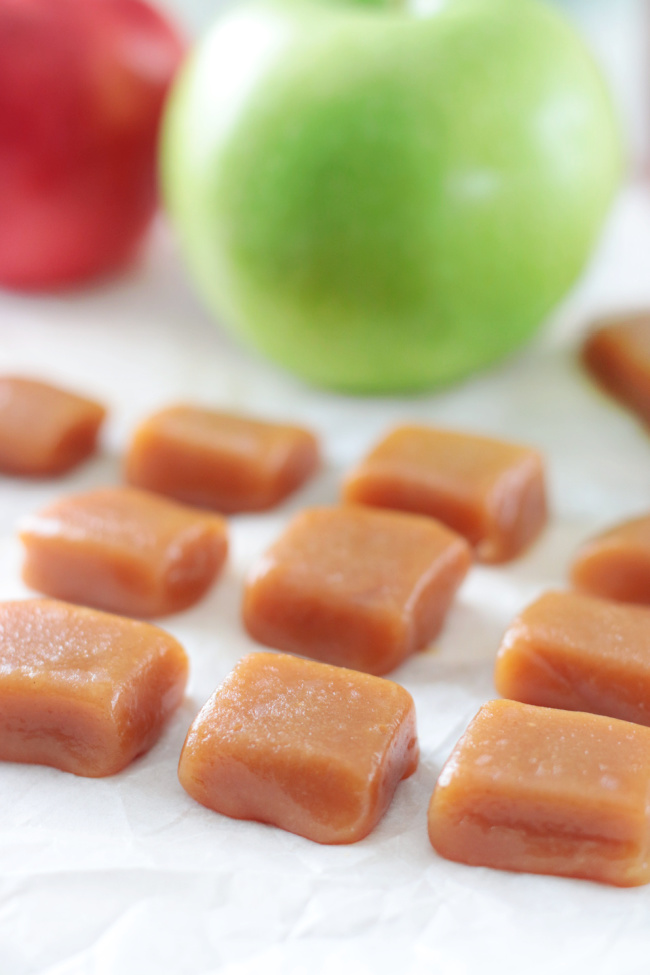
I wasn't sure if homemade caramels could get any better, but apple cider caramels are p-e-r-f-e-c-t-i-o-n. Sweet, buttery, with a hint of tartness from the apple cider concentrate. They are so delicious and perfect for fall. One batch makes 36-48 pieces of candy. I used my homemade microwave caramels recipe and adjusted the cooking time to allow for the addition of apple cider syrup to the recipe. I've also used that same recipe for homemade caramel apples in the fall. It's a great base for homemade caramels.
Boiled Cider
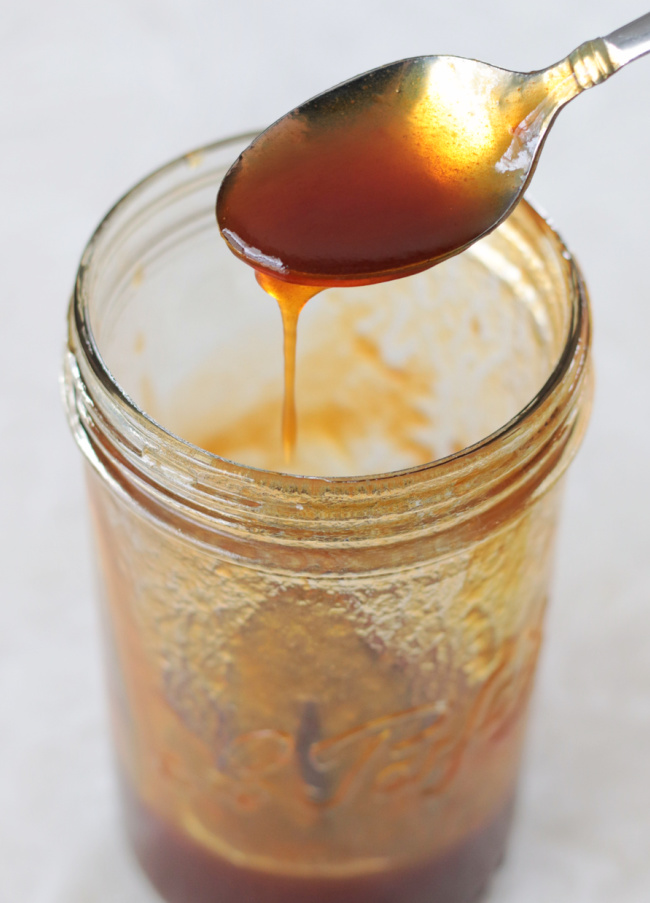
I discovered boiled cider this year and am a huge fan! Boiled cider is an apple cider reduction made from 100% apple cider. That's it! It's simmered down until it produces a syrup that is absolutely delicious added to recipes or reconstituted into cider by adding hot water.
You can make these caramels by simmering a quart of cider down to ½ cup, but I HIGHLY recommend following our boiled cider recipe/method and using an entire gallon of cider so that you'll have extra. I promise that you'll find so many ways to use it (hot cider, pour over pancakes, add to muffin, donut, or pancake batter----so many possibilities!). One gallon will reduce to 2 cups of boiled cider syrup which is shelf stable and lasts a long time. Follow my instructions for the best results.
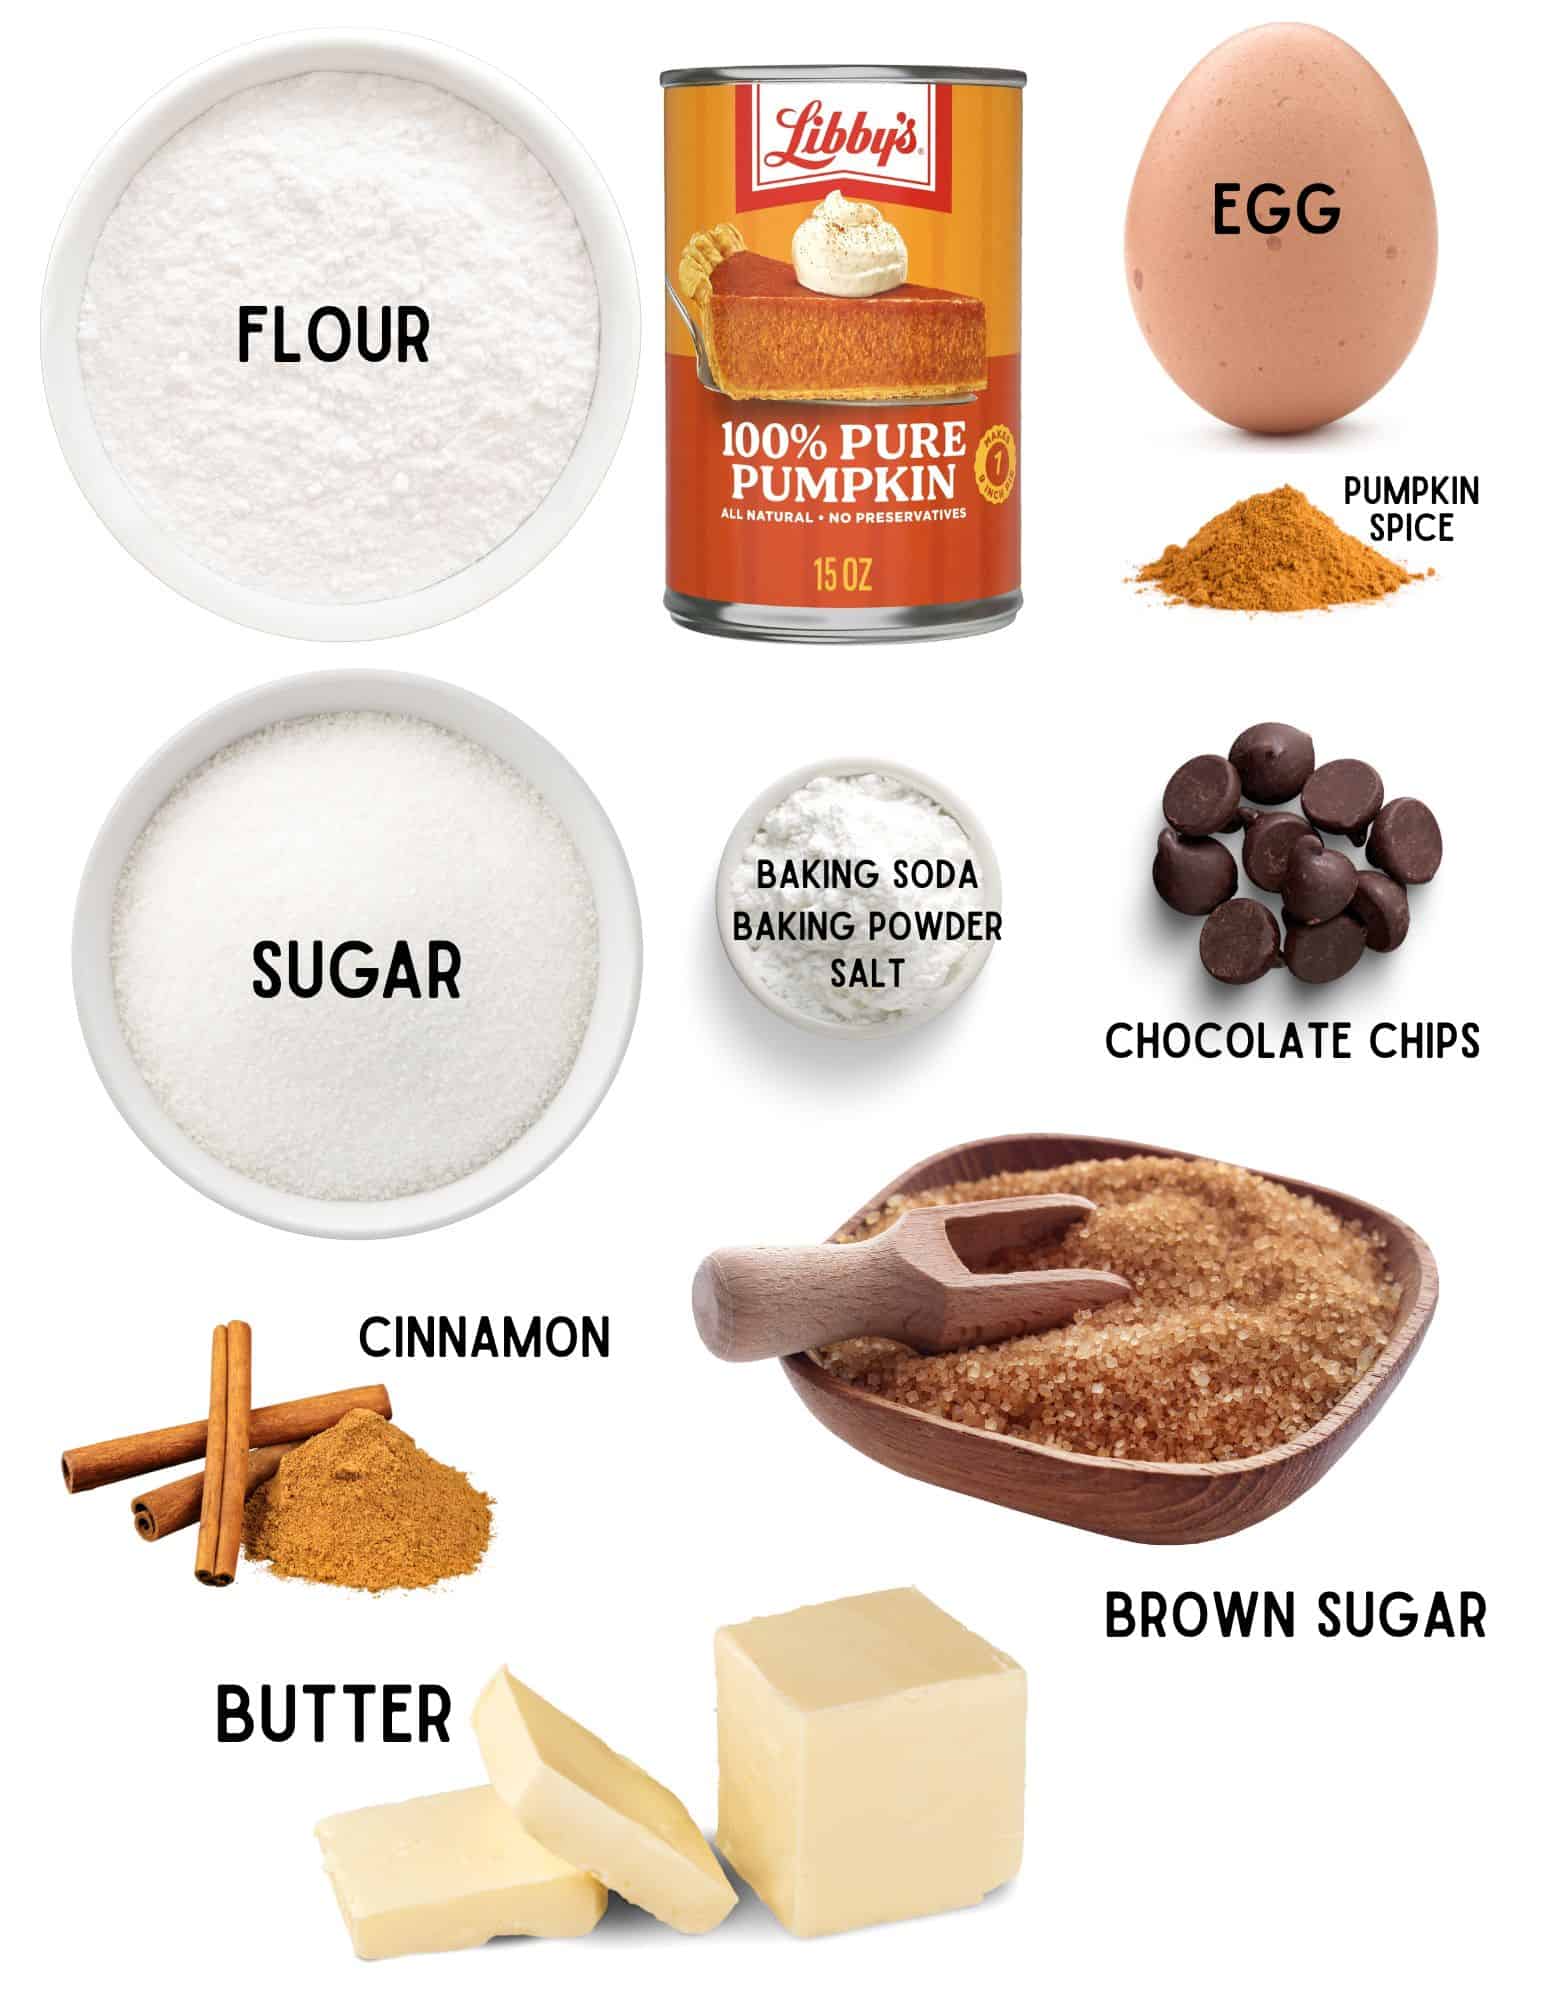
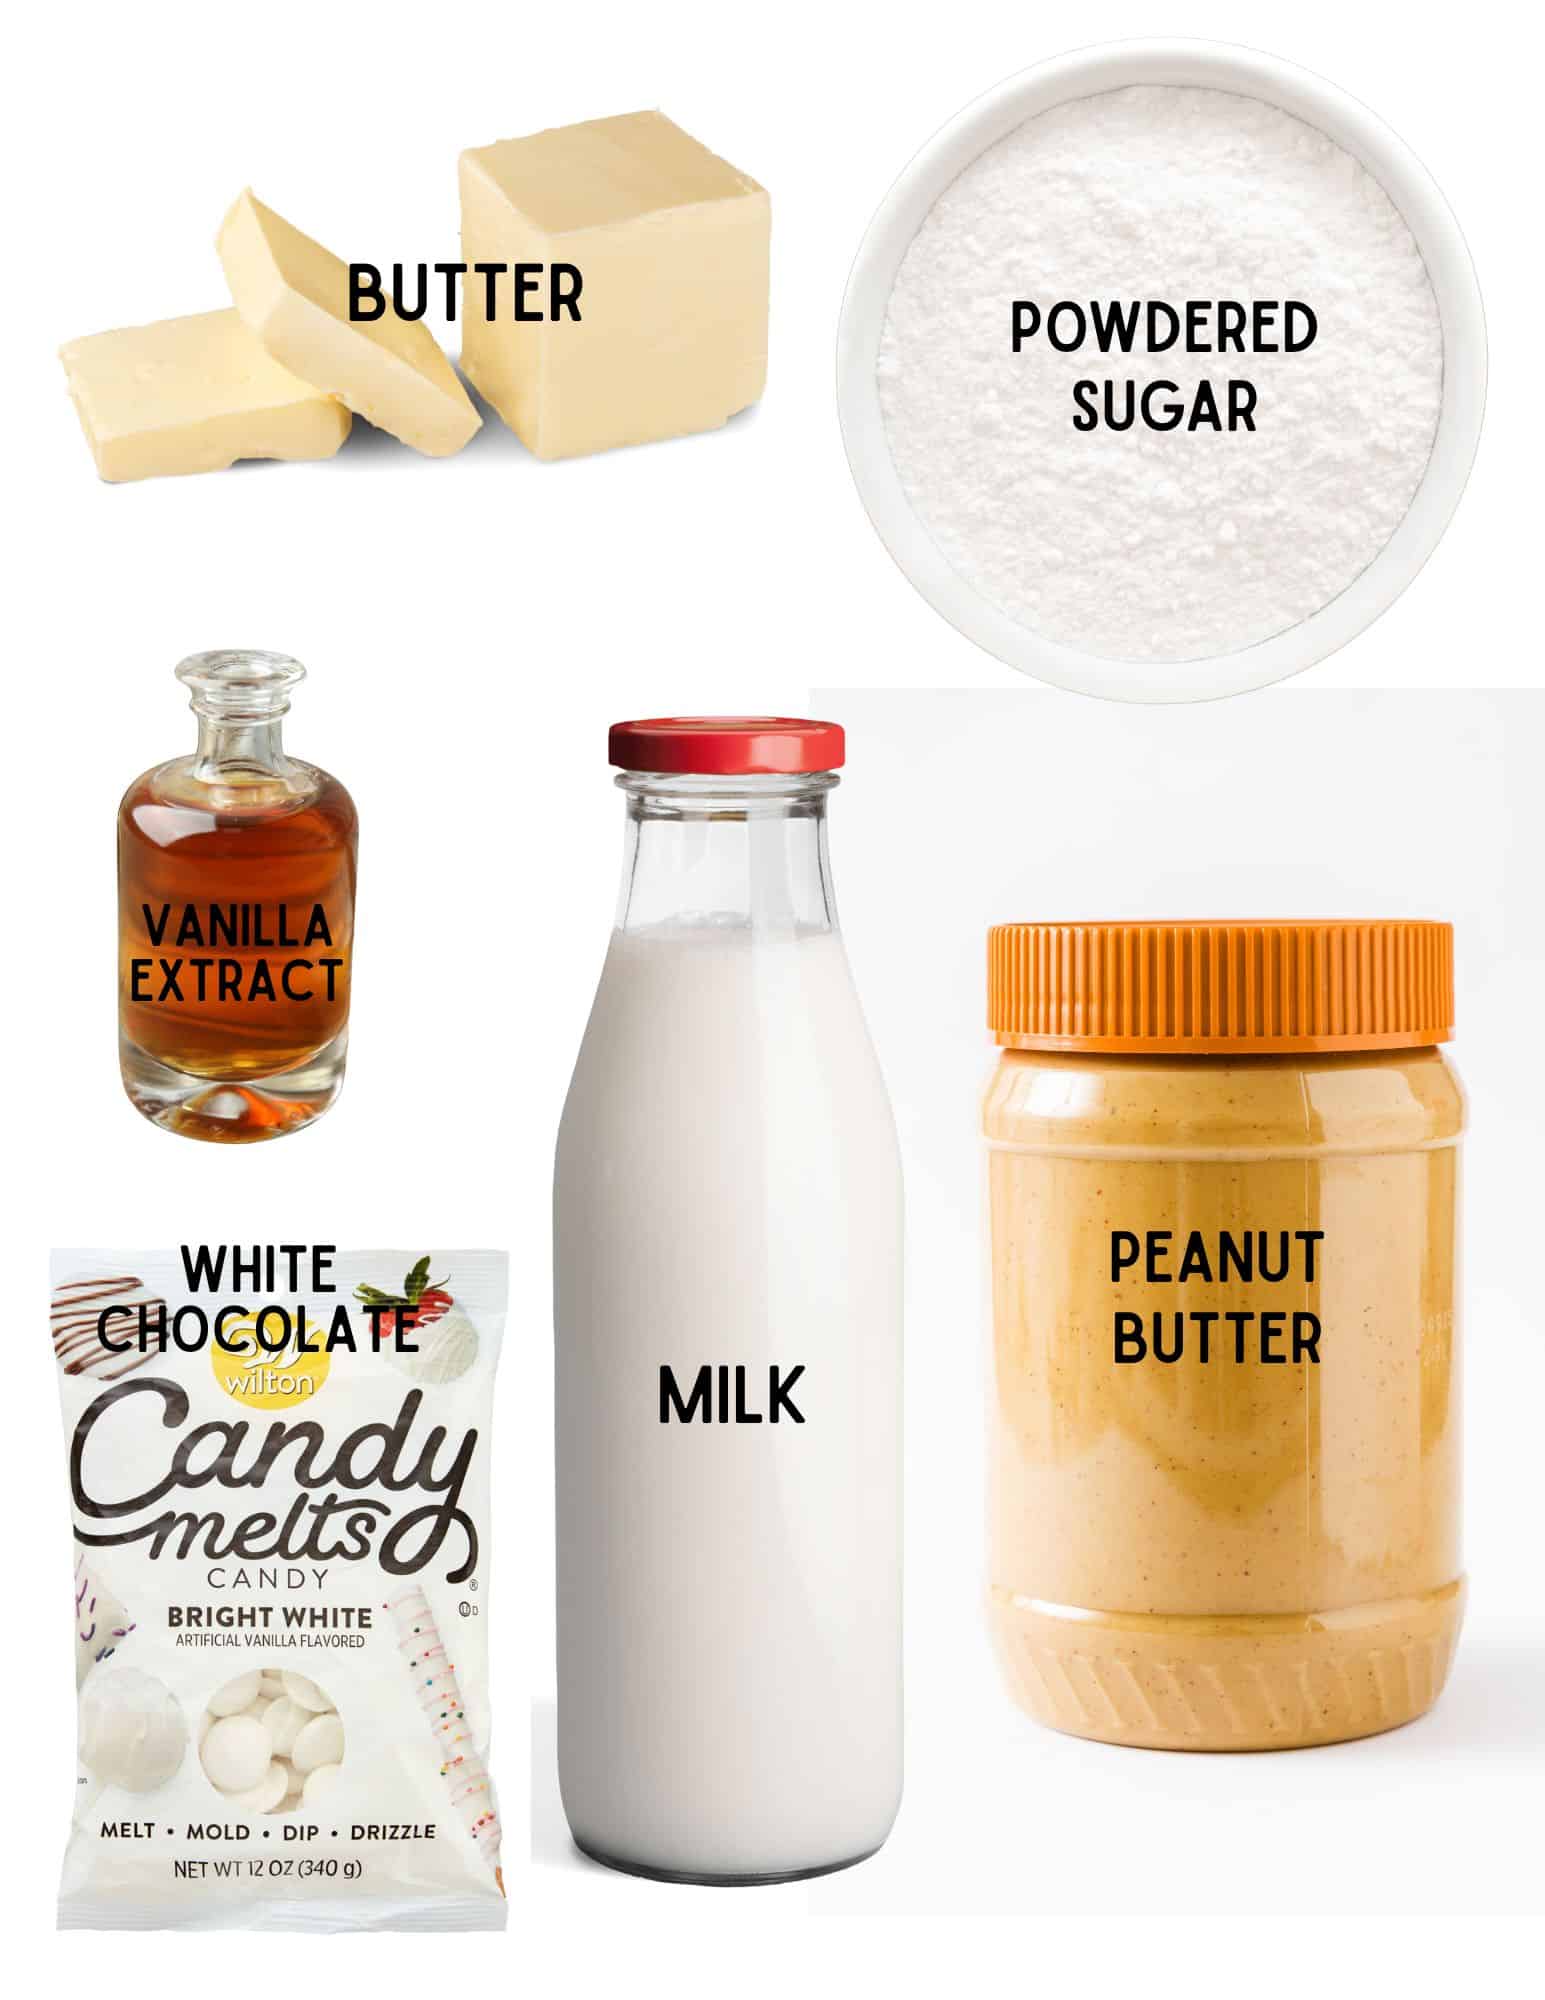
Apple Cider Caramels Ingredients
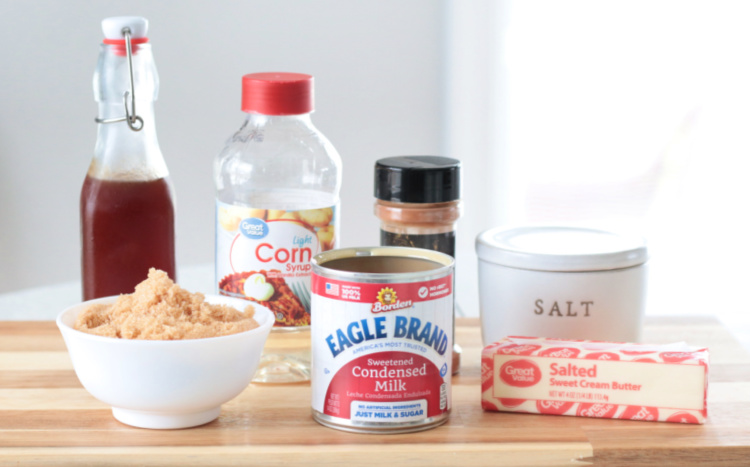
Butter: you can use salted or unsalted, but I always bake with salted butter.
Brown sugar: I like using brown sugar in my caramel candy recipes. I think it gives them great flavor.
Boiled cider (cider syrup): This is where the tangy apple flavoring comes from. Absolutely delicious.
Sweetened condensed milk: I've used both regular sweetened condensed milk and reduced fat and haven't noticed a difference.
Cinnamon: ground cinnamon perfectly compliments the cider flavoring.
Salt: just a pinch for flavoring.
Corn syrup: do not substitute the corn syrup. It is necessary for the right texture for homemade caramels.
Sea salt flakes: optional to sprinkle over finished caramel candies.
How To Make Apple Caramels
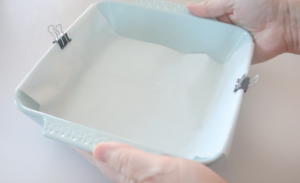
Line a baking dish with parchment paper, making sure to have a bit of excess paper folded over the ends.
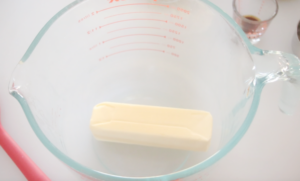
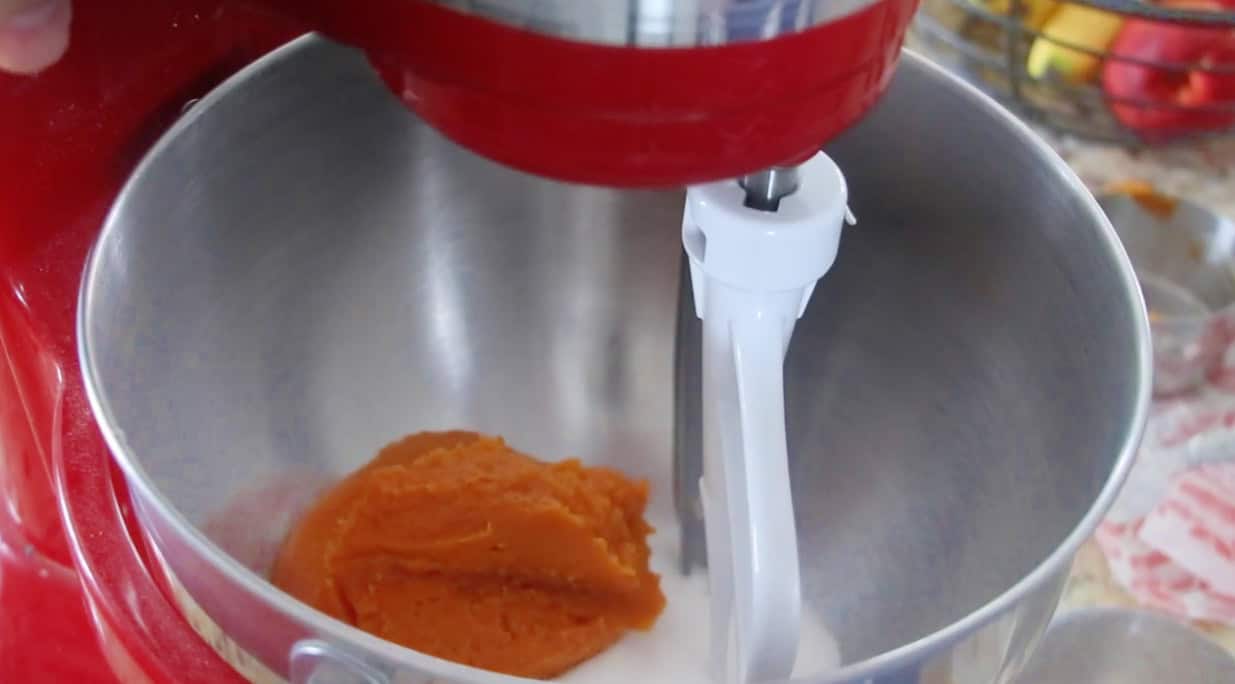
Microwave a stick of butter (½ cup) in a large microwave-safe bowl for 60 seconds.

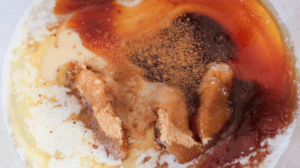
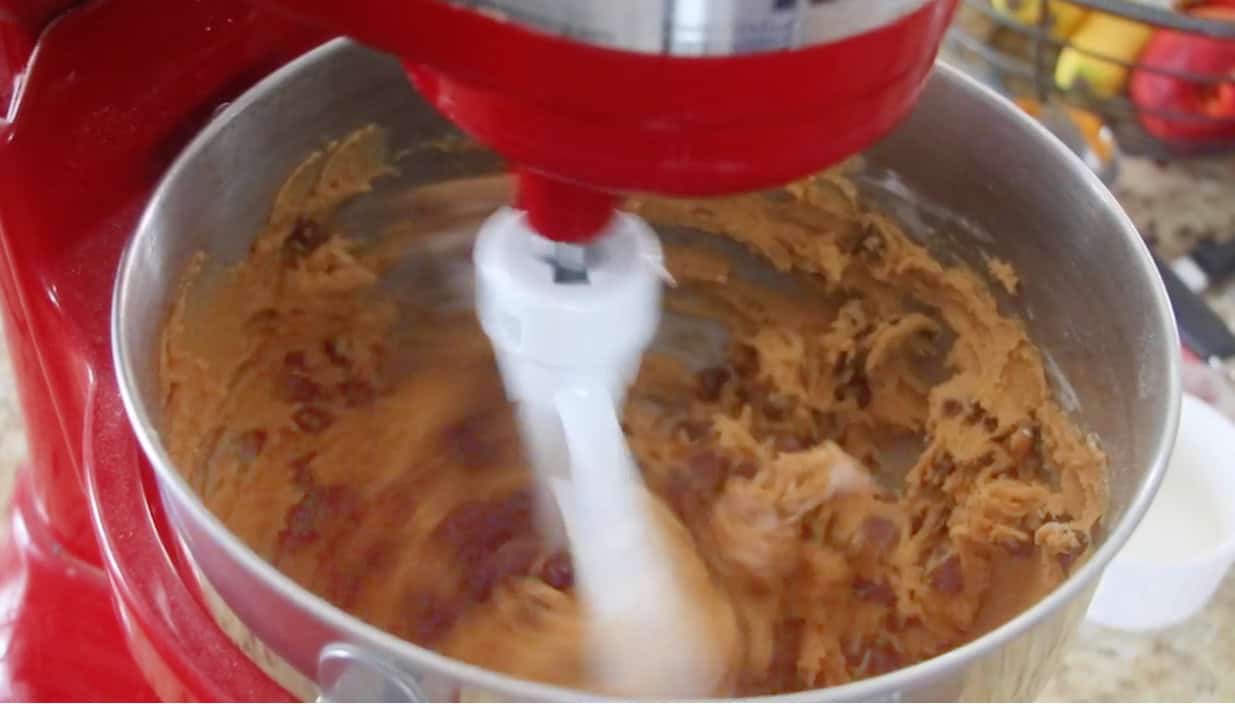
Add brown sugar, boiled cider, sweetened condensed milk, cinnamon, salt, and corn syrup. Mix thoroughly.

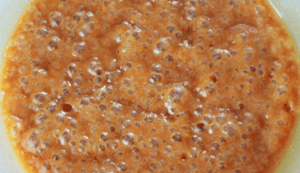
Microwave for 8 minutes. Stir.
Microwave for an additional 60 seconds. Drop a small amount of caramel into a cup of ice water. If it becomes firm, and chewy, and can be formed into a soft ball with your fingers it is done. If it is still runny, microwave for an additional 30-60 seconds.
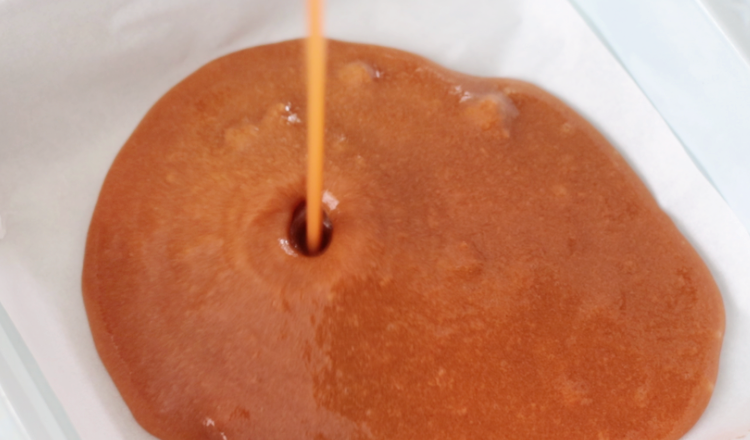
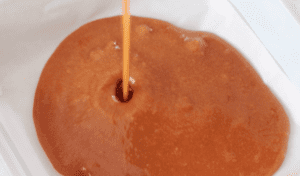
Pour caramel into the prepared baking dish and refrigerate until firm (about 30 minutes).

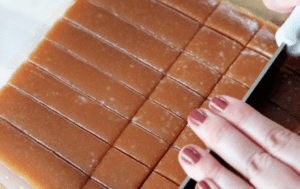
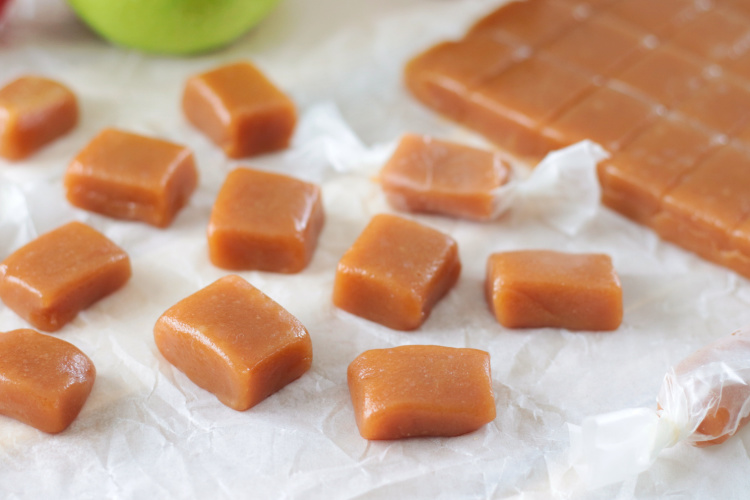
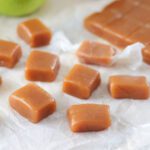
Remove caramels by pulling up the sides of the parchment paper and slice into squares.
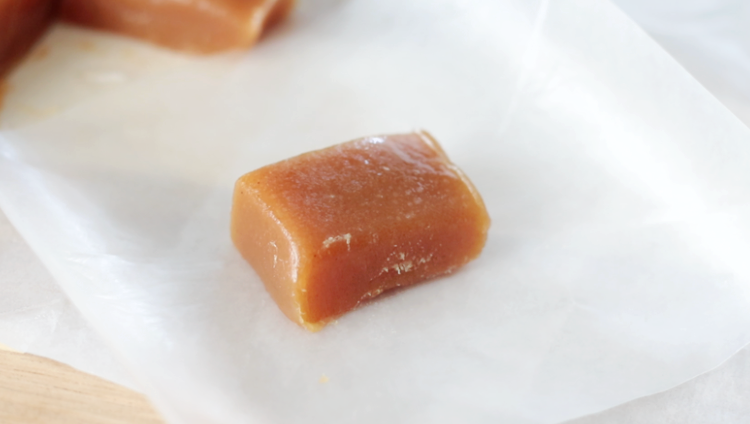
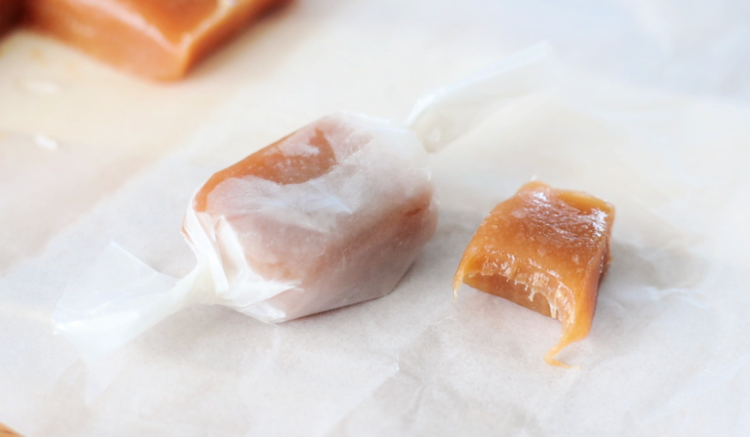
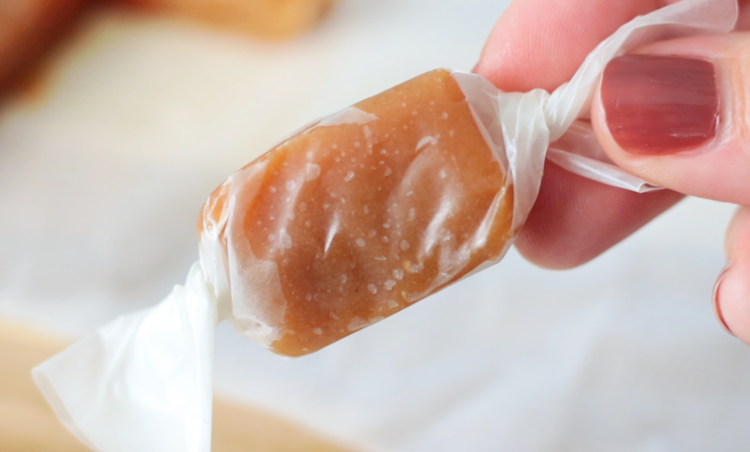
Wrap caramel squares in pieces of wax or parchment paper.
Caramels are soft at room temperature and chewy/firm when refrigerated. I prefer storing mine in the refrigerator. They can be stored at room temperature or in the refrigerator for two weeks, but probably won't last that long.
Homemade Caramels Tips
- If the caramels seem too hard to slice into pieces straight from the refrigerator, let the baking dish stand at room temperature for a few minutes. They will soften at room temperature. If the caramels start sticking to the knife while slicing into squares, you can chill them just a bit longer.
- Microwaves can vary. I find that cooking my caramels for 8 minutes and then an additional 60-90 seconds works best. You can test your caramels at the 9-minute mark by using a candy thermometer (245-248 degrees is ideal) or dropping a small amount of caramel into a cup of ice water. If it becomes firm, chewy, and formed into a small ball with your fingers, it's done. If it isn't ready you can heat it in the microwave for an additional 30-60 seconds.
- Make sure to simmer the cider down properly. I highly recommend using my boiled cider syrup recipe. You aren't just reducing the cider, you are turning it into a syrup by allowing the moisture to evaporate out. Don't want to make your own boiled cider? You can purchase a bottle here. It's not as cost-effective, but delicious just the same.
Apple Cider Caramels
(Printable version---there is an option to print without the images.)
Apple Cider Caramels Made In the Microwave
Equipment
- parchment paper
- 8x8 baking dish
- glass microwave-safe bowl
Ingredients
- ½ cup butter 1 stick
- 1 cup light brown sugar
- ½ cup light corn syrup
- ½ cup sweetened condensed milk
- ½ cup boiled cider
- ½ teaspoon ground cinnamon
- pinch of salt
- sea salt for sprinkling optional
Instructions
- Line an 8x8" baking dish with parchment paper.

- In a glass microwave-safe bowl, melt 1 stick of butter (heat for 60 seconds).

- Stir in brown sugar, corn syrup, boiled cider, sweetened condensed milk, cinnamon, and a pinch of salt.

- Microwave for 8 minutes. Stir. Microwave an additional 60-90 seconds. Stir.Note: If you have a candy thermometer, the caramels are the perfect soft consistency at 245-248 degrees. You can also drop a small amount of caramel into a cup of ice water and if it sets up enough to be chewy and roll up into a soft ball it is done. I've made these enough that I know that they are done when cooked for 8 minutes and then an additional 90 seconds. Every microwave is different so it's better to err on the side of having slightly softer caramels vs. overheating them.

- Pour caramel into the prepared baking dish. Let set up in the refrigerator for 30 minutes. Note: You can leave it in the refrigerator longer, but if the caramels get too cold they will be hard to get out of the pan. That's ok though, just let them sit on the counter until they come to room temperature and they'll be perfect again.

- Remove caramels from dish by pulling up on the parchment paper.Slice into squares.

- Wrap squares in parchment paper or waxed paper.
- This recipe makes 36-48 pieces of caramel.