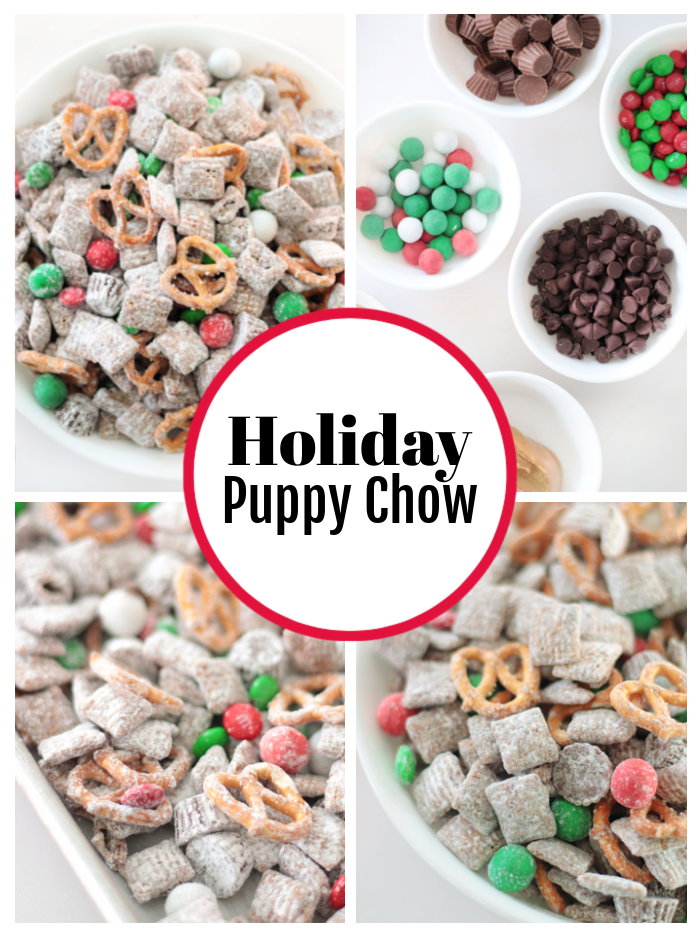
Muddy Buddies aka Puppy Chow is fun to make any time of year, but especially fun during the holidays. Our holiday puppy chow mix is bright with red and green and loaded with Reese's and Cadbury candy.
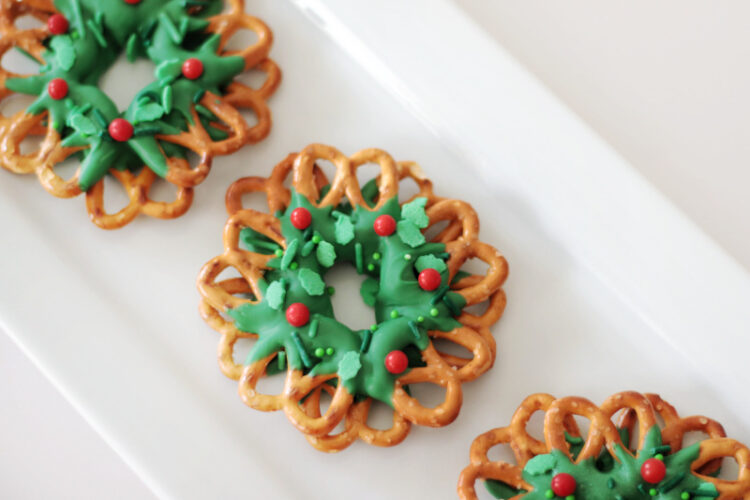
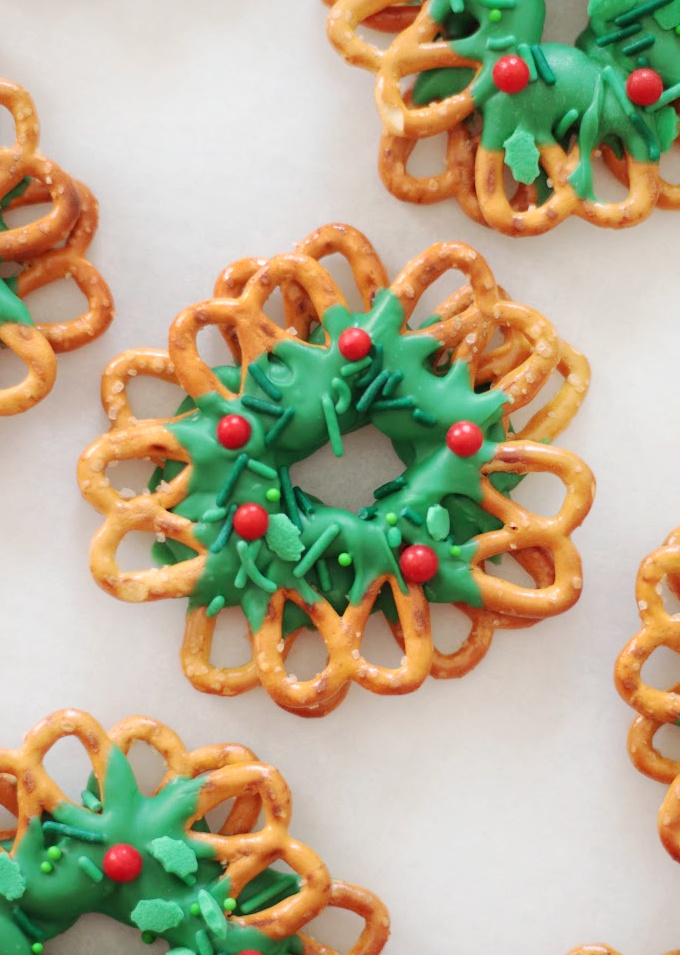
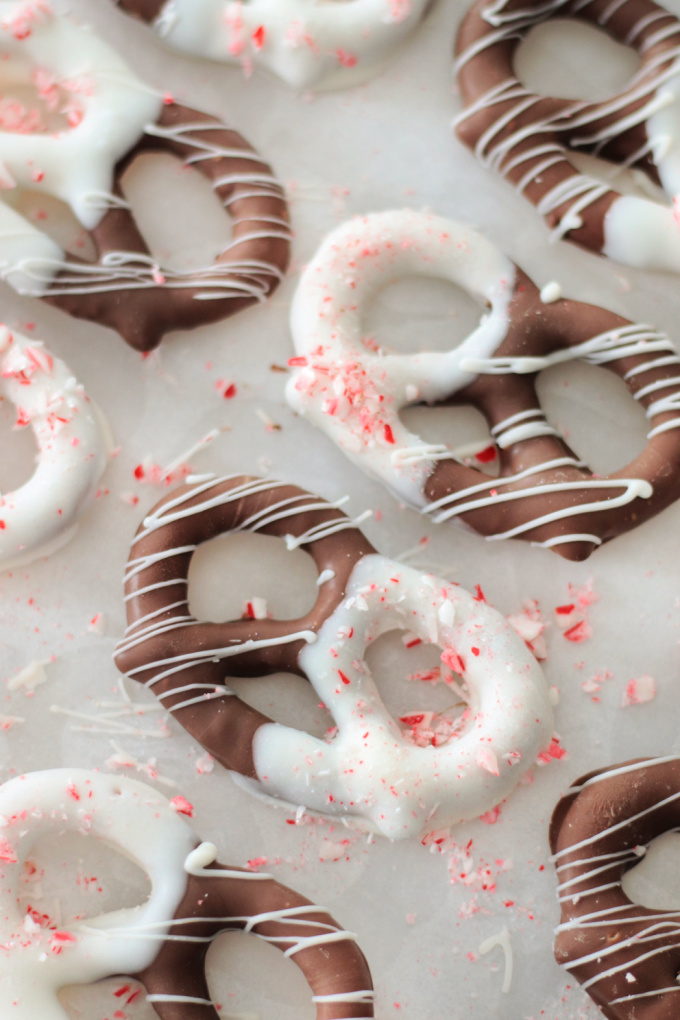
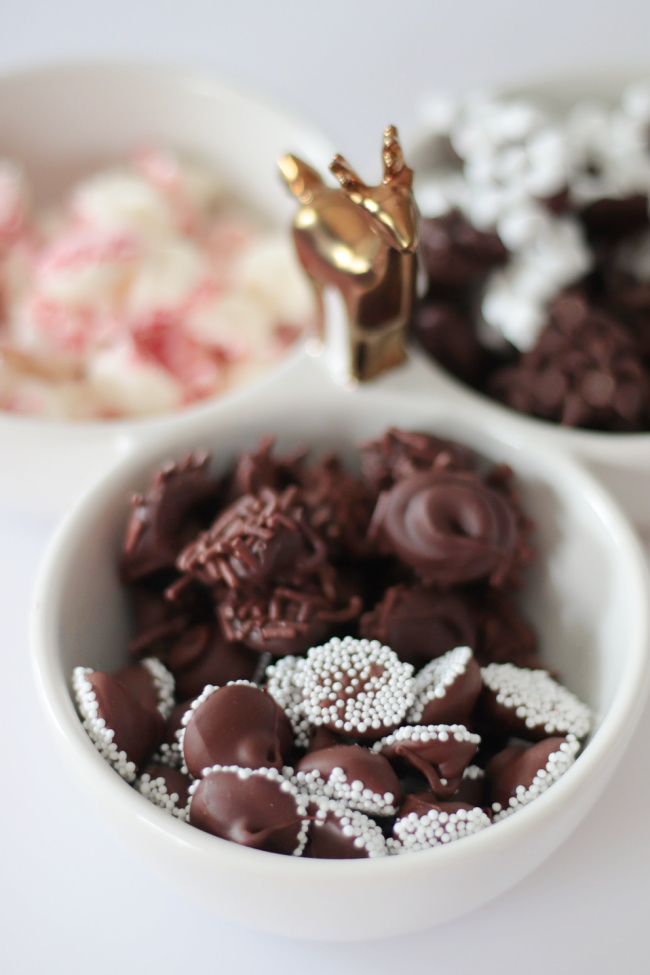
You might also like our baked caramel popcorn, our peppermint bark cups (super easy made in a mini muffin pan!), or our white chocolate pretzel trees.
Watch our step by step video!
Puppy Chow aka Muddy Buddies
Everyone knows about Muddy Buddies. The delicious sweet treat made from Chex cereal. The one created to balance out the savory Chex mix that we all know and love. I'm not exactly why the homemade version of Muddy Buddies took on the name of Puppy Chow, but here we are decades later, still calling it Puppy Chow. It's essentially a mixture of peanut butter, chocolate, and powdered sugar that coats Chex cereal. It's sweet, and crispy, but also has a smoothness to it from the peanut butter and chocolate.
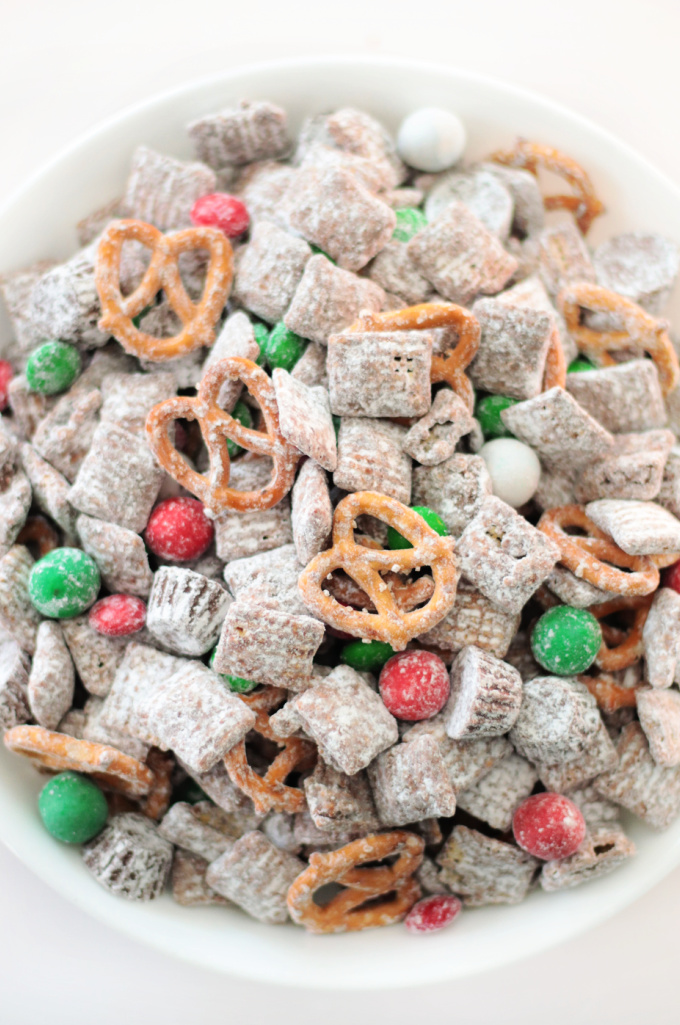
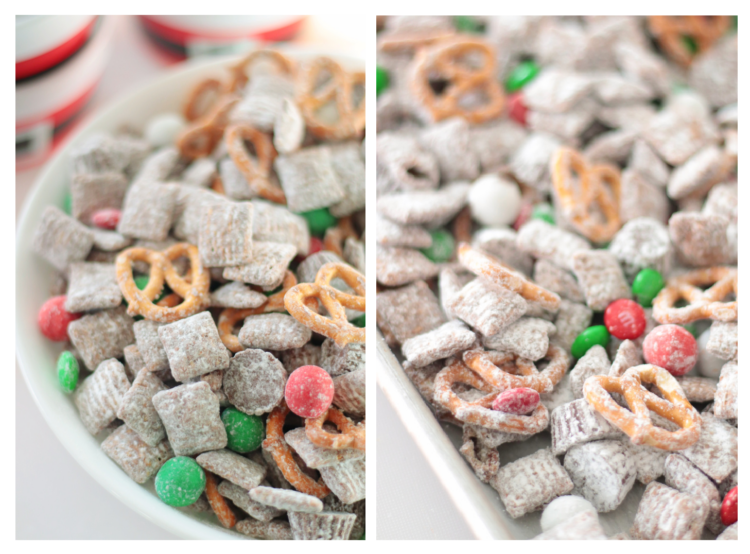
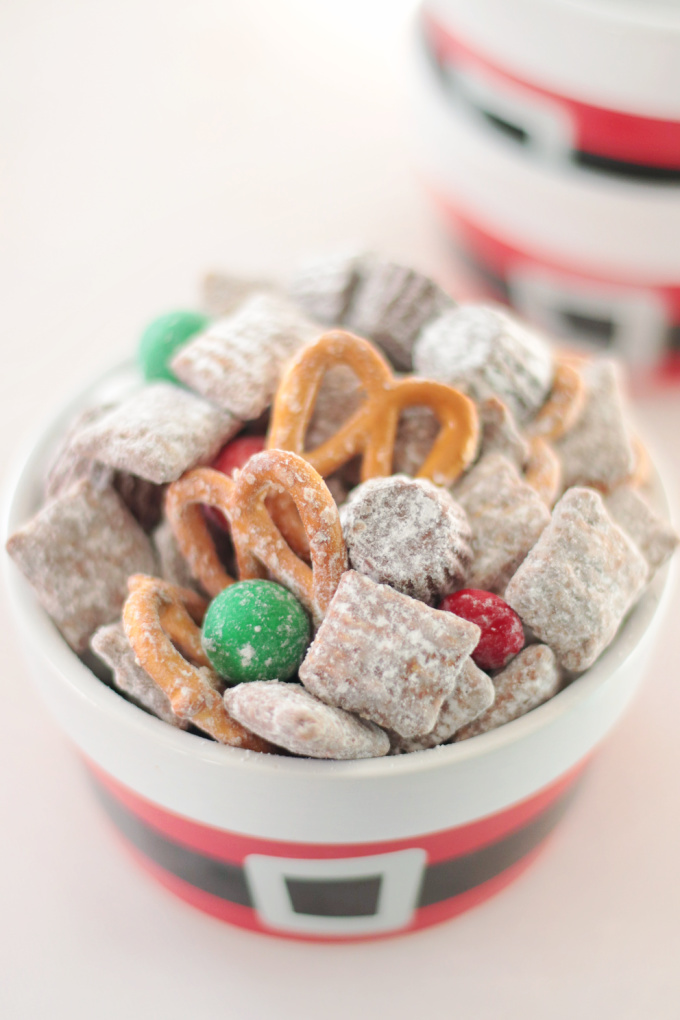
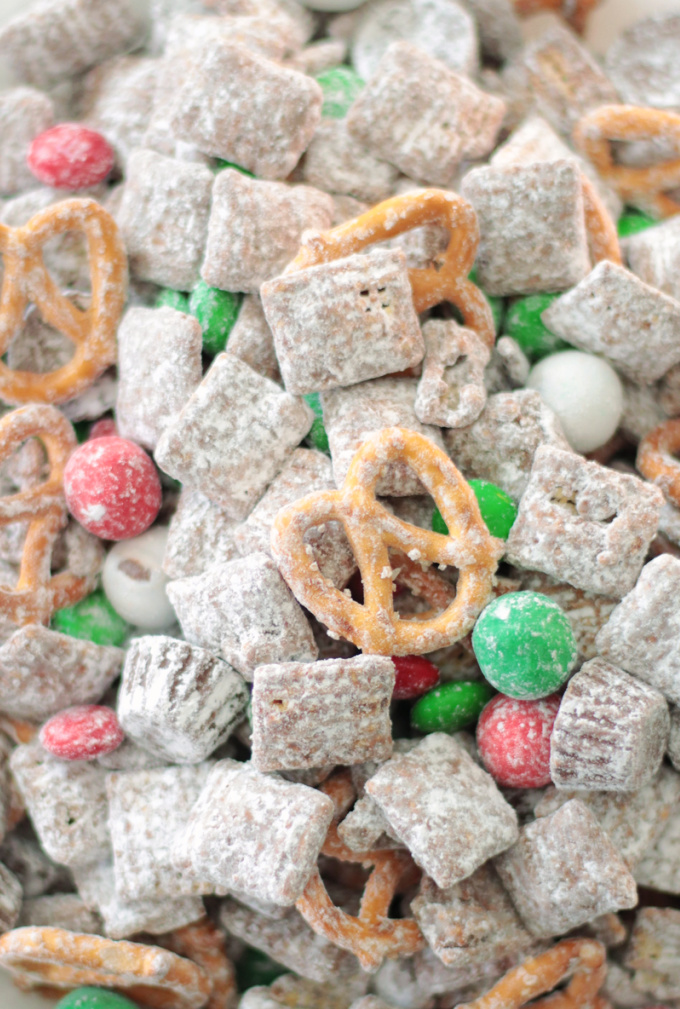
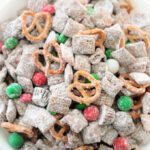
Holiday Puppy Chow Snack Mix
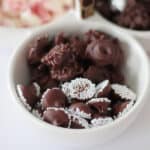
Holiday Puppy Chow takes it up a notch by adding a variety of yummy mix-ins. I used pretzels, M&Ms, mini Reese's cups, and Cadbury Snow Balls. My husband loves Cadbury Snow Balls so those were added for his benefit, but they add a nice crunch and pop of color so I highly recommend adding those in with the red and green M&Ms.
What Makes This Recipe a Winner?
Easy to make: Puppy Chow comes together in minutes and can be eaten right away.
No bake: Your oven is probably working overtime baking up cookies and other holiday baked goods, but don't worry. You can make these at the same time because they are a no-bake treat.
Easily doubled: One batch makes about 8 cups of mix and can easily be doubled to make bags or tins of it to share with friends.
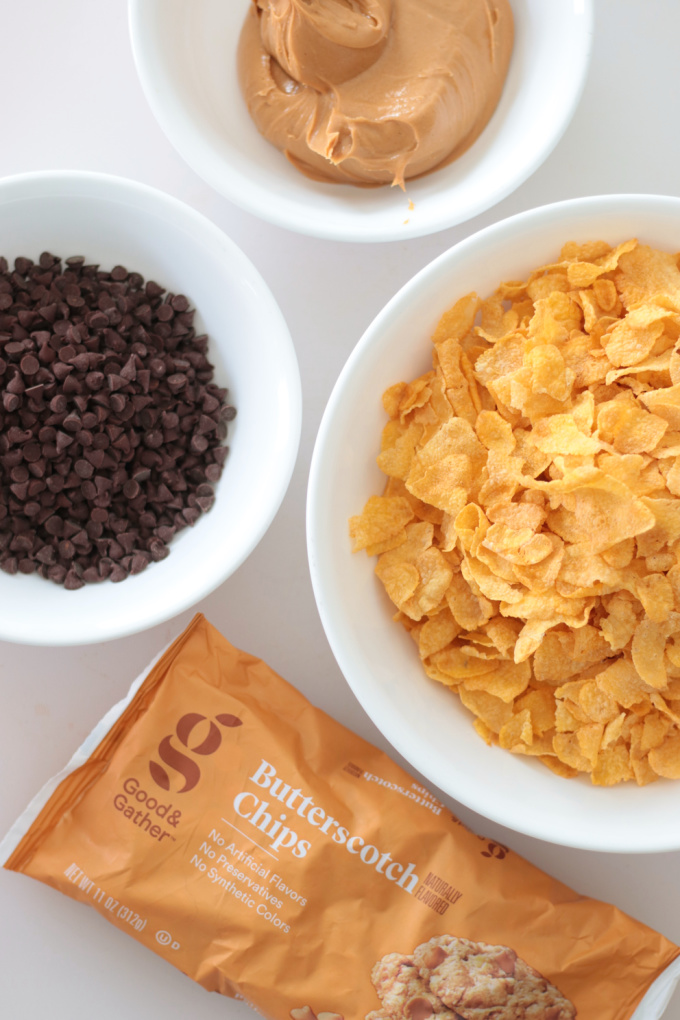
Easy to customize: Puppy Chow is incredibly forgiving and easy to customize. Add whatever mix-ins you'd like. You can also substitute peanut butter chips, butterscotch chips, or even white chocolate chips for the chocolate chips. I like using semisweet chocolate to cut some of the sweetness, but that's just a personal preference.
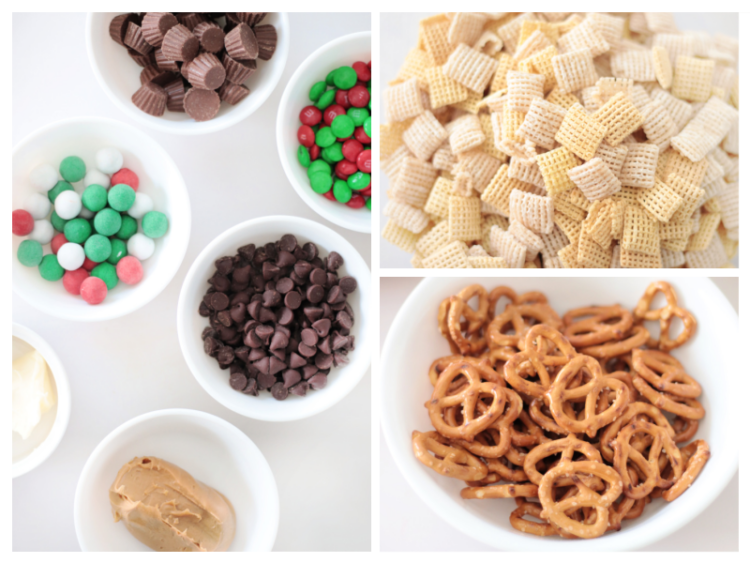
Holiday Puppy Chow Ingredients
- Chex cereal: any variety
- Butter: I always use salted, but you can use unsalted.
- Peanut Butter: crunchy or creamy. I like using creamy peanut butter.
- Powdered sugar: this is one ingredient that can not be substituted or skipped. It coats the entire mixture perfectly and gives it it's signature look.
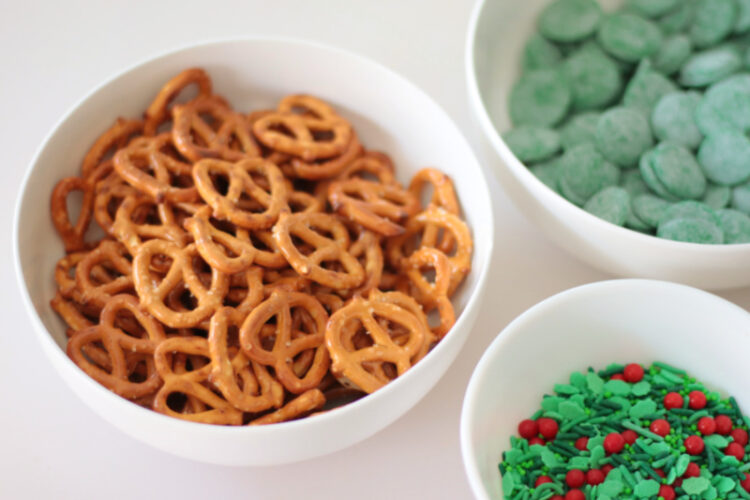
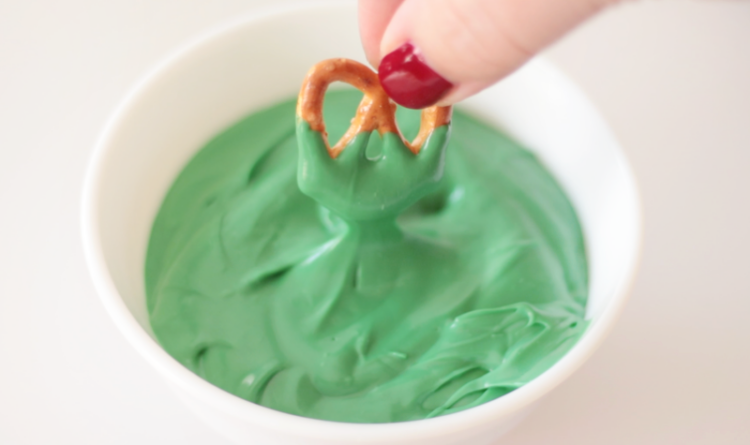
- Pretzels
- Mini Reese's Cups: I buy the mini unwrapped peanut butter cups that come in the resealable bag.
- M&Ms
- Cadbury Snow Balls

How To Make Puppy Chow
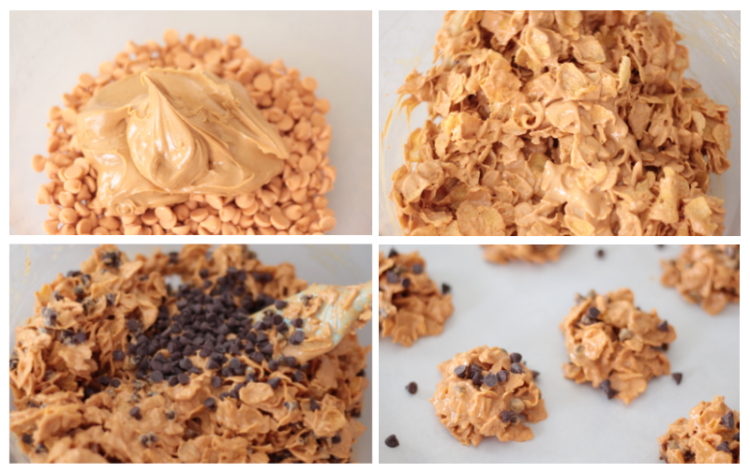
Heat peanut butter, chocolate chips, and butter in a microwave-safe bowl for 1 minute. Stir until everything is melted and smooth.
Add the cereal to a large bowl. Pour the peanut butter and chocolate mixture over the cereal and stir to coat evenly. Let stand for 5 minutes to cool.
Add powdered sugar to a gallon-sized ziploc bag. Pour the cereal mixture into the bag, seal it, then shake to coat everything with powdered sugar.
Add mix-ins to the bag then shake again. You can add an additional ¼ cup of powdered sugar if you'd like to coat the mix-ins too.
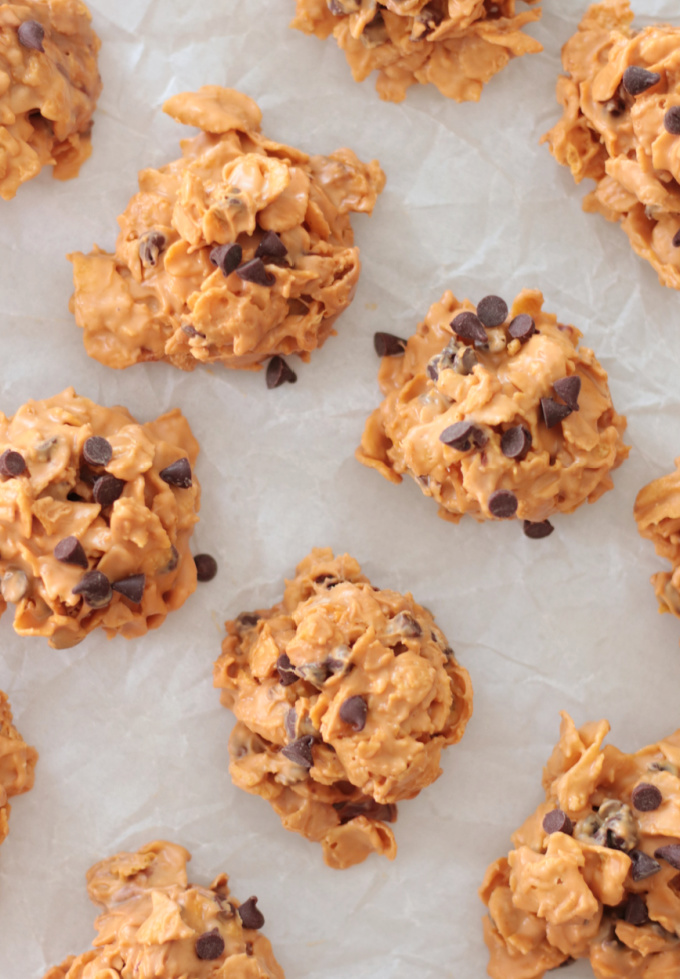
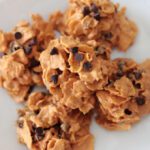
Pour the puppy chow mix onto a baking sheet and let cool completely.
Puppy Chow Snack Mix Recipe
(printable version)
Holiday Puppy Chow Mix
Ingredients
- 5 cups Chex cereal
- ¾ cup semisweet chocolate chips
- ⅓ cup peanut butter
- 2 Tbsp. butter
- 1 cup powdered sugar
- 1 cup pretzels
- ½ cup M&Ms
- ½ cup mini Reese's peanut butter cups
- ½ cup Cadbury Snow Balls or chocolate candy
Instructions
- Heat peanut butter, chocolate chips, and butter in a microwave-safe bowl for 1 minute. Stir until everything is melted and smooth.
- Add the cereal to a large bowl. Pour the peanut butter and chocolate mixture over the cereal and stir to coat evenly. Let stand for 5 minutes to cool.
- Add powdered sugar to a gallon-sized ziploc bag. Pour the cereal mixture into the bag, seal, then shake to coat with powdered sugar.
- Add mix-ins to the bag then shake again. You can add an additional ¼ cup of powdered sugar if you'd like to coat the mix-ins too.
- Pour the puppy chow mix onto a baking sheet and let cool completely.
Video
Notes
Nutrition