My husband is the master of the grill and takes care of dinner a couple of nights a week. I'm a lucky girl! Thank you Foster Farms for sponsoring this delicious grilling experience and dinner. Simple, yet flavorful, grilled chicken tenders served with roasted asparagus!
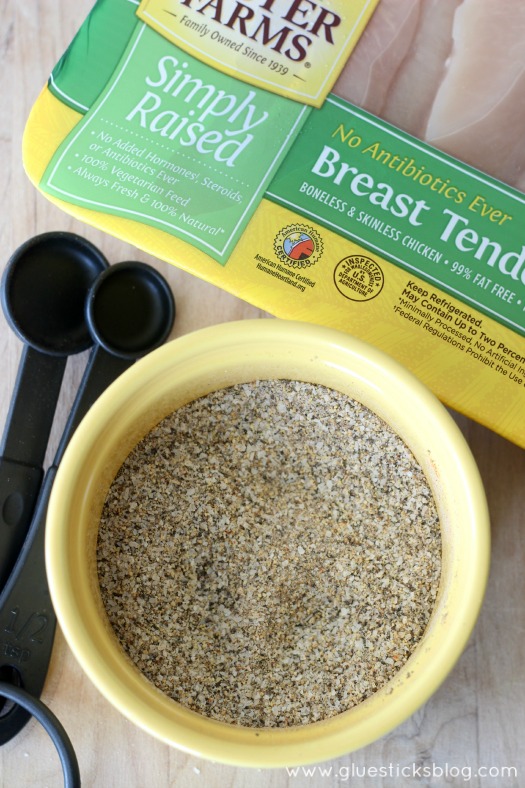
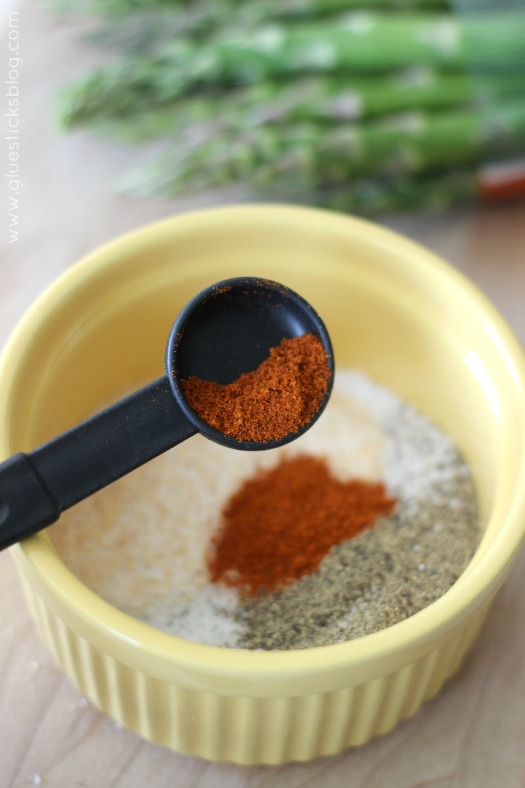
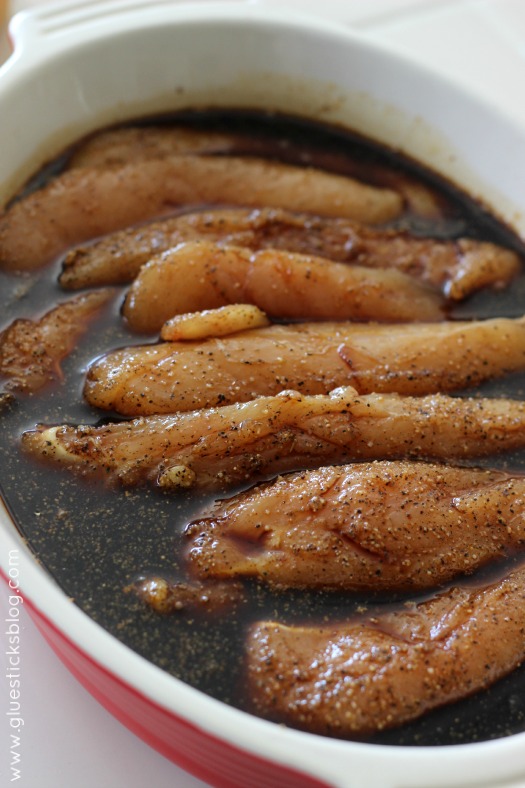
Grilled Chicken Seasoning
1 ½ T. Kosher Salt
1 T. garlic salt
¾ tsp. black pepper
2 tsp. paprika


Sprinkle your pieces over 2 lbs of chicken tenders and let sit for 10 minutes.
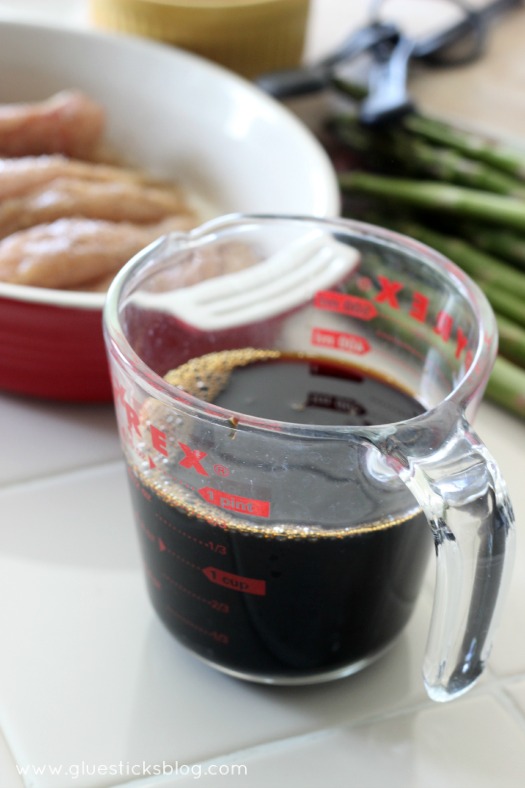
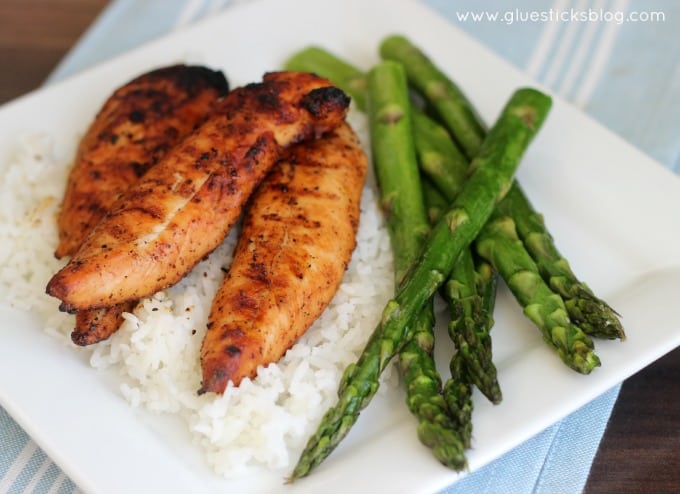
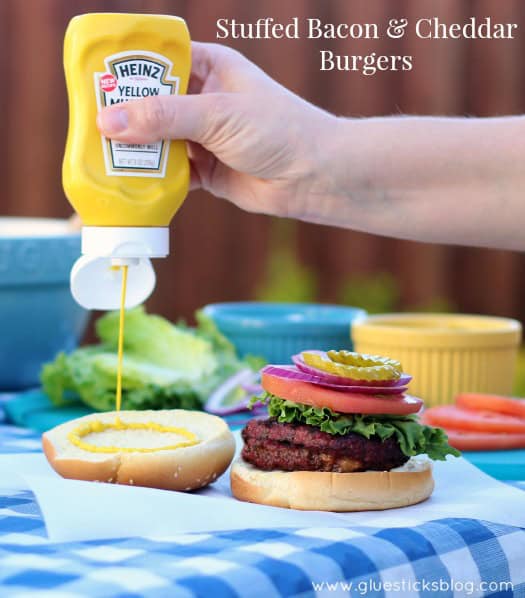
Serve with seasonal vegetables for the perfect dinner!