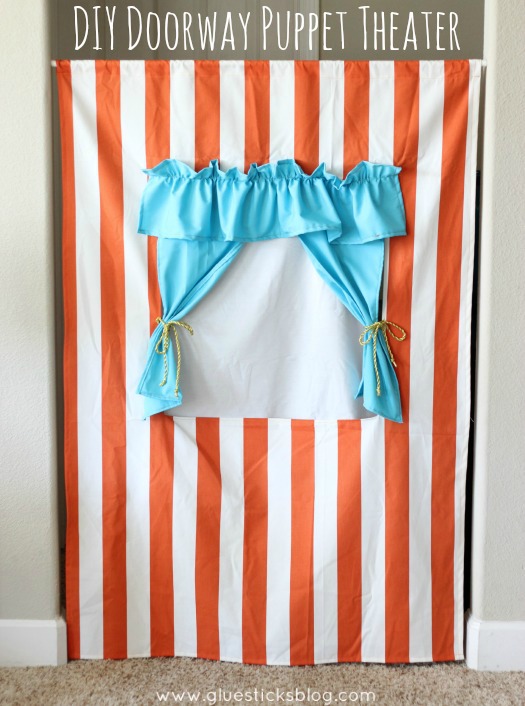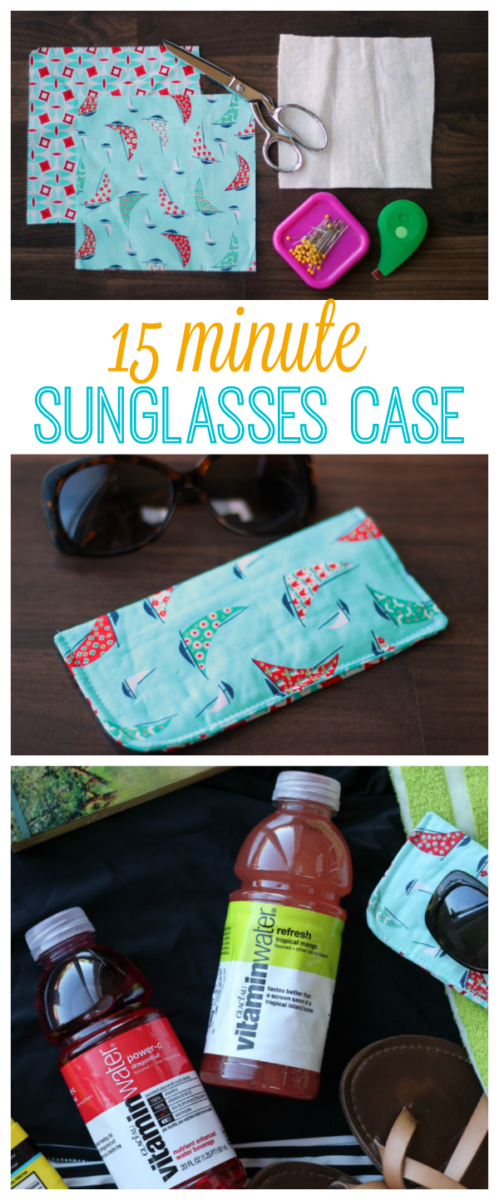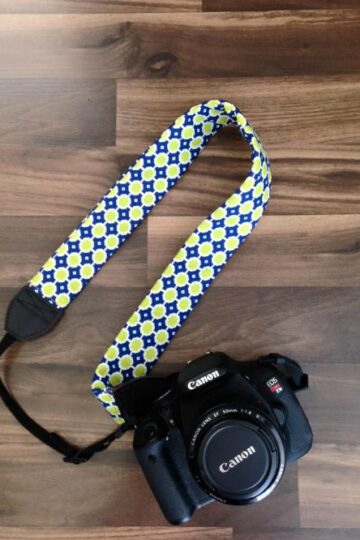
Sew a camera strap cover for your DSLR in 10 minutes! Perfect use for fabric scraps and a fun way to customize your camera.
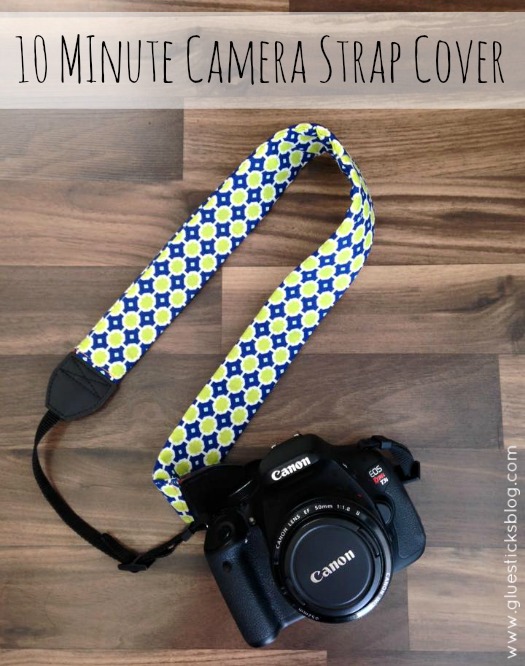
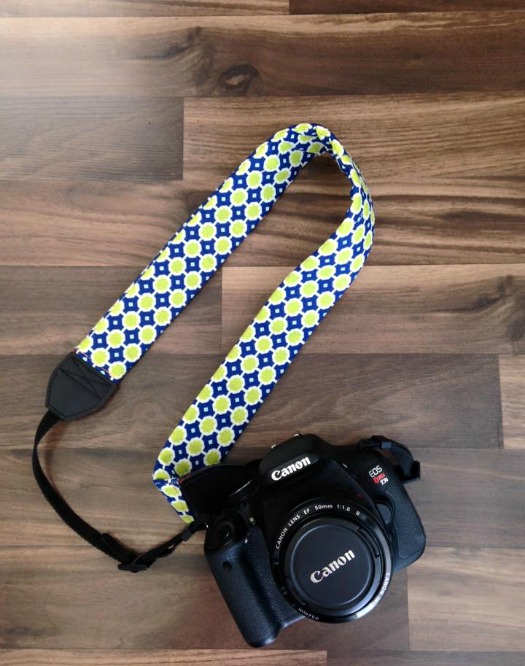
10 Minute Camera Strap Cover
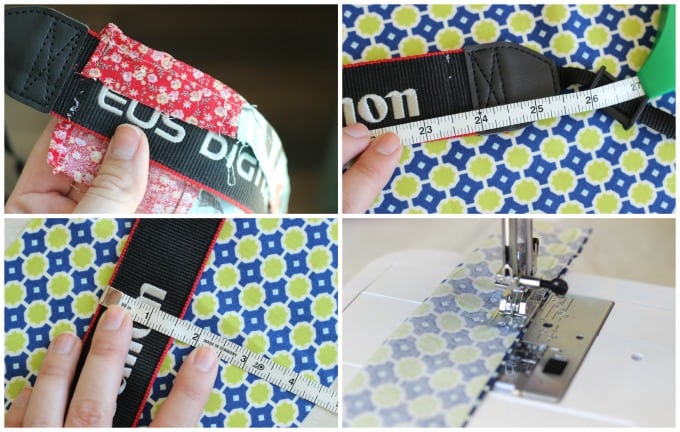
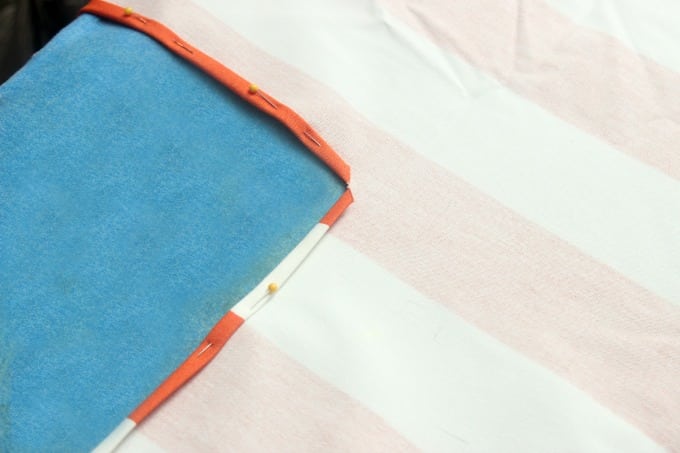
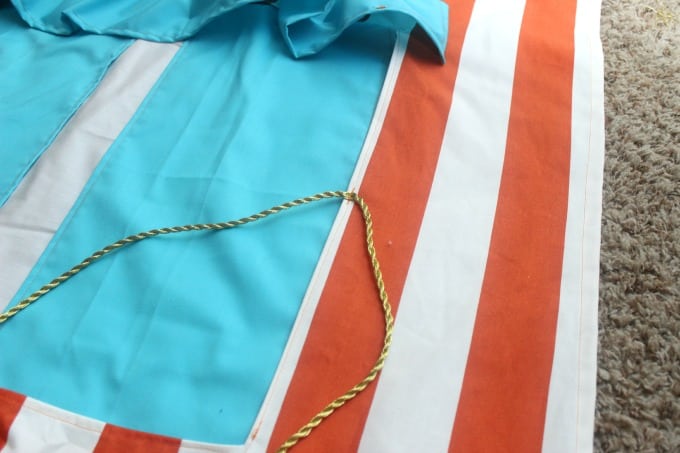
You can see my old cover in the first photo. I like sewing the straps directly over the cover (just on the ends) so that it doesn't move around. It takes about a minute to remove the stitches when getting ready to make a new strap.
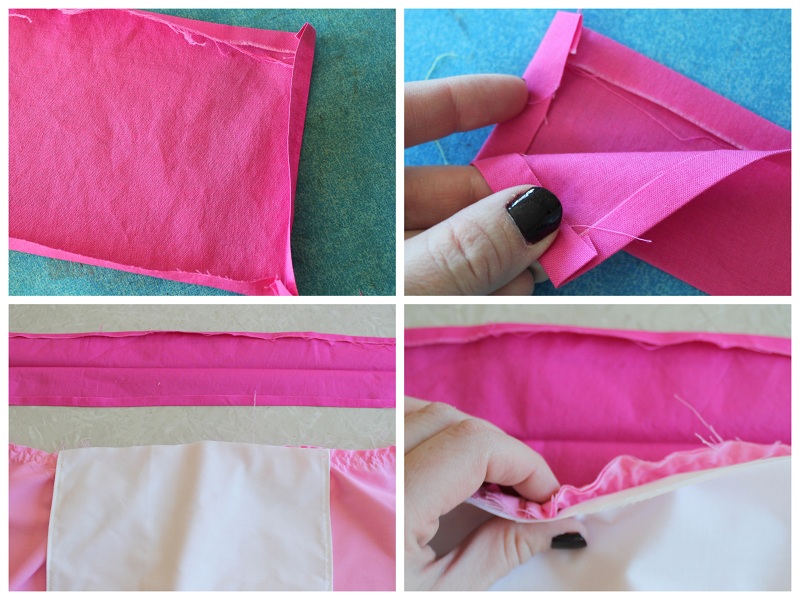
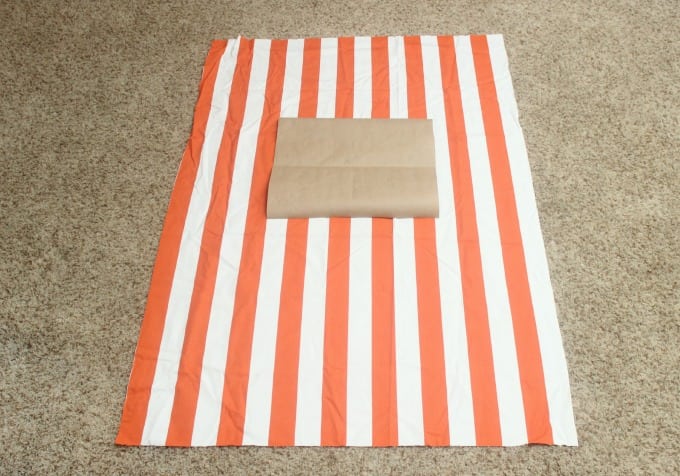
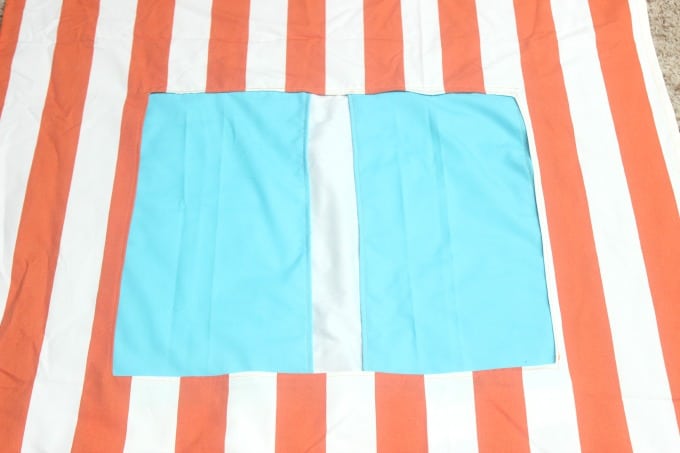
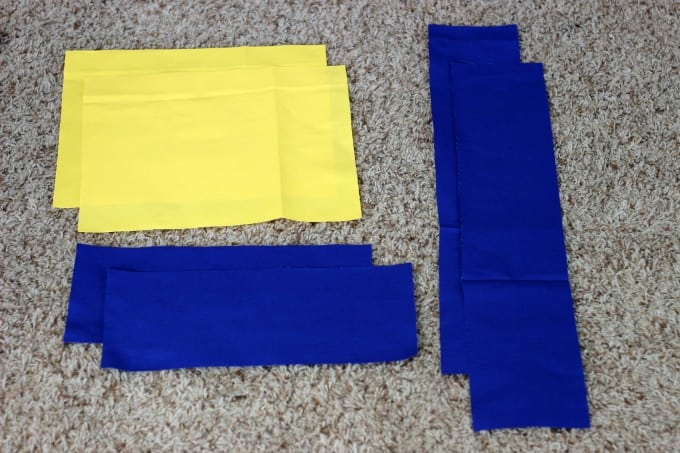
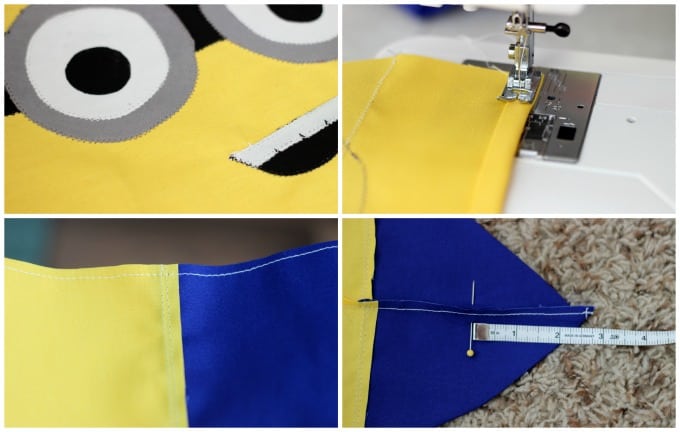
1. Cut a 25" x 4" rectangle of fabric. I got this measurement by adding an inch to the length of the strap area and doubling the width (+ a seam allowance).
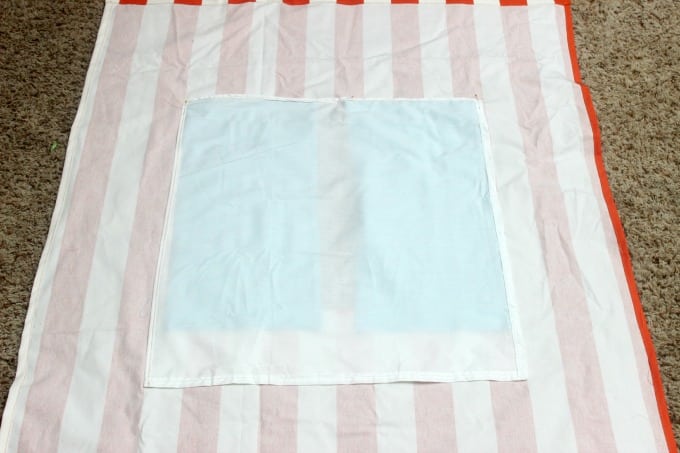
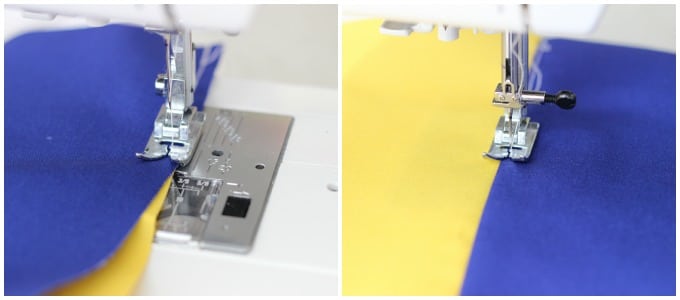
2. Fold strap in half, right sides facing, and sew up the side.
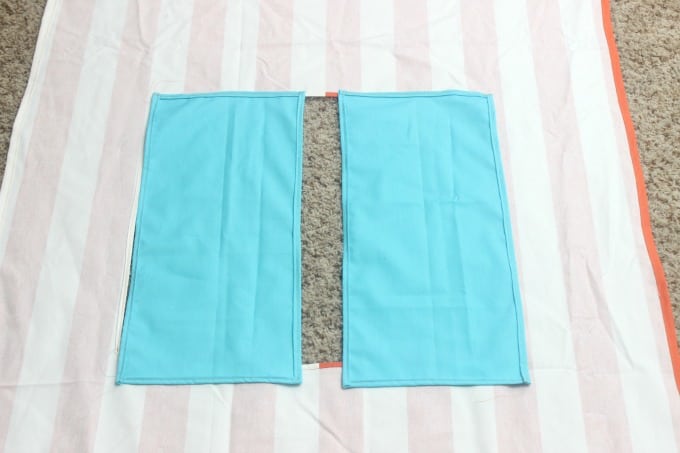
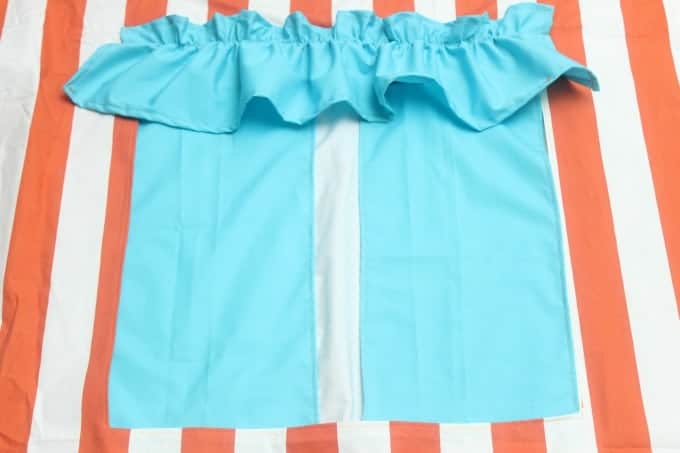
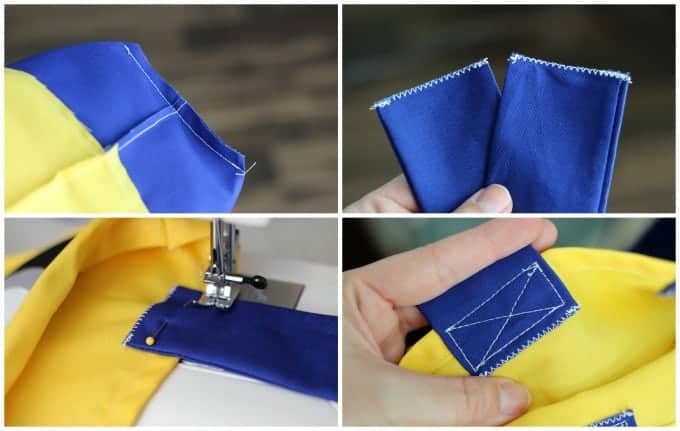
3. Turn right side out and press.
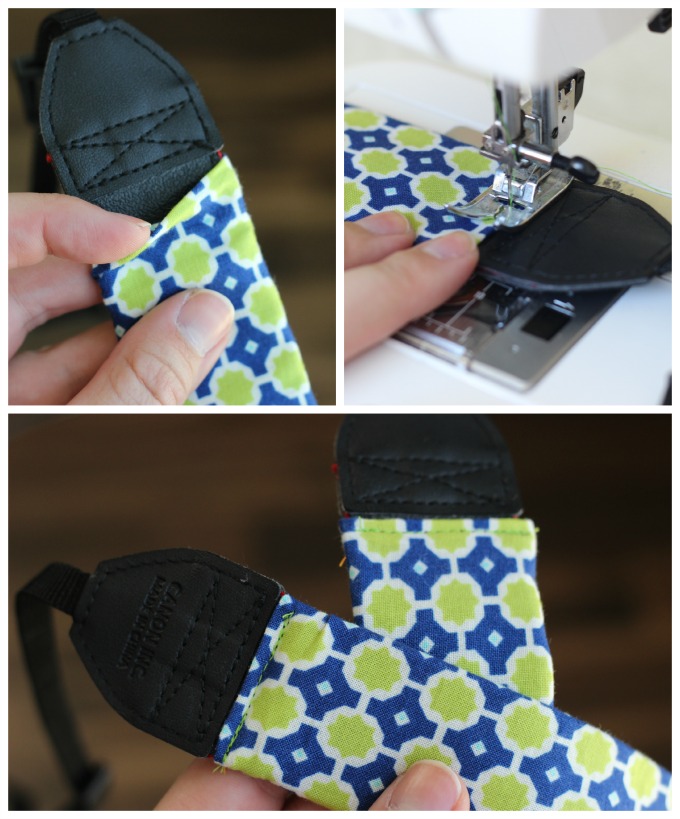
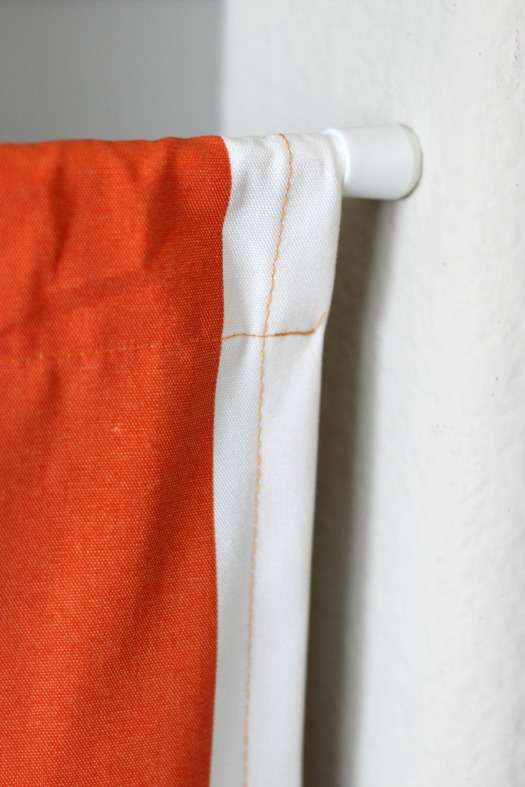
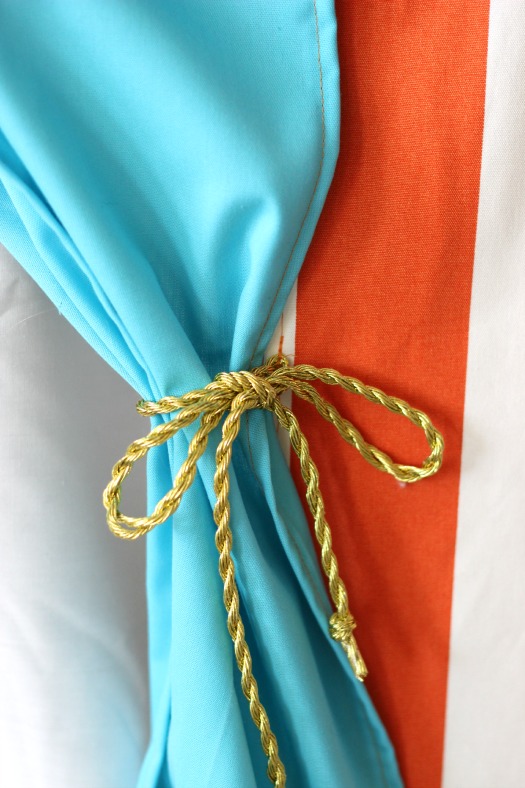
5. Stitch right over each end of the strap.