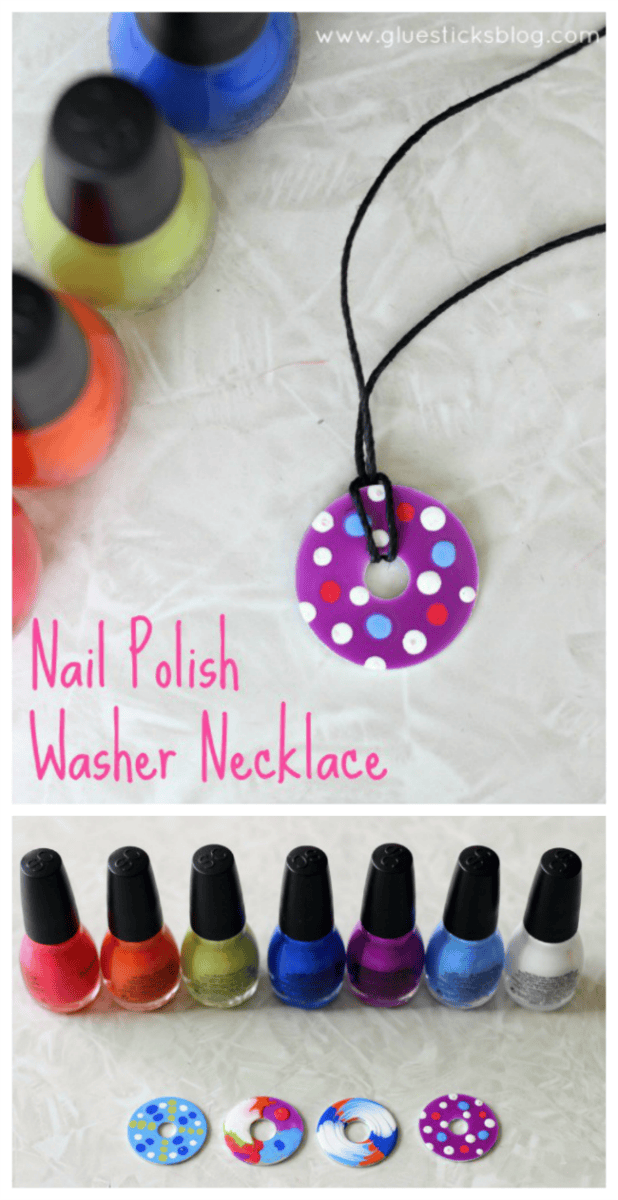
These nail polish washer necklaces are such a unique craft to make! Simply paint a metal washer with nail polish and let dry. Use different colors to create patterns. A great camp project for teens! This post contains an affiliate link.
Watch our step by step video!
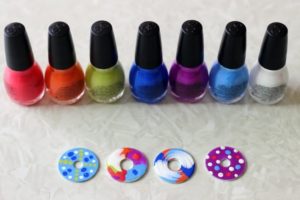
My girls and I had fun making these washer necklaces this week. They are so easy and the fact that the nail polish dries nice and shiny is pretty neat too! Just think of all the fun way to customize them. A $.12 washer from Home Depot, inexpensive nail polish, and something to string it on is all you need!
Nail Polish Washer Necklaces

How To Make Washer Necklaces

Nail Polish Washer Necklaces
These nail polish washer necklaces are such a unique craft to make! Simply paint a metal washer with nail polish and let dry. Use different colors to create patterns. A great camp project for teens!
Servings 1 necklace
Cost $1
Equipment
- scissors
Ingredients
- metal washers
- nail polish
- cording for necklace
- toothpick optional
Instructions
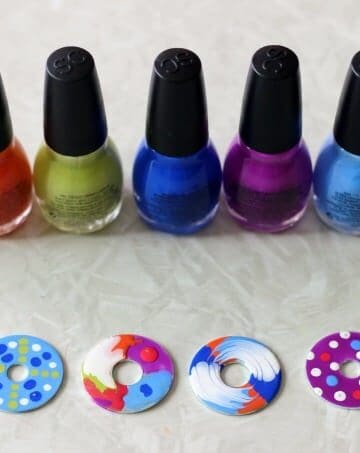
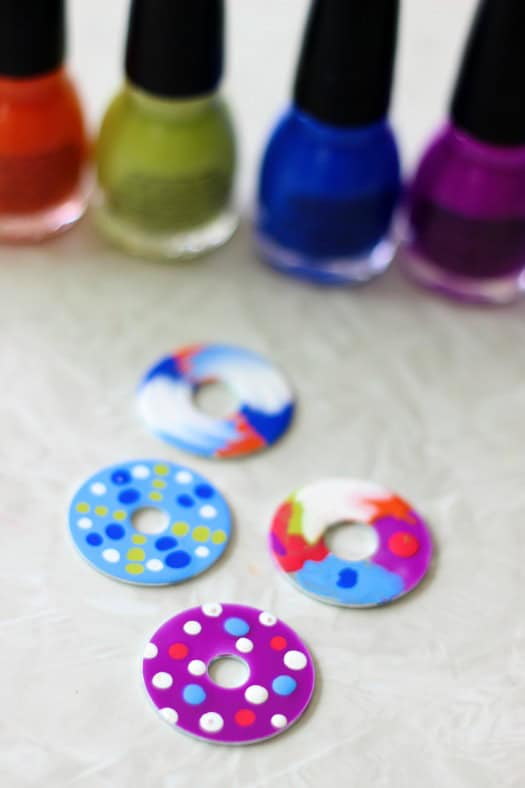
- Paint each washer with nail polish.

- Use a toothpick to add swirls or other fun designs.
- Let dry completely.
- Paint back, if desired.
- String a long piece of cording through the washer hole to create a necklace.
Video
More Kids Crafts and Activities