These Look Unto Christ printable candy bar wrappers make a quick gift! Fold around a Hershey bar for a sweet handout for any youth group or church activity. This post contains affiliate links.
You might also like our 12 Days of Christmas QR code gift for Christian youth, Christ-themed Christmas sock handout, or prayer bracelet tutorial!
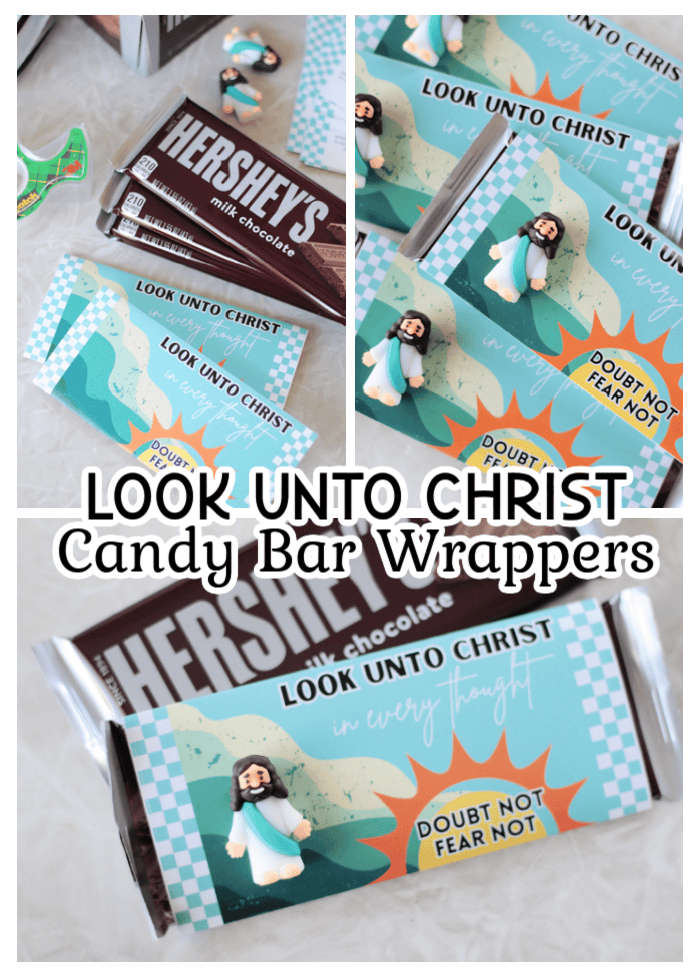
Look Unto Christ Printable Candy Bar Wrappers
These cute handouts were designed to go with the 2025 youth theme for the Church of Jesus Christ of Latter-day Saints, "Look Unto Christ," but they would be perfect for any Christian youth group. The best part? They come together for less than $1/each.
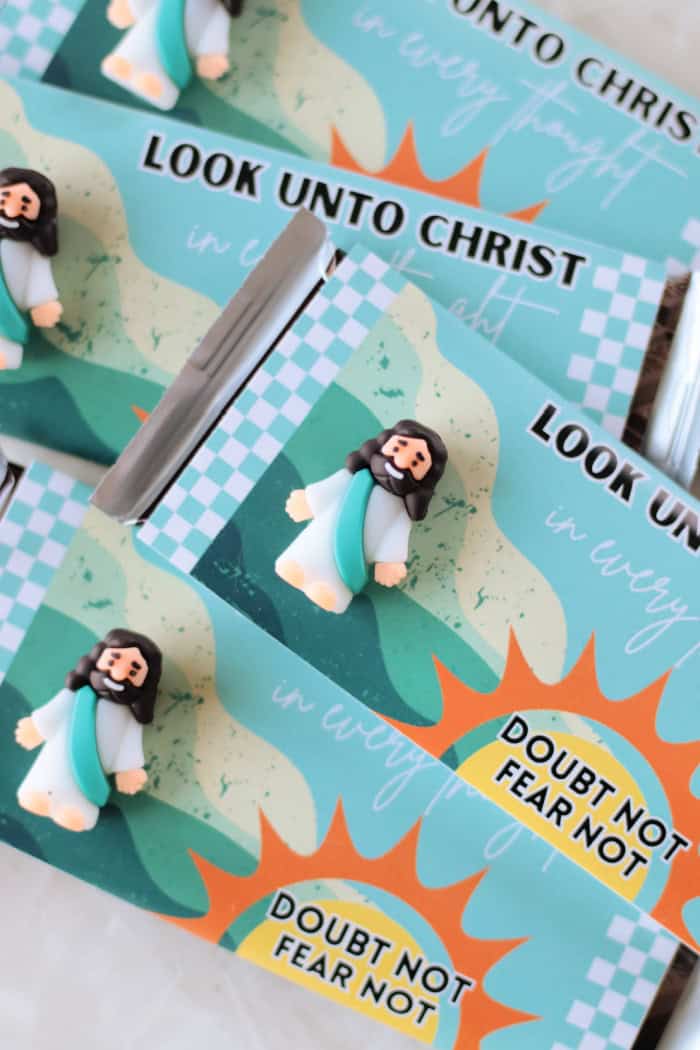
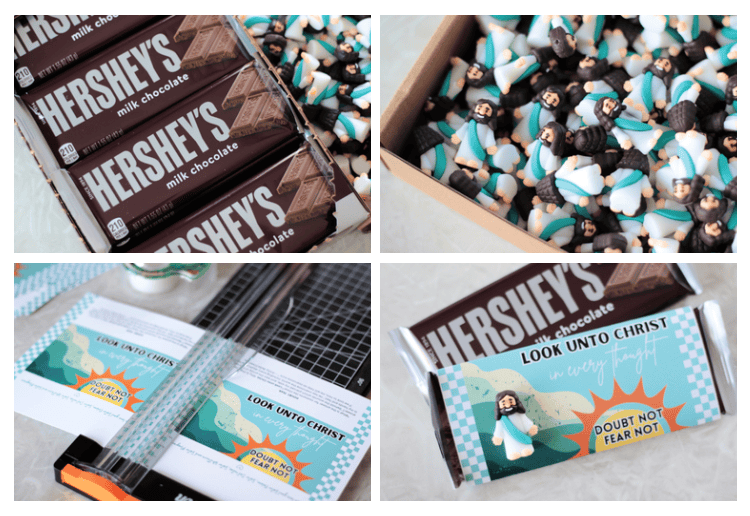
I am the Stake Young Women's president in my area, and I wanted to create something to hand out during ward conferences. My teens came home one day with these mini Jesus figures from a church lesson, and I knew I had to incorporate them somehow into my little gifts. I ordered a pack on Amazon and picked up a few boxes of Hershey bars to attach them to.
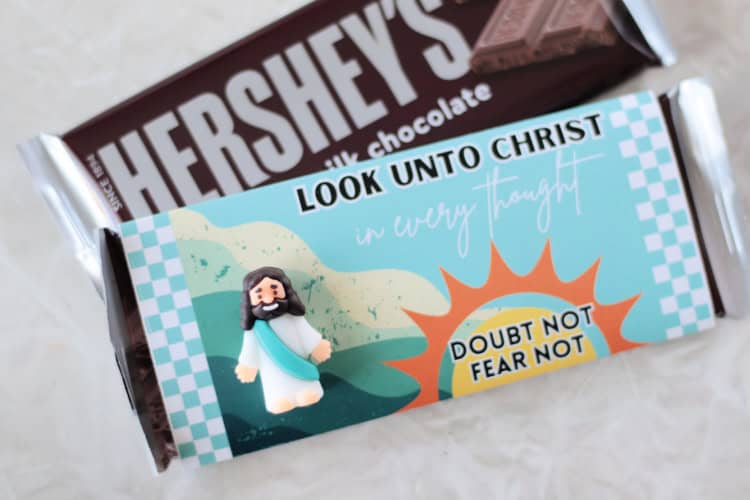
I designed these wrappers to fit perfectly on a Hershey bar. I printed them on glossy paper, and they turned out so good!
Look Unto Christ Quote
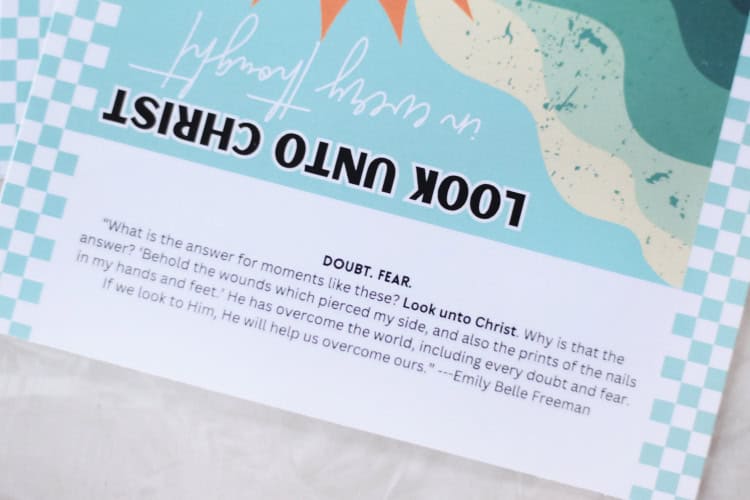
When the 2025 youth theme was announced, Emily Belle Freeman shared her thoughts. I loved the following quote and printed it onto the back of each candy bar wrapper.
Doubt. Fear.
"What is the answer for moments like these? Look Unto Christ. Why is that the answer? 'Behold the wounds which pierced my side and also the prints of the nails in my hands and feet.' He has overcome the world, including every doubt and fear. If we look unto Him, He will help us overcome ours." --- Emily Belle Freeman.
Printable Candy Bar Wrapper Supplies
- Click HERE to download the printable candy bar wrappers
- Jesus figures
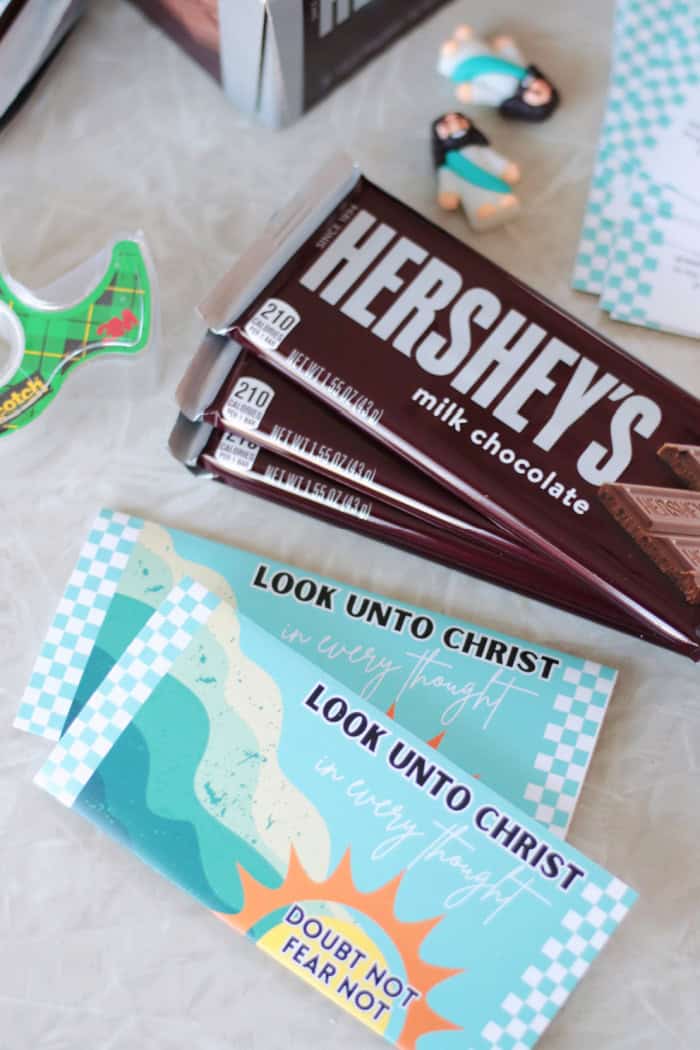
- Hershey Bars
- Glue dots or transparent tape
How To Assemble Free Candy Bar Wrapper Printable
- Use a paper cutter to trim each printable down to the correct size (they print two to a page).
- Fold the wrapper along the bottom and top of the front image.
- Fold around a candy bar.
- Tape the seam to secure (can also use glue dots).
- Use glue dots or transparent tape to attach a Jesus figure to the front of each one.*
*UPDATE: I originally glued mine on with hot glue, but later when I pulled them out of my closet the little figures had all fallen off. My friend had the same issue. Instead, I used a piece of transparent tape across the front of each one instead. Someone else said she used glue dots with success. I'm not sure why the hot glue only held them in place for 24 hours or so.