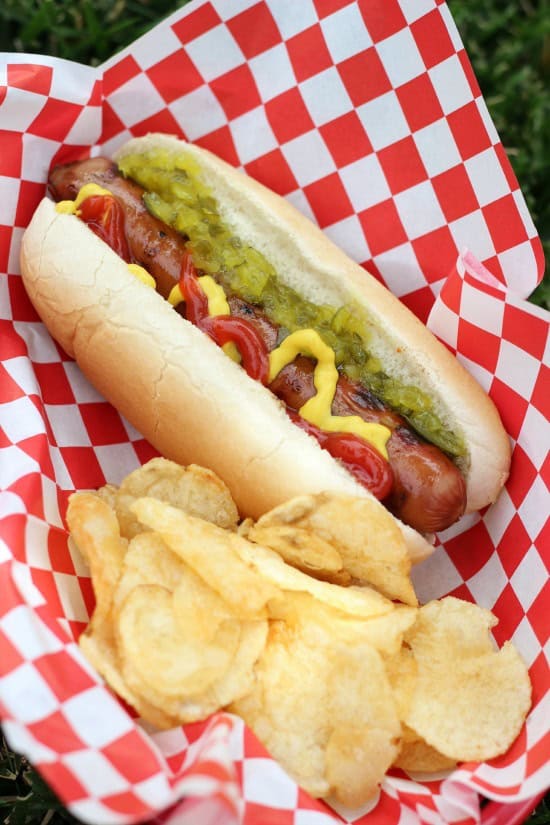
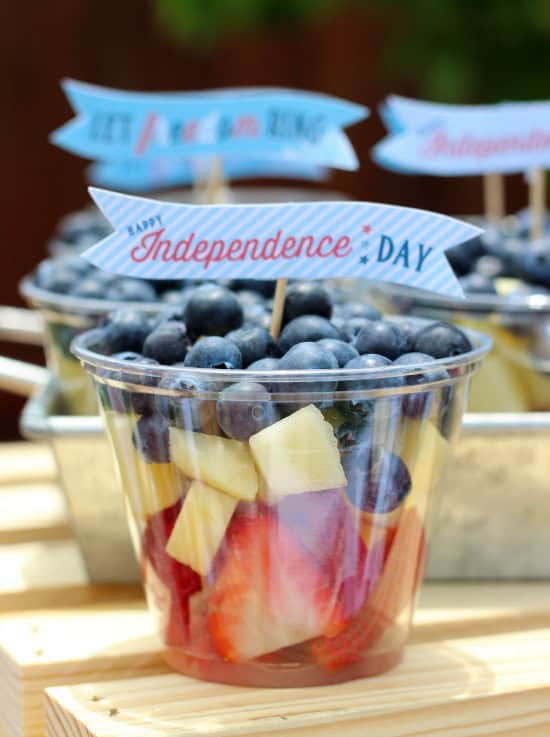
Take your 4th of July BBQ up a notch with a County Fair inspired backyard get together! Complete with all American hot dogs, Twizzlers flag cookies, Red, White, & Blue fruit cups, and Americana decor. This shop has been compensated by Collective Bias, Inc. and its advertiser.
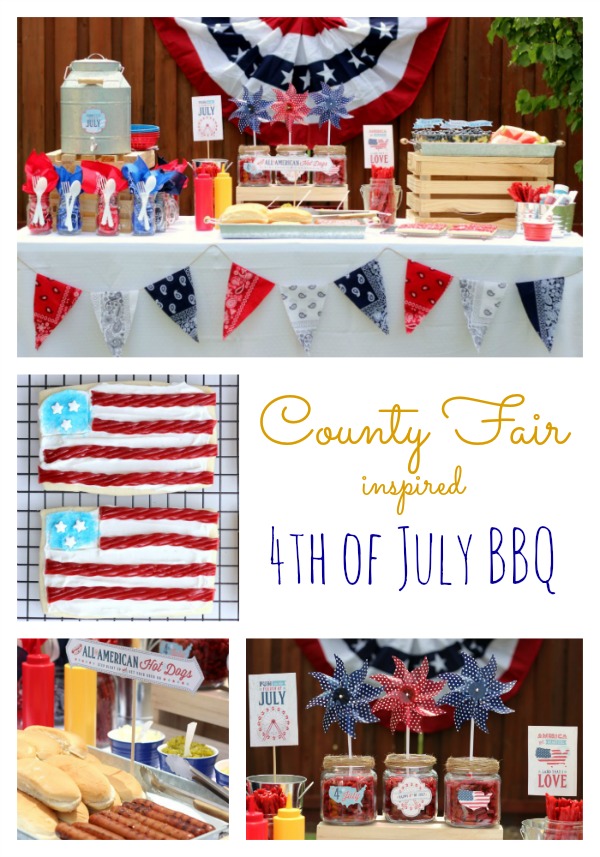
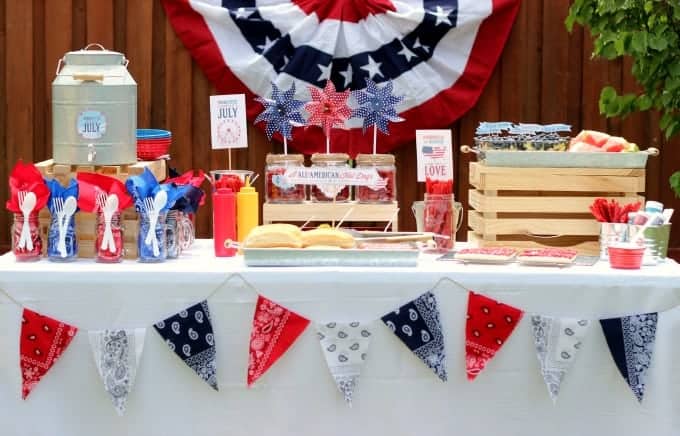
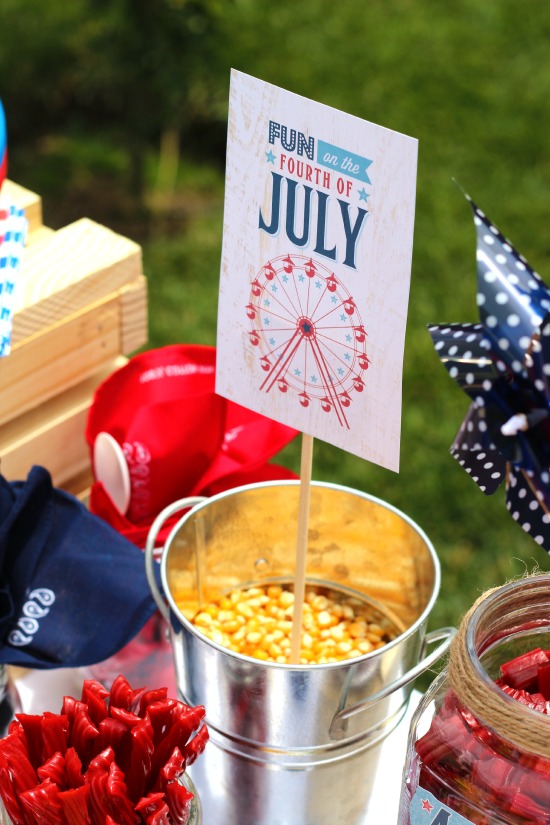
Here is my County Fair Inspired 4th of July BBQ Tablescape!
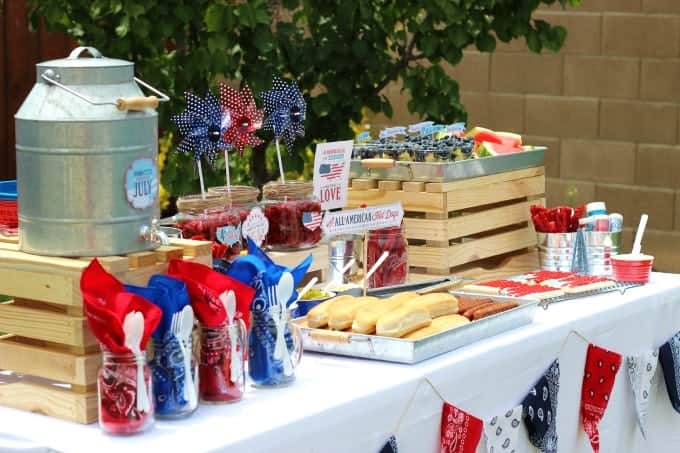
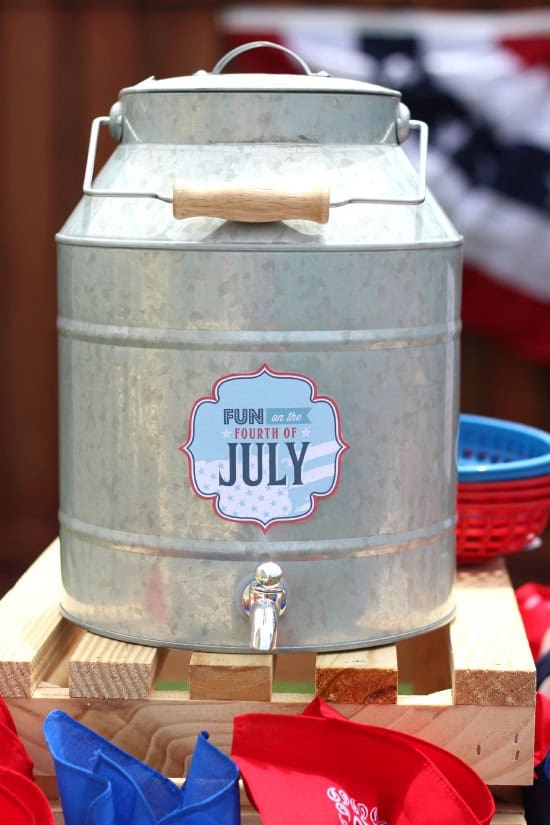
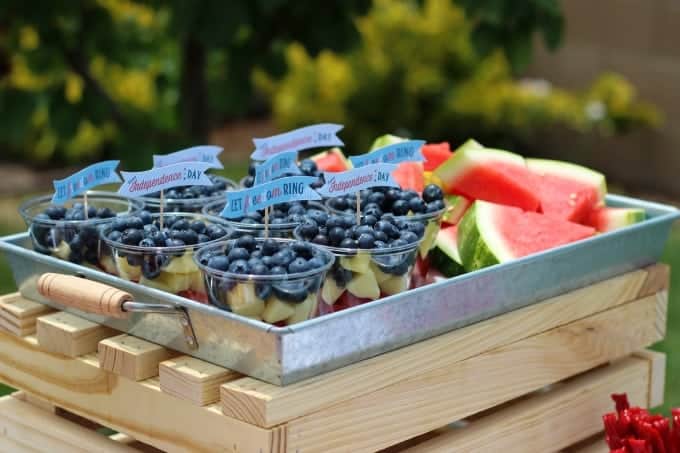
Tip: Use wooden crates or boxes to add height to your party table! This makes it easier to display your food, and also maximizes space.
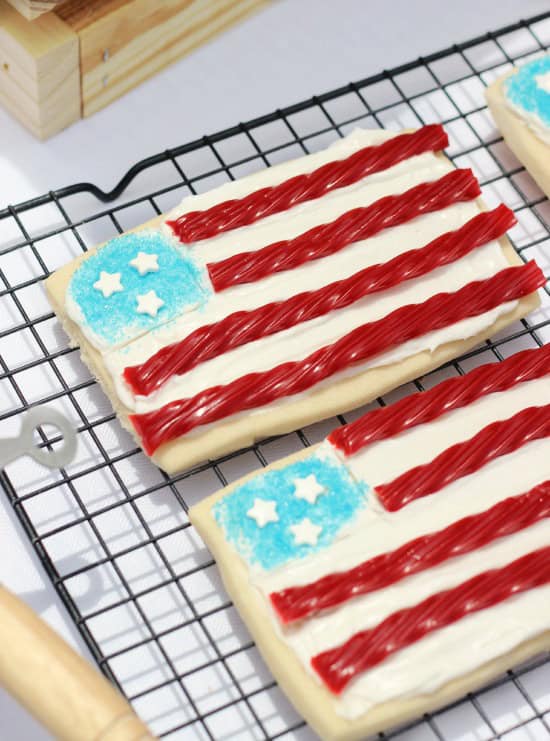
Tip: Don't have a cookie cutter for every shape on the planet? Yeah, me neither. To make rectangle cookies, use an index card! Simply place it on top of your dough and cut out the shape with a pizza cutter.
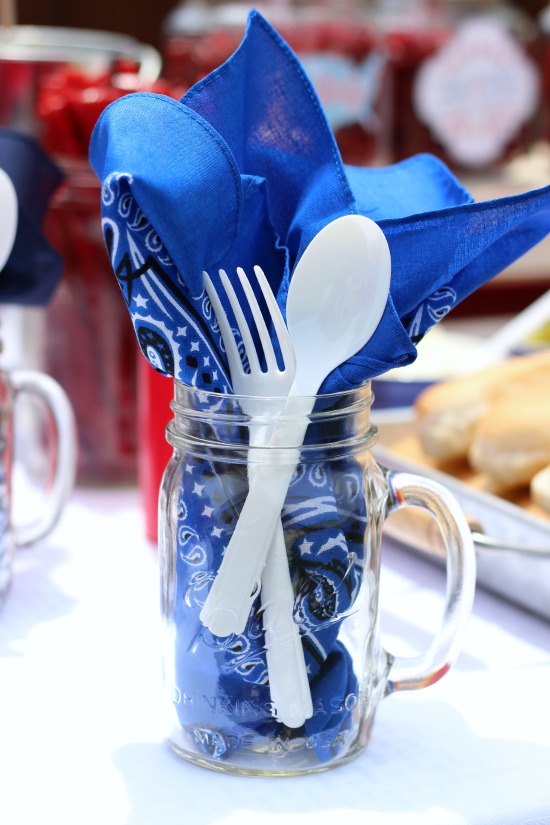
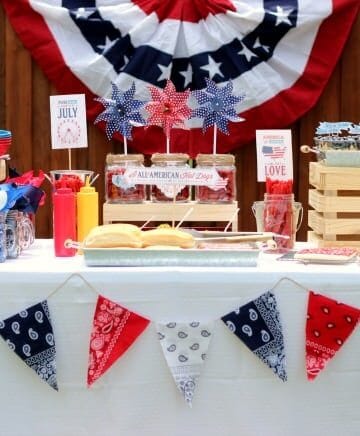
Tip: Not only are bandanas bright and colorful, they are functional too. I used a few leftover bandanas to create my bunting for my table. I simply cut out triangles on the fold (3 per bandana) and hung them over a long piece of twine.
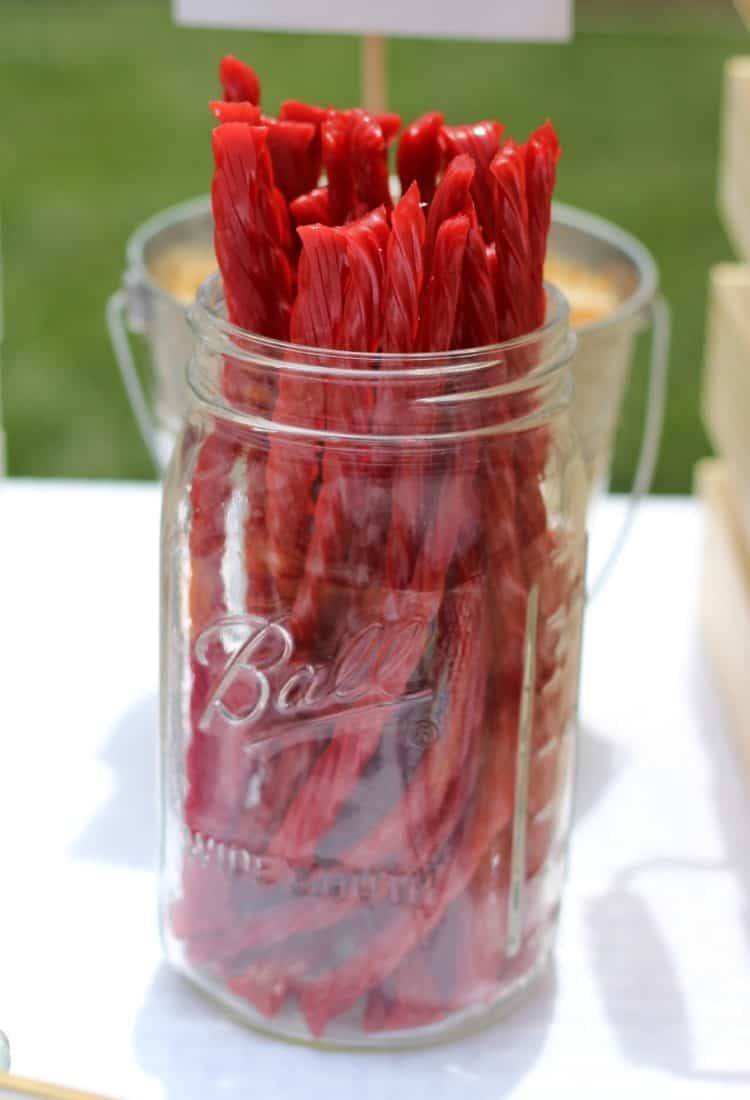
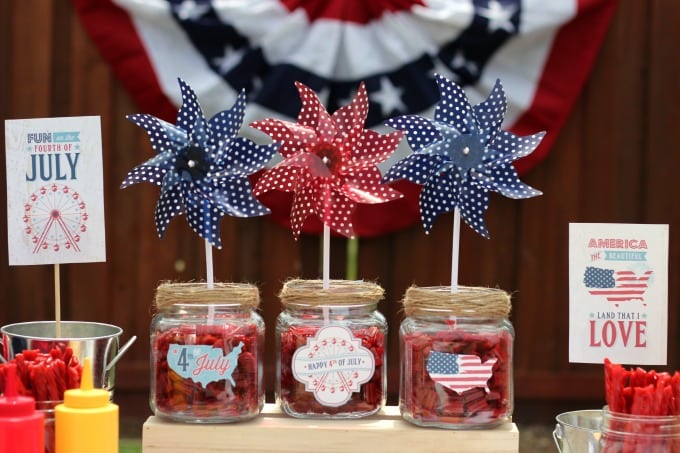
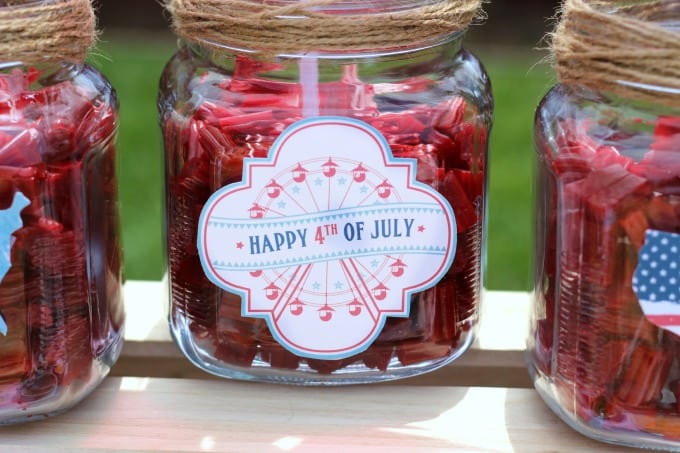
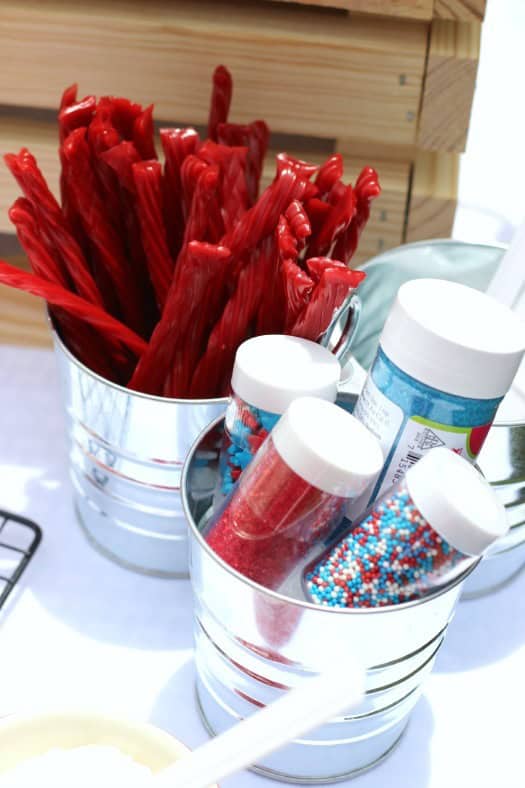
Mason jars also work great for displaying bursts of bright red Twizzlers Twists for snacking.
And now for a little behind the scenes action to see how I created the centerpieces, flag sugar cookies, and invitations using Twizzlers Twists, Twizzlers Cherry Bites, and Twizzlers Twists (rainbow).
4th of July BBQ Centerpiece
Supplies (all found at Walmart)
Jar ($2.97)
Pinwheel ($.97)
Twizzlers Cherry Bites (1 (16 oz) package per jar)
Styrofoam ball
Twine
Hot glue
tape
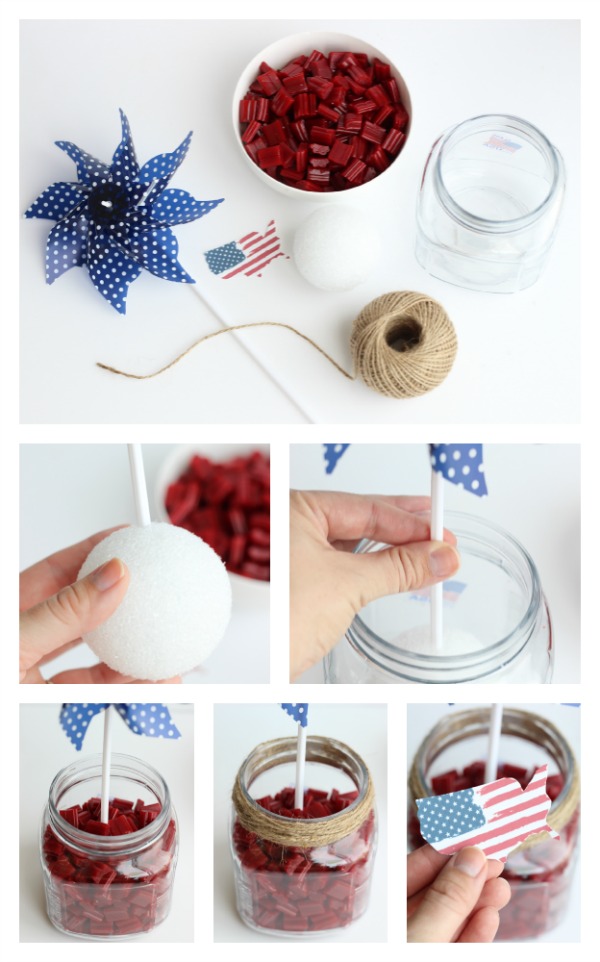
Poke pinwheel into styrofoam ball and place in center of jar.
Fill with Twizzlers Cherry Bites to weigh down.
Wrap jar opening with twine and adhere end with a dab of hot glue.
Adhere printable with a piece of tape.
Printable Invitation
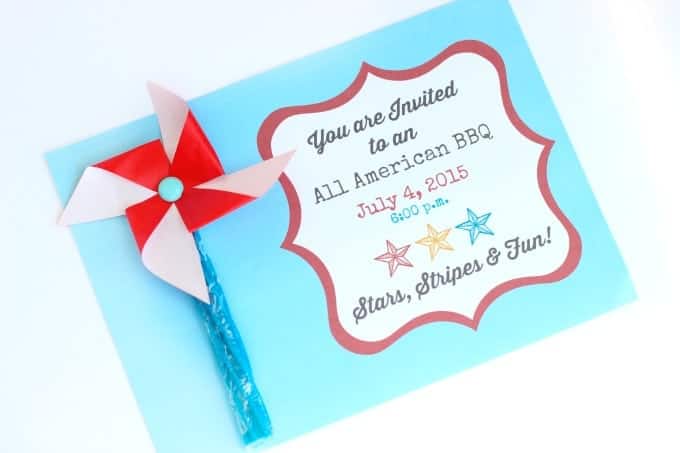
Most invites are done via online these days, but I think it is still fun to receive a good old fashioned hand delivered invite! These invites are easy to customize using any print program (I use picmonkey).
Simply download this blank invite (5x7") and add your own wording! You'll notice that there is an empty space to the left to add a Twizzlers Twists Pinwheel.

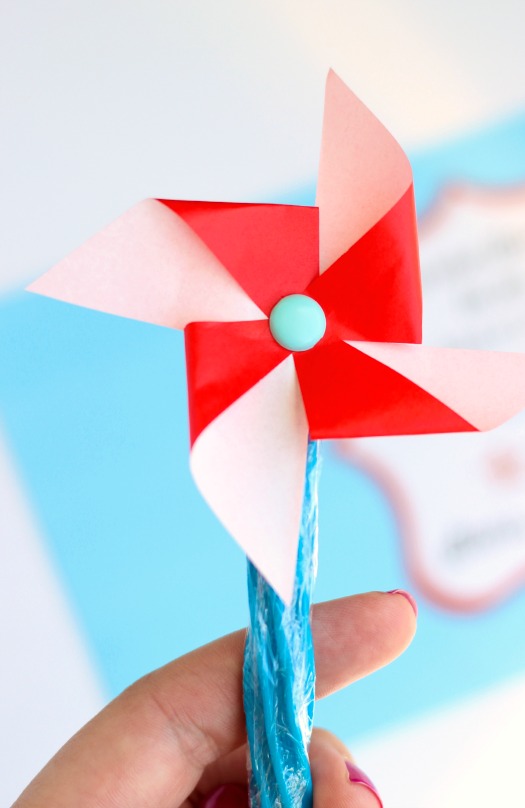
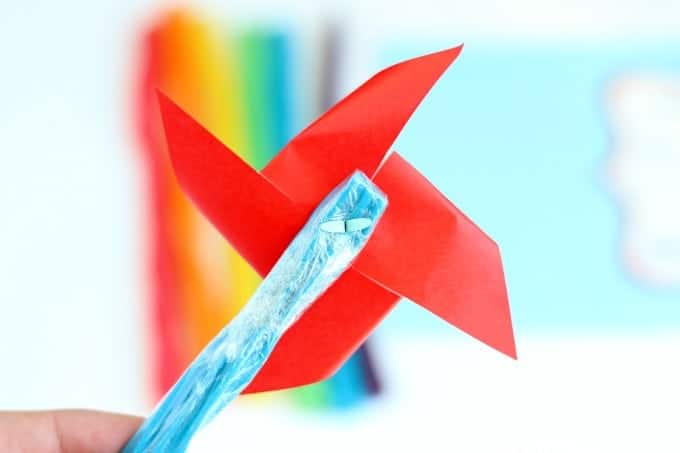
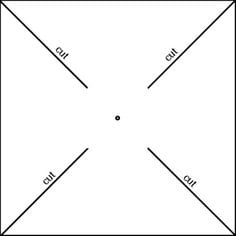
You will now have 8 flaps. Bring every other flap to the center so that 4 are in the center and 4 are left out. Use a brad to secure the center flaps.
Food and Decor: Walmart (the cashier said, "I can't believe we sell all of this cute stuff!")
Tablescape Printables: Hostess with the Mostess


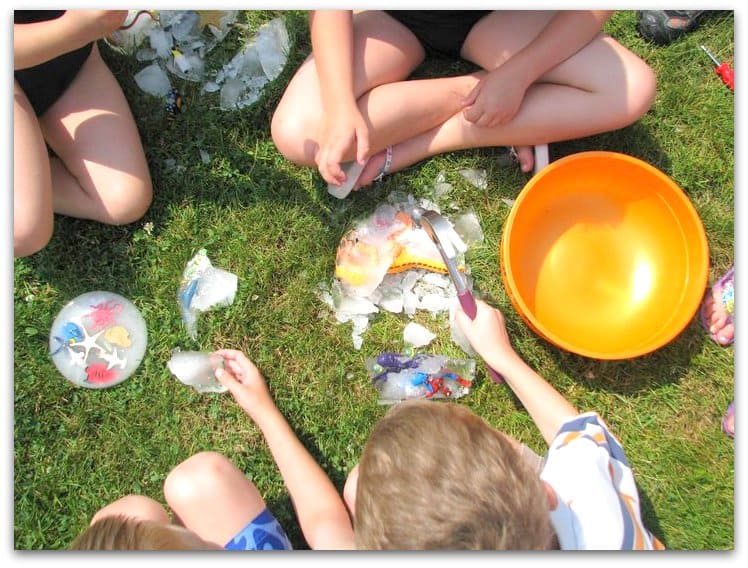
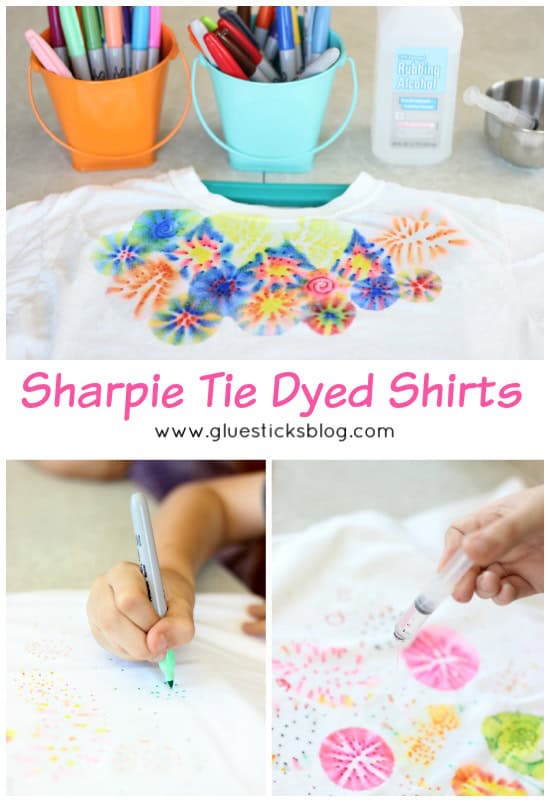
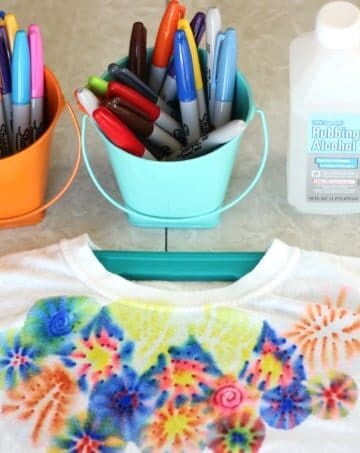
 Such a fun activity to make with kids and the best part is watching the ink bleed and transform into so many neat designs!")
 Such a fun activity to make with kids and the best part is watching the ink bleed and transform into so many neat designs!")
 Such a fun activity to make with kids and the best part is watching the ink bleed and transform into so many neat designs!")
 Such a fun activity to make with kids and the best part is watching the ink bleed and transform into so many neat designs!")
 Such a fun activity to make with kids and the best part is watching the ink bleed and transform into so many neat designs!")
 Such a fun activity to make with kids and the best part is watching the ink bleed and transform into so many neat designs!")
 Such a fun activity to make with kids and the best part is watching the ink bleed and transform into so many neat designs!")