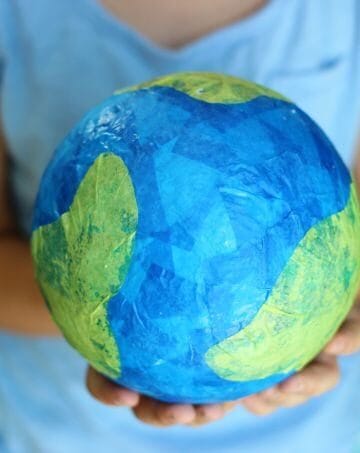
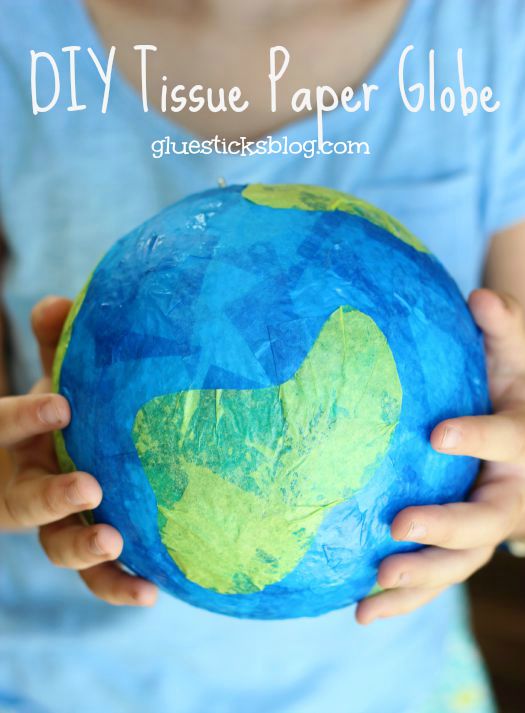
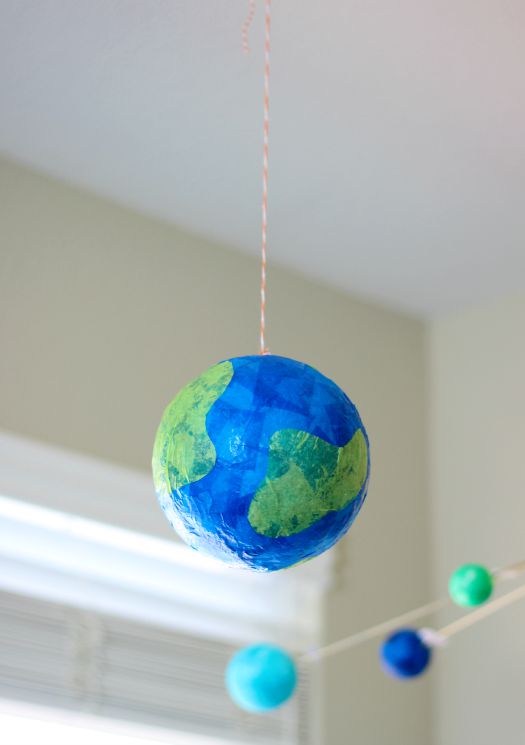
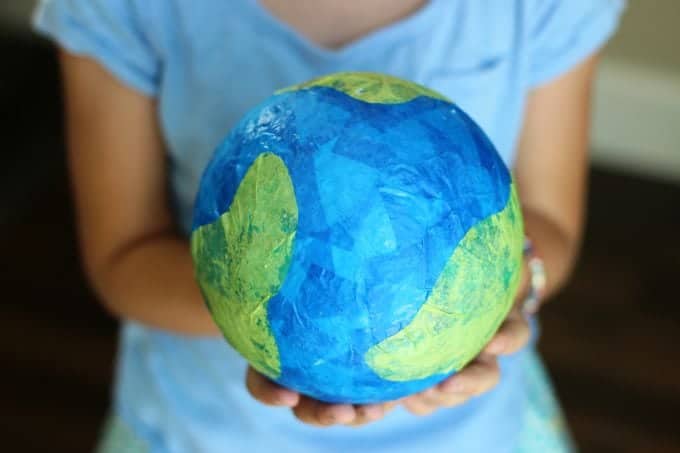
Tissue paper, a styrofoam ball, and a bit of glue is all you need to make a darling little globe craft. A fun craft for Earth Day or a solar system unit craft! Hang with a small hook and string from the ceiling for a fun way to display!
DIY Tissue Paper Globe Craft
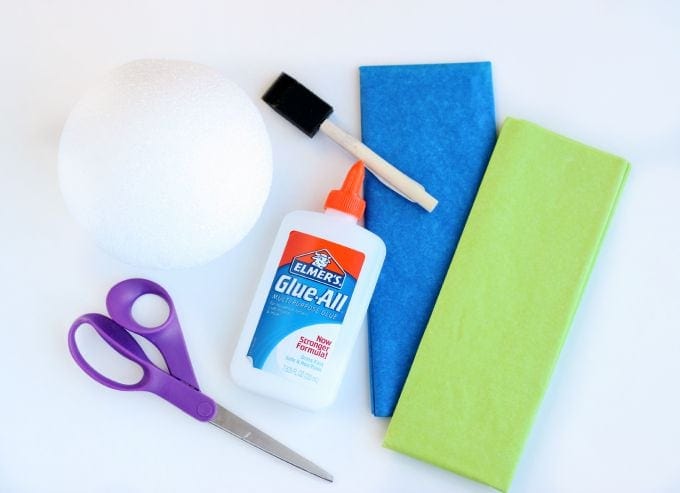
Supplies:
Styrofoam ball
Green and blue tissue paper
Scissors
White glue or Mod Podge
Brush, optional
Instructions for making a tissue paper globe craft:
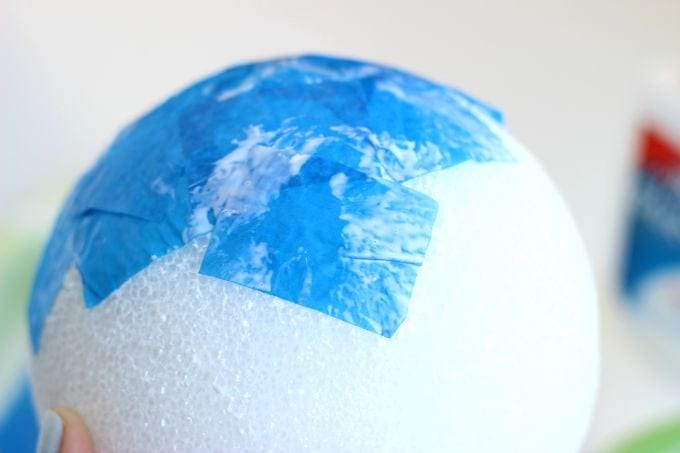
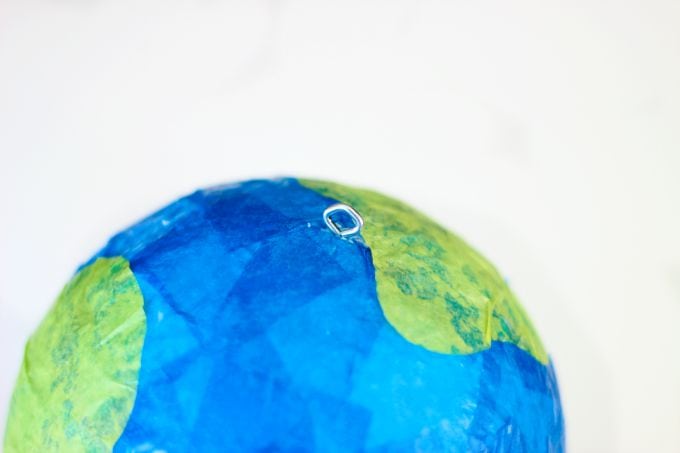
Cut 2 pieces of blue tissue paper into strips then into 1-2" squares. Cut abstract shapes out of green tissue paper for your continents, or you can be detailed and cut out exact shapes for your continents. I'm not that talented 😉

Where is the farthest you've traveled from home?