Hawaiian cheesecake Danish rolls are a crowd favorite. Easy to make and loaded with rich cheesecake filling!
You might also like my Hawaiian roll French toast, puffy German pancakes, or mini cherry cheesecakes.
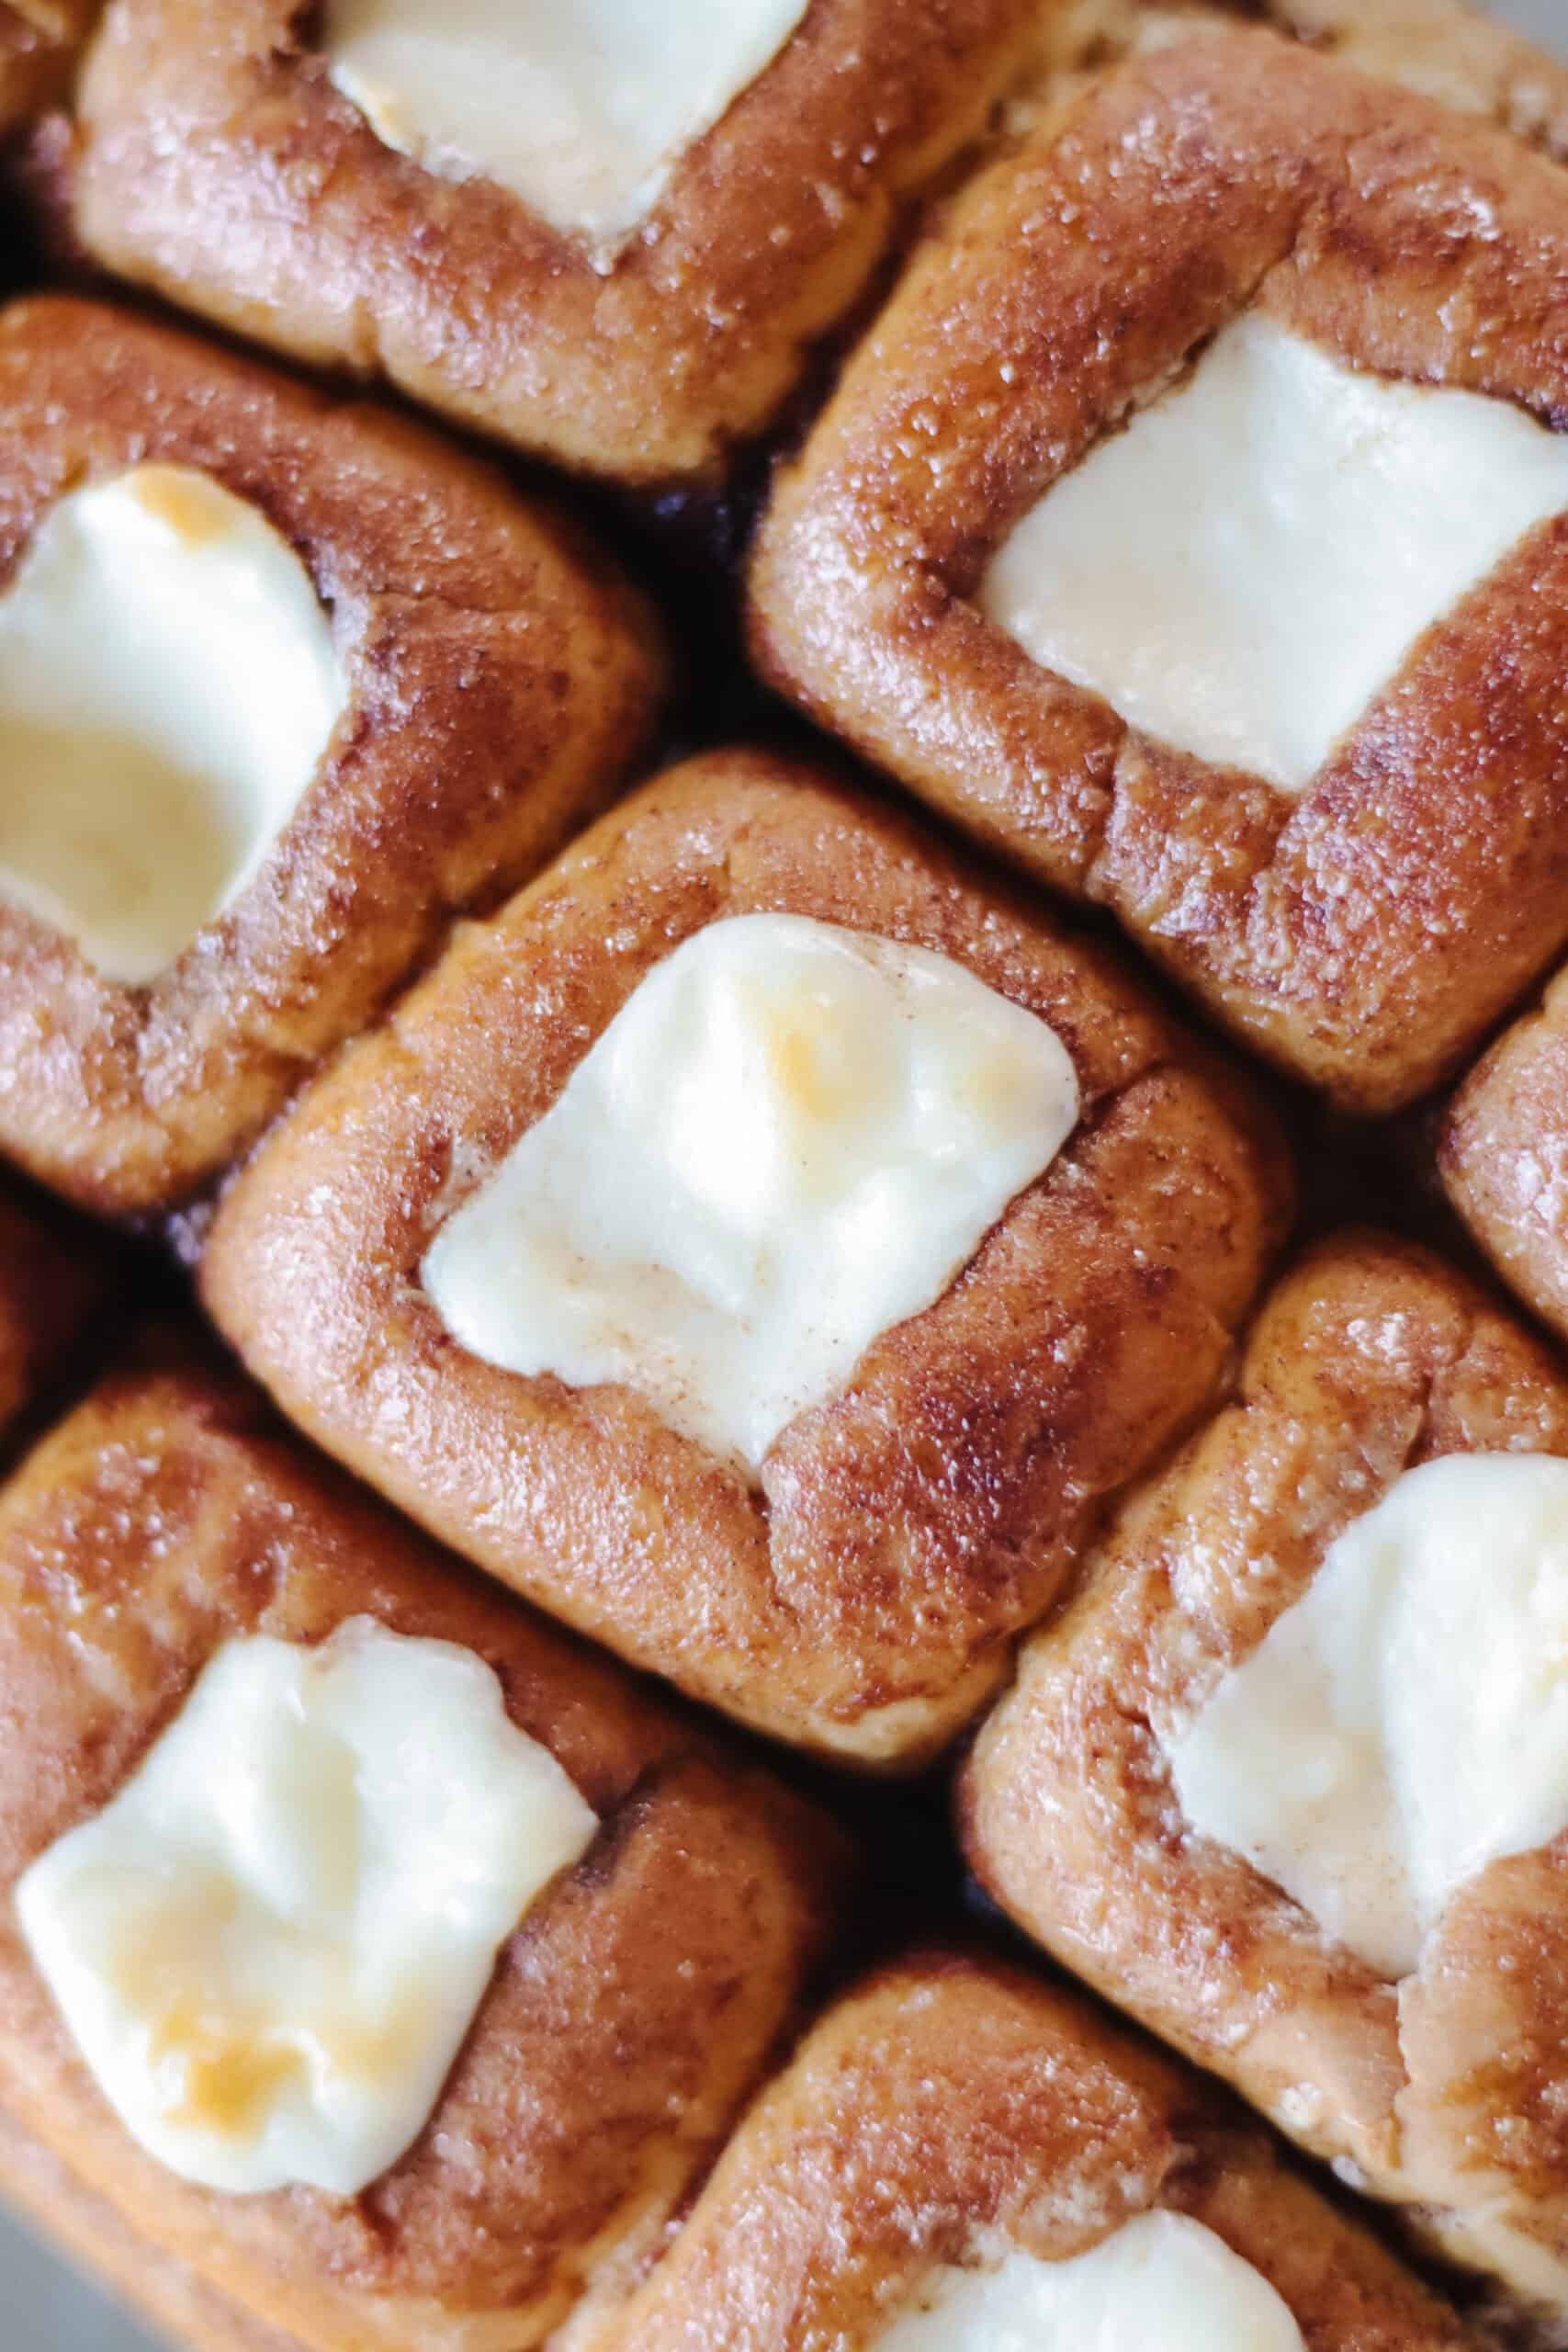
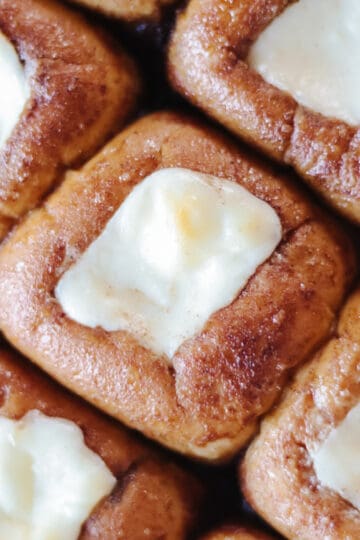
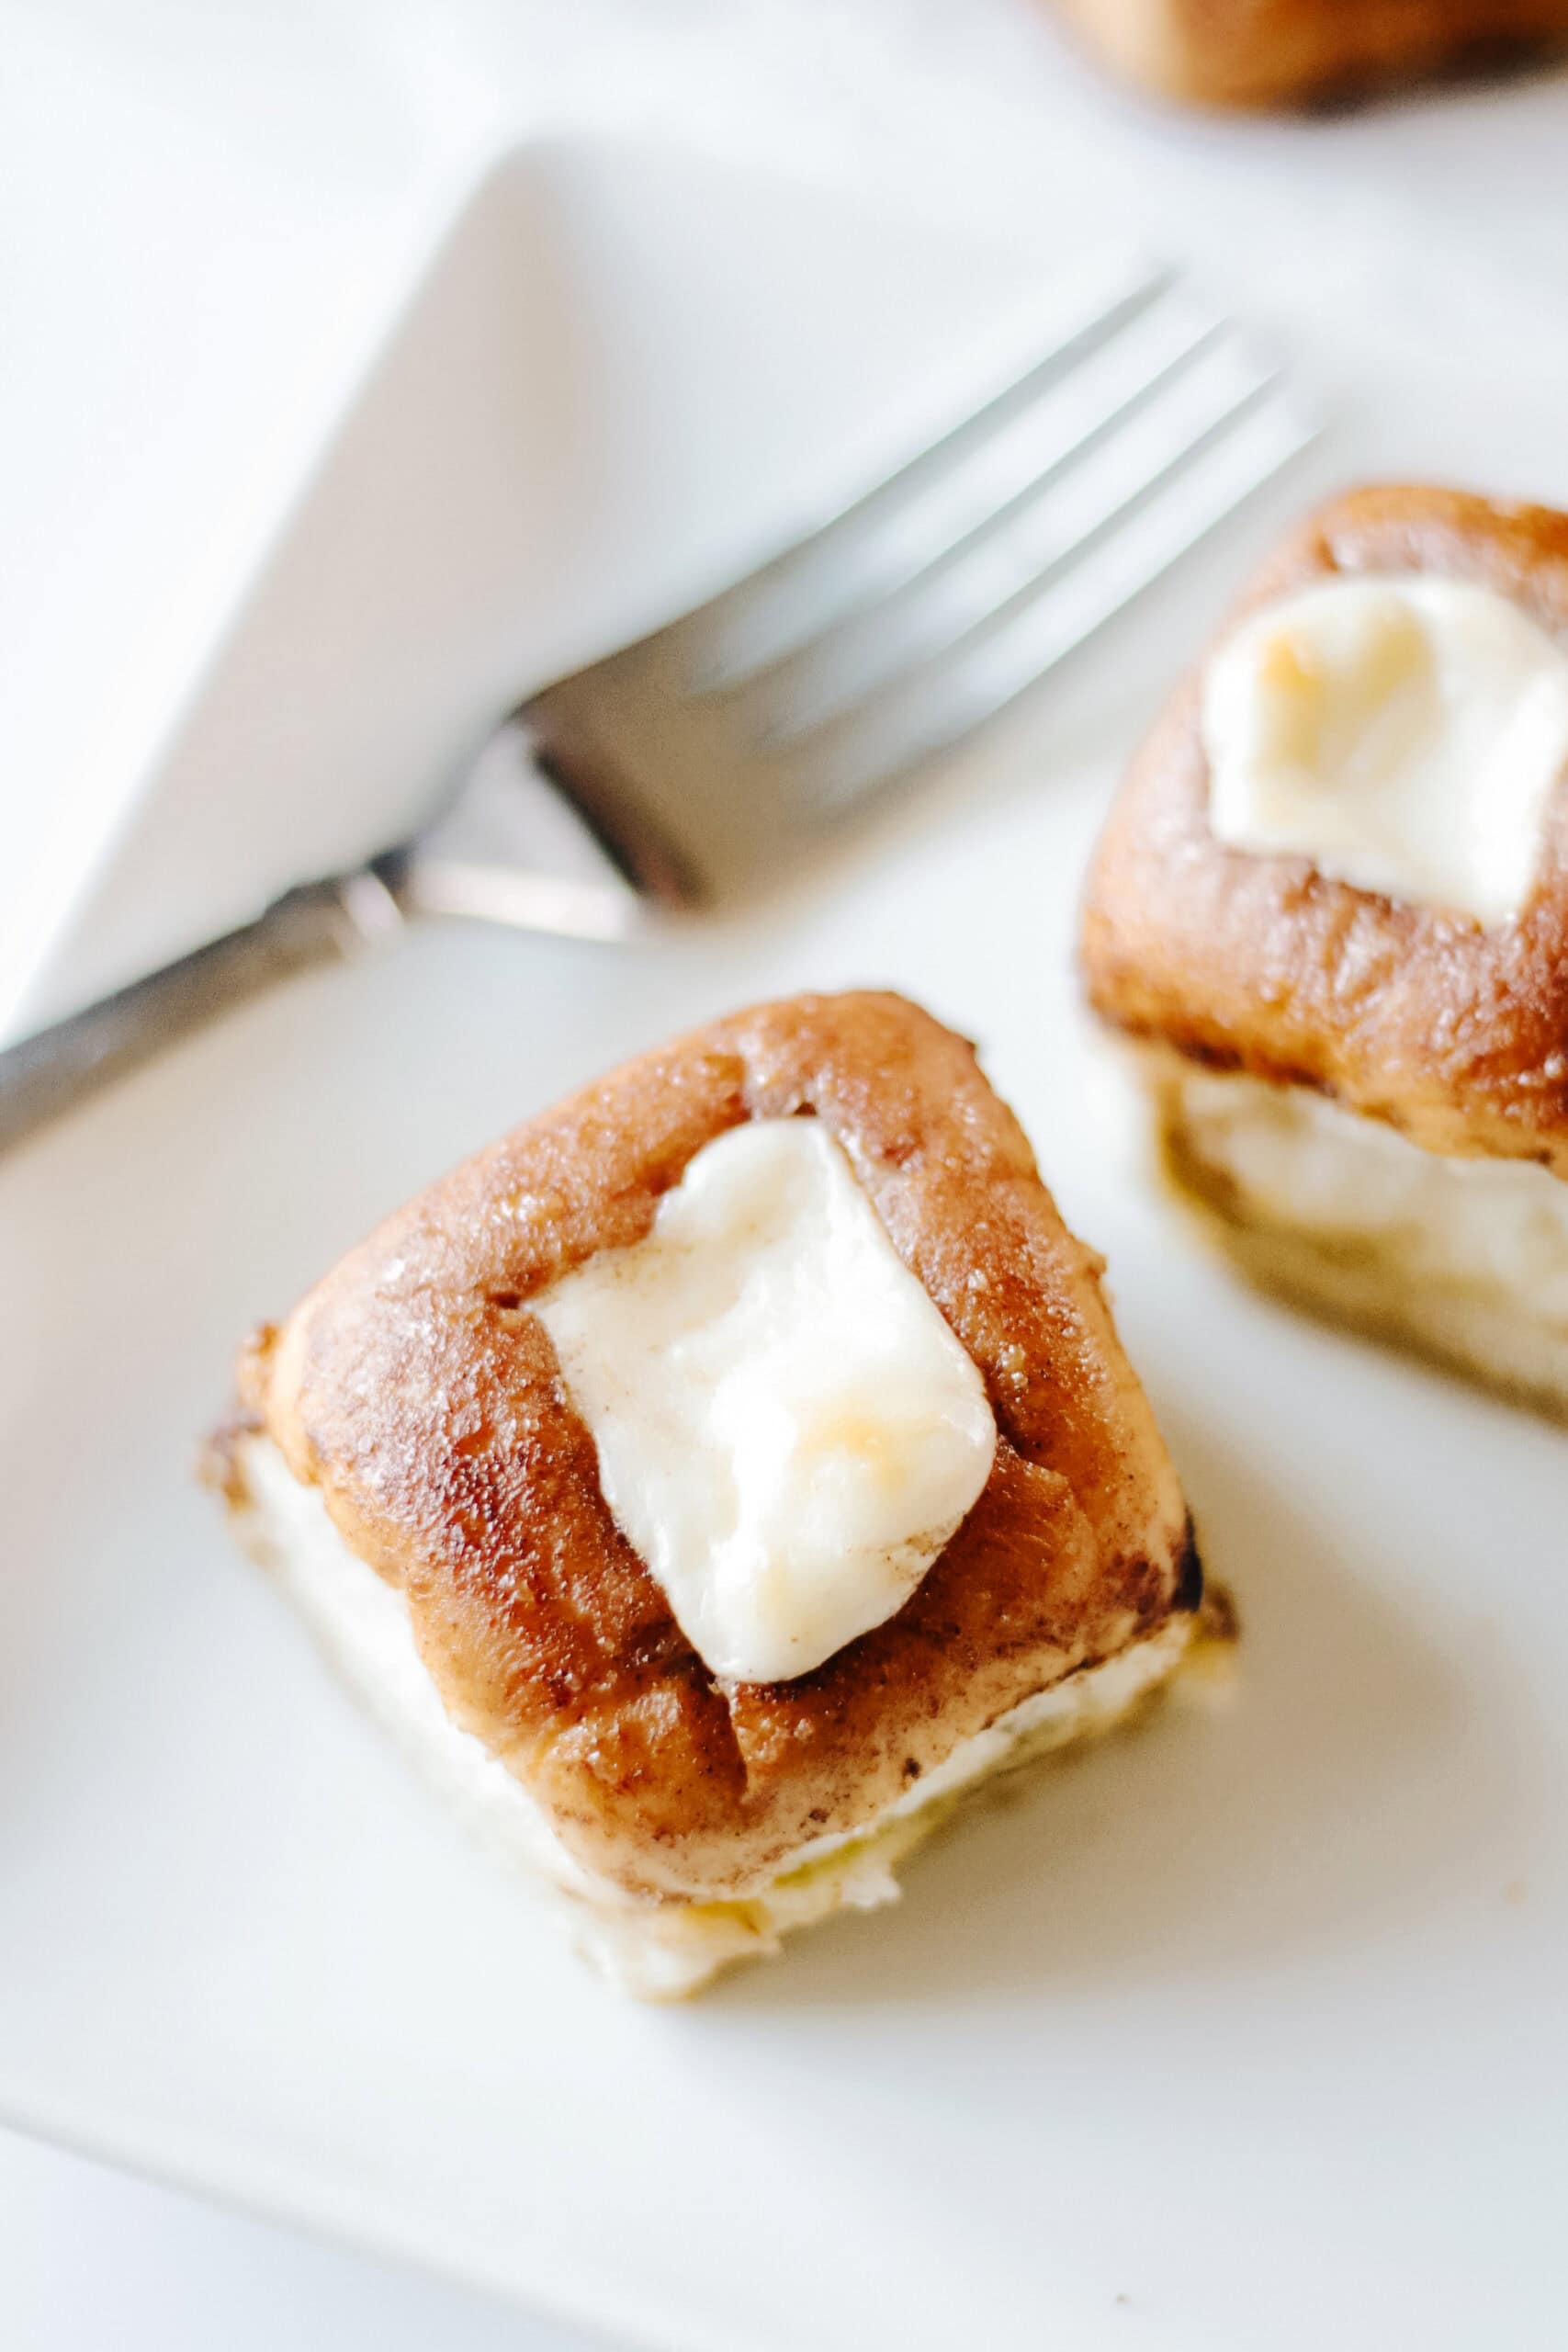
Store-bought Hawaiian dinner rolls brushed with a butter, cinnamon, and brown sugar mixture, then stuffed with cheesecake filling. Rich, gooey, and ridiculously easy to make!
Why I Like This Recipe
- Quick and easy. These rolls couldn't be easier to make, a delicious semi-homemade treat that starts with sweet Hawaiian dinner rolls. You don't need to make a yeast sweet roll dough! Under 30 minutes start to finish.
- Perfect for a crowd. I recently donated 4 dozen to our local homeless resource center for use as dessert with lunch. Our church also served them for breakfast at a summer camp for 100 people!
- Easy to customize. Add lemon curd, blueberries, or other pie fillings, like cherry or apple, to the cheesecake mixture for a variety of sweet roll options.
Tips and Tricks
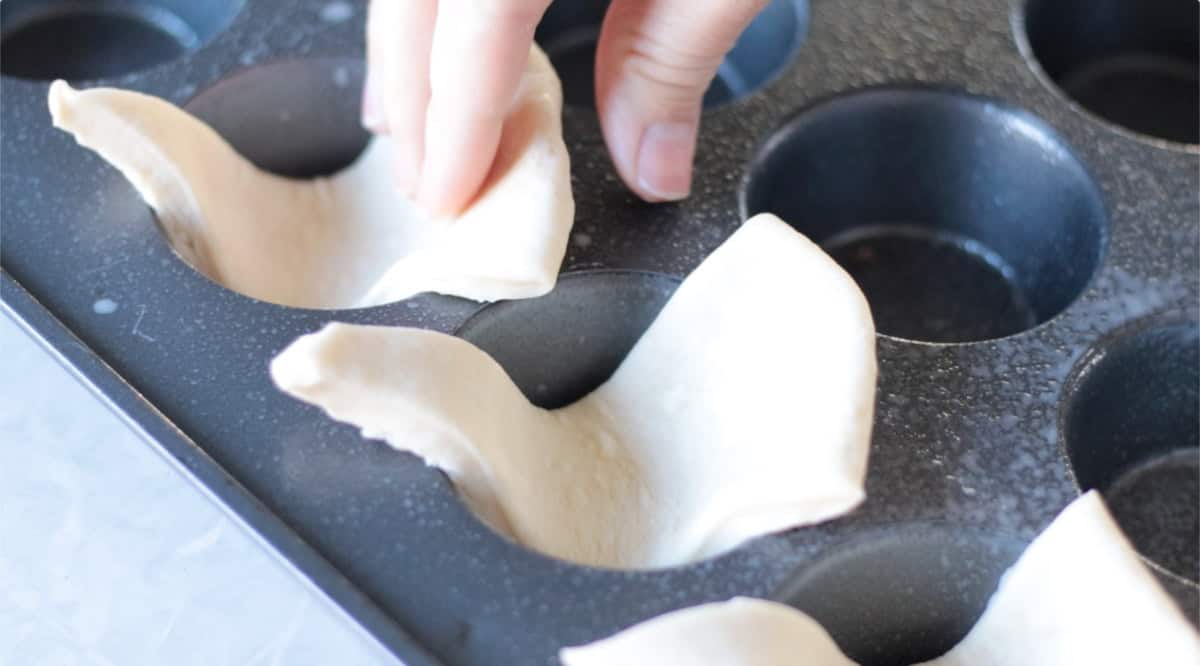
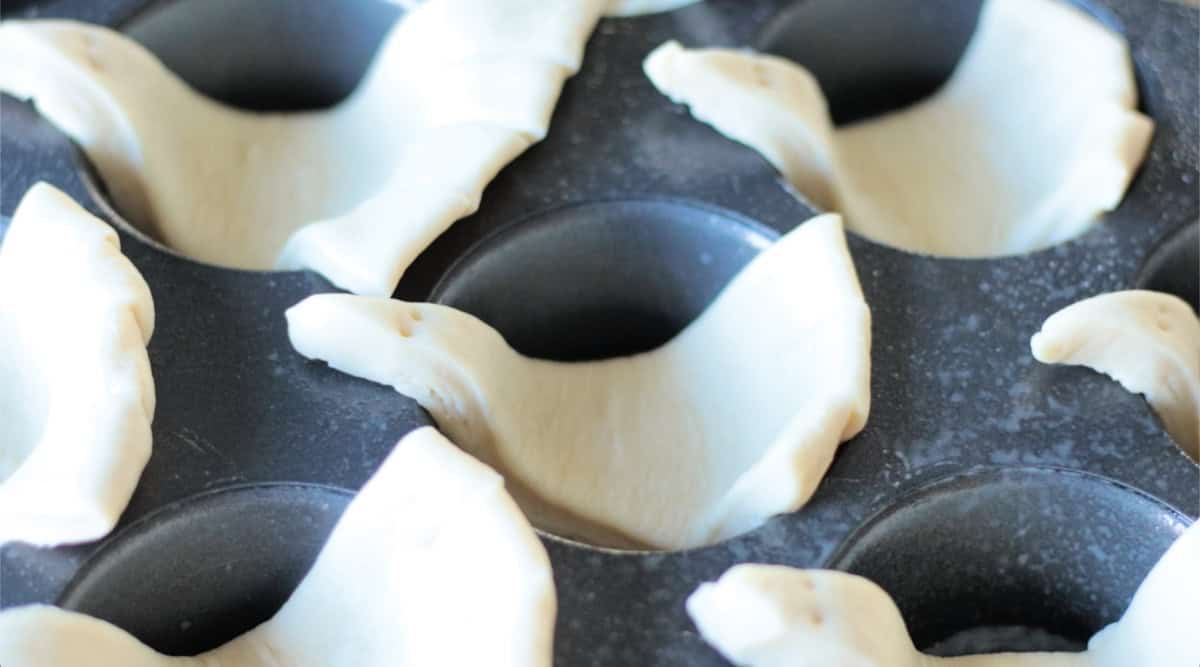
- Pack down the bottoms of the rolls. You'll cut a square from the center of each roll, then pull out the filling. I use my thumb to gently press down to flatten the bottom of each roll, making more room for the cheesecake filling.
- Fill each roll completely with cheesecake filling. The filling will settle as it bakes. Make sure to fill the rolls completely to the top. Use a spoon or a bag. My preferred method is a plastic bag with the corner cut off.
- Storage tips. Rolls are best served warm. Store cooled rolls in an airtight container in the refrigerator for up to 3 days.
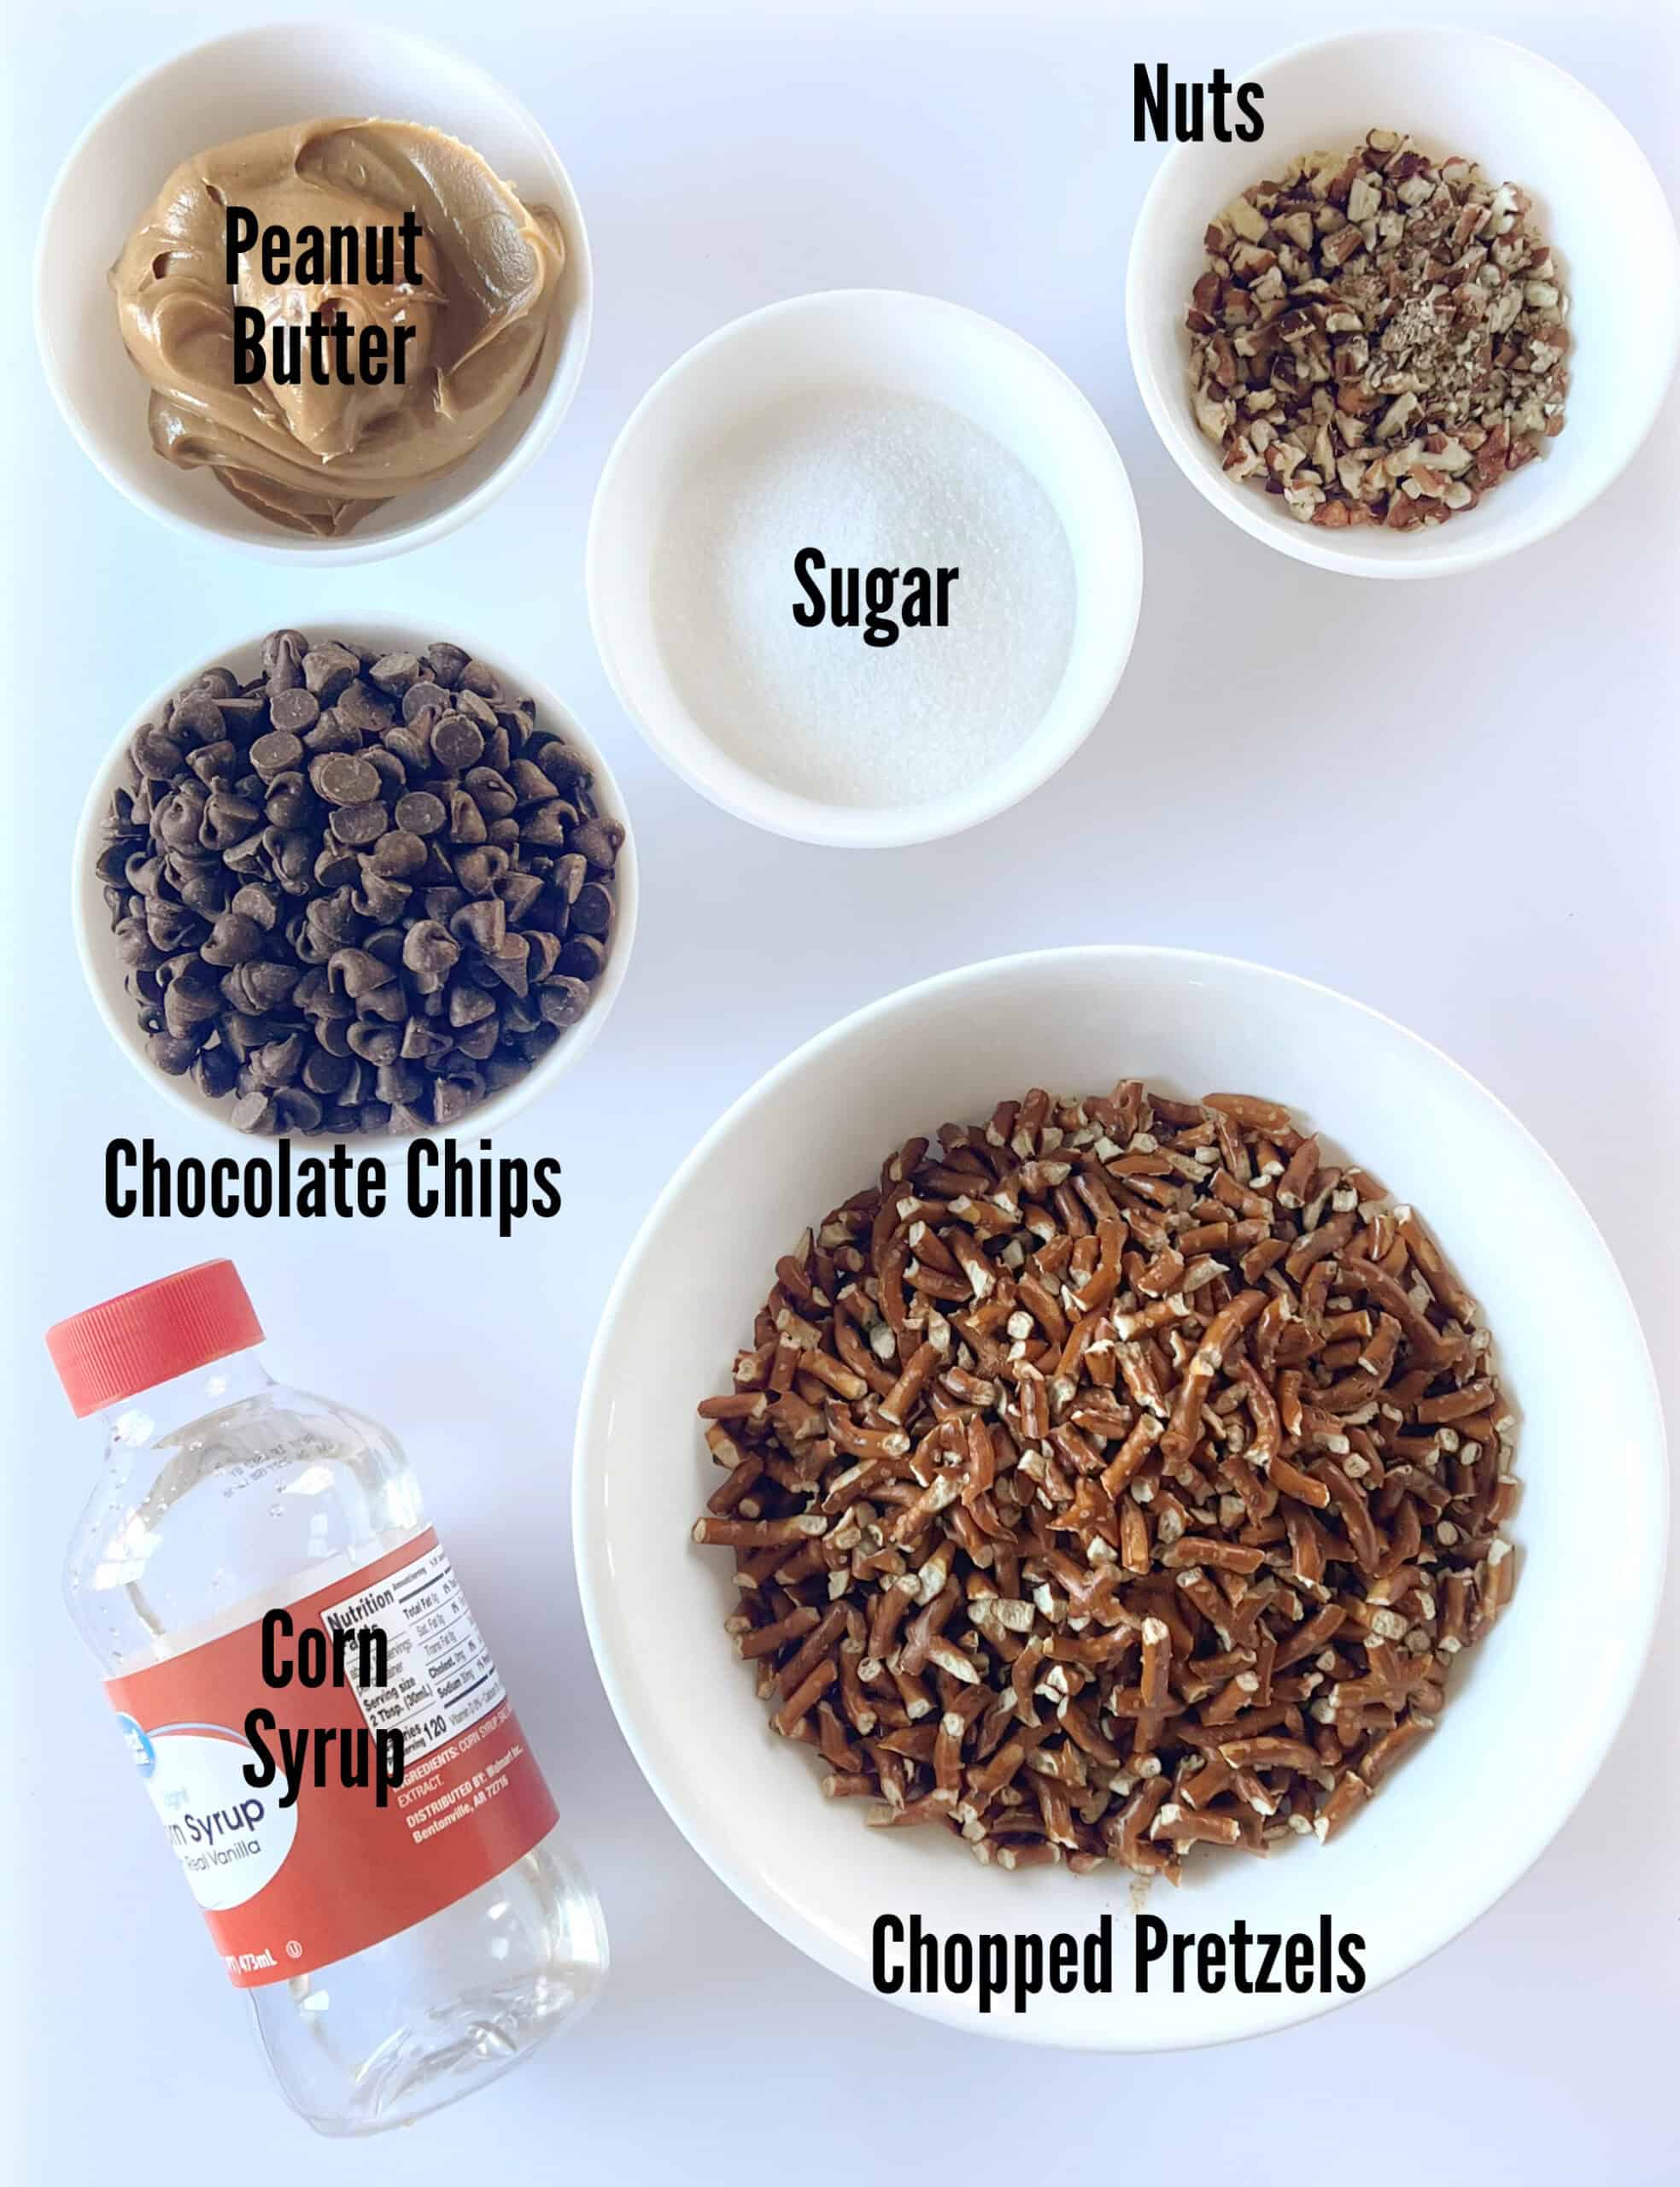
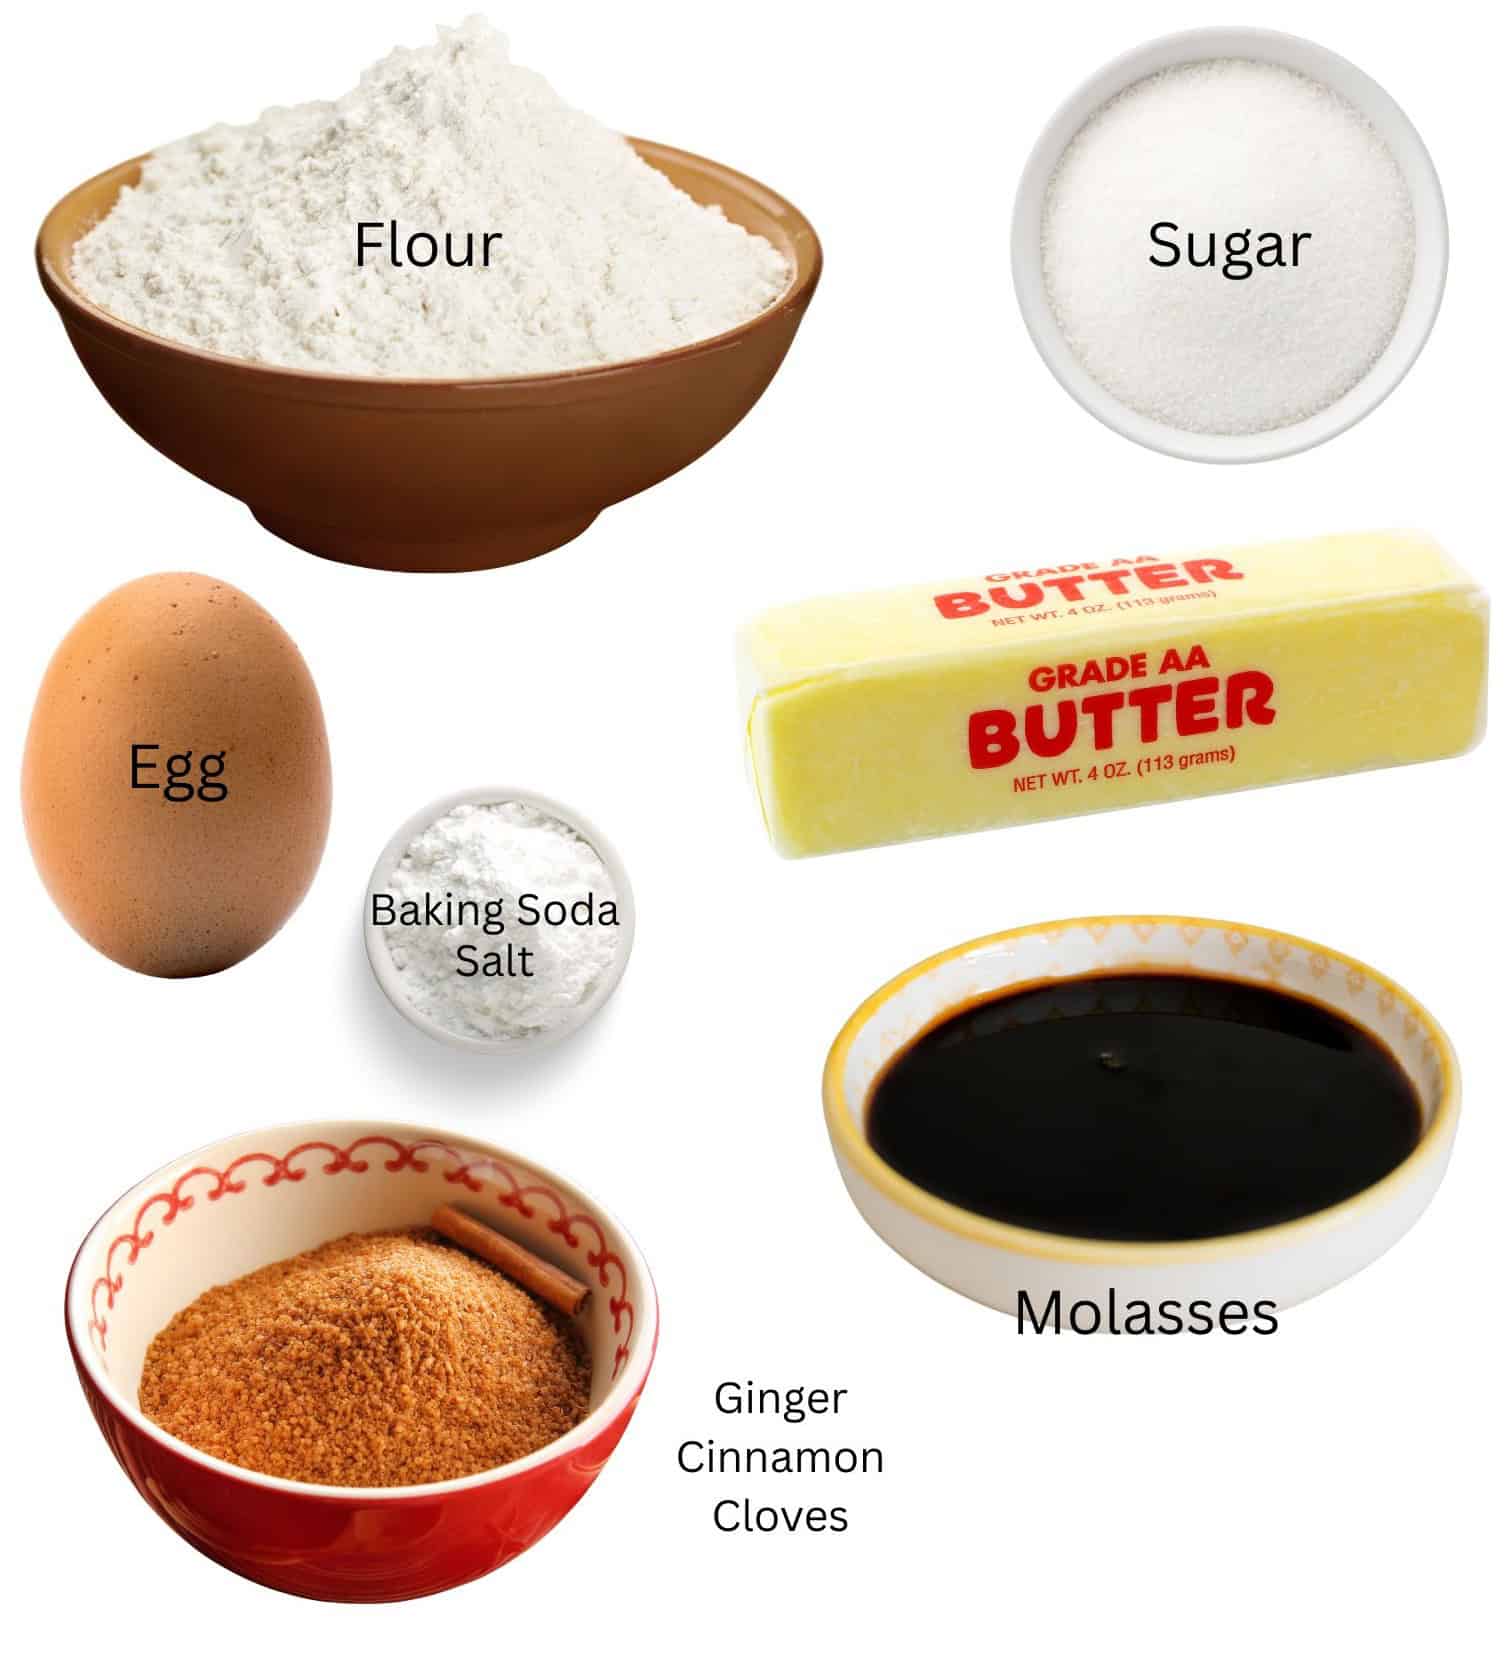
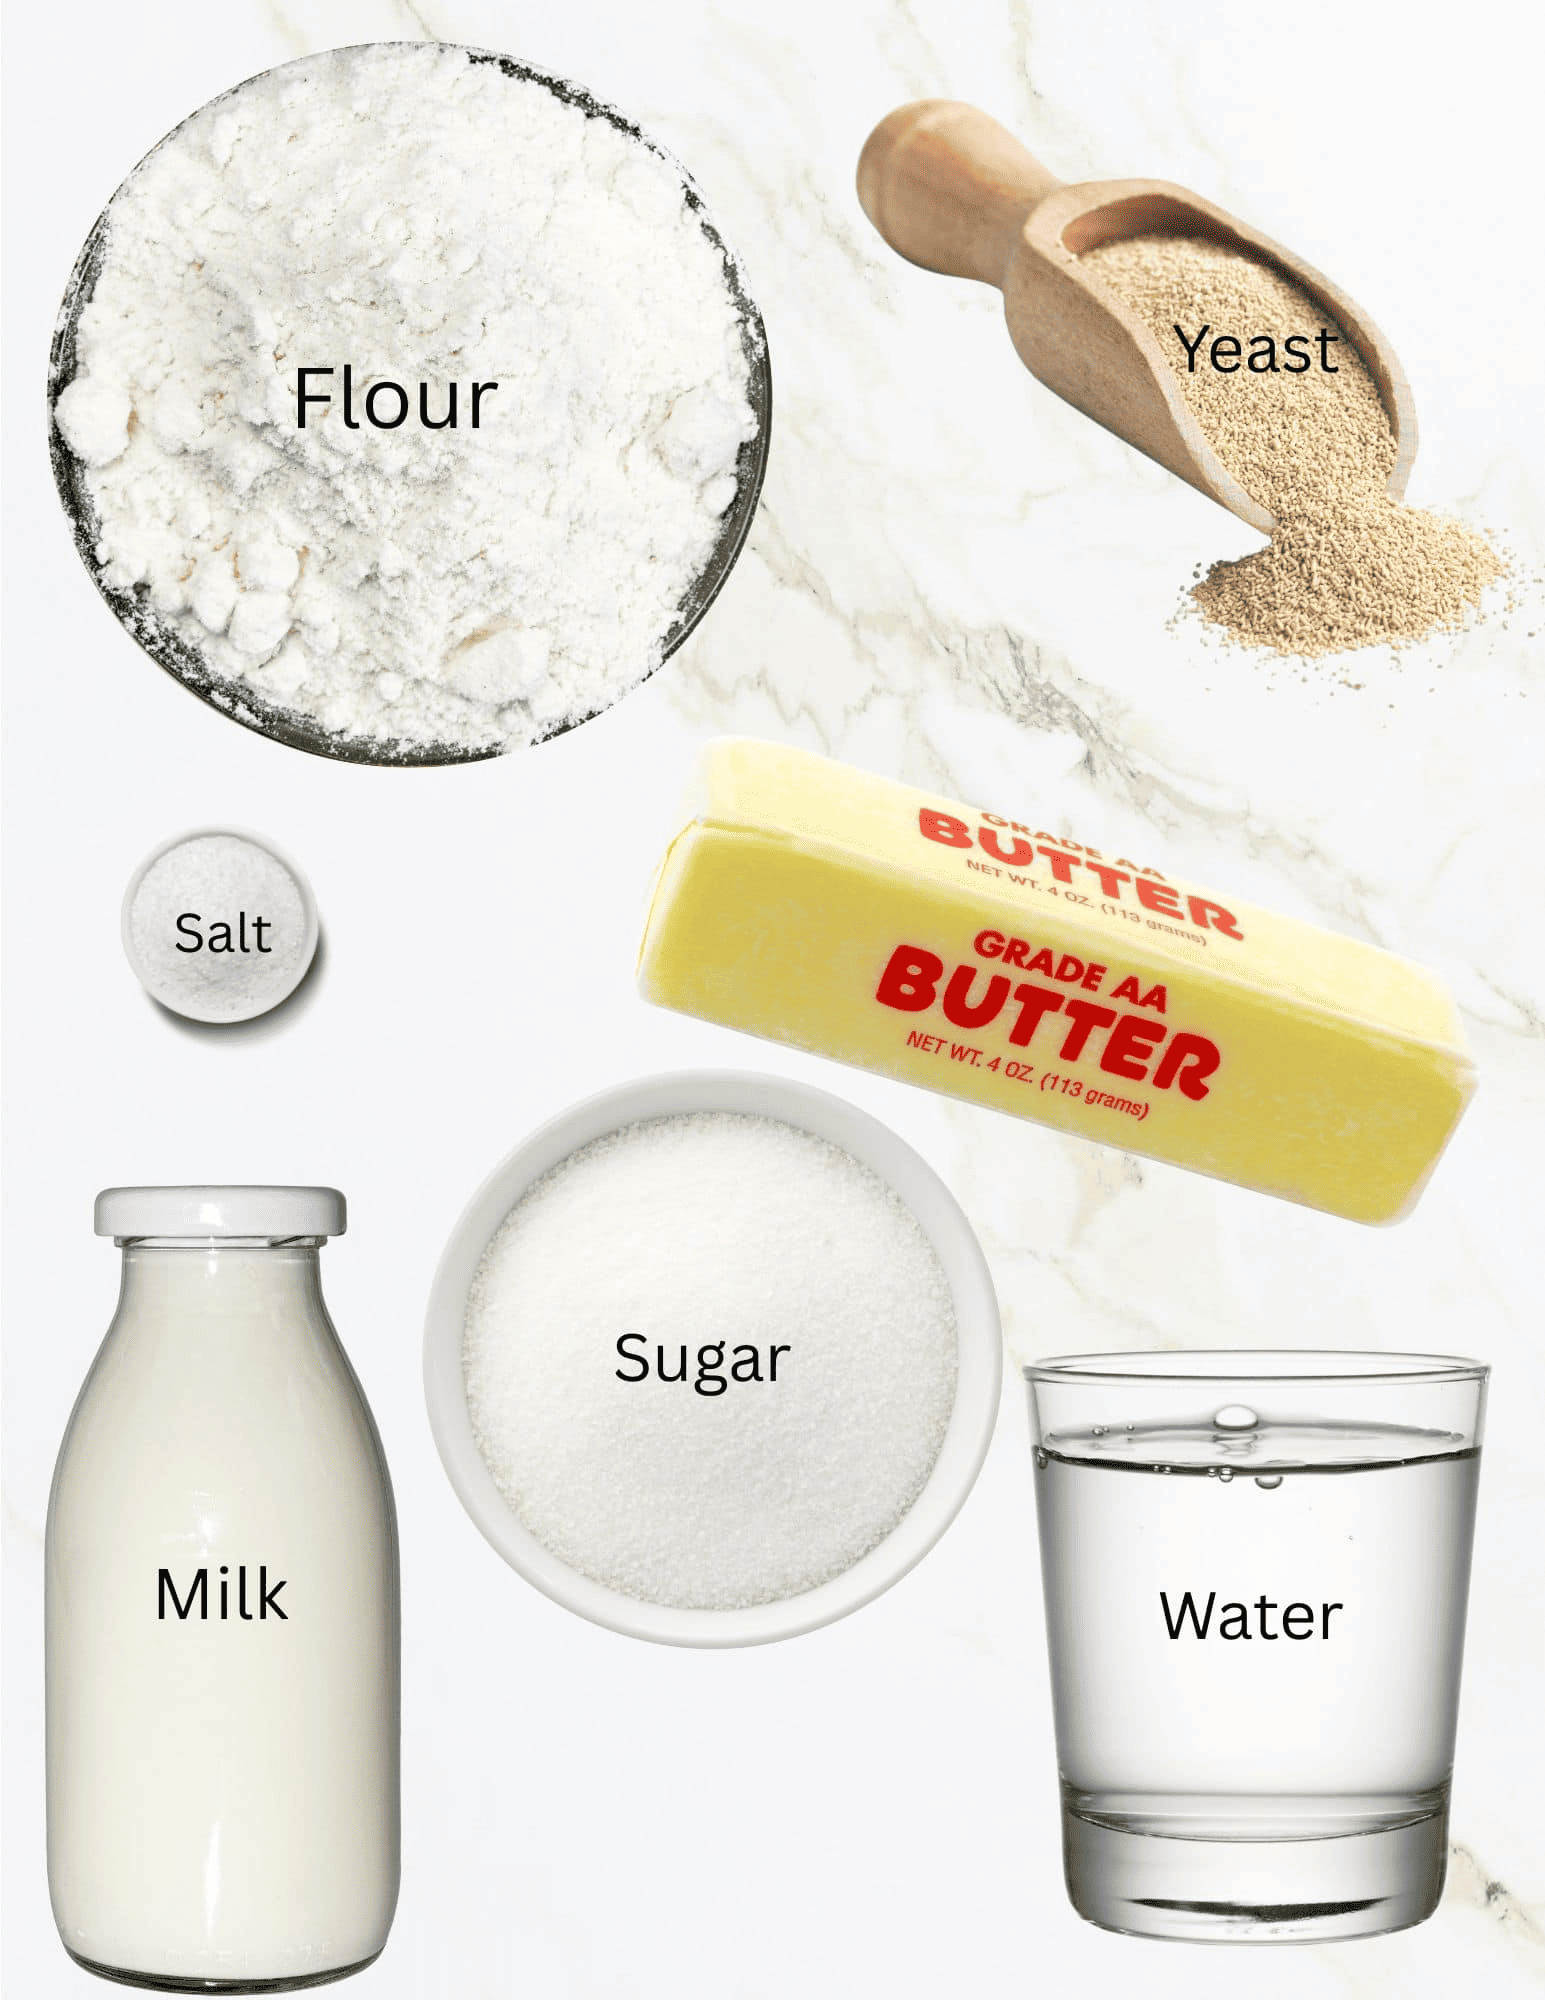
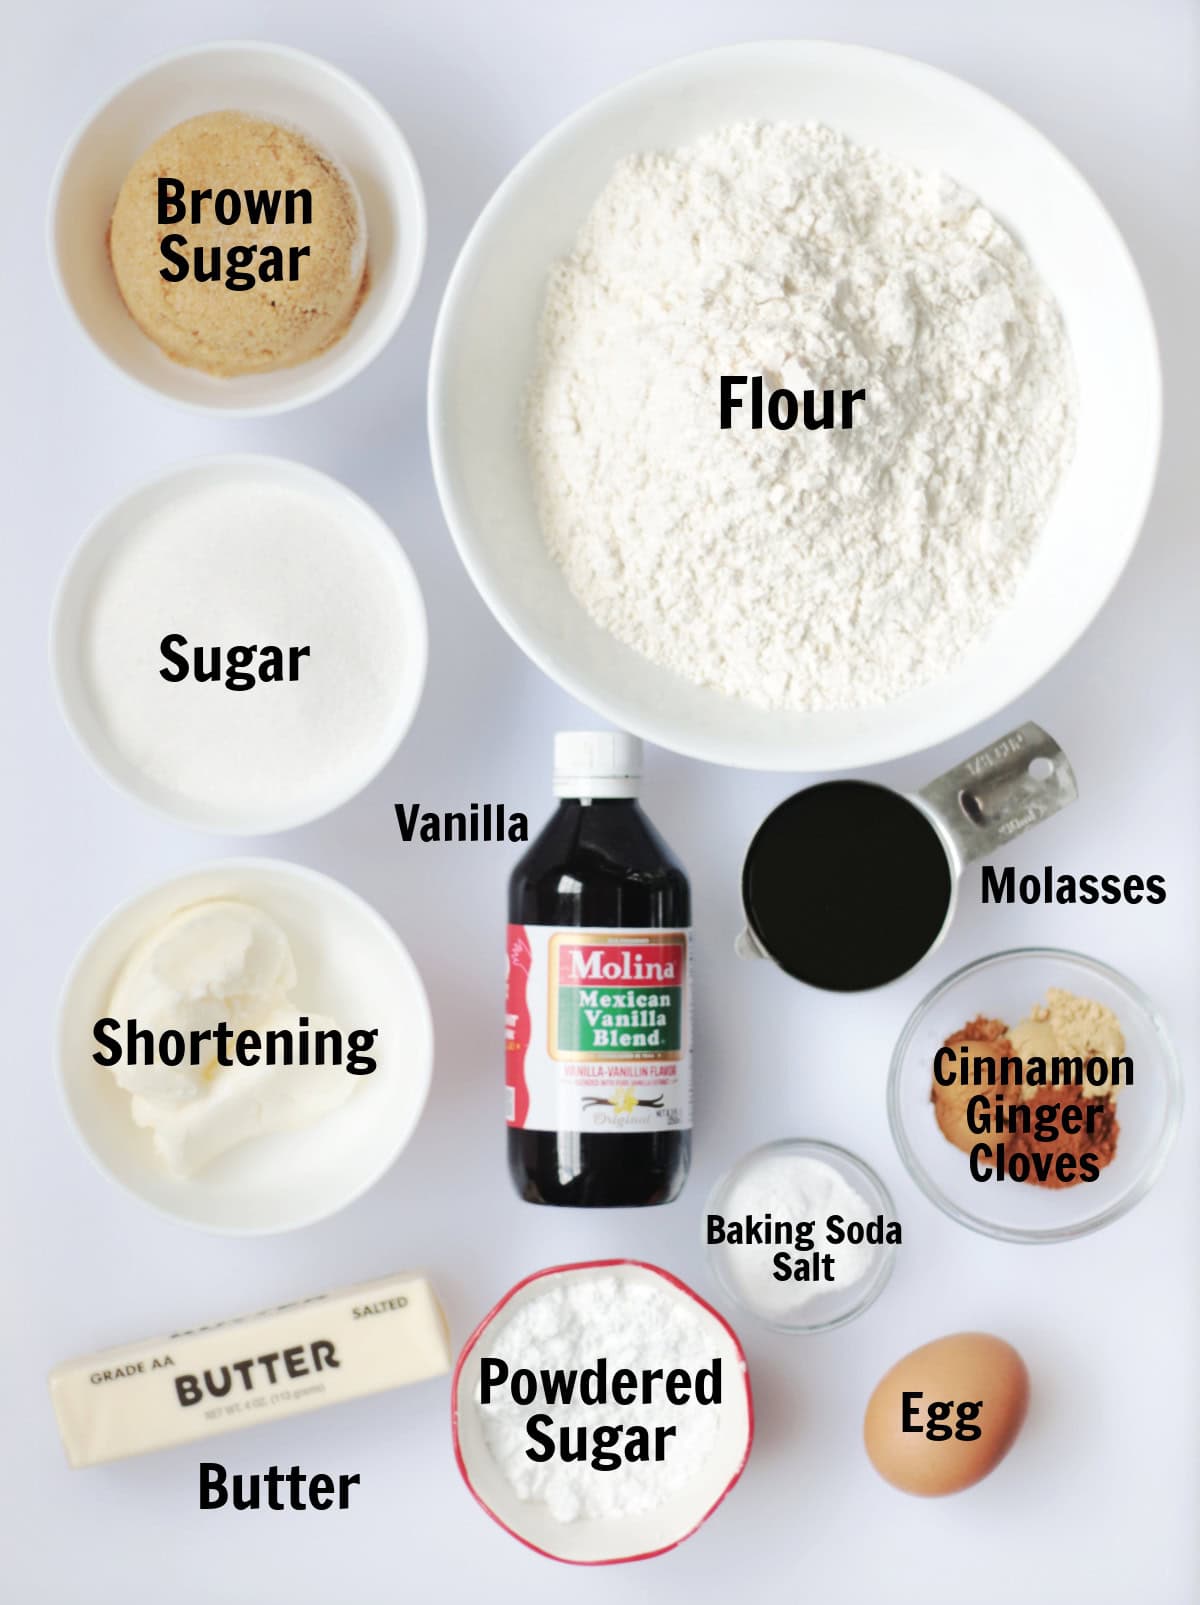
Ingredients
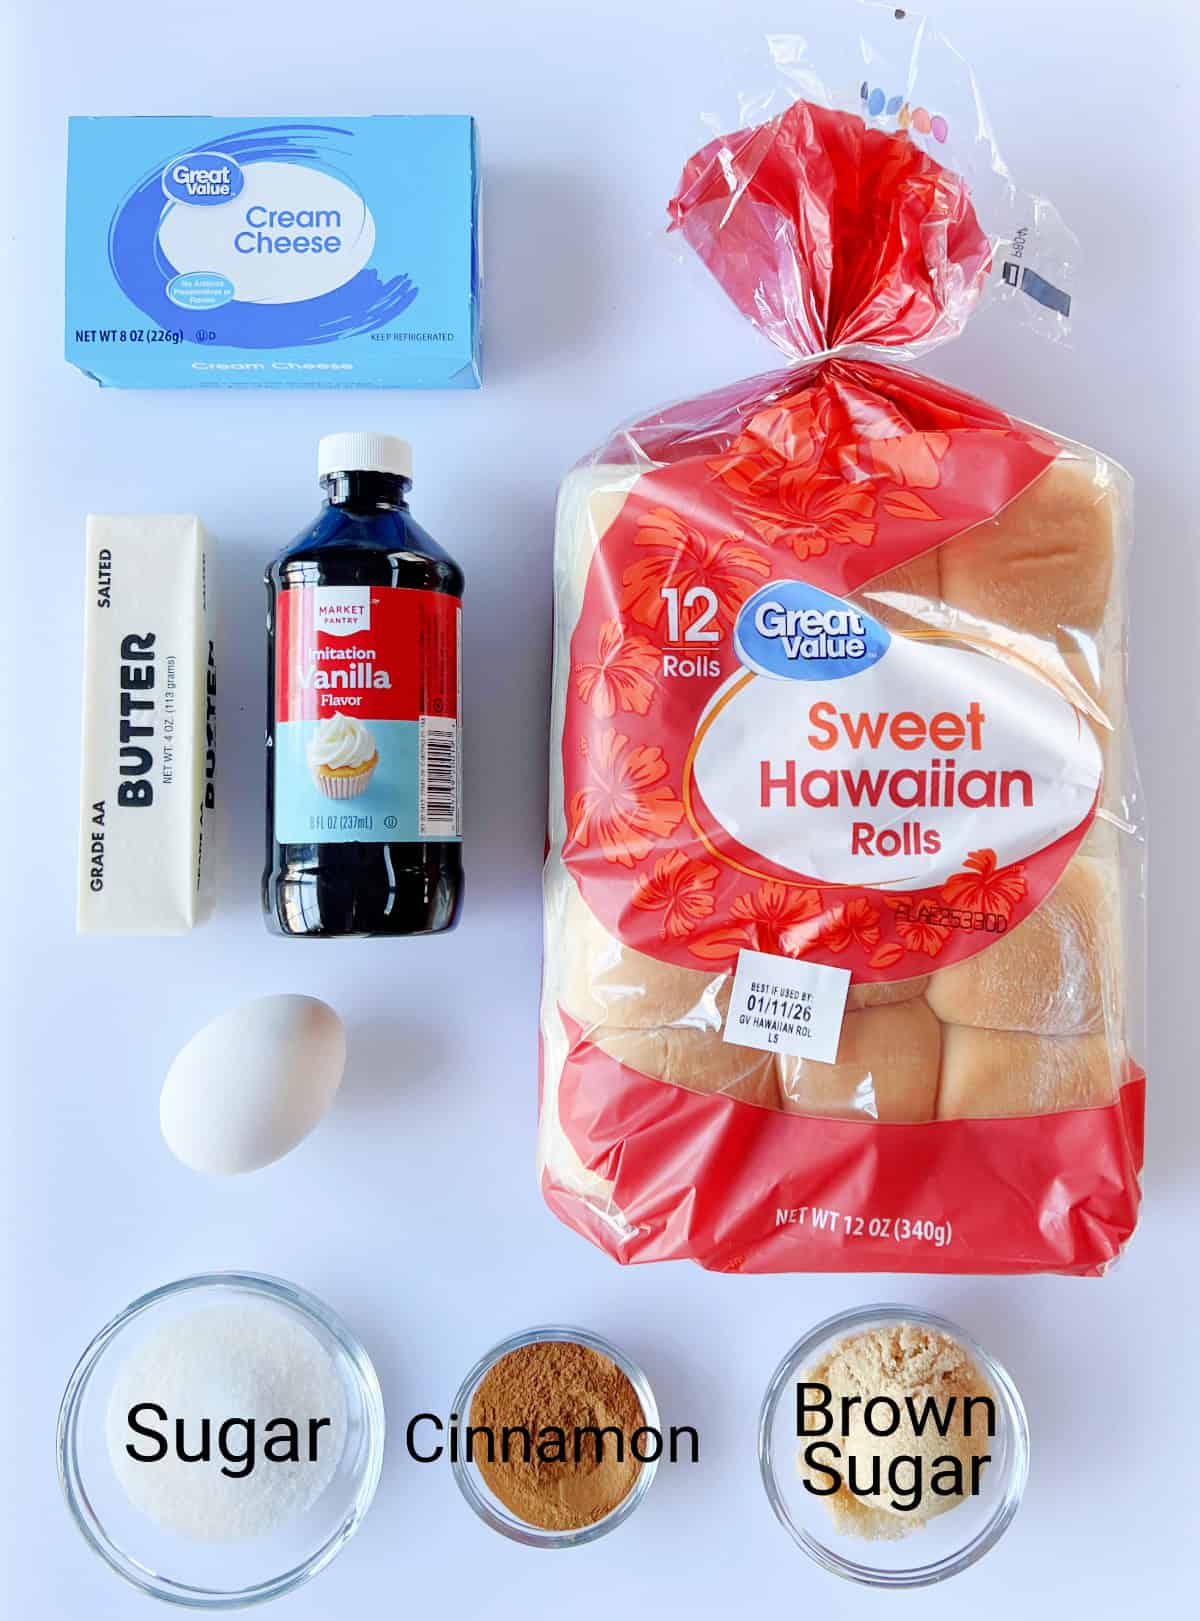
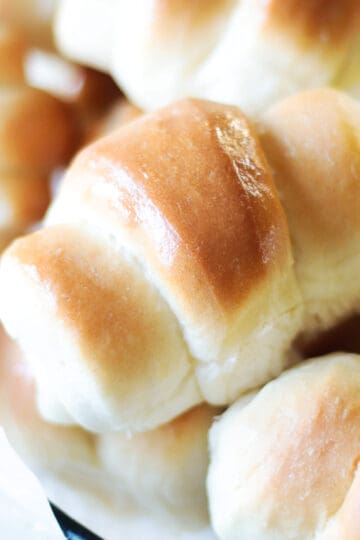
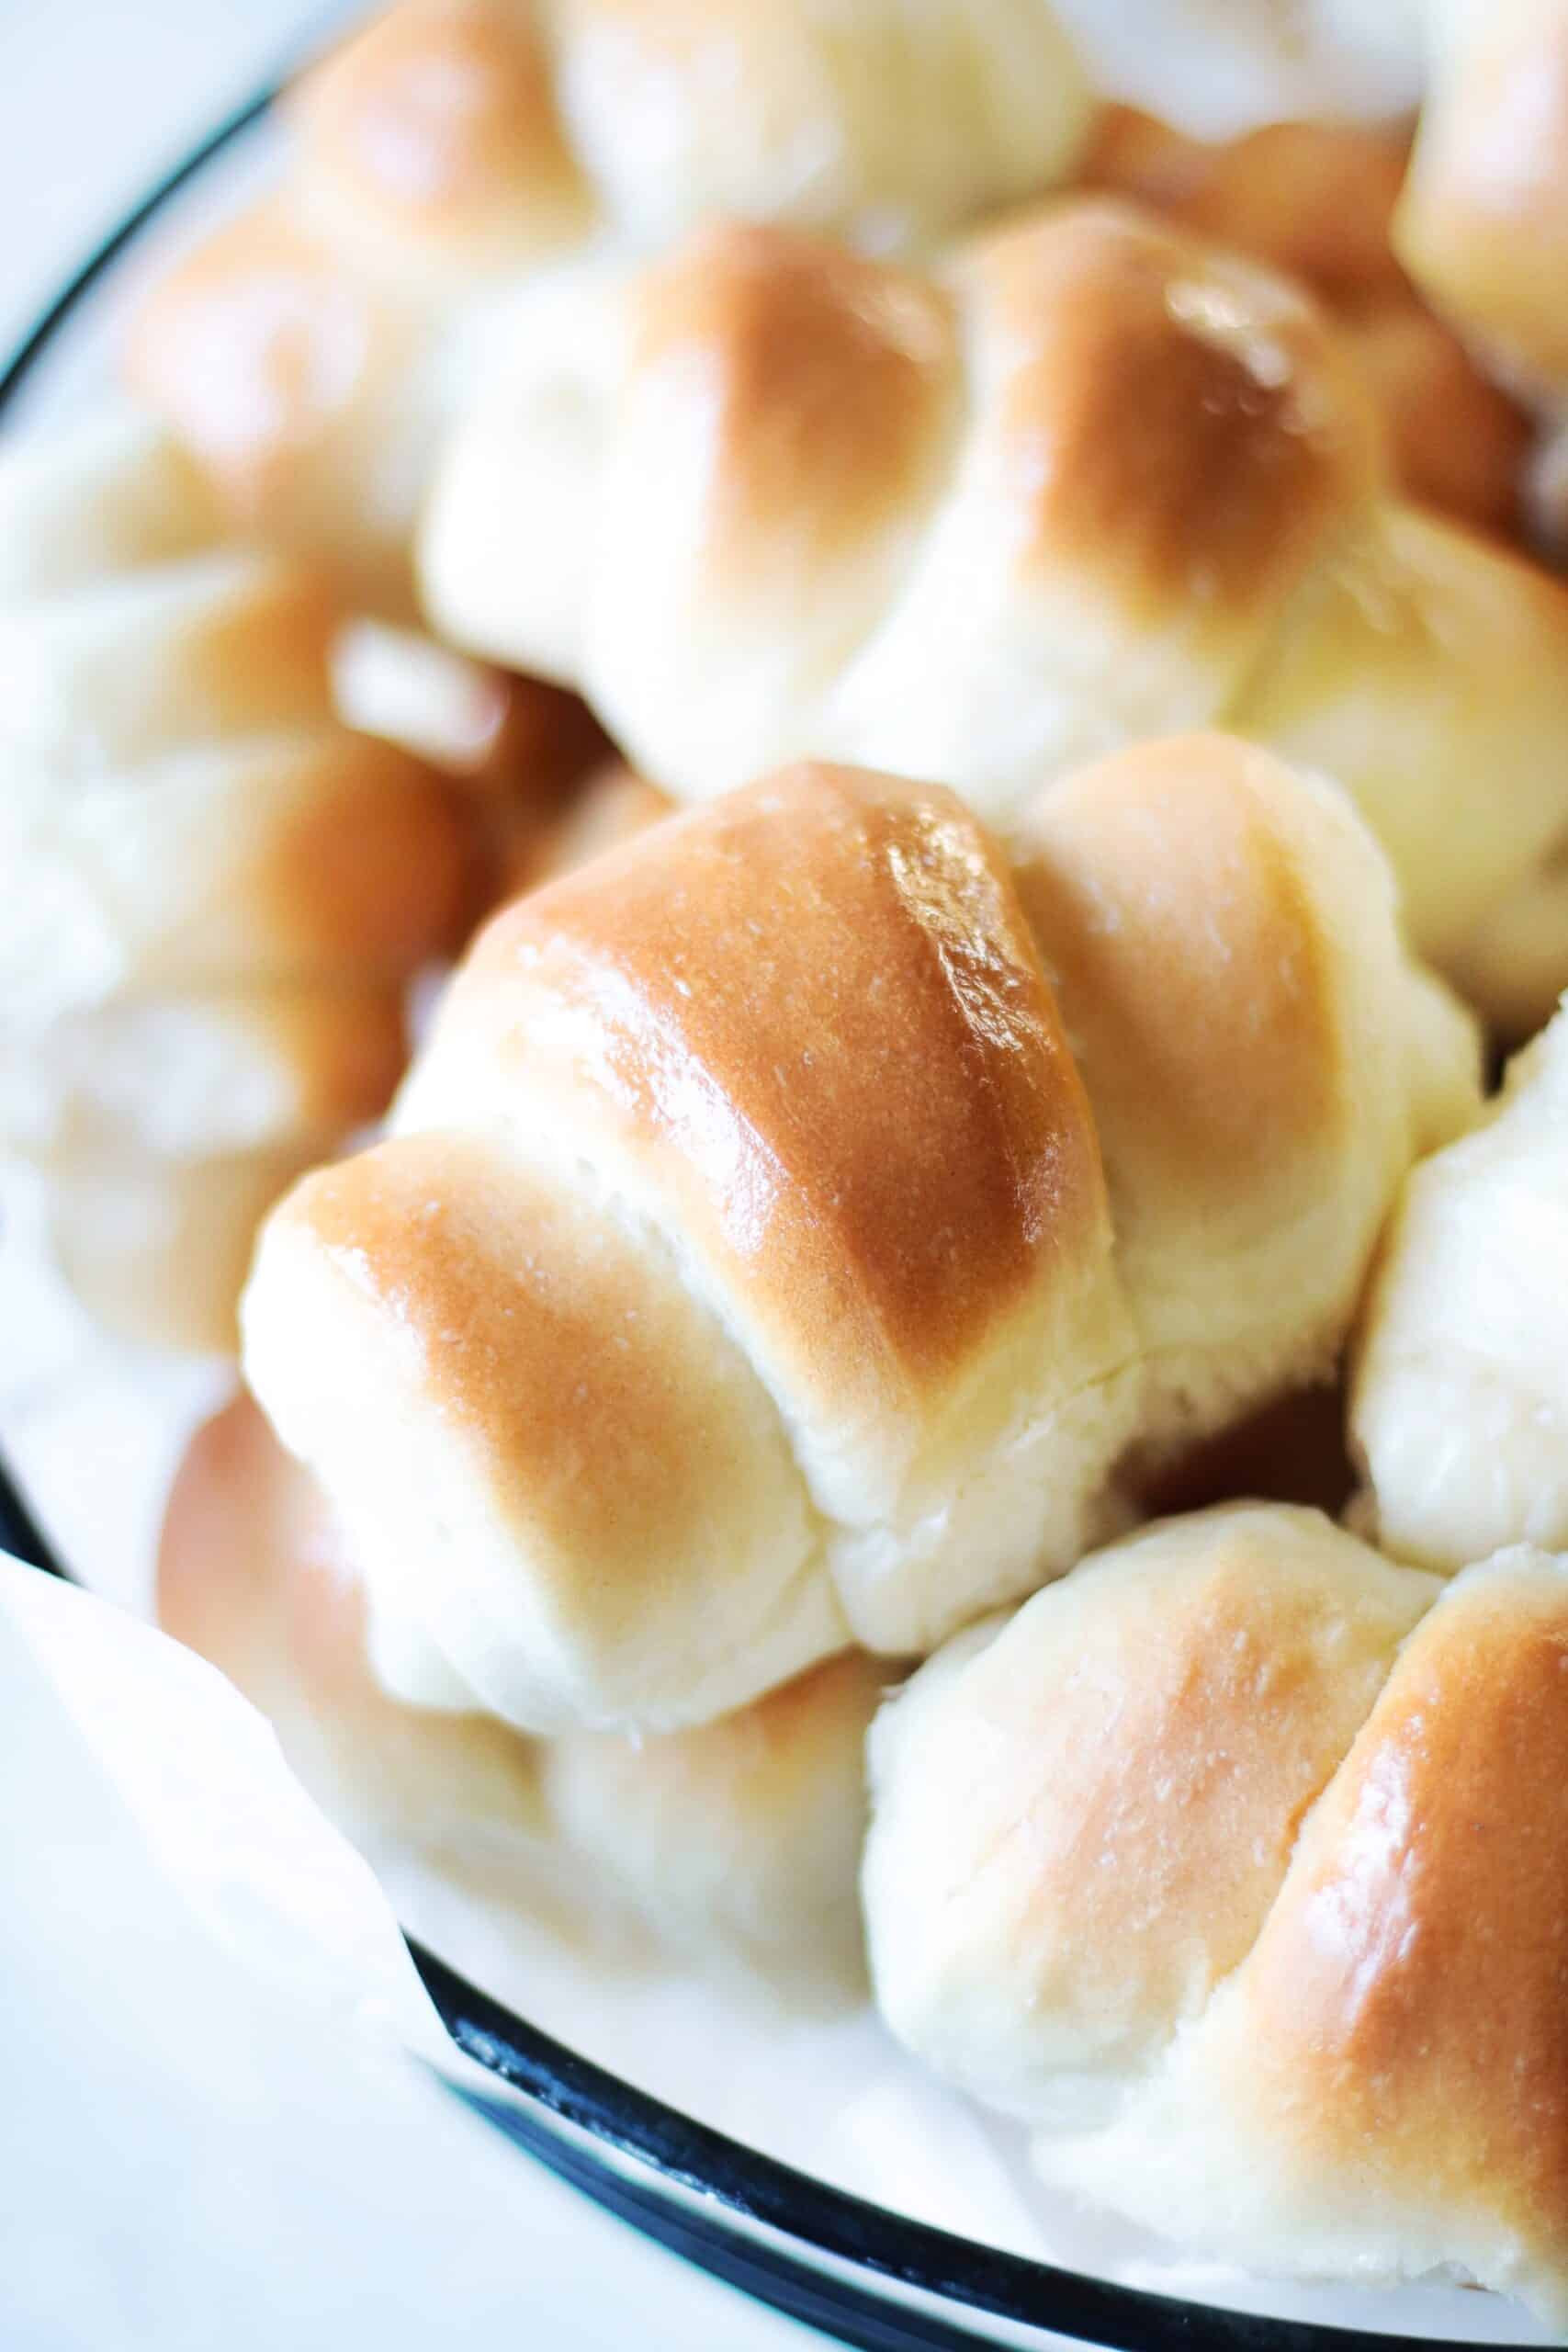
- Hawaiian rolls: You'll need a package of 12 for each batch of cheesecake rolls.
- Butter: To brush onto the pan and to melt and mix with cinnamon and sugar. You can use salted butter or unsalted butter; I always choose salted.
- Sugar: Brown sugar in the melted butter mixture and white sugar in the cheesecake filling.
- Cinnamon: You can also add a pinch of nutmeg if you'd like.
- Vanilla: I add a splash to flavor the cheesecake filling. You can also use homemade vanilla paste for even more flavor.
- Egg: An egg adds richness and structure to the cheesecake filling.
- Cream Cheese: Full-fat or reduced-fat both work well.
See the recipe card for full information on ingredients and quantities.
How To Make Hawaiian Cheesecake Danish Rolls
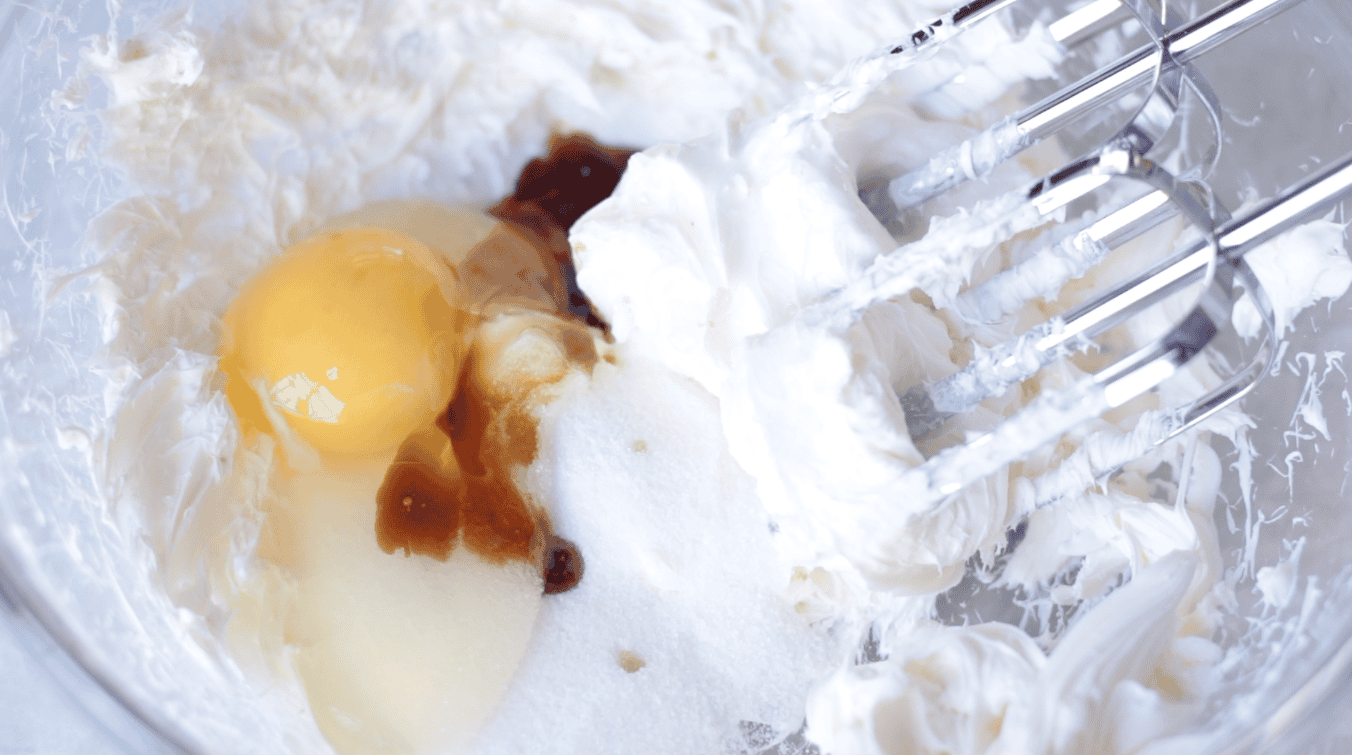
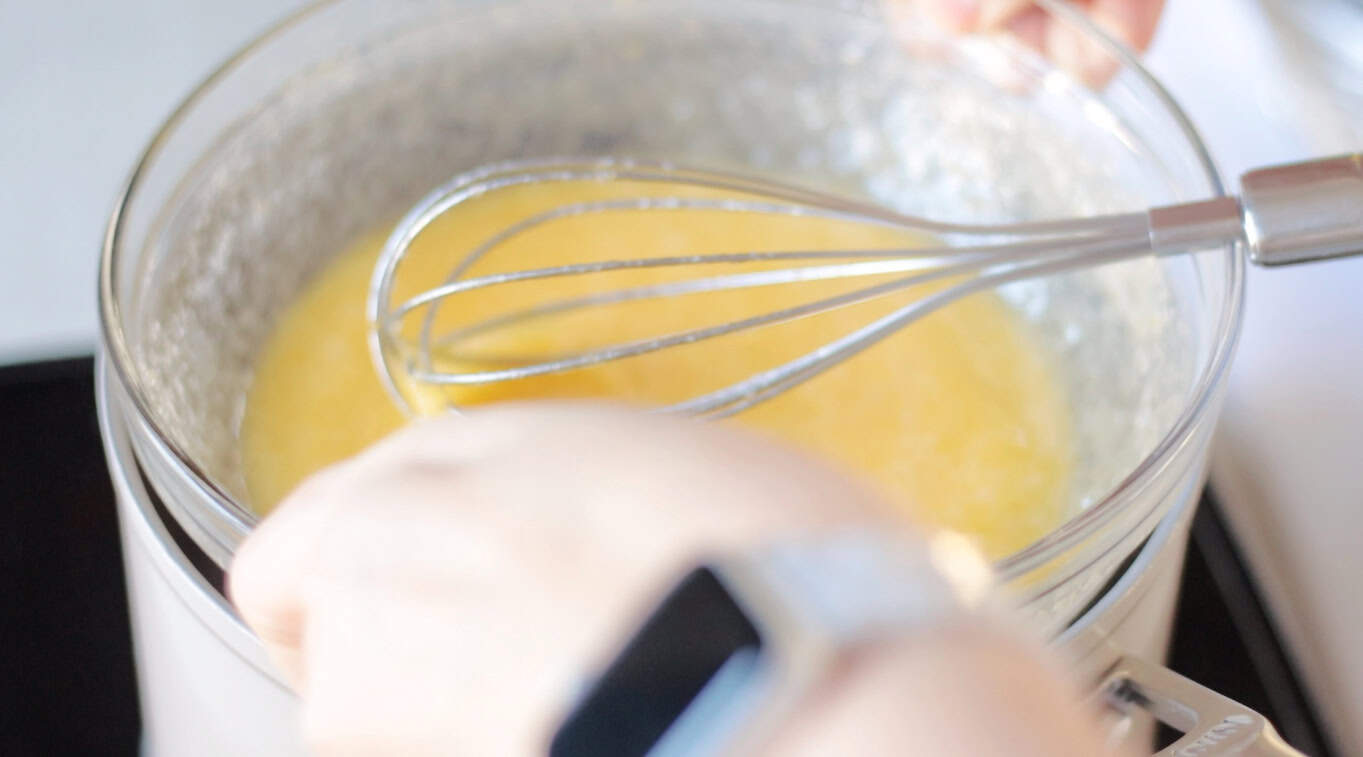
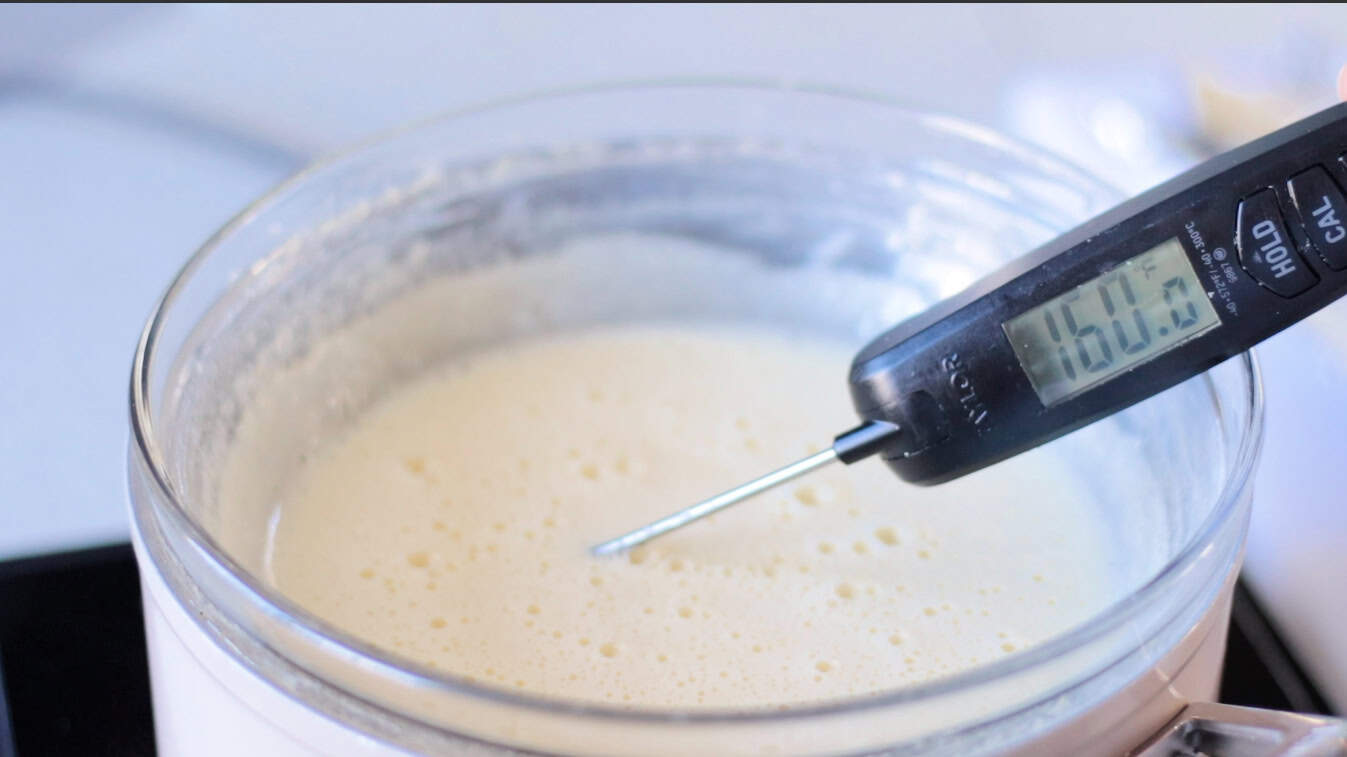
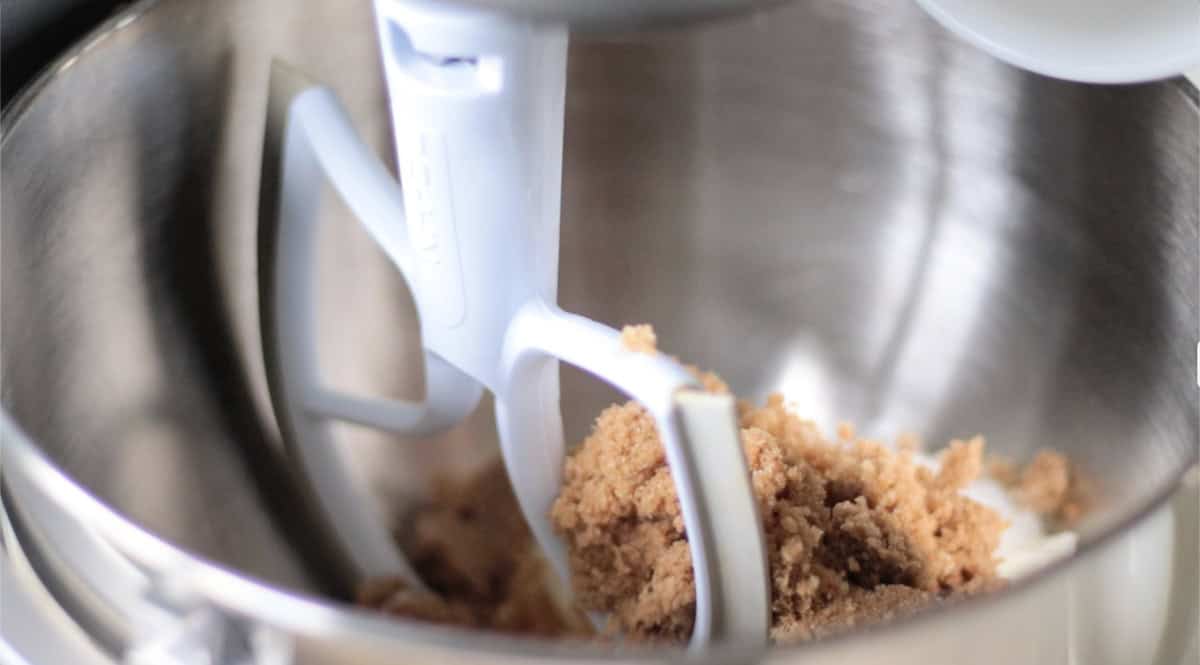
Step 1: Beat softened cream cheese with egg, vanilla, and sugar until smooth and creamy. Set aside.
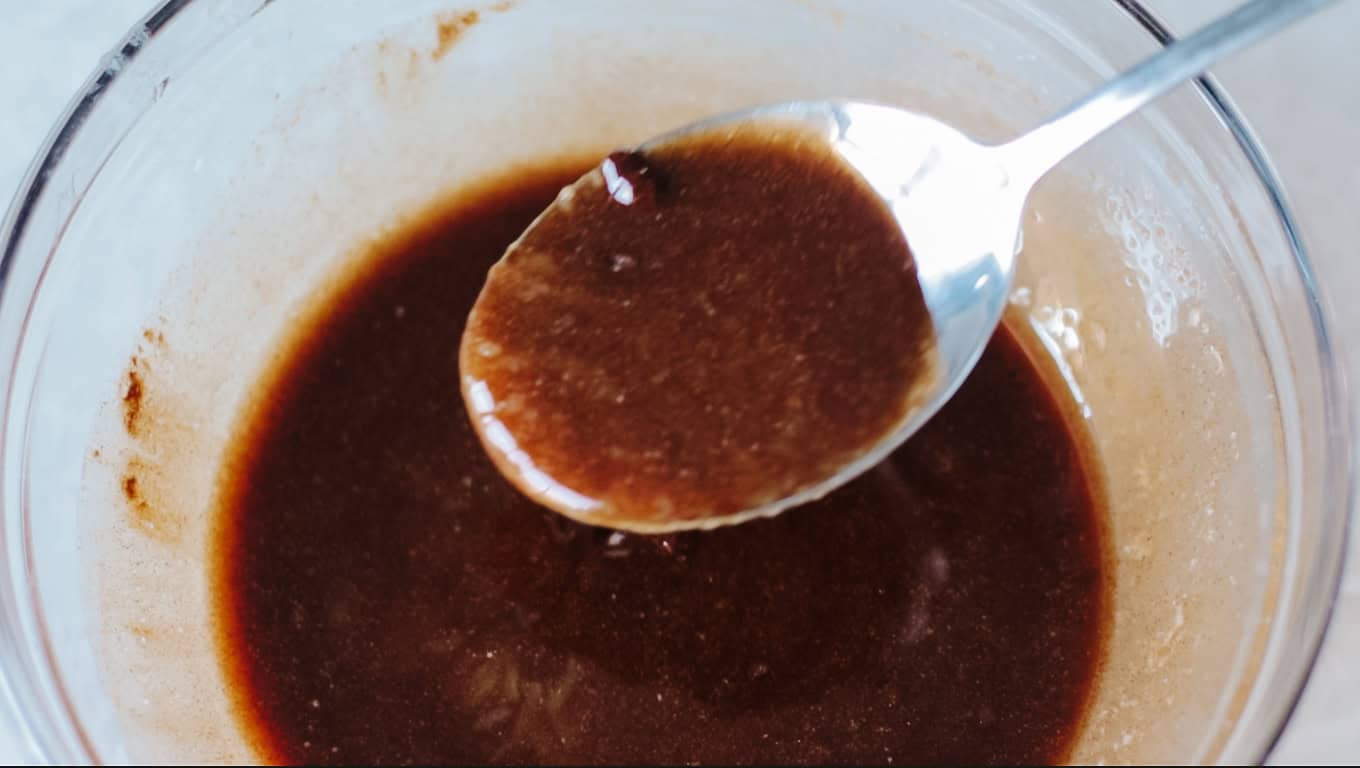
Step 2: Melt butter in a small bowl. Use 1 tablespoon to brush onto a 9"x13" baking sheet or pan. Add brown sugar and cinnamon to the remaining melted butter and mix.
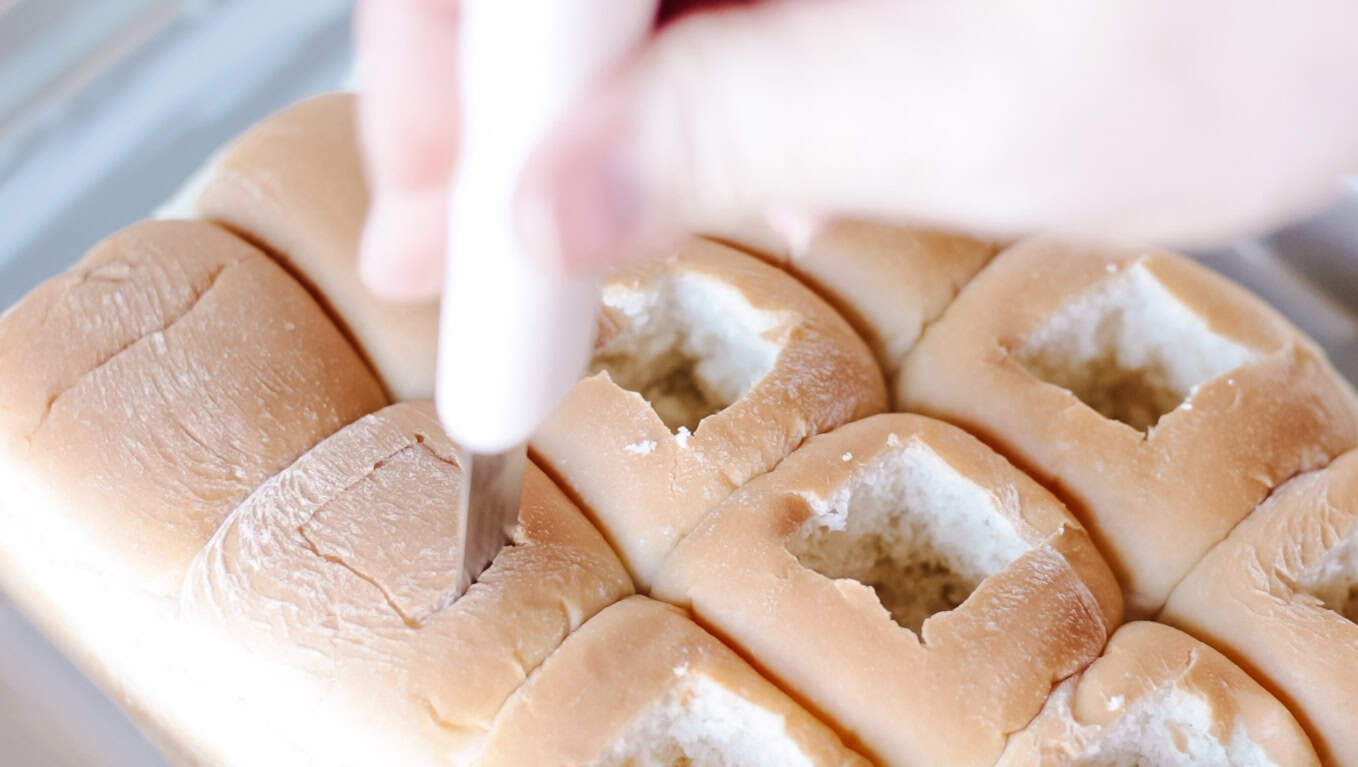
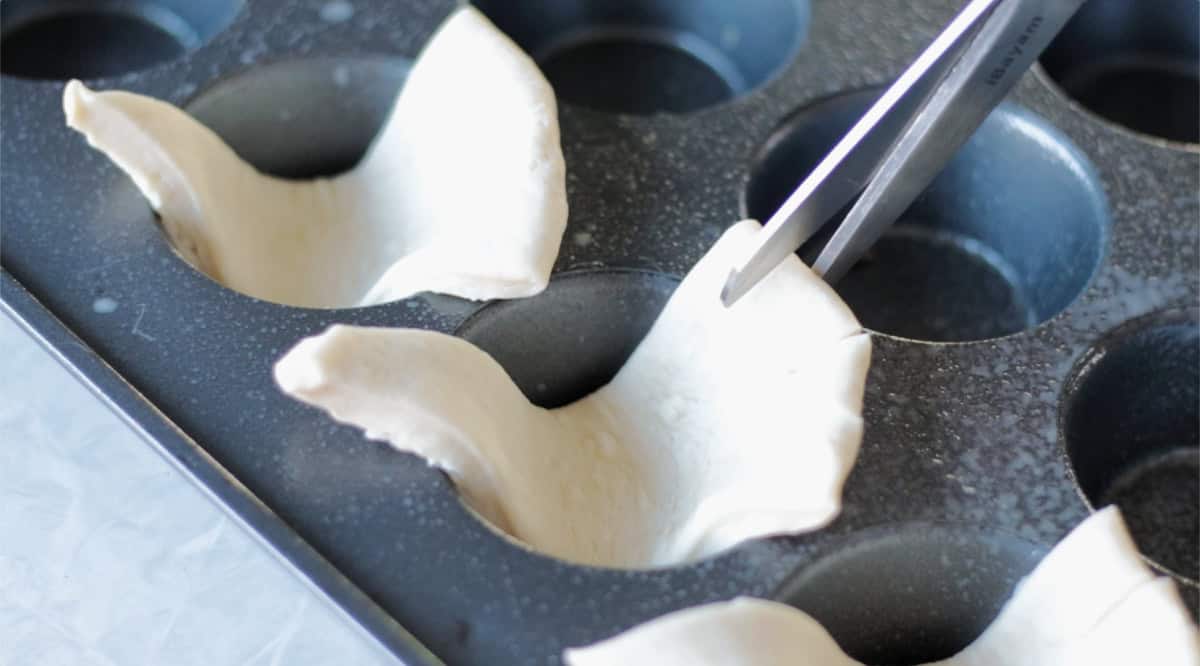
Step 3: Cut a square in the center of each roll, taking care NOT to cut all the way through to the bottom of the roll. Pull out the center of each roll.
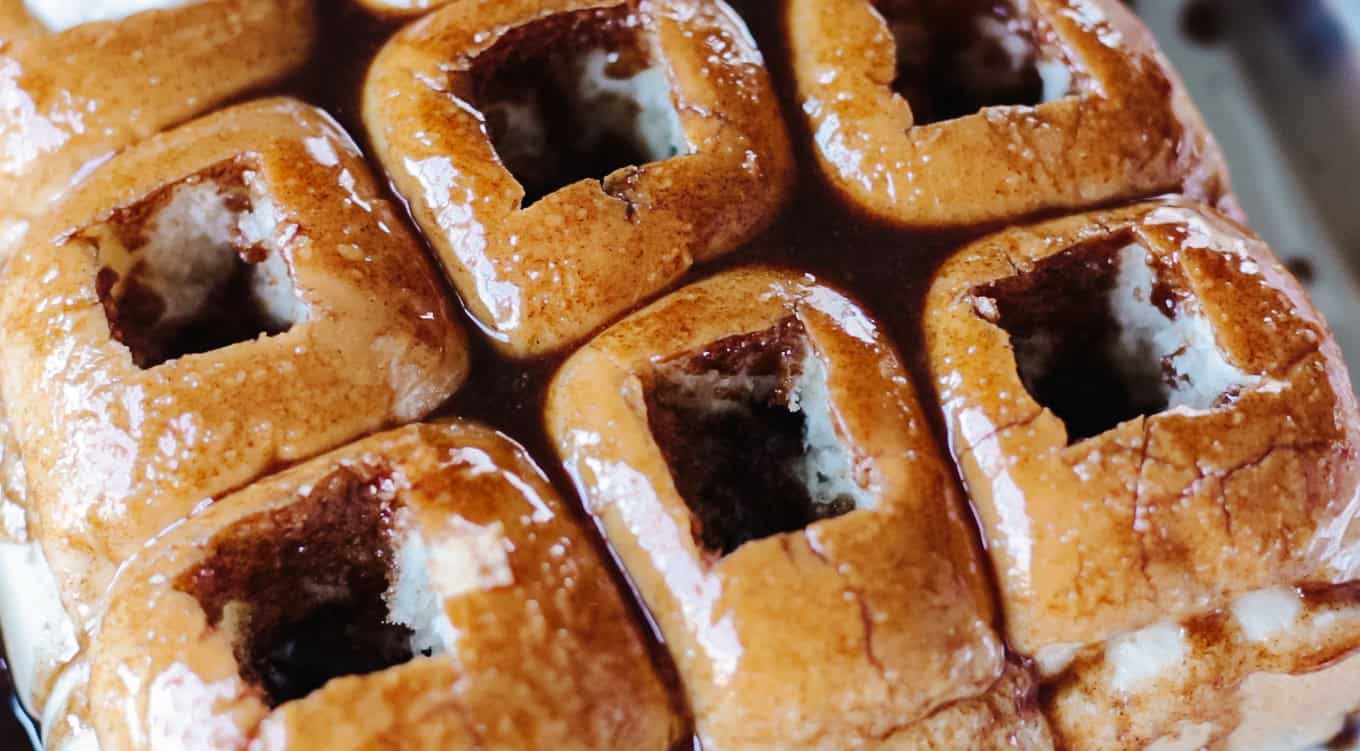
Step 4: Brush rolls with melted butter/cinnamon mixture. Cover the top, side, and inside of each roll.
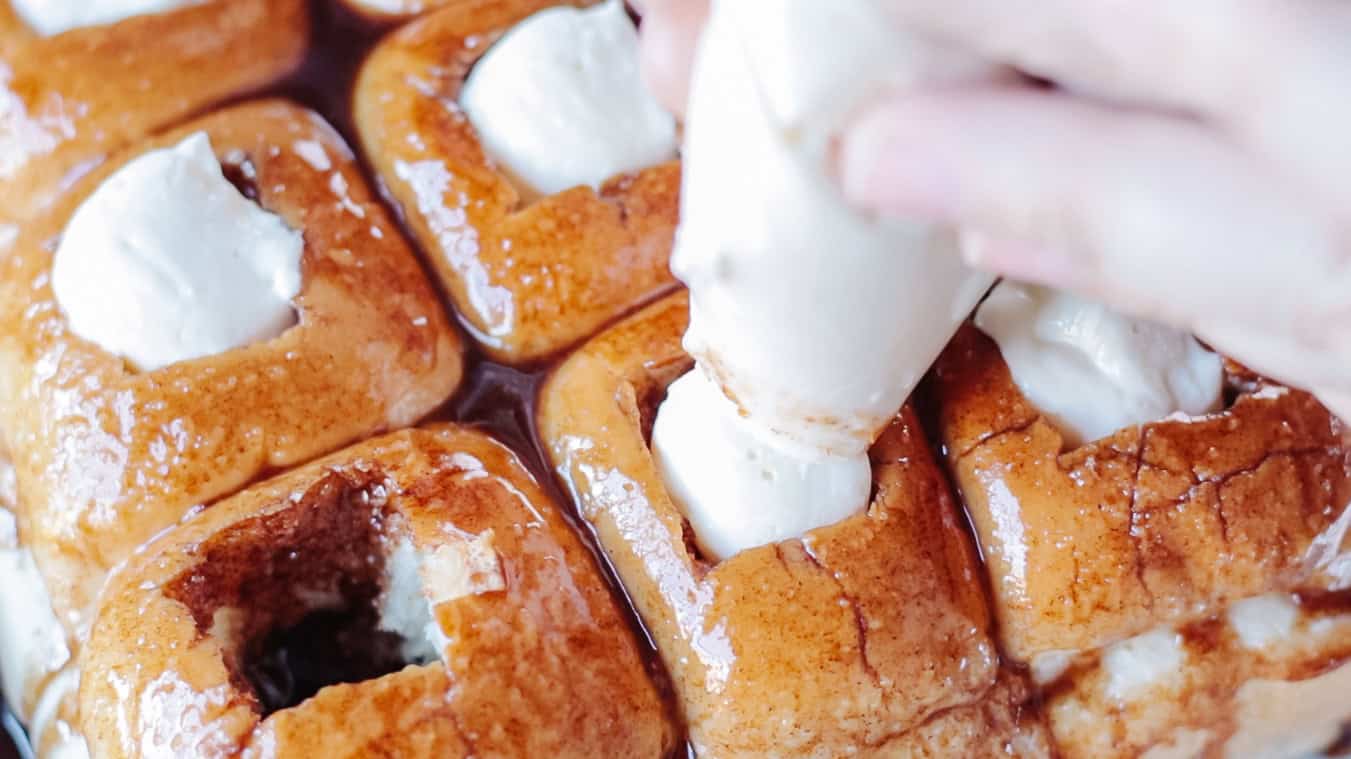
Step 5: Spoon cream cheese mixture into a plastic bag. Cut the corner and pipe the mixture into each roll. The cream cheese will settle as it bakes, so fill completely to the top.
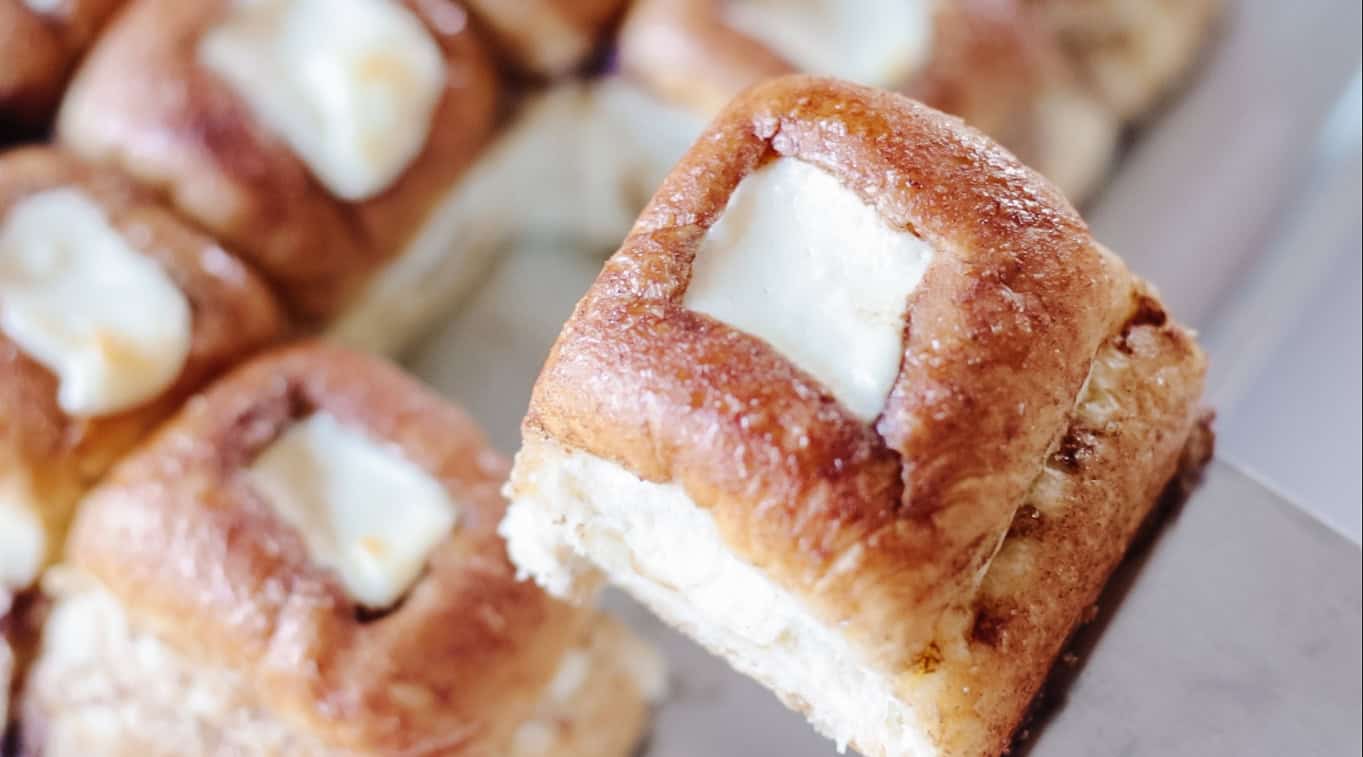
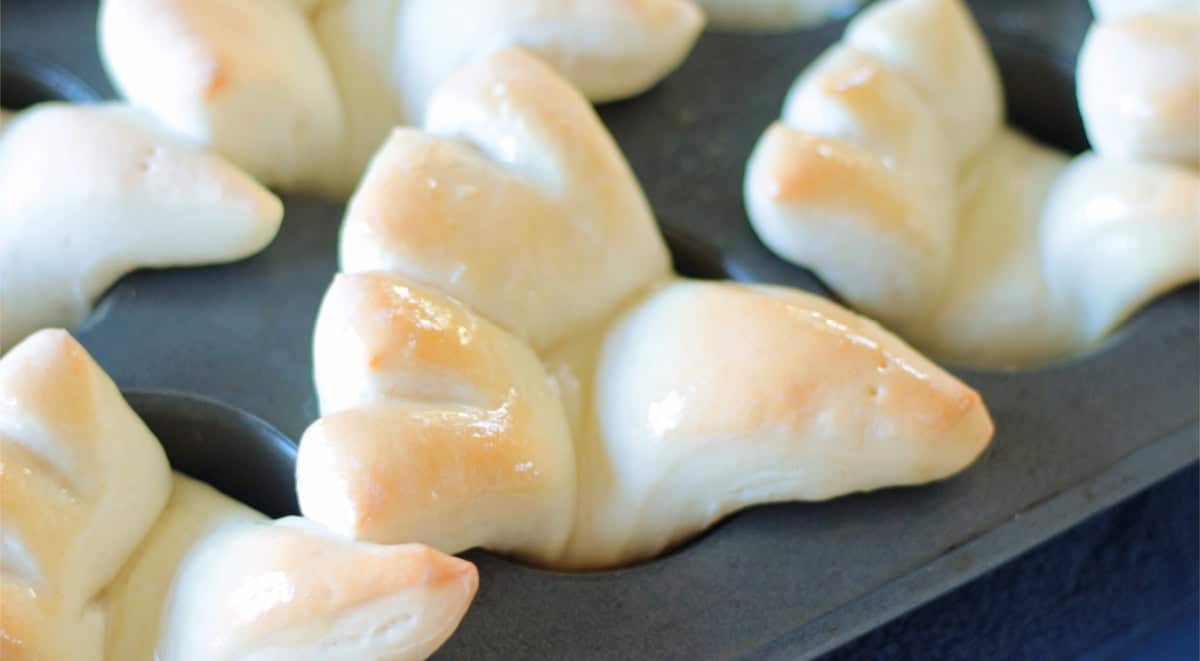
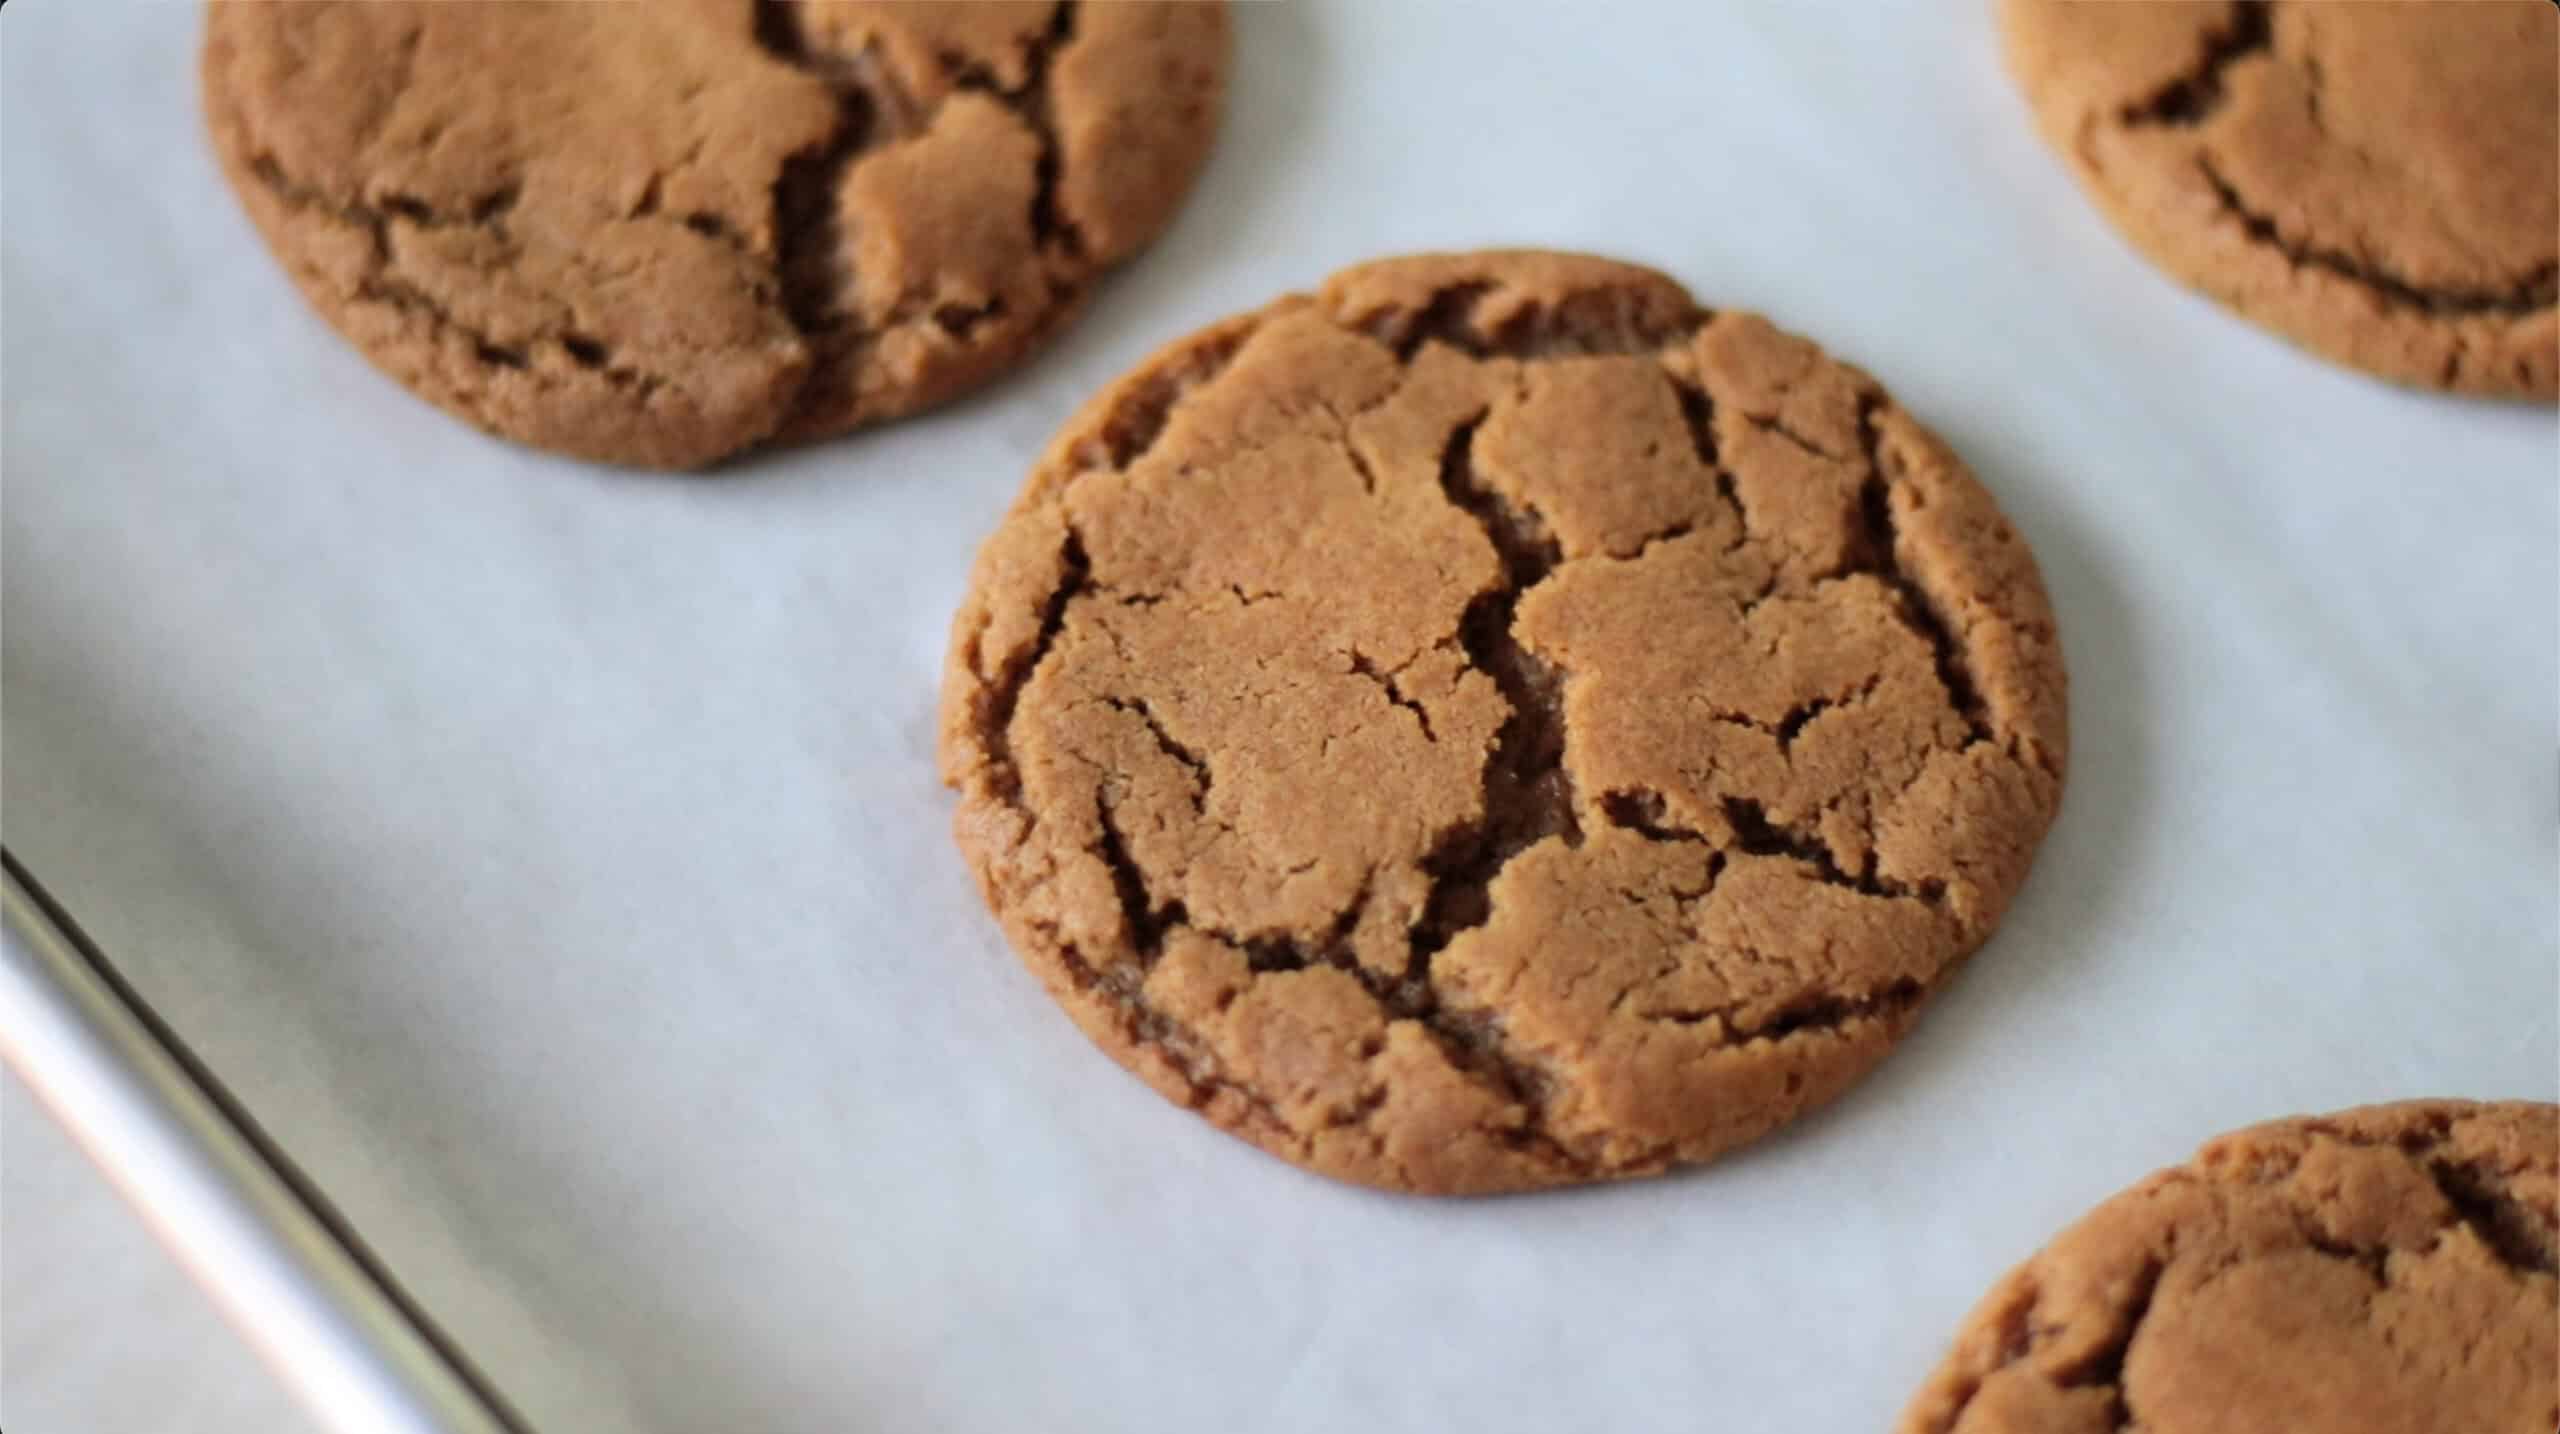
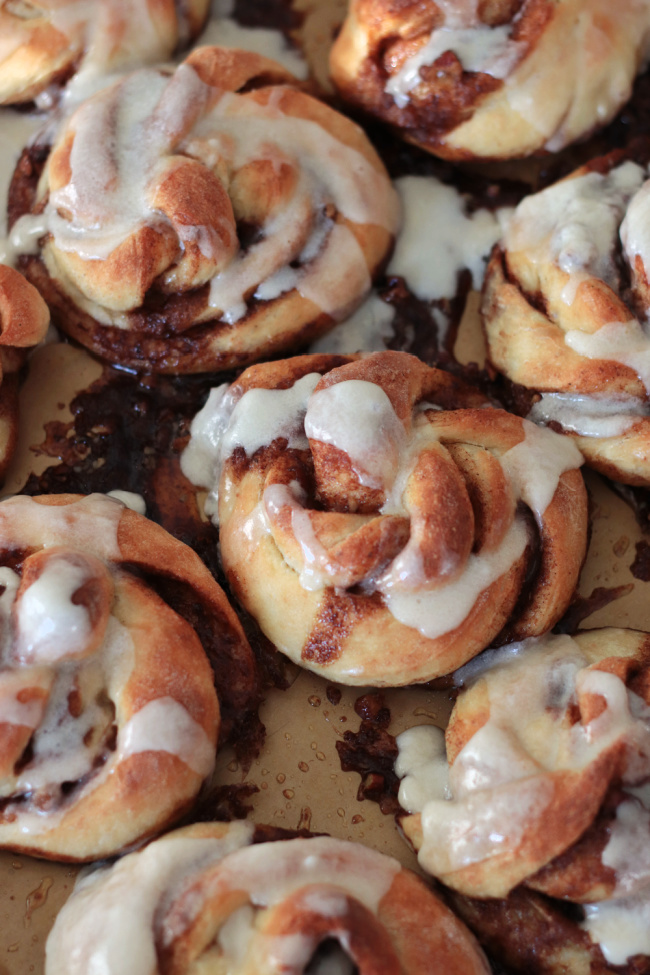
Step 6: Bake the rolls at 375 degrees for 12-13 minutes. Tops should be lightly golden.
Hawaiian Cheesecake Rolls FAQs
The Hawaiian rolls are best served warm, but remain soft and can be stored at room temperature as well.
Store cooled rolls in an airtight container in the refrigerator for up to 3 days.
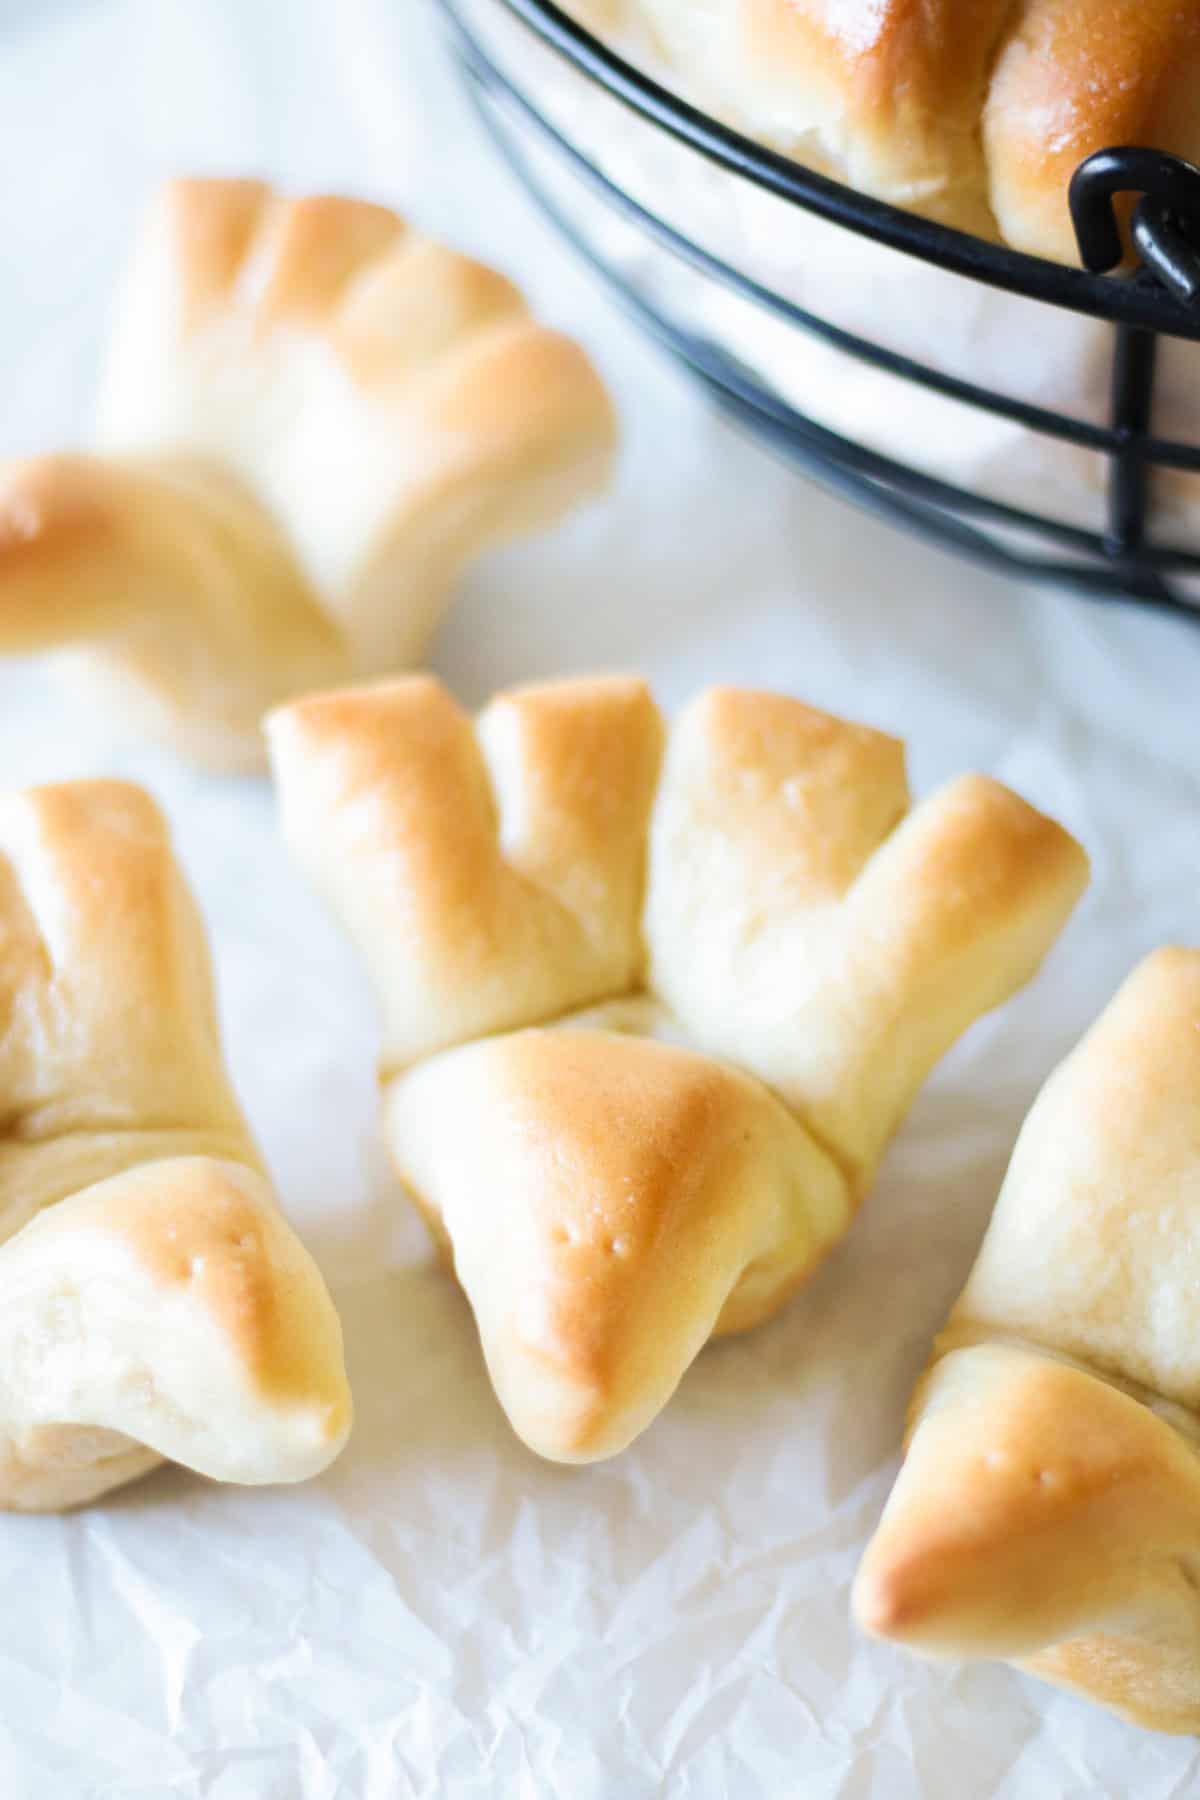
If you'd prefer a homemade Hawaiian roll recipe to store-bought, you can use my tried-and-true Hawaiian roll recipe.
More Sweet Rolls To Make


MADE THIS RECIPE AND LOVED IT? 💛 Please leave a STAR rating and COMMENT below! Post it to Facebook or Pinterest to easily share with friends!

Hawaiian Cheesecake Danish Rolls
Ingredients
- 12 Hawaiian dinner rolls
- 1 stick butter ½ cup
- 2 Tbsp. brown sugar
- 1 Tbsp. ground cinnamon
- 8 ounces cream cheese softened
- 1 large egg
- ½ teaspoon vanilla extract
- 2 Tbsp. sugar
Instructions
- Preheat the oven to 375 degrees.
- Beat softened cream cheese with egg, vanilla, and sugar until smooth and creamy. Set aside.
- Melt butter in a small bowl. Use 1 tablespoon to brush onto a 9"x13" baking sheet or pan.
- Add brown sugar and cinnamon to the remaining melted butter and mix. Set aside.
- Cut a square in the center of each roll, taking care NOT to cut all the way through to the bottom of the roll. Pull out the center of each roll. Use your thumb to gently press down inside each roll to make space for the cheesecake filling.
- Brush rolls with melted butter/cinnamon mixture. Cover the top, side, and inside of each roll. Pour any leftover mixture over rolls.
- Spoon cream cheese mixture into a plastic bag. Cut the corner and pipe the mixture into each roll. The cream cheese will settle as it bakes, so fill completely to the top.
- Bake for 12-13 minutes. Tops should be lightly golden.Serve warm.