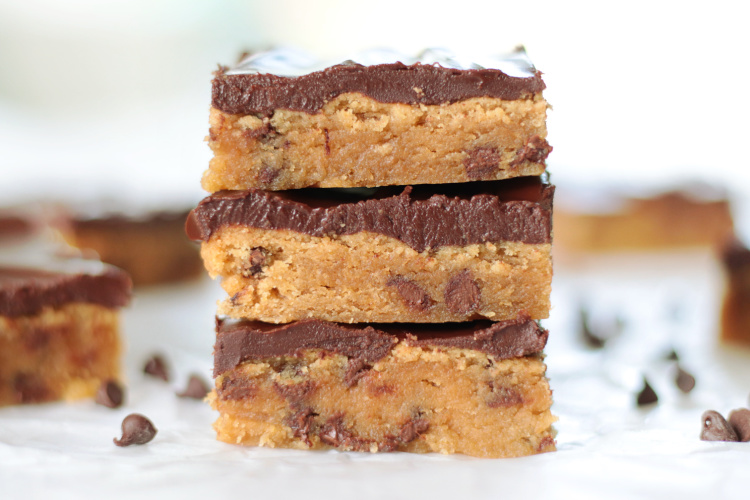
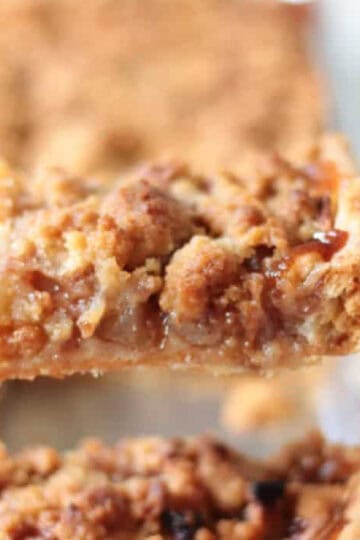
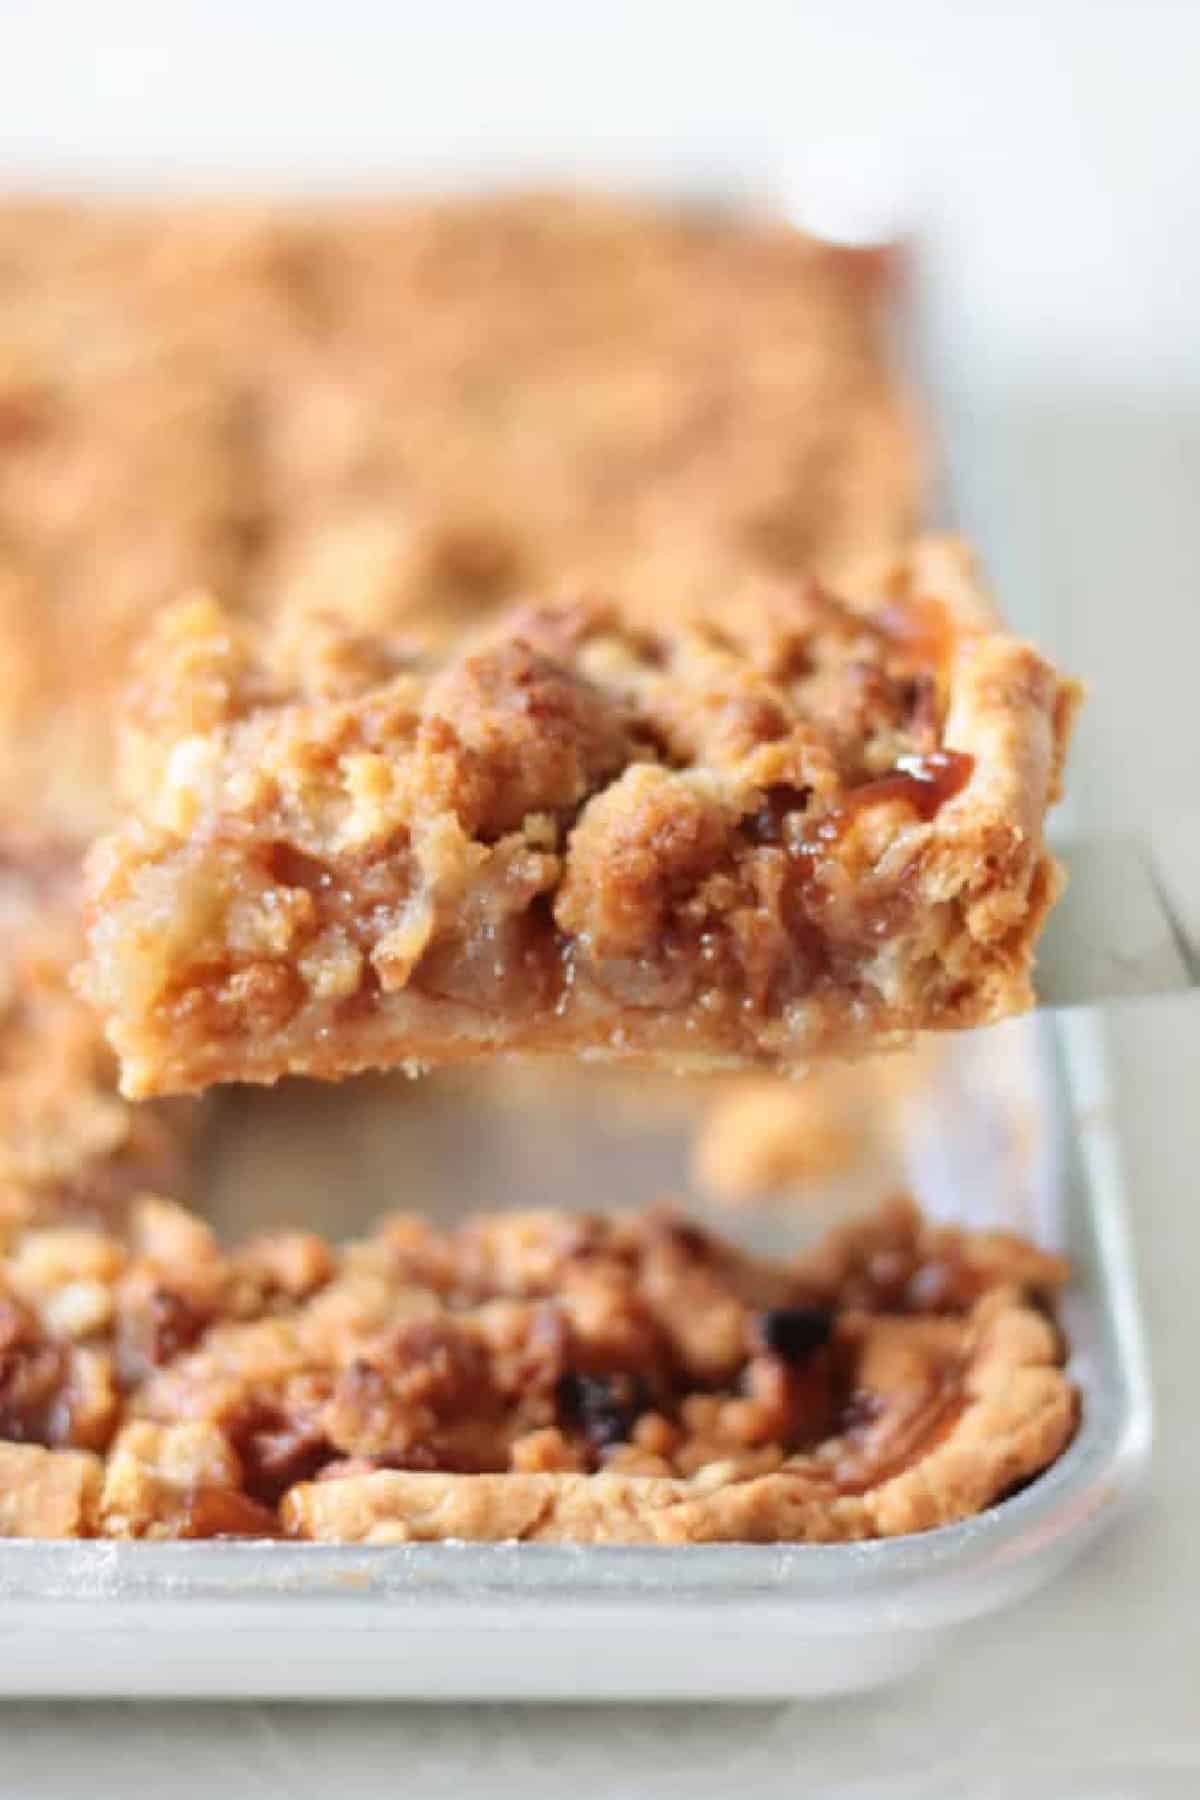
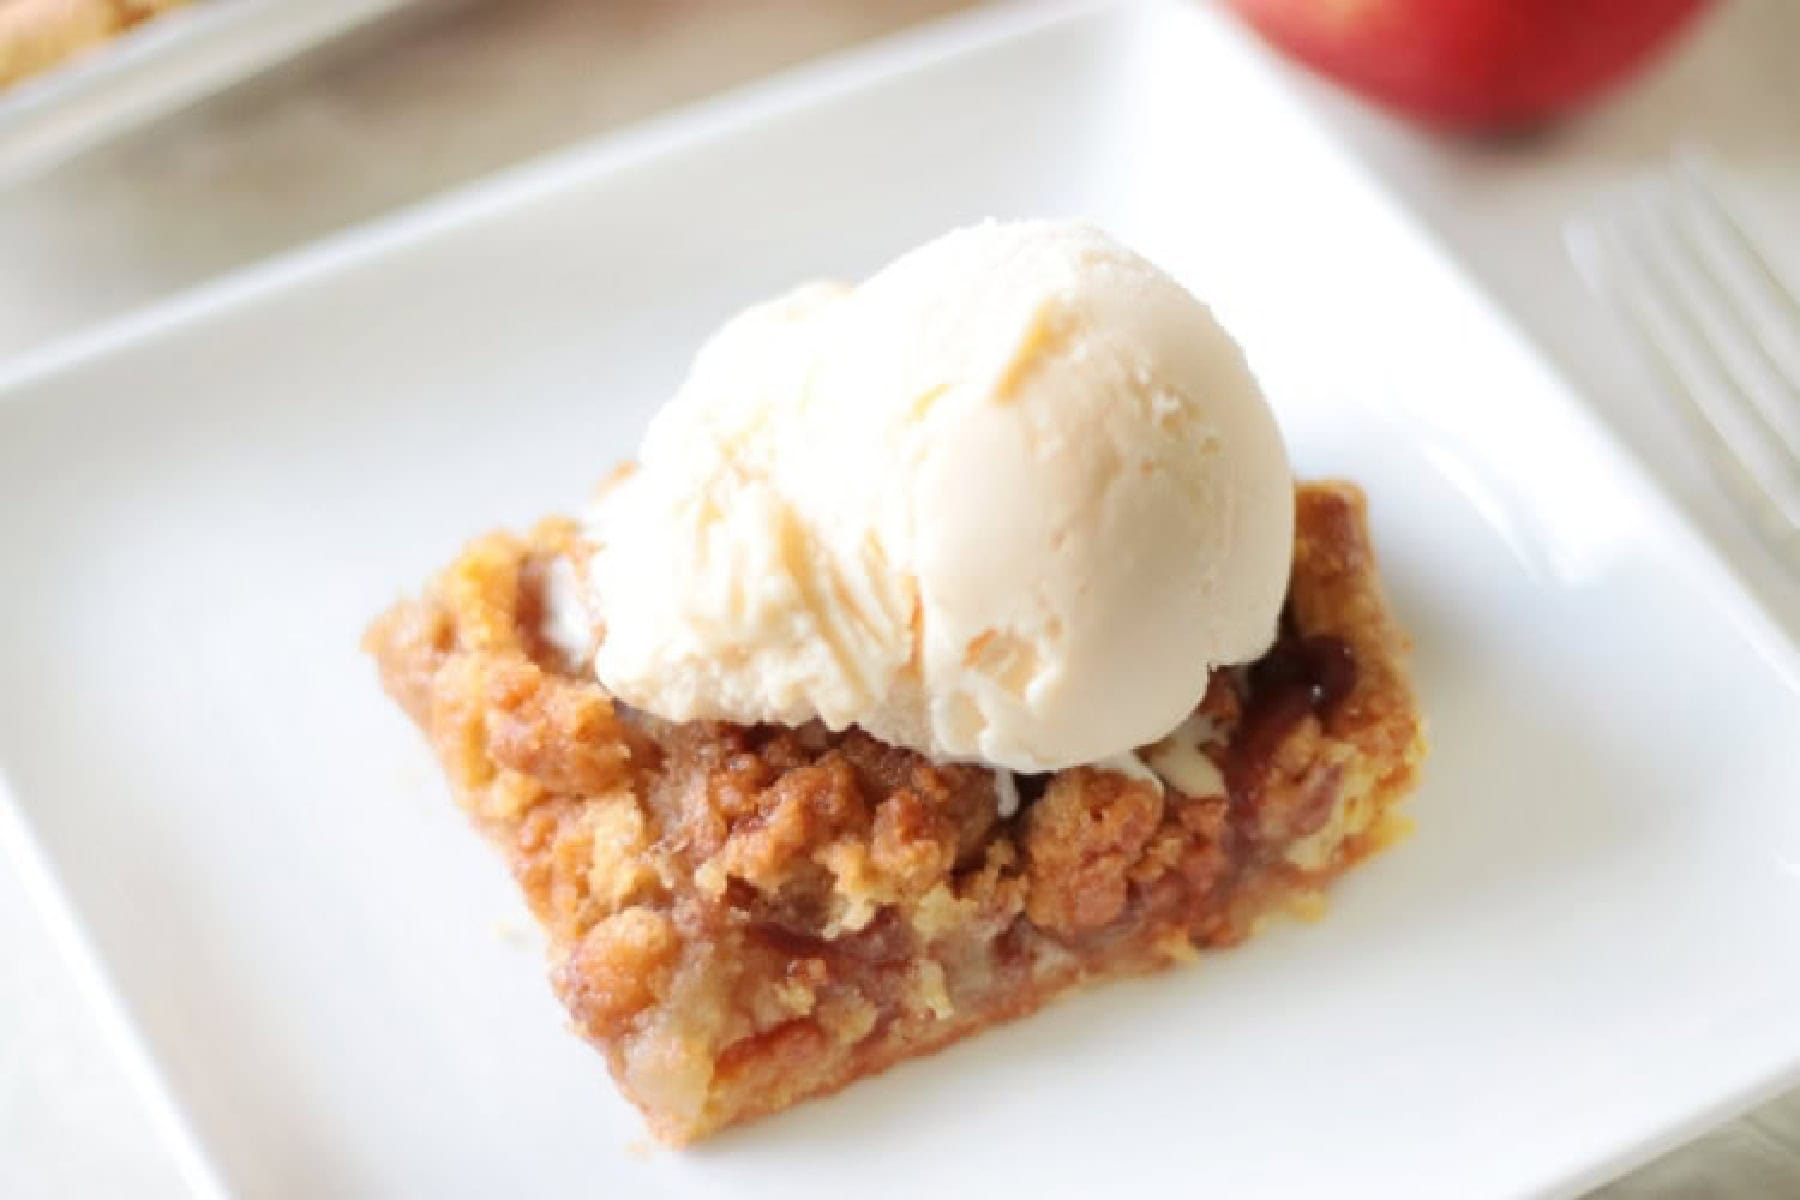
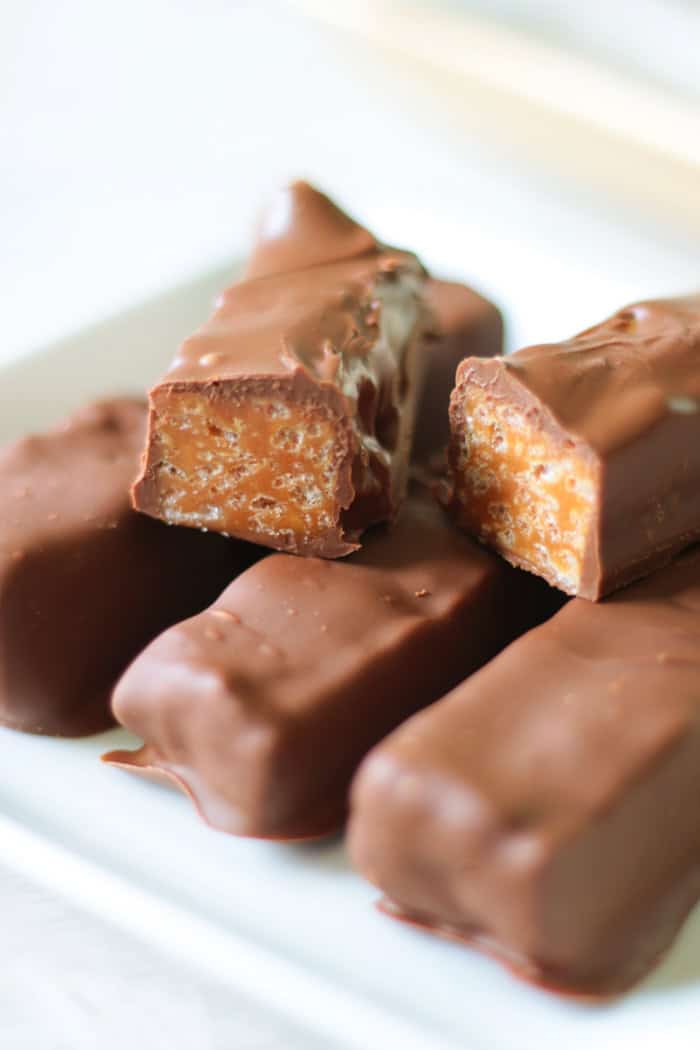
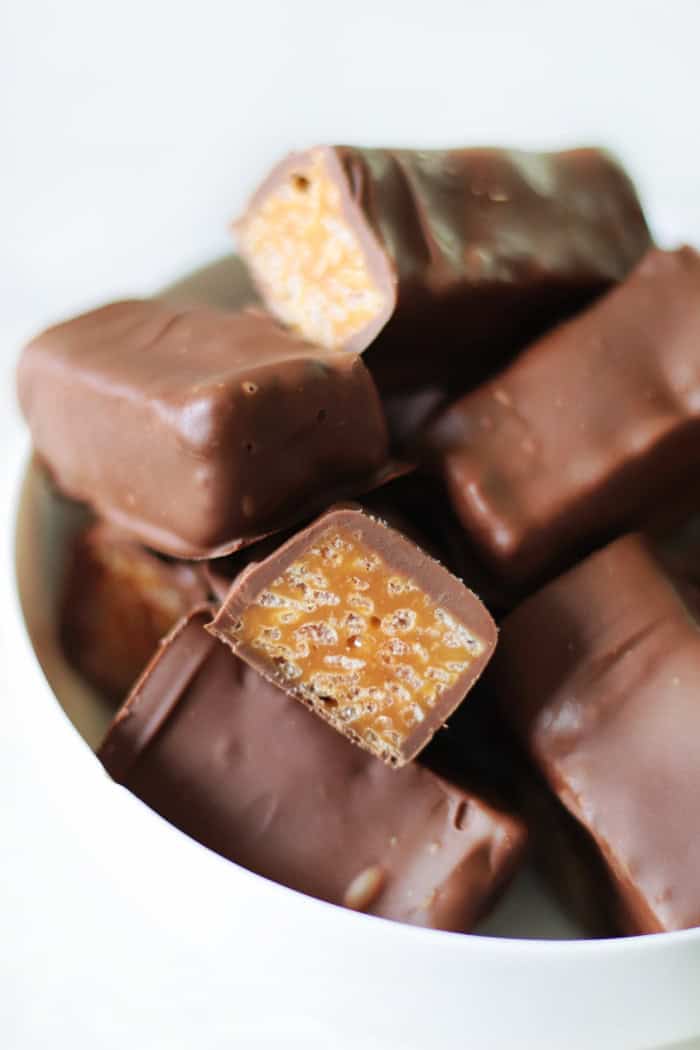
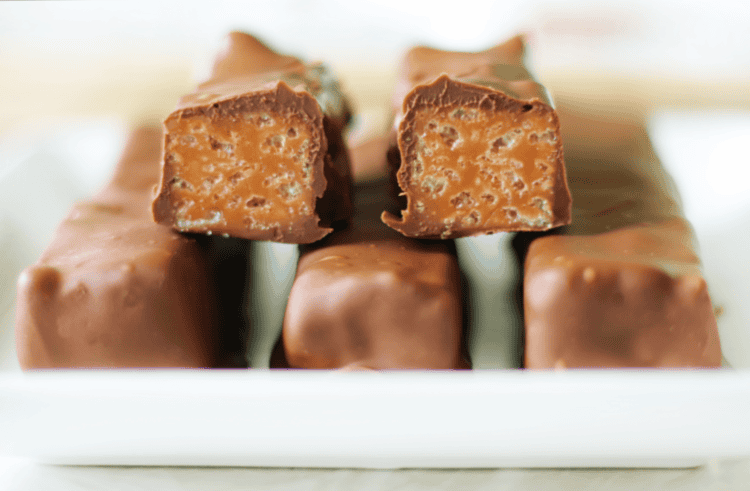
These three-ingredient homemade 100-Grand bars are made with caramel, crispy rice cereal, and chocolate. They're easy, delicious, and taste like the real deal!
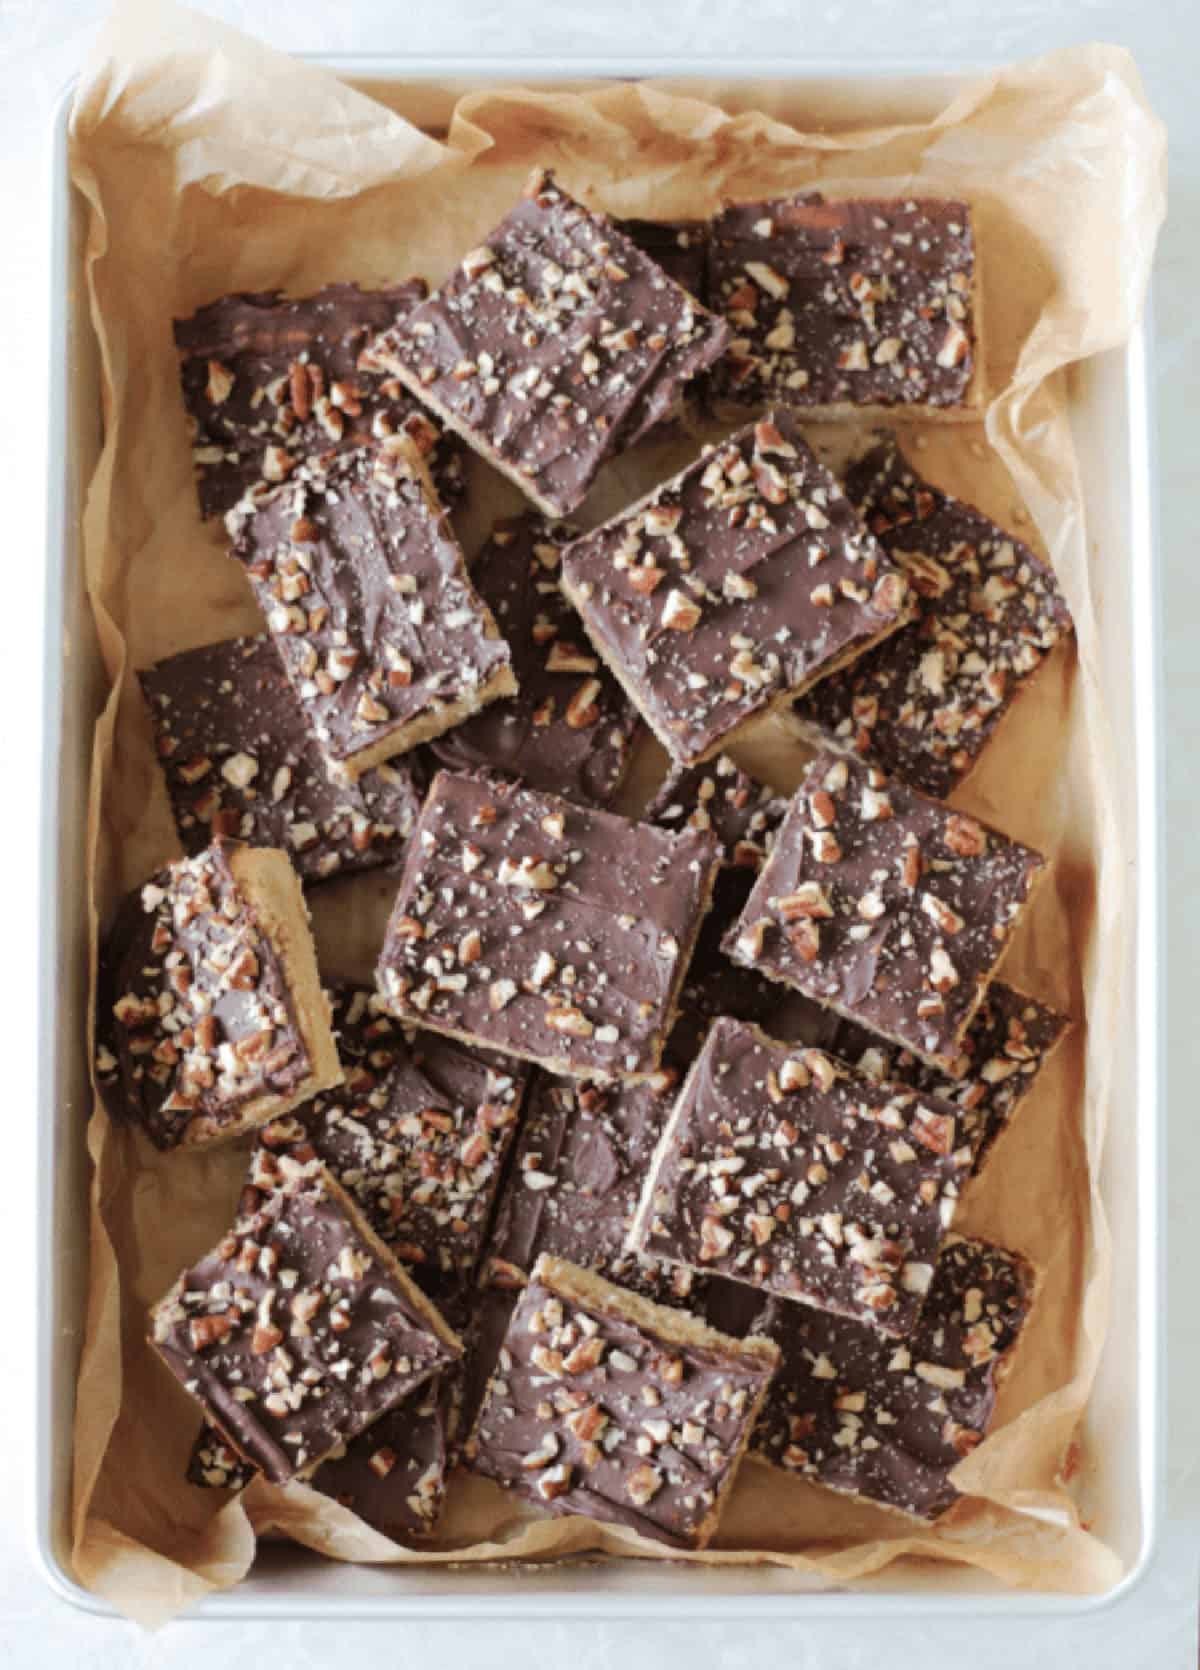
You might also like our homemade Butterfingers, Twix bites, or Almond Joy bites!

Watch our step by step video!
Yes, you can simply buy a 100 Grand candy bar, but there's something satisfying about making your favorite treats at home. I have a whole collection of homemade candy bar recipes. From peppermint patties to Twix and Butterfingers to Take 5. These 100 grand bars only require 3 ingredients! Make 8 full-size bars or 16 snack-size bars with this quick and easy recipe.
Homemade 100 Grand Bars
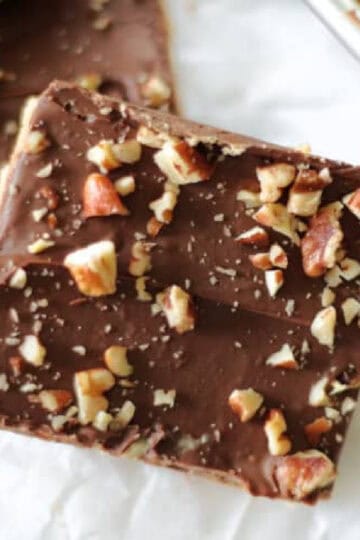
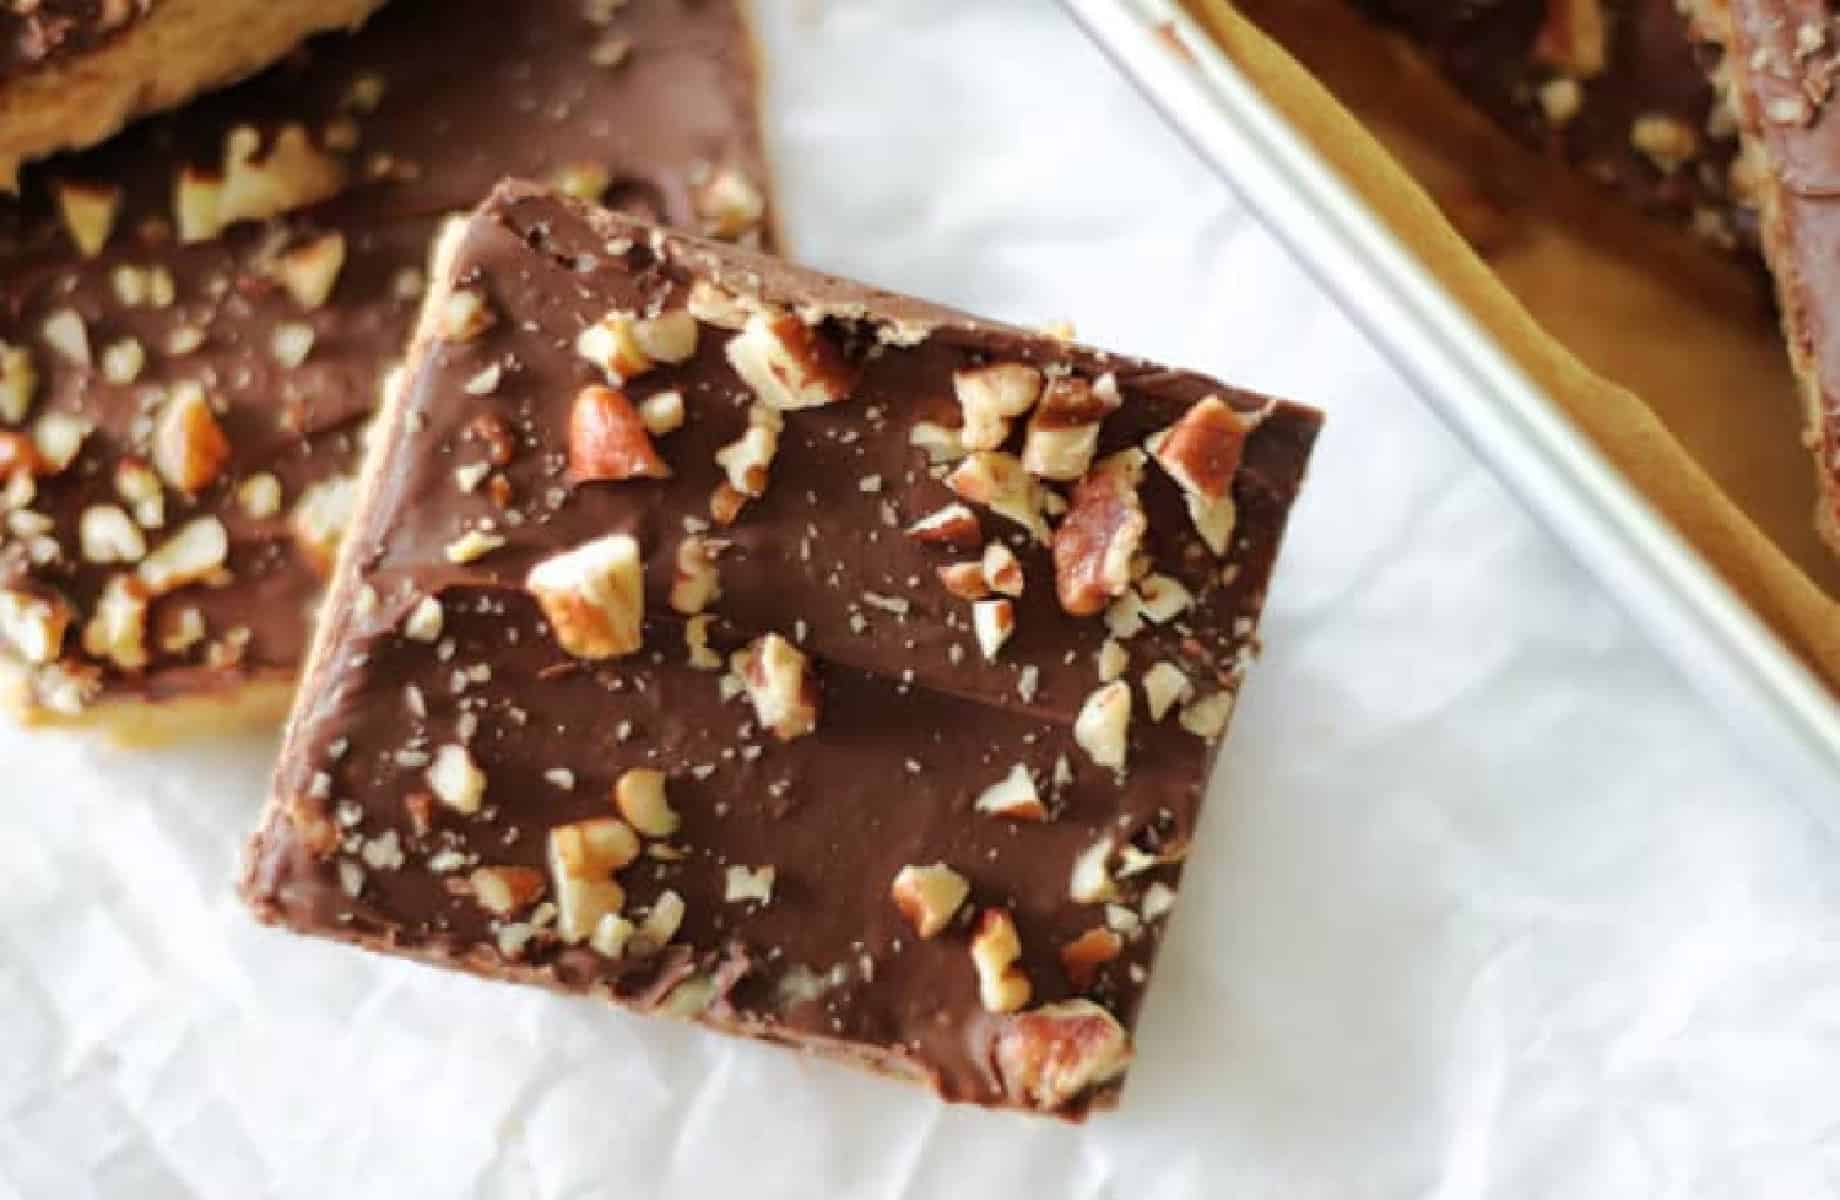
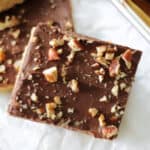
100 Grand bars are traditionally made with milk chocolate, caramel, and crispy rice cereal. The caramel is coated in cereal and dipped in chocolate, giving it a bumpy texture. I found it easiest to mix the caramel and cereal together, cut them into bars, and then dip them into chocolate. They have a smoother outer texture than the original candy bar, but the same combo of crisp rice and caramel, and are delicious all the same.

You can easily customize them by using your favorite chocolate (milk, semisweet, dark) and caramel (caramel bits, squares, or soft chews).
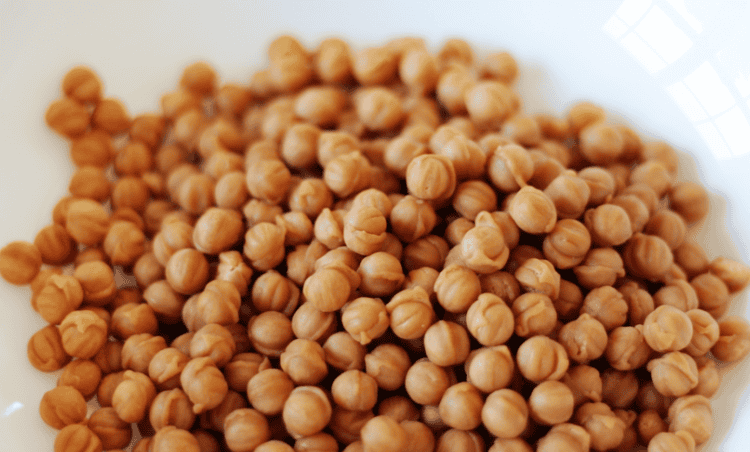
(Caramel bits are a great choice because they melt easily, and you don't need to unwrap them. You can also use caramel squares. Kraft is my preferred brand.)
3-Ingredient 100 Grand Ingredients
- 1 (11-ounce) bag Kraft caramel bits (or squares---unwrapped)
- 1 Tbsp. water
- 1 ½ cups crispy rice cereal
- 8-10 ounces of chocolate (Ghirardelli wafers, chocolate almond bark, Wilton melts, or chocolate chips)
How To Make 100 Grand Bars

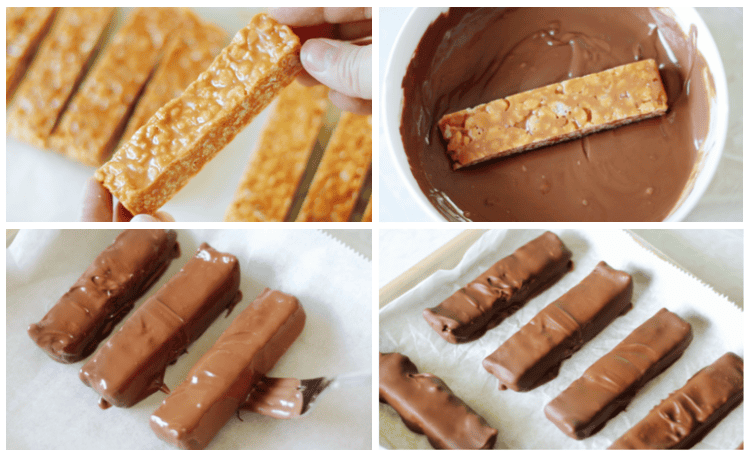
Line a loaf pan with parchment paper.
Pour caramel bits into a microwave-safe bowl. Add water.
Heat in microwave for 30 seconds, stir. Heat for an additional 30 seconds, stir. Heat for 15 more seconds, if necessary. Caramel should be melted and smooth.
Note: You can also heat the caramel bits in a saucepan on low heat over the stove.
Mix cereal into melted caramel. Pour mixture into prepared loaf pan. Spread evenly.
Freeze for 30 minutes.
Melt chocolate according to package instructions. DO NOT overheat the chocolate.
Slice the caramel mixture into 8 full-size bars or 16 smaller bars.
Dip bars into melted chocolate, then place on a parchment-lined baking sheet to set up.
Chill until set.
Store candy bars in an airtight container at room temperature for up to 2 weeks.
Homemade 100 Grand Bars Recipe

Homemade 100 Grand Bars
Ingredients
- 11 ounces Kraft caramel bits (1 bag)
- 1 Tbsp. water
- 1 ½ cups crispy rice cereal
- 8-10 ounces of chocolate chocolate wafers, chocolate chips or almond bark
Instructions
- Line a loaf pan with parchment paper.
- Pour caramel bits into a microwave-safe bowl. Add water.
- Heat in microwave for 30 seconds, stir. Heat for an additional 30 seconds, stir. Heat for 15 more seconds, if necessary. Caramel should be melted and smooth.Note: You can also heat the caramel bits in a saucepan on low heat over the stove.
- Mix cereal into melted caramel. Pour mixture into prepared loaf pan. Spread evenly.
- Freeze for 30 minutes.
- Melt chocolate according to package instructions. DO NOT overheat the chocolate.
- Slice the caramel mixture into 8 full-size bars or 16 smaller bars.
- Dip frozen bars into melted chocolate, then place on a parchment-lined baking sheet to set up.
- Chill until set.
Video
Notes
Nutrition