
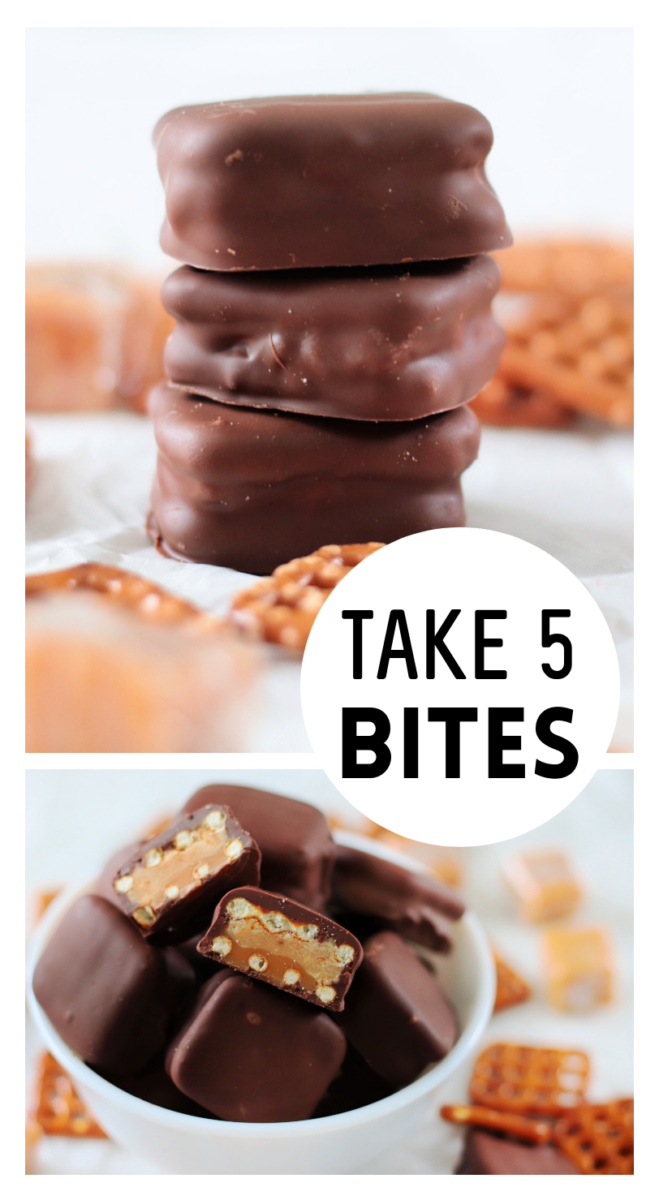
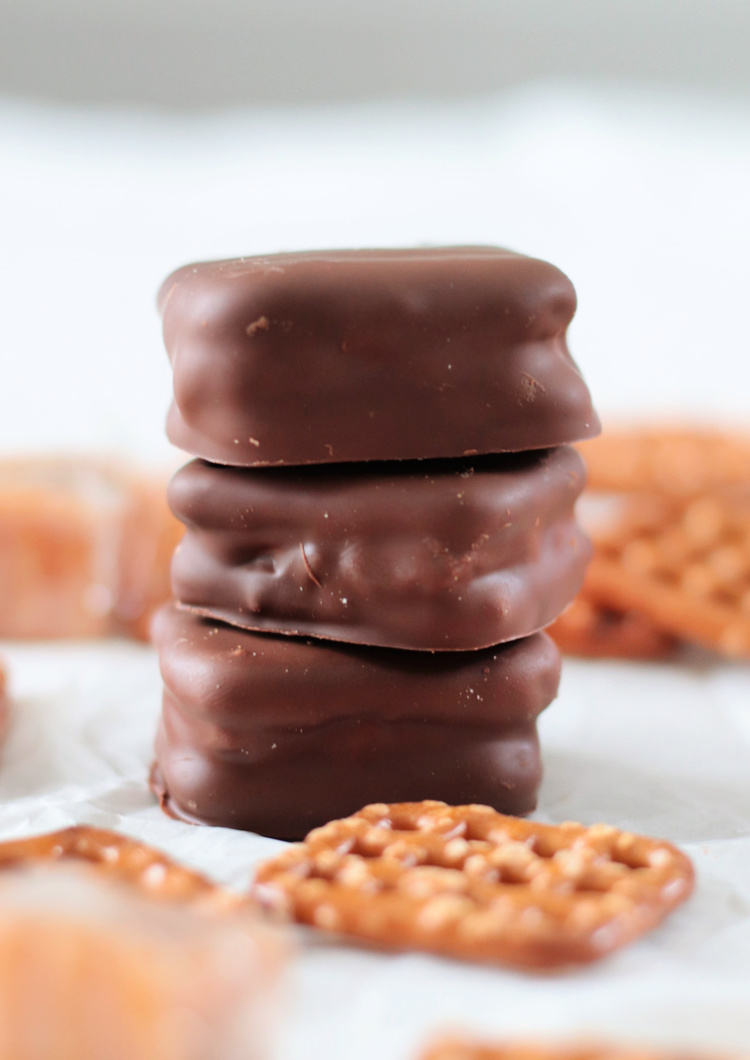
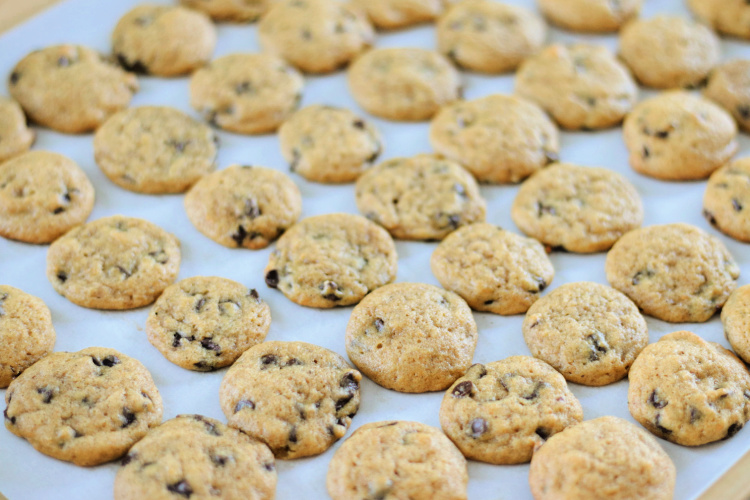
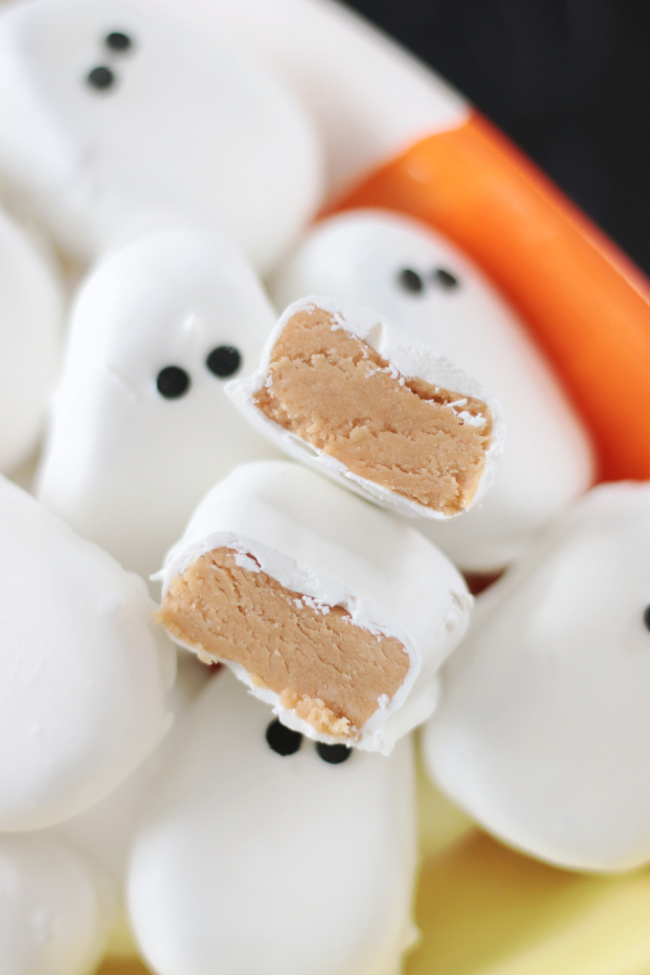
If you like the sweet, salty, and crunchiness of Take 5 candy bars, you'll love our homemade Take 5 bites. They are delicious!
You might also like our Twix bites, our York bites, or our Reese's bites!
Watch our step by step video!
Take 5 Bites
If you're reading this post, chances are you are already a fan of Take 5 candy bars. I even made an English toffee version a few years ago! The 5 main components are pretzels, peanuts, peanut butter, caramel, and chocolate. The combination is the perfect blend of sweet and salty.

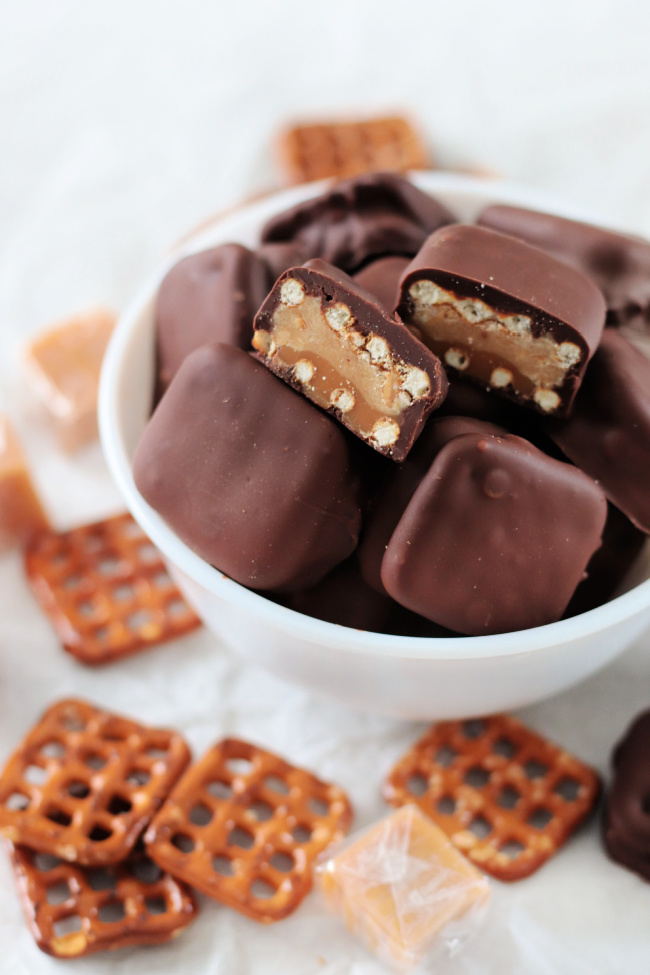
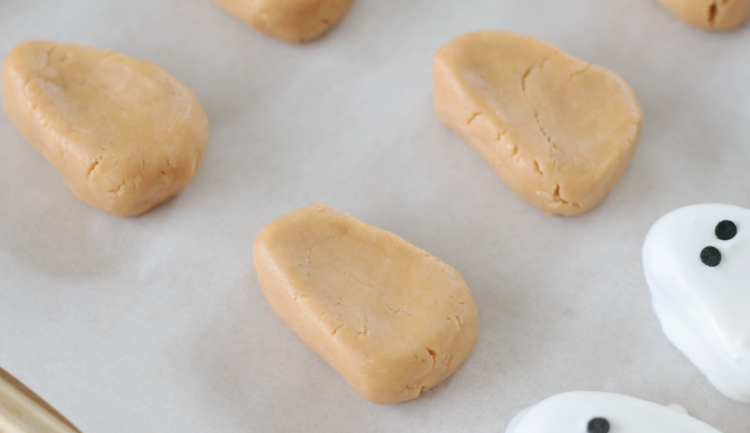
My homemade version includes the same ingredients. I use the same peanut butter filling that I use for my copycat Reese's Peanut Butter Ghosts. They are the perfect bite-sized treat and a wonderful addition to holiday treat platters.
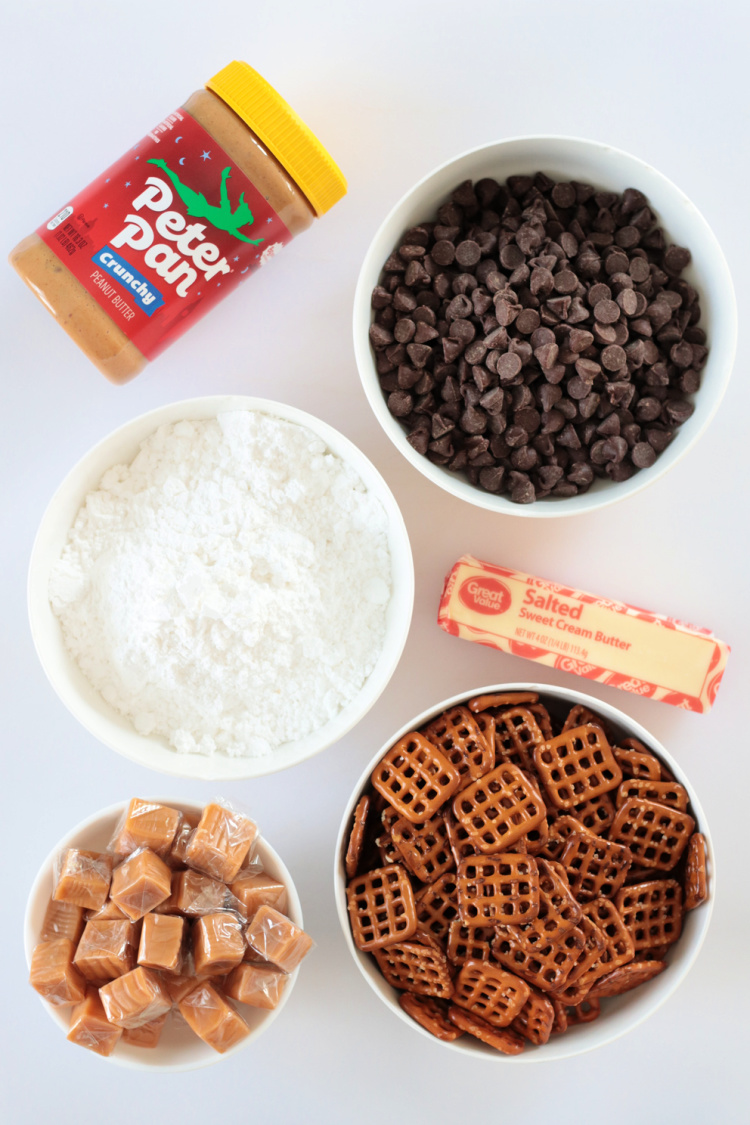
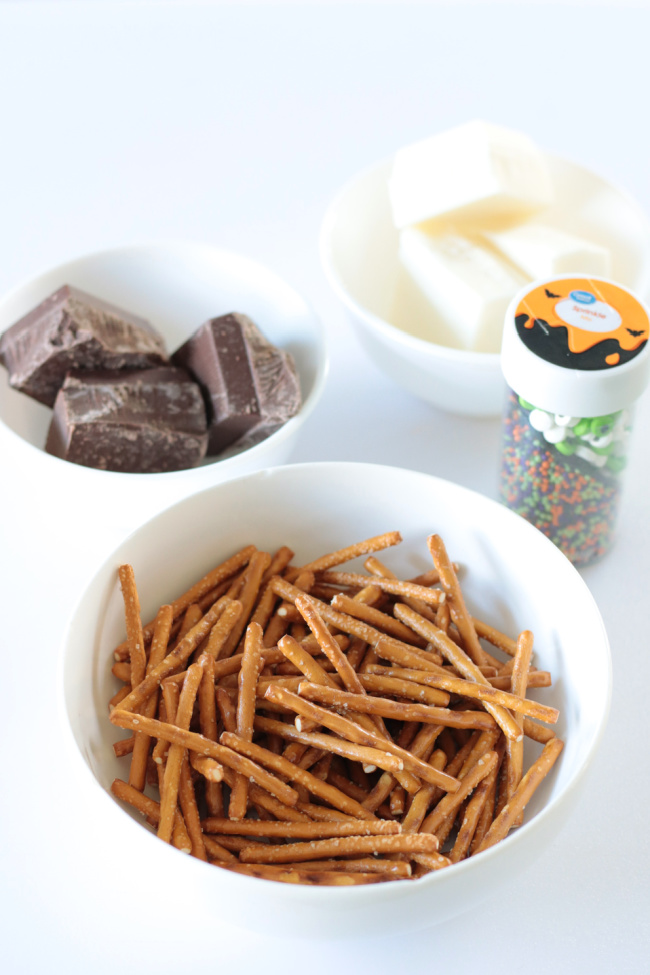
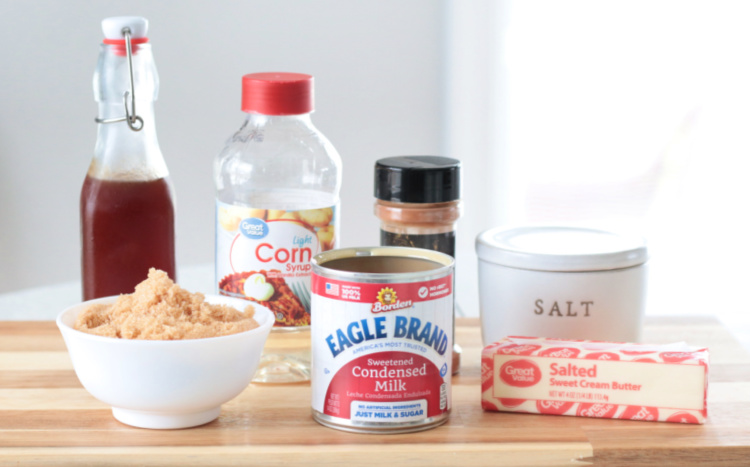
Take 5 Bites Ingredients
This recipe makes 48 bites.
Pretzels: My favorite pretzels to use are snaps. They are square in shape and easy to stack with caramel and peanut butter filling.
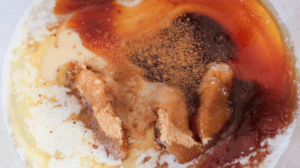
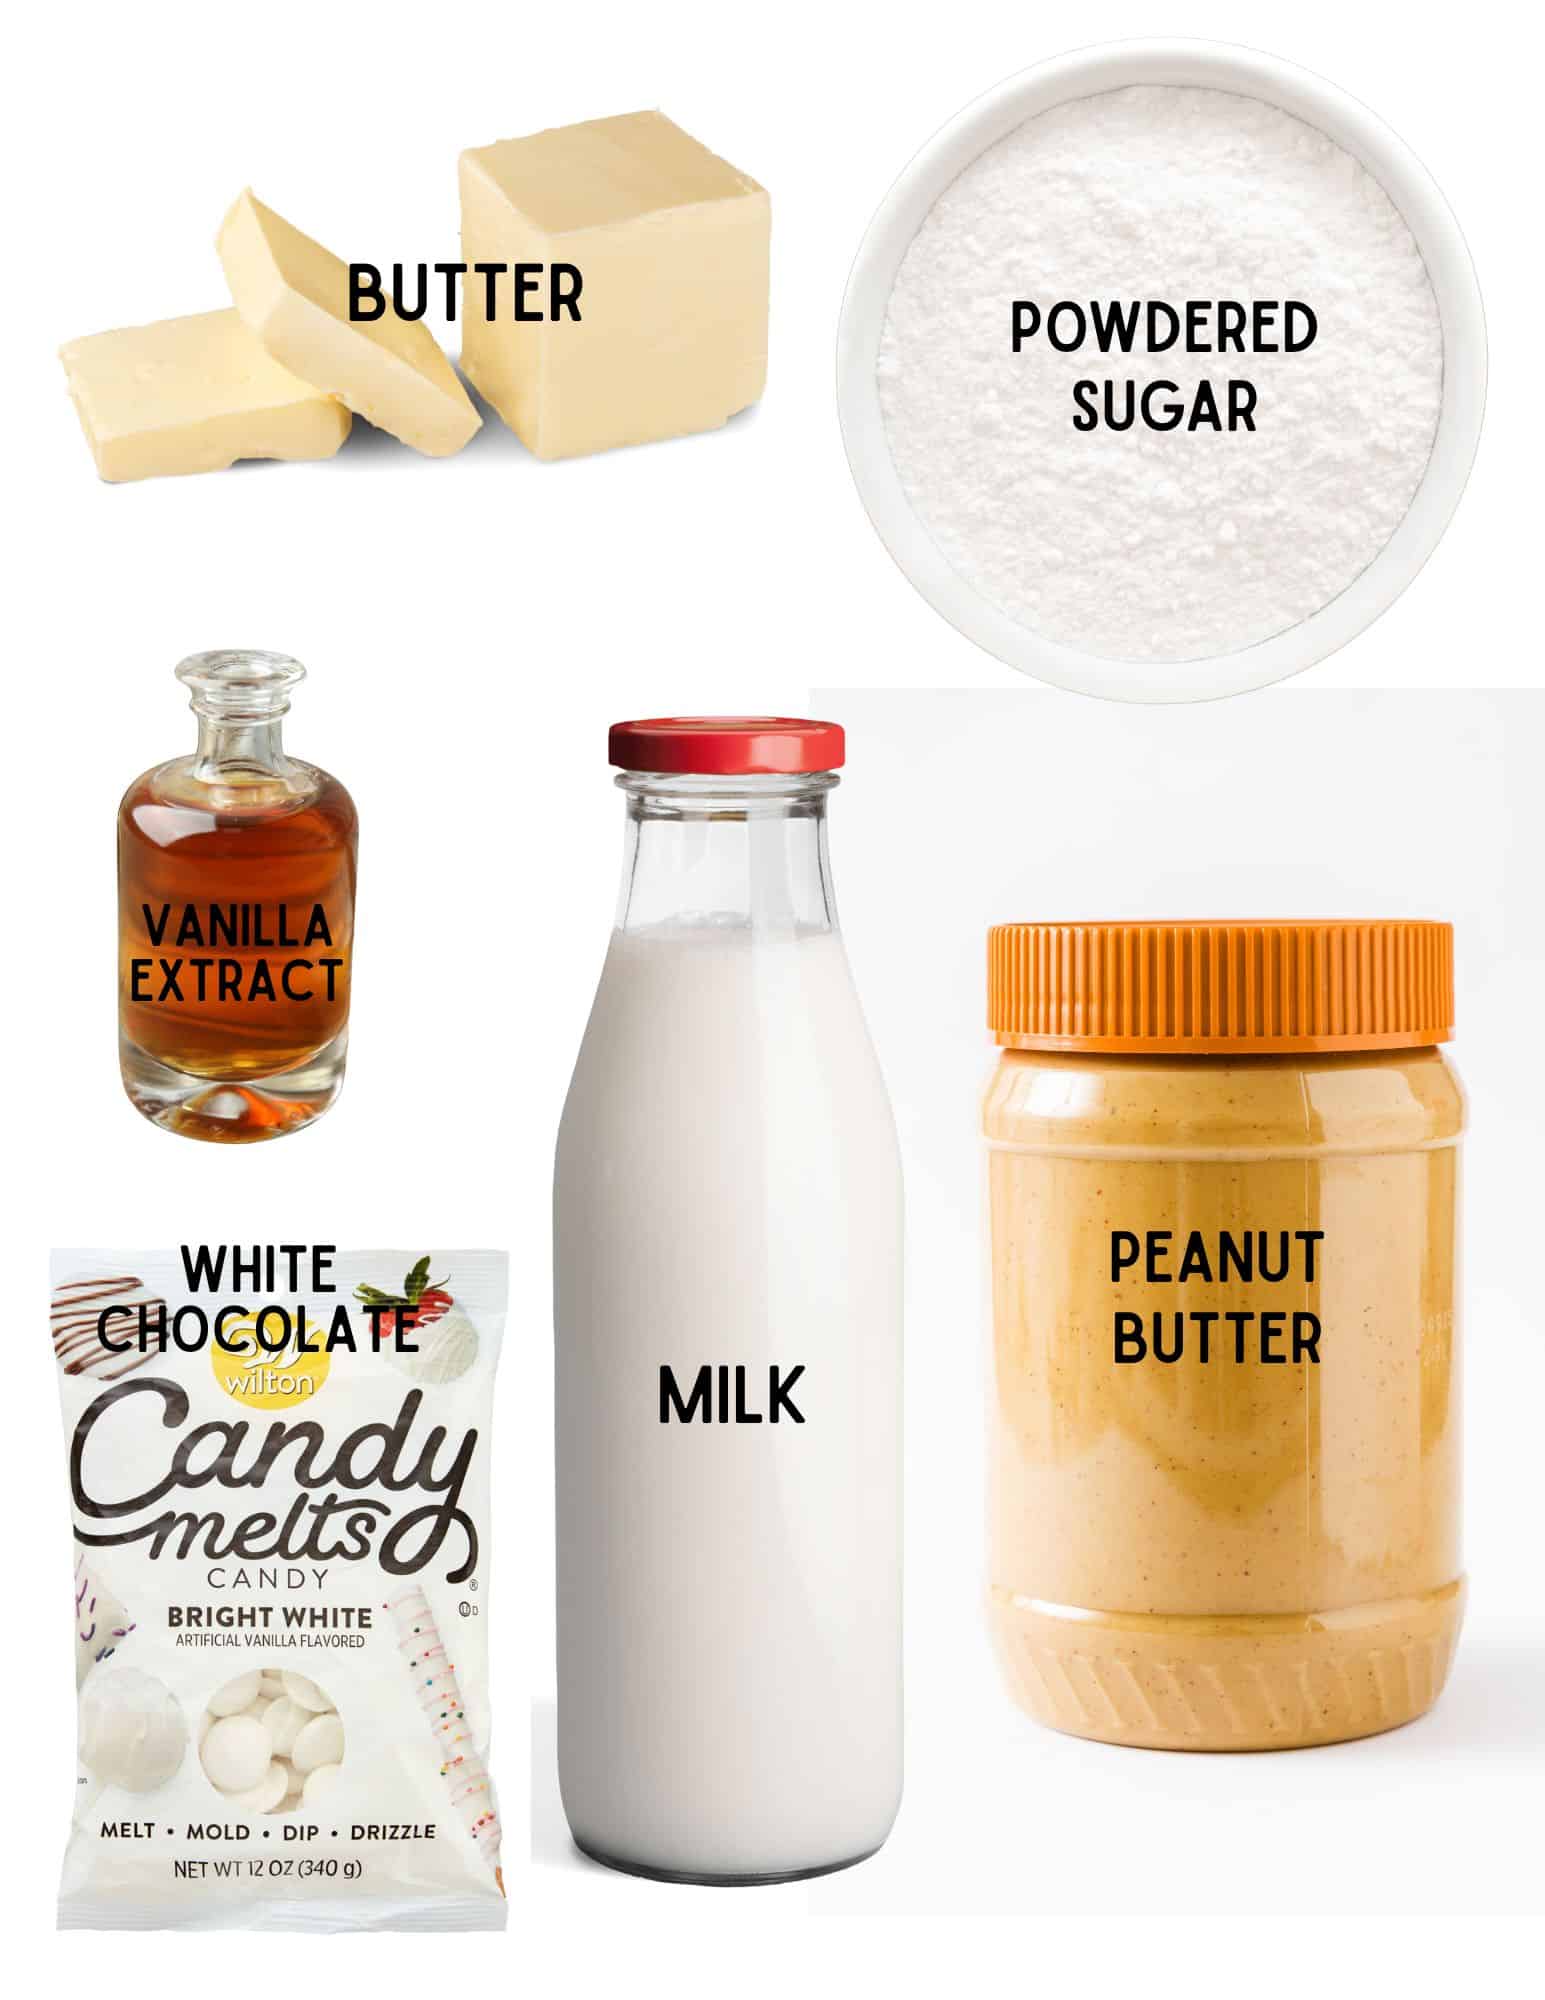
The next 4 ingredients are mixed together to form a soft peanut butter filling.
Crunchy peanut butter: instead of using creamy peanut butter and peanuts I simplified things and used crunchy peanut butter.
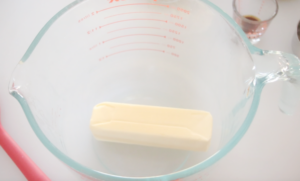
Butter: I always use salted butter, but you can use unsalted butter if you'd like.
Powdered Sugar: powdered sugar helps bind the filling, making it easy to form into small portions.
Milk: To add a bit of moisture to the filling.
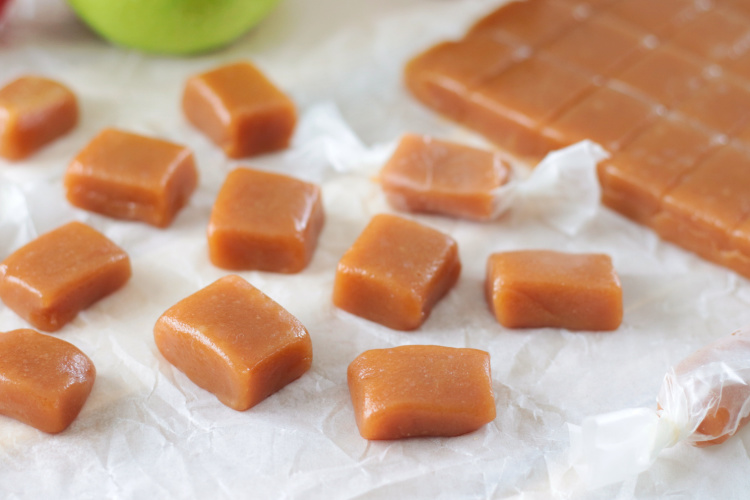
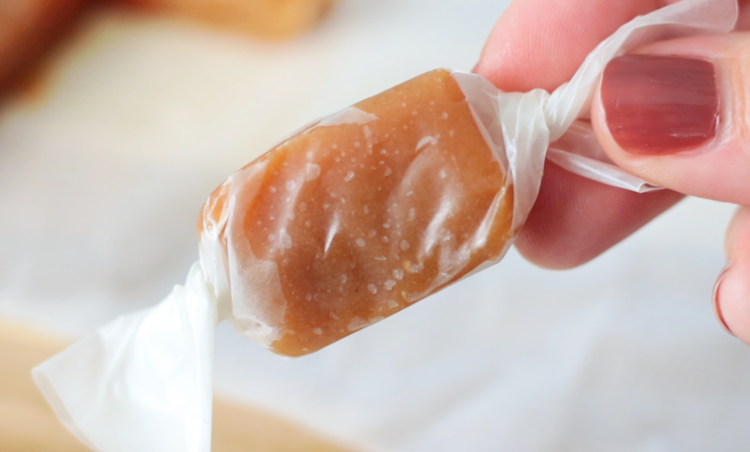
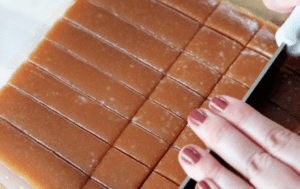
Caramel Candy: I use Brach's caramels (the square ones) and cut them into quarters.
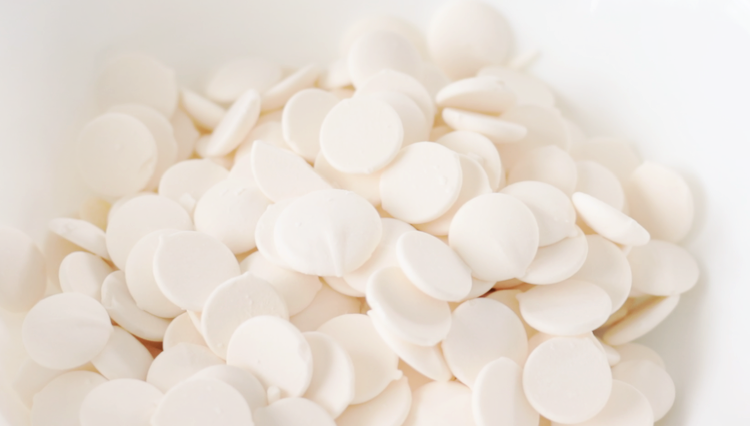
Chocolate almond bark or milk chocolate chips: I find that almond bark is the easiest to melt down for dipping, but you can also use milk chocolate chips with a tablespoon of coconut oil to smooth it out. Take 5 candy bars are made with milk chocolate, but you can make these bites with any kind of chocolate you like. I always use more chocolate than needed. I hate when I get down to the last part and am scraping to cover the treats in chocolate. For this reason, I'll usually add a couple extra ounces.
How to Make Take 5 Candy Bar Bites
Preheat the oven to 250 degrees.
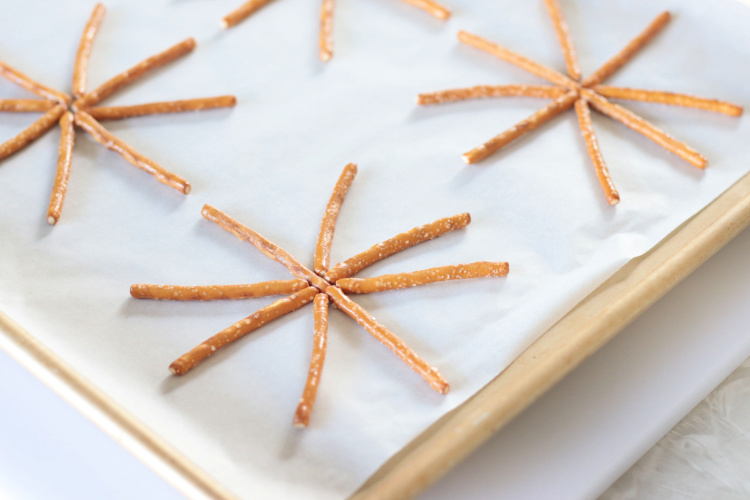
First ½ of Pretzels: Place 48 pretzels (half of the pretzels) onto a parchment paper-lined baking sheet.
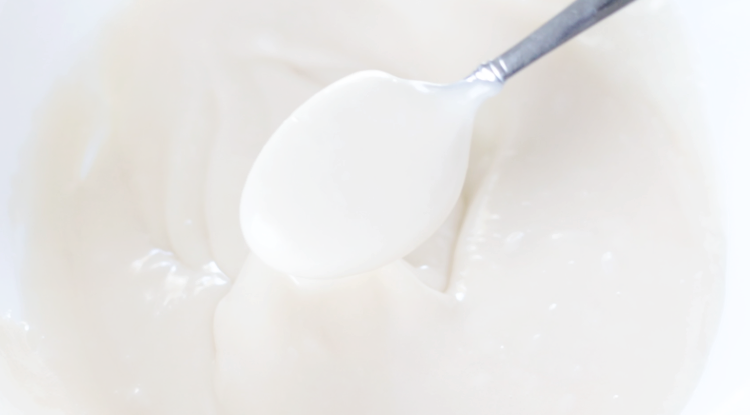
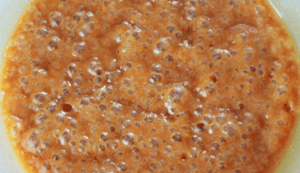
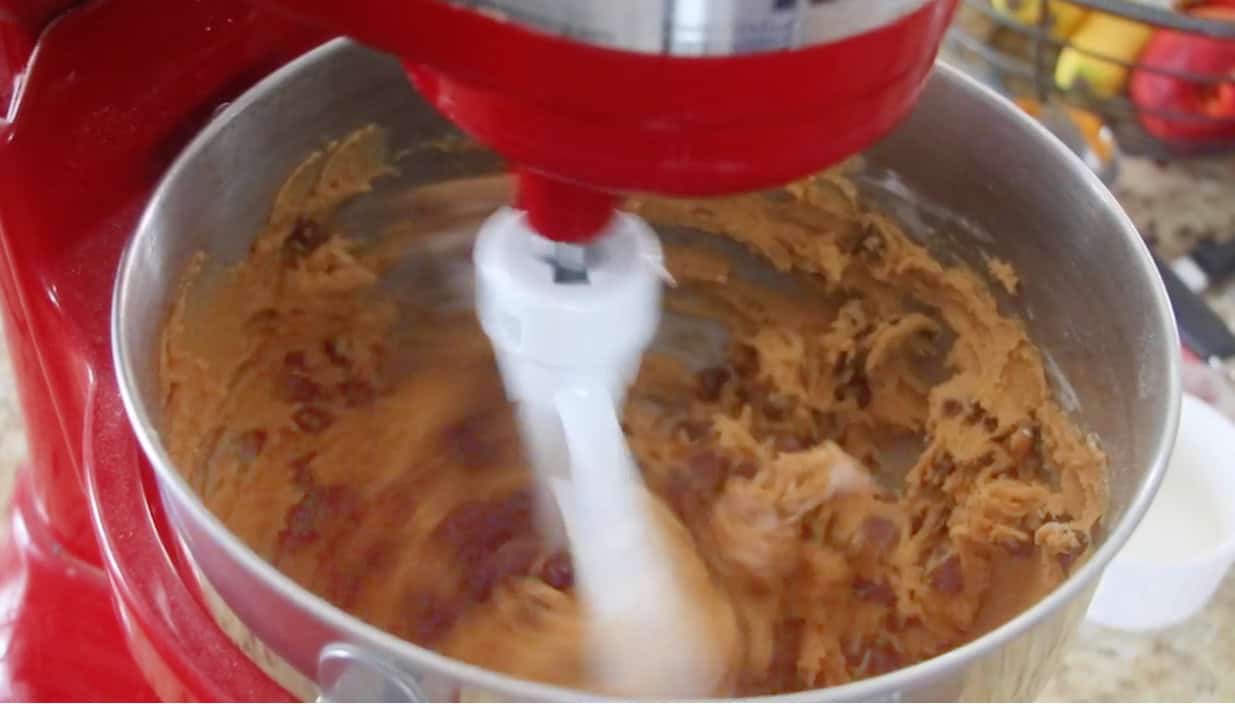
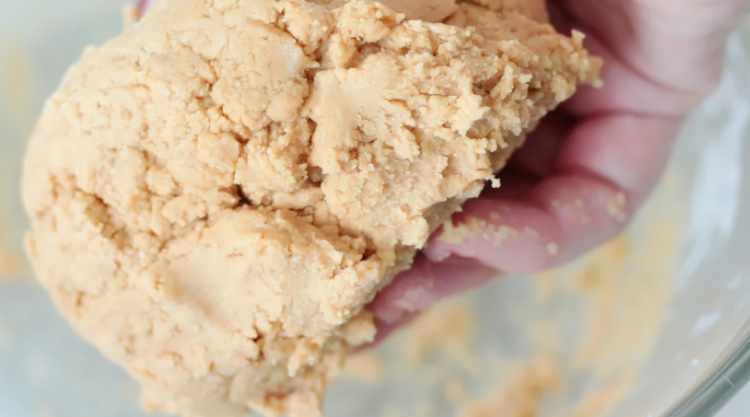
Peanut butter dough: Combine softened butter, powdered sugar, and crunchy peanut butter in a mixing bowl. You can use a Danish dough whisk or electric mixer. Mix until a soft dough forms. If your dough feels a little dry you can add an additional teaspoon of milk. Cover with plastic, to prevent the filling from drying out and set aside.
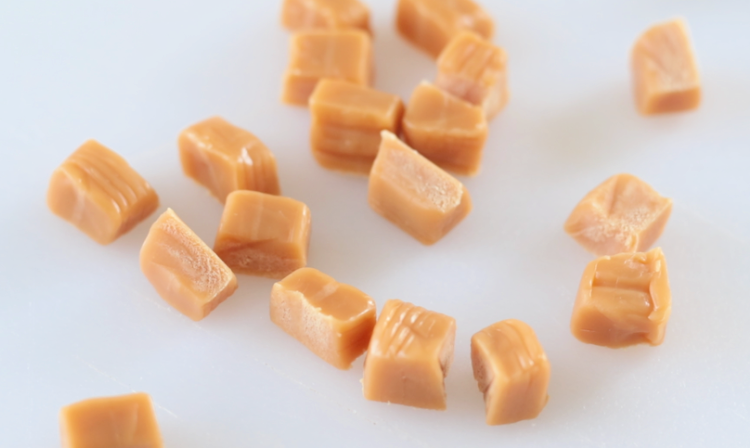
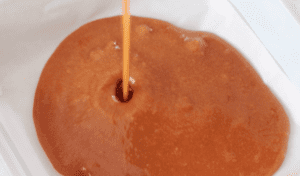
Caramels: cut each caramel candy into 4 sections. Place one piece of caramel onto each pretzel. Bake for 5-6 minutes.
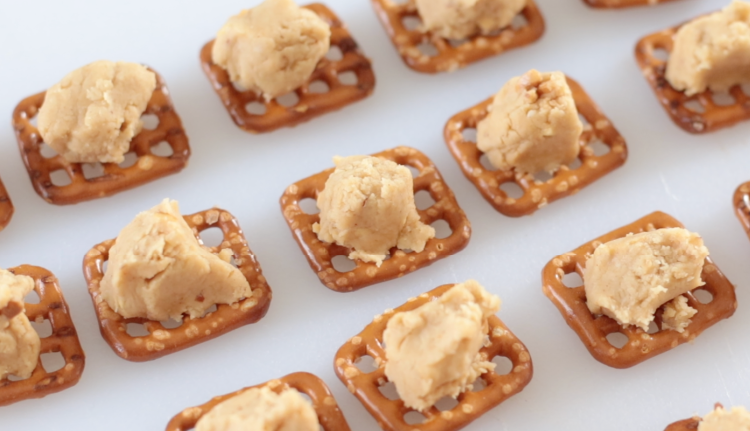
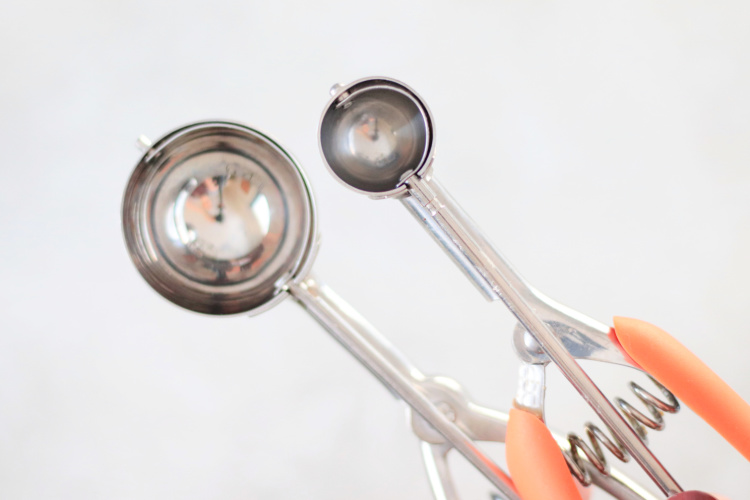
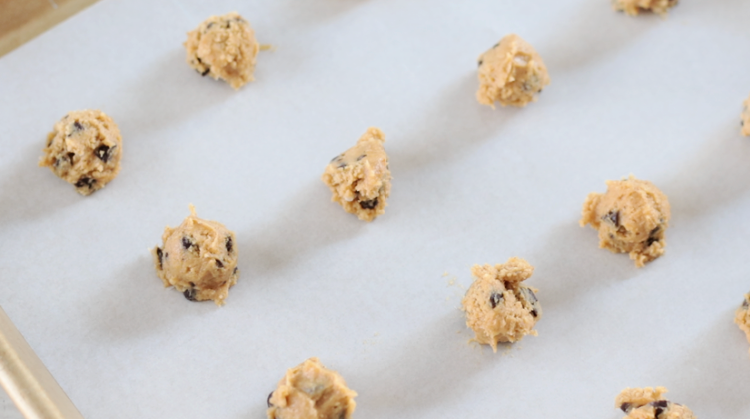
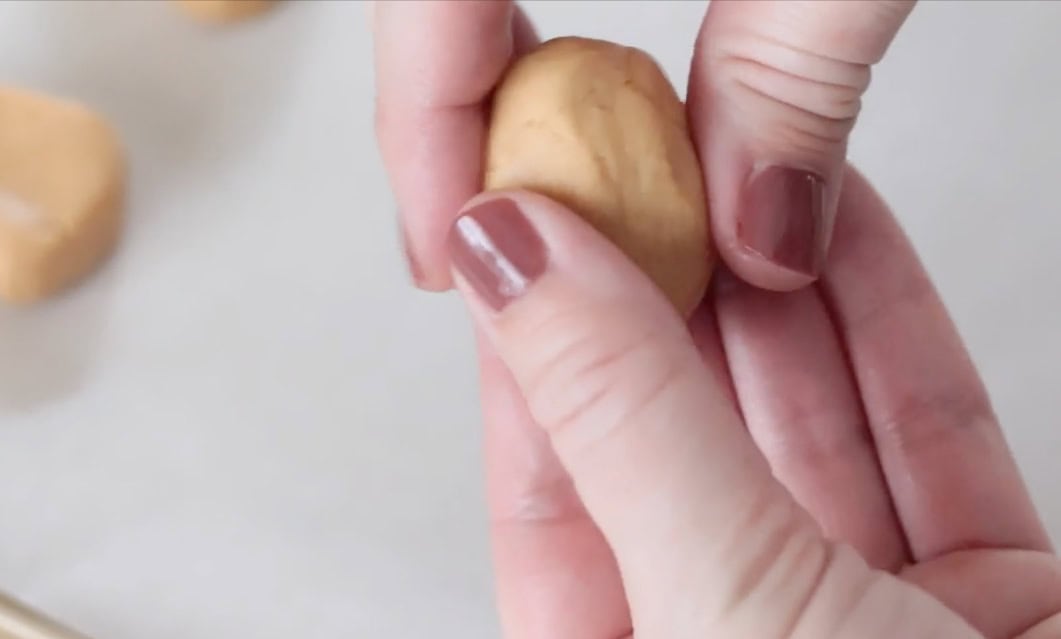
Second ½ of Pretzels: While the pretzels with caramel are in the oven, arrange the rest of the pretzels onto a cutting board or work surface. Roll the peanut butter filling into small balls and divide it amongst the pretzels, pressing down slightly.

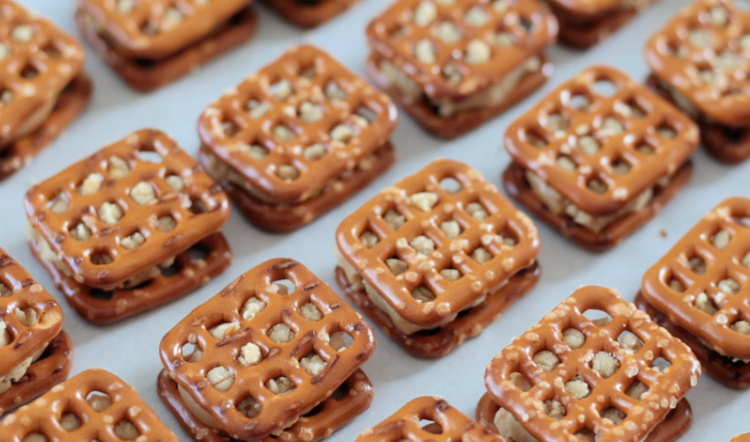
Making Sandwiches: Remove the caramel pretzels from the oven and press each peanut butter pretzel onto a caramel pretzel. Press down to flatten it into a sandwich.
Cooling: Let the Take 5 bites stand until the caramel is at room temperature.
Melt chocolate: Melt the chocolate according to the package instructions or in a double boiler.
Note: if using chocolate chips, and you find that it hasn't melted down thin enough for dipping, you can add a couple of teaspoons of coconut oil or shortening then stir into the warm chocolate.
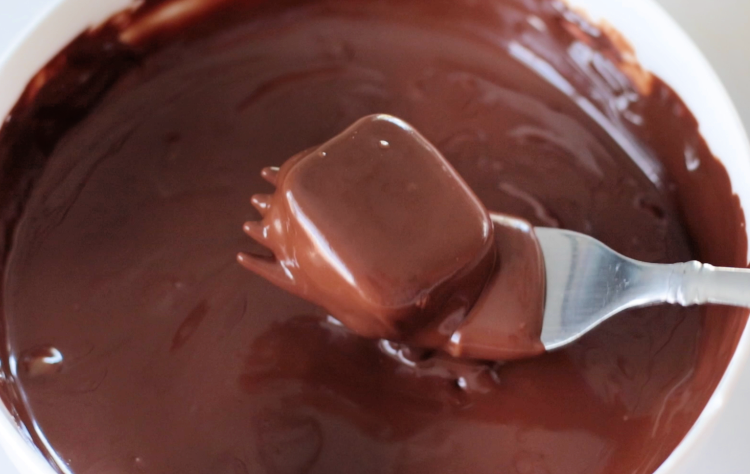
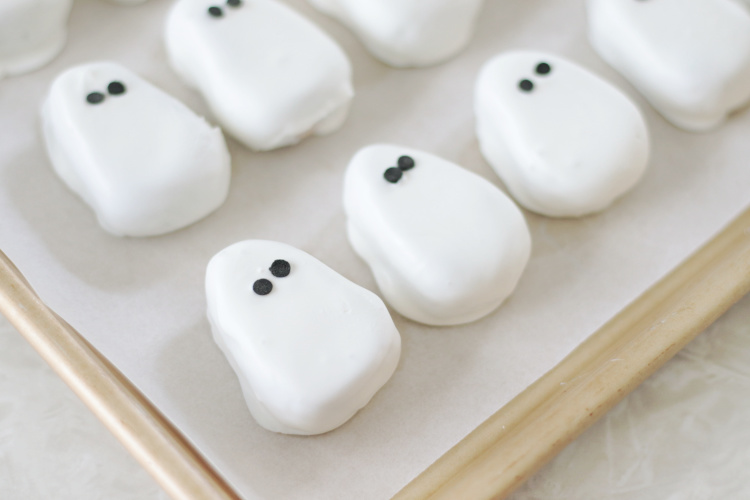
Dip: Dip each Take 5 bites into chocolate, using a fork. Cover both sizes then tap the fork against the side of the bowl to allow excess chocolate to drip off.
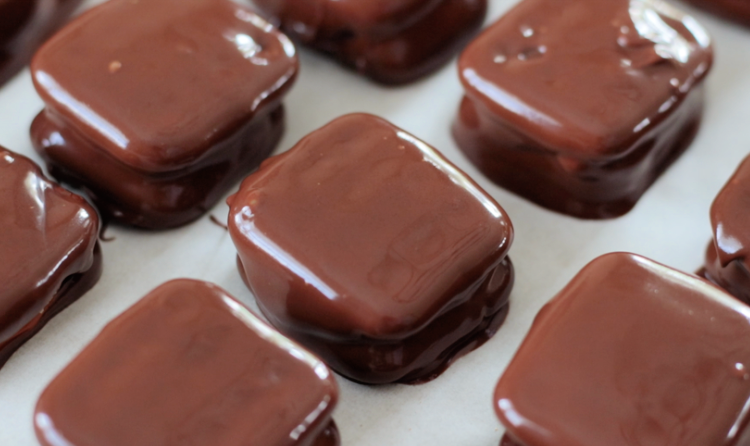
Cool: Place the bites onto a parchment-lined baking sheet and let stand until hardened.
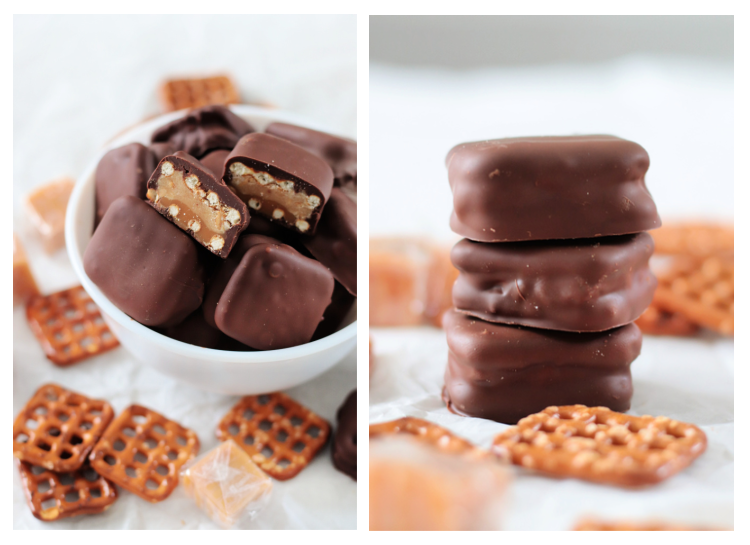
Homemade Take 5 Bites
(printable version)

Take 5 Bites
Ingredients
- 96 mini pretzel snaps divided
- ⅓ cup crunchy peanut butter
- 2 Tbsp. butter
- 1 cup powdered sugar
- 3-4 teaspoons milk
- 12 soft caramel candies (Brach's brand)
- 24 ounces milk chocolate chips or almond bark
Instructions
- Preheat the oven to 250 degrees. Place 48 pretzels (half of the pretzels) onto a parchment paper-lined baking sheet.
Peanut Butter Filling
- Combine softened butter, powdered sugar, and crunchy peanut butter in a mixing bowl. You can use a Danish dough whisk or electric mixer. Mix until a soft dough forms. If your dough feels a little dry you can add an additional teaspoon of milk. Cover with plastic, to prevent the filling from drying out and set aside.
- Unwrap and cut each piece of caramel candy into 4 sections. Place one piece of caramel onto each pretzel. Bake for 5-6 minutes.
Caramel
- While the caramel pretzels are in the oven, arrange the rest of the pretzels onto a cutting board or work surface. Roll the peanut butter filling into SMALL balls and divide it amongst the pretzels, pressing down slightly.
- Remove the caramel pretzels from the oven.Press each peanut butter pretzel onto a caramel pretzel. Press down to flatten it into a sandwich.
- Let the Take 5 bites stand until the caramel is at room temperature.
Chocolate
- Melt the chocolate according to the package instructions, or in a double boiler.Note: if using chocolate chips, and you find that it hasn't melted down thin enough for dipping, you can add a couple of teaspoons of coconut oil or shortening then stir into the warm chocolate.
- Dip each Take 5 bites into chocolate, using a fork. Cover both sizes then tap the fork against the side of the bowl to allow excess chocolate to drip off.
- Place the bites onto a parchment-lined baking sheet and let stand until hardened.
Video
Notes
Nutrition


