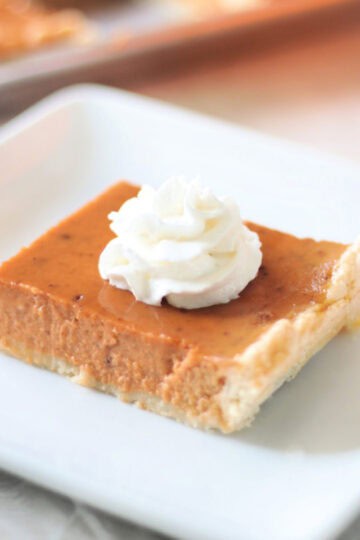
Everything you love about pumpkin pie, baked in a sheet pan! One pumpkin slab pie easily yields 18-24 slices, perfect for sharing with friends.
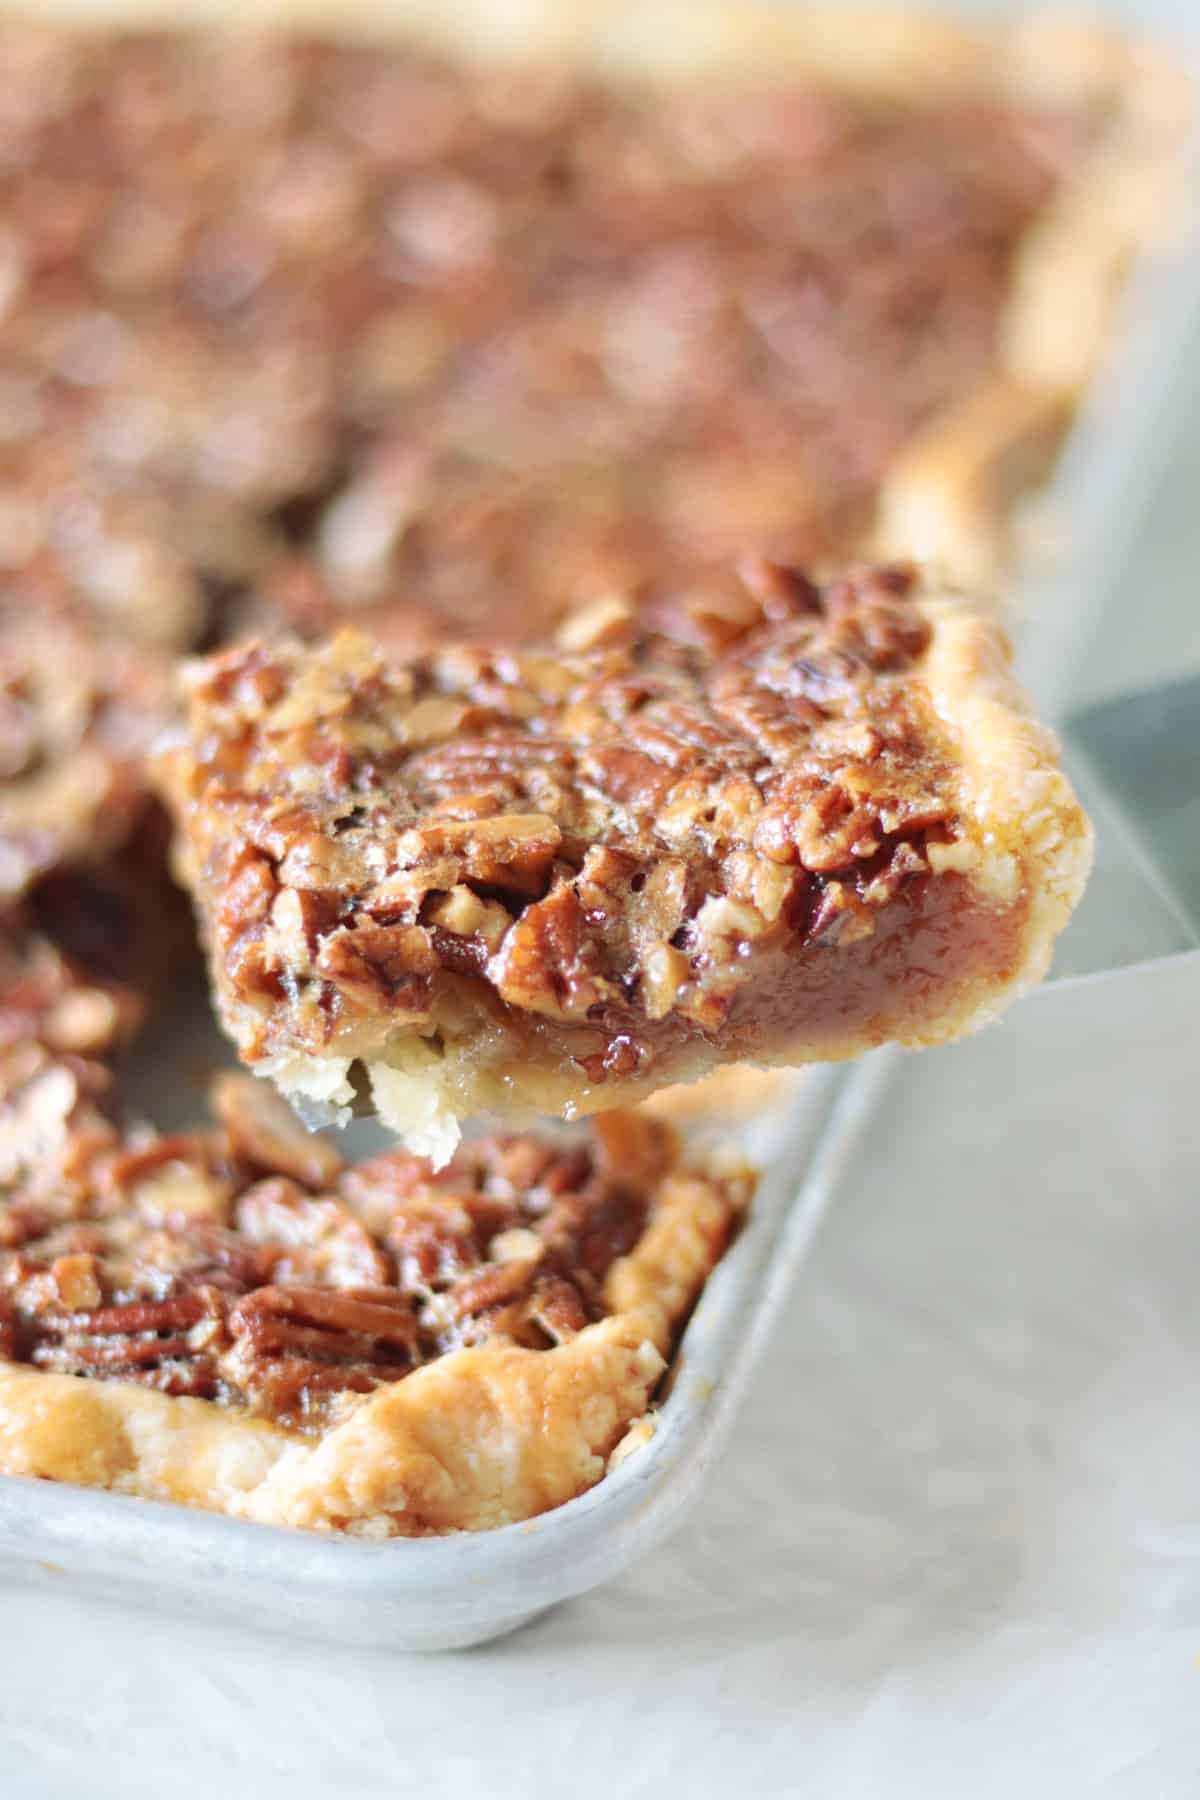
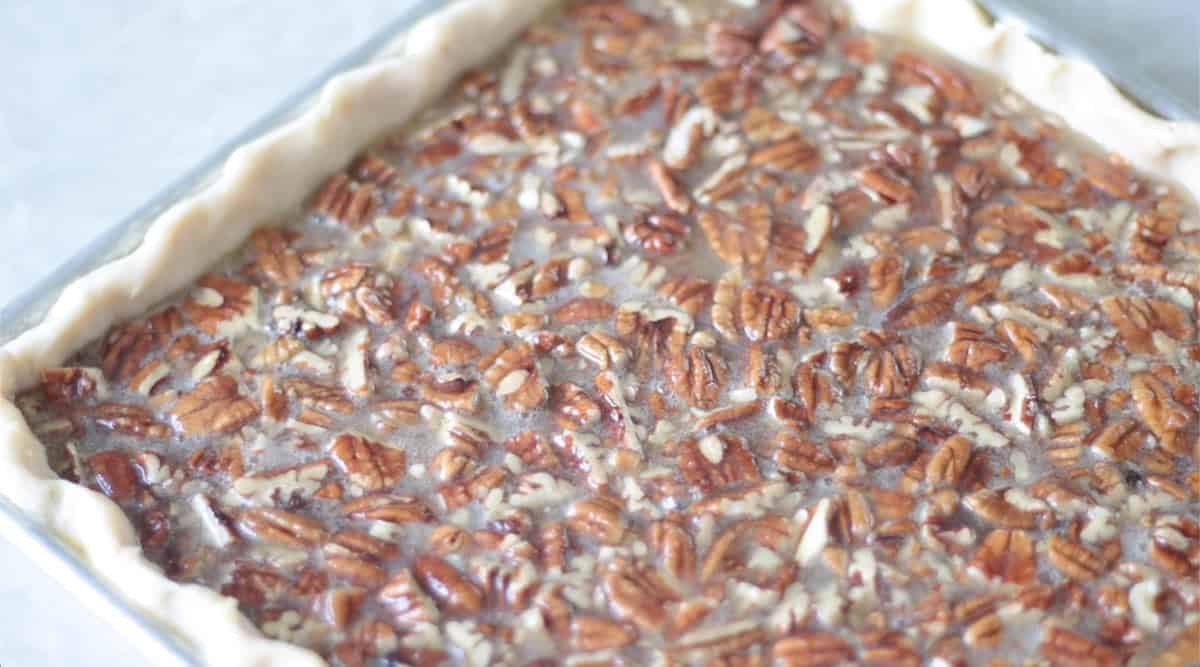
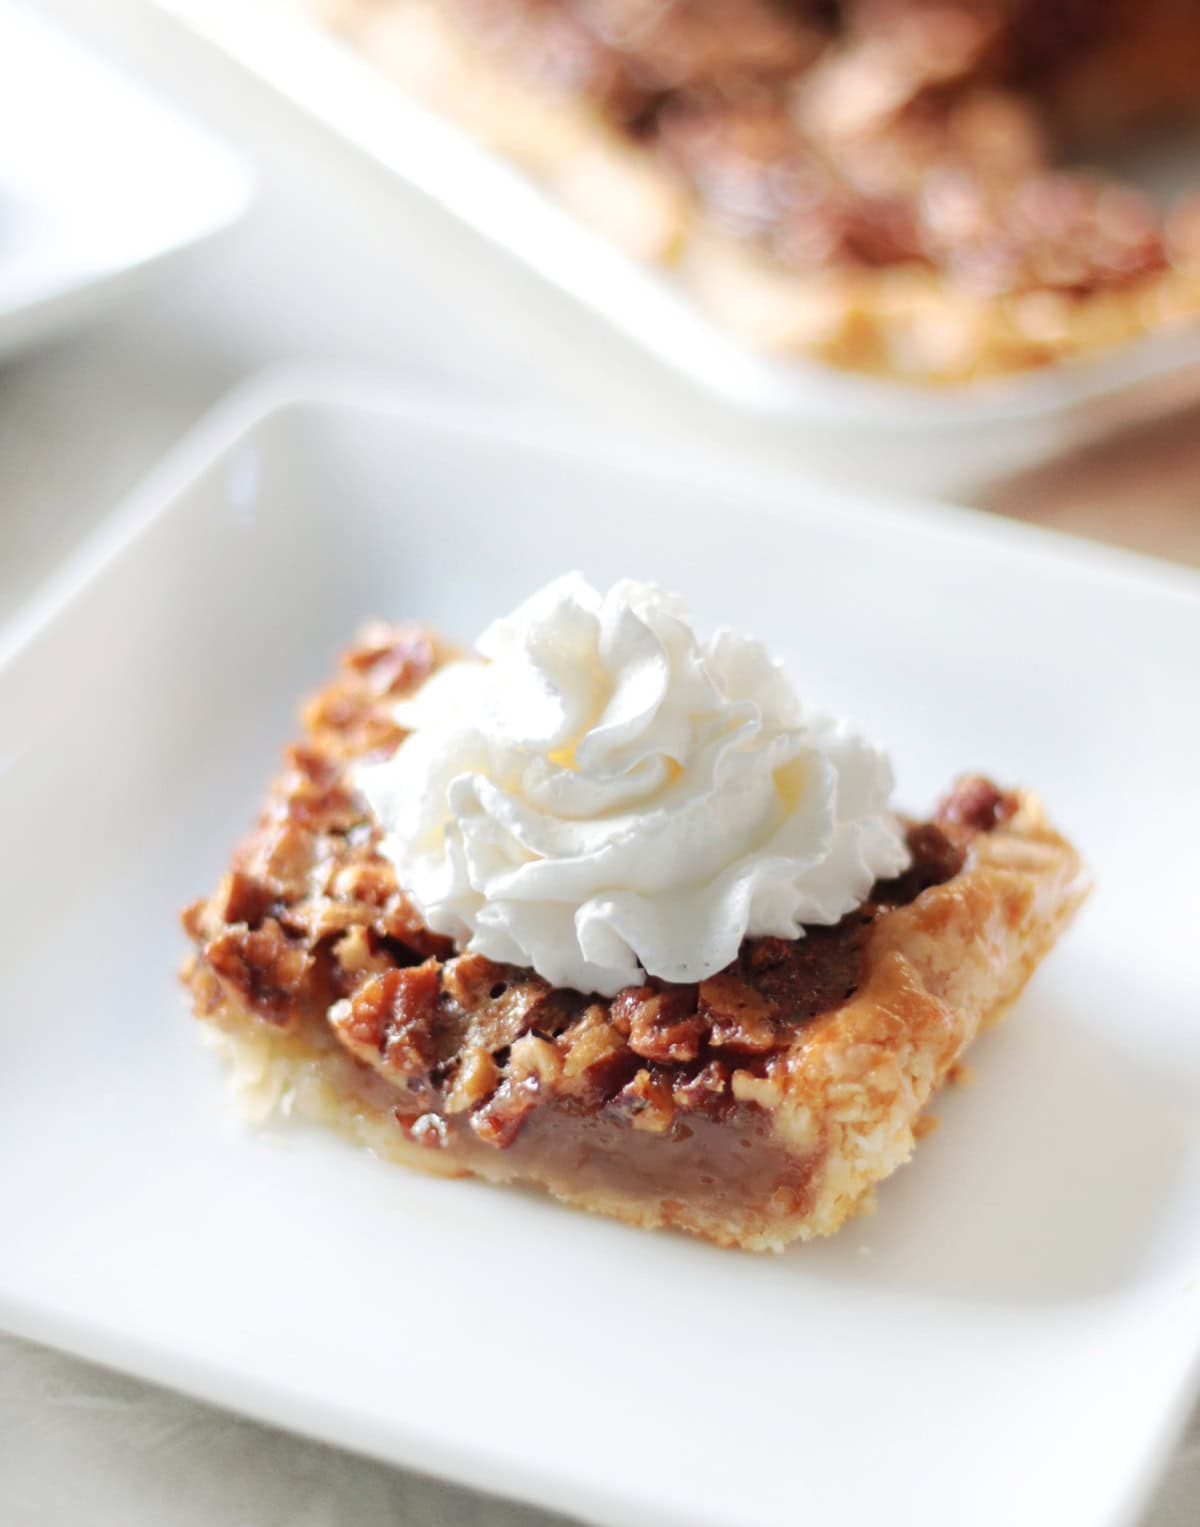
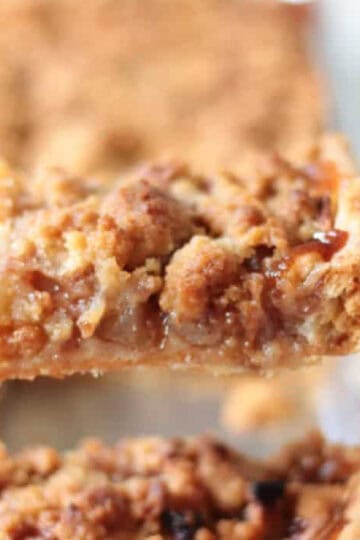
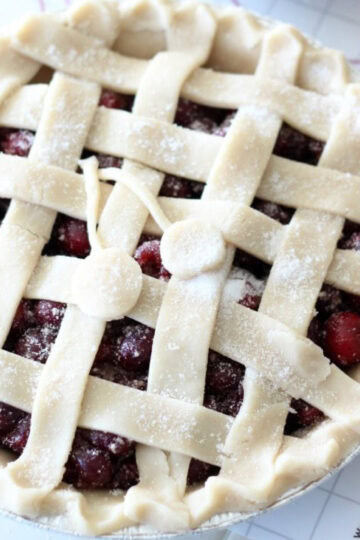
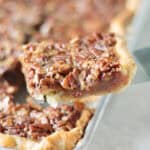
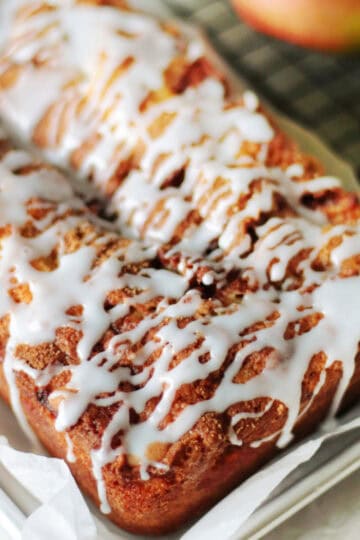
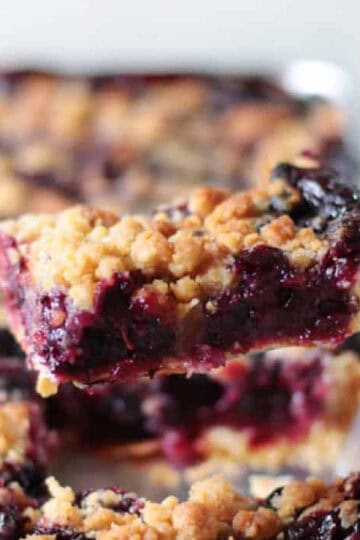
You might also like my pecan slab pie, apple slab pie, or blueberry crumb slab pie!
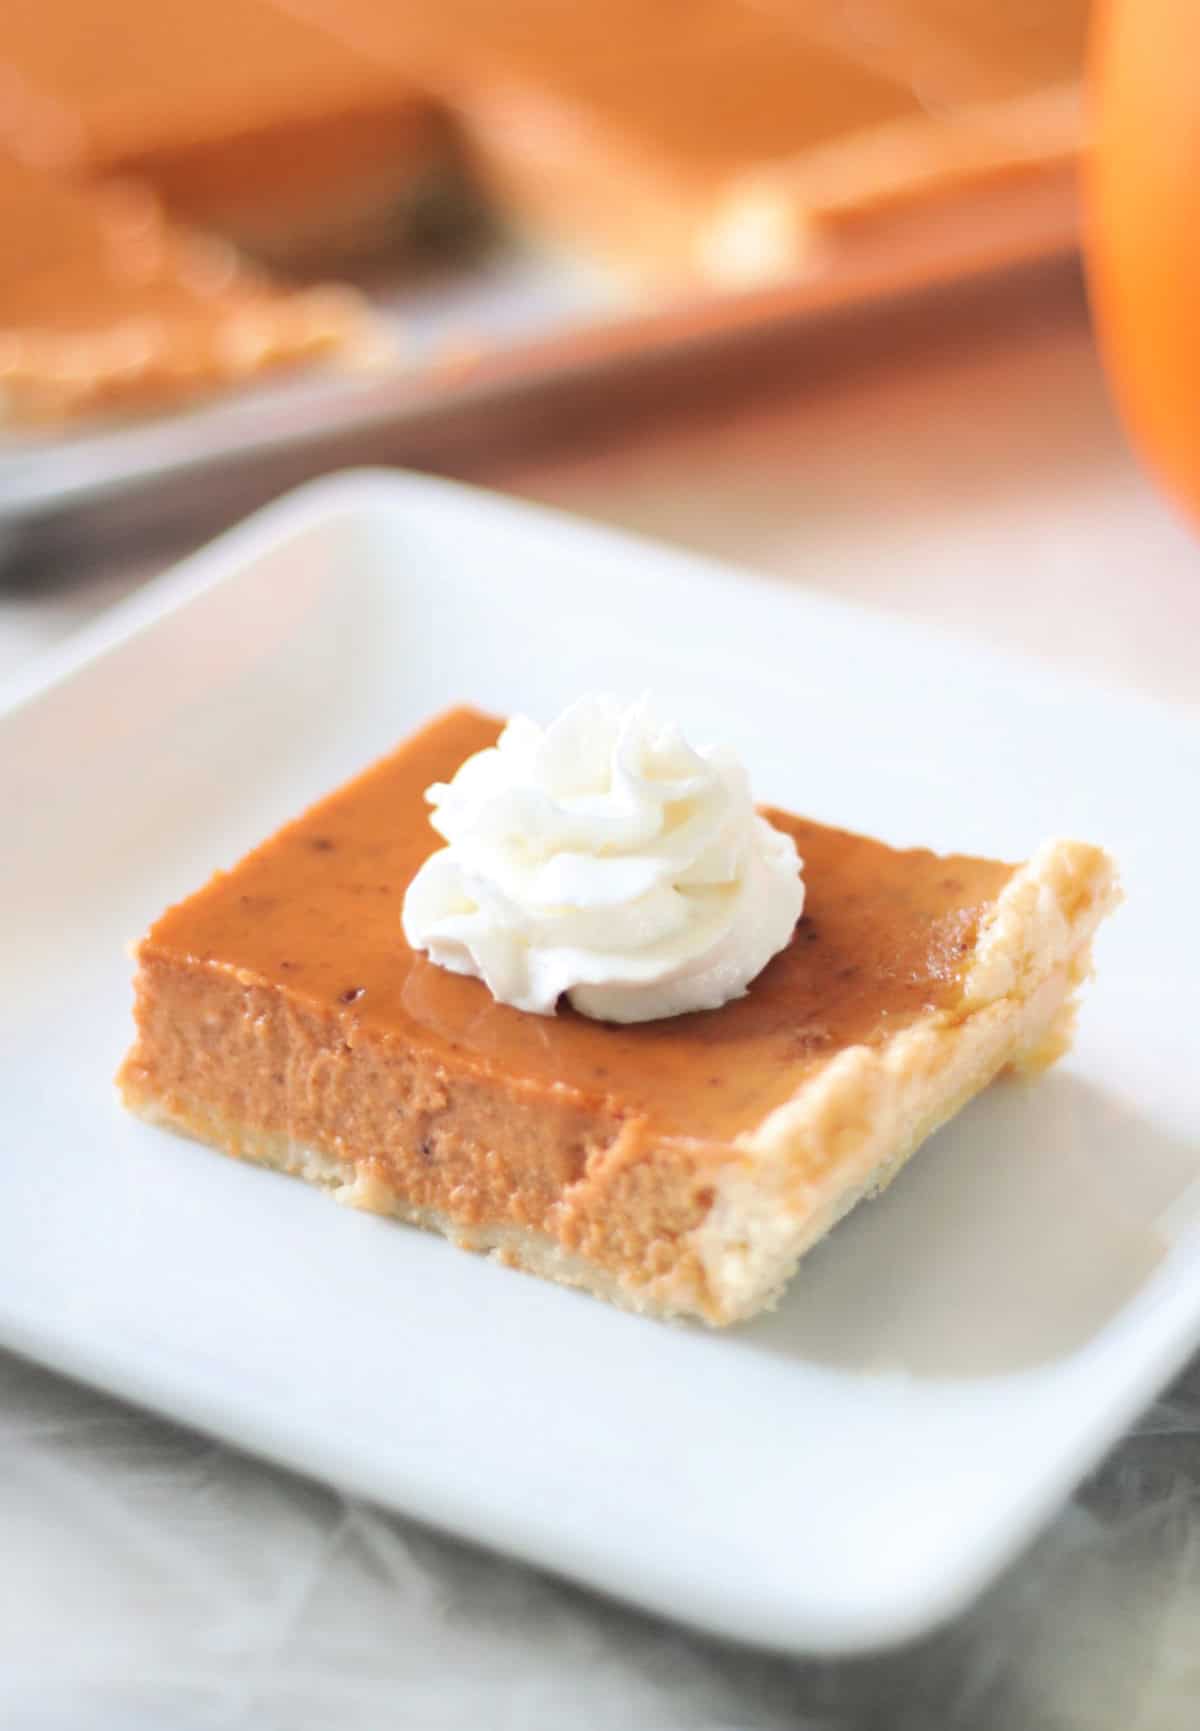
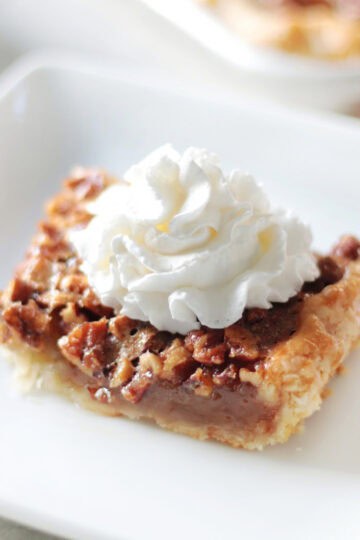
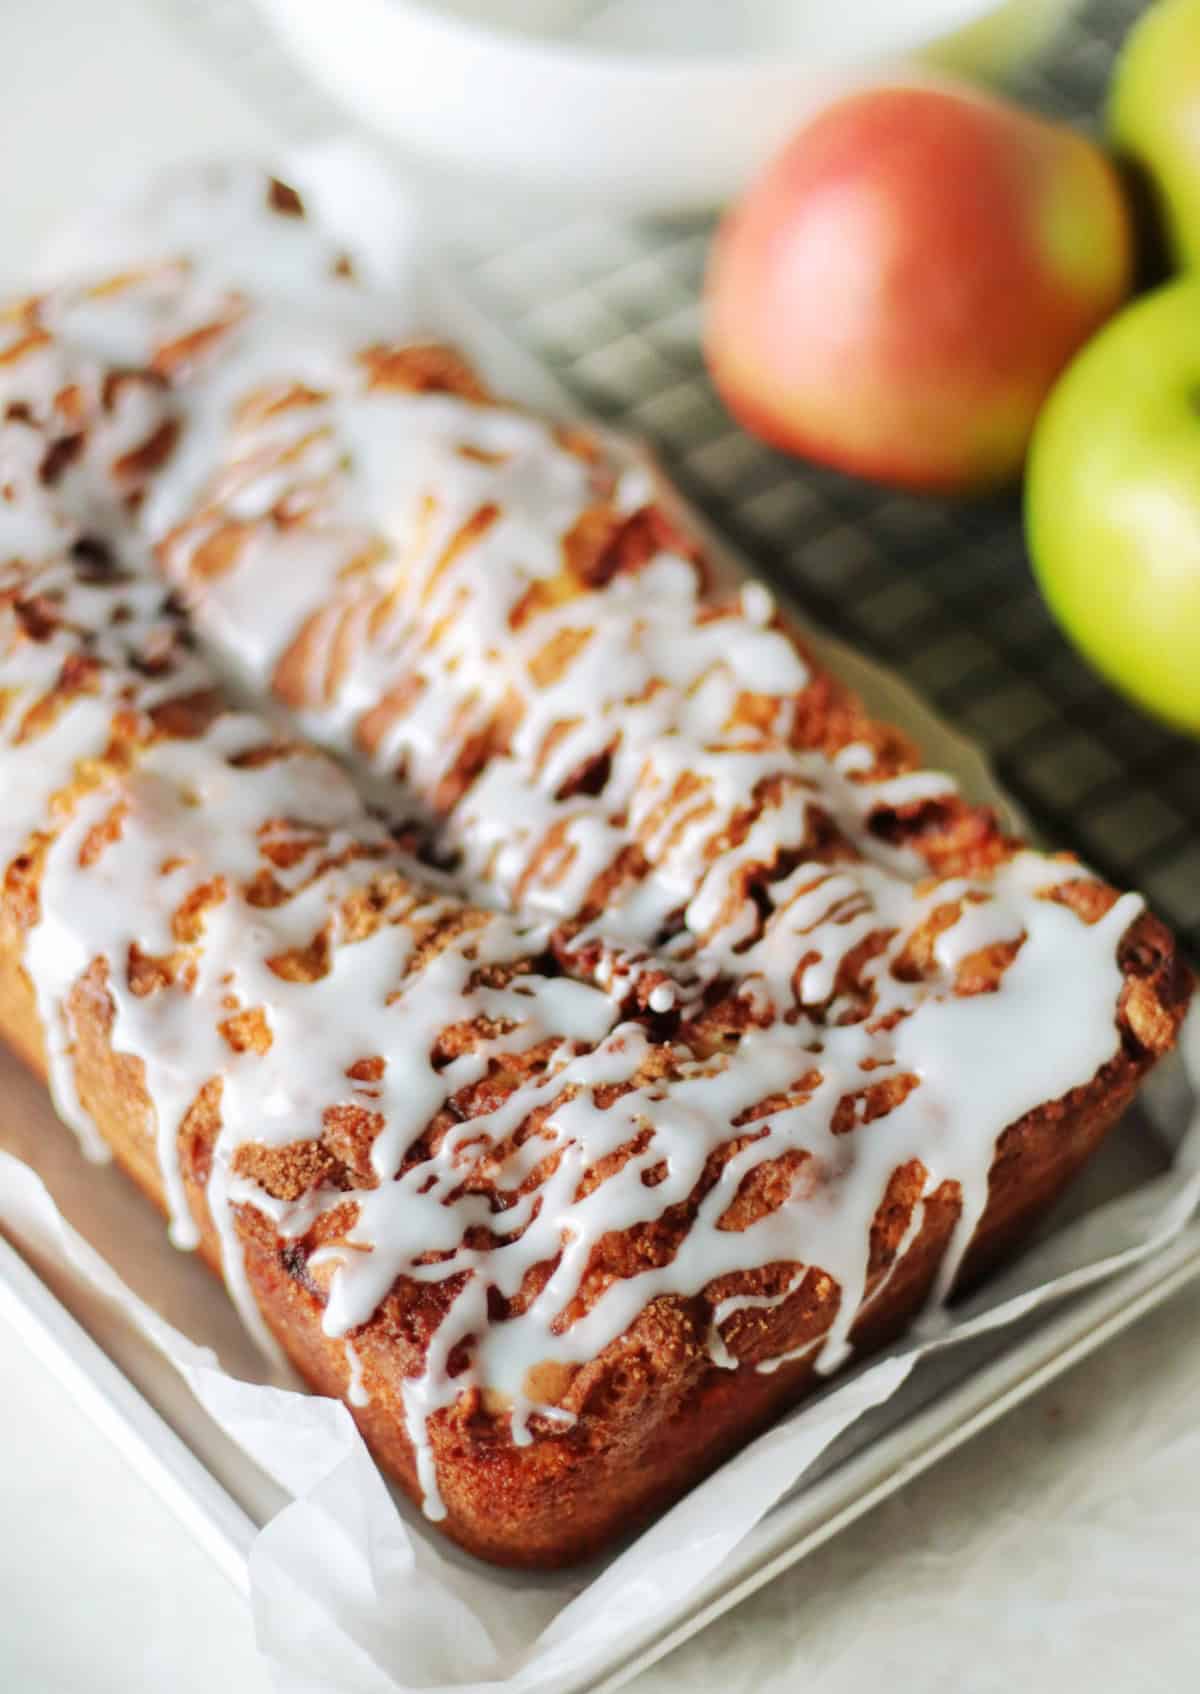
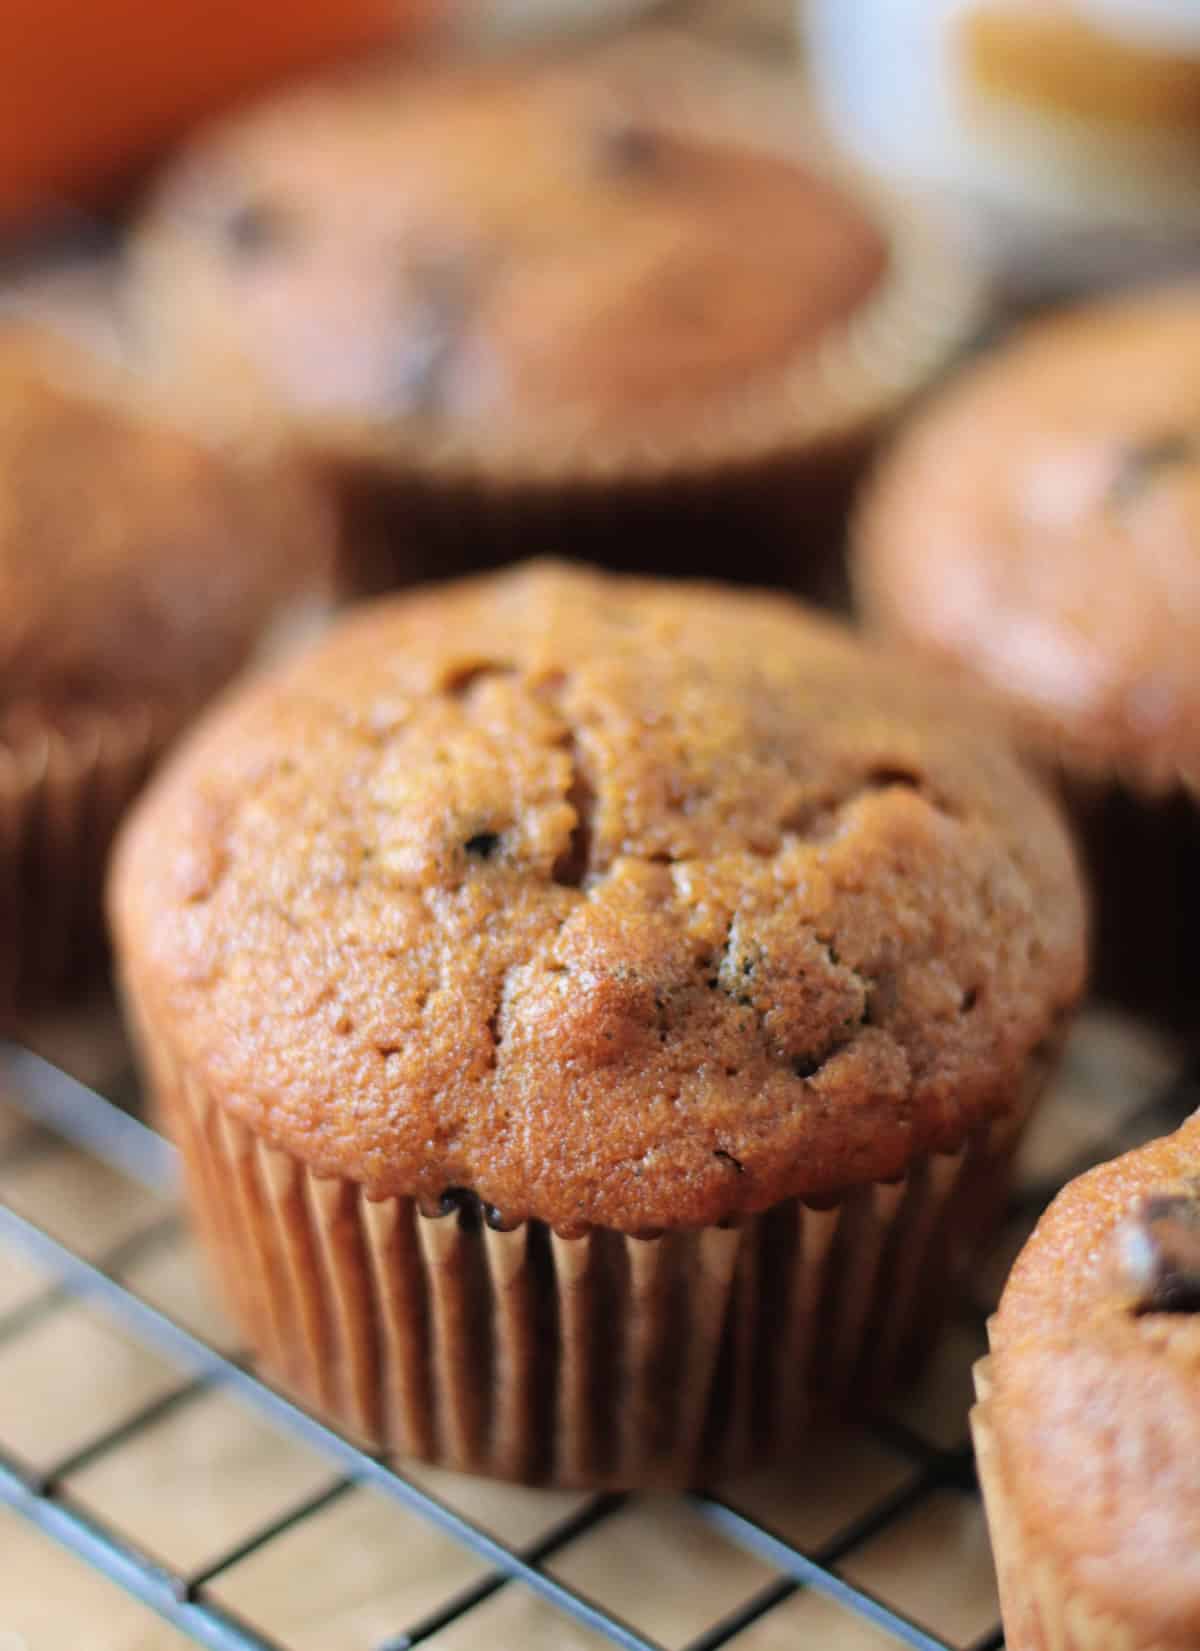
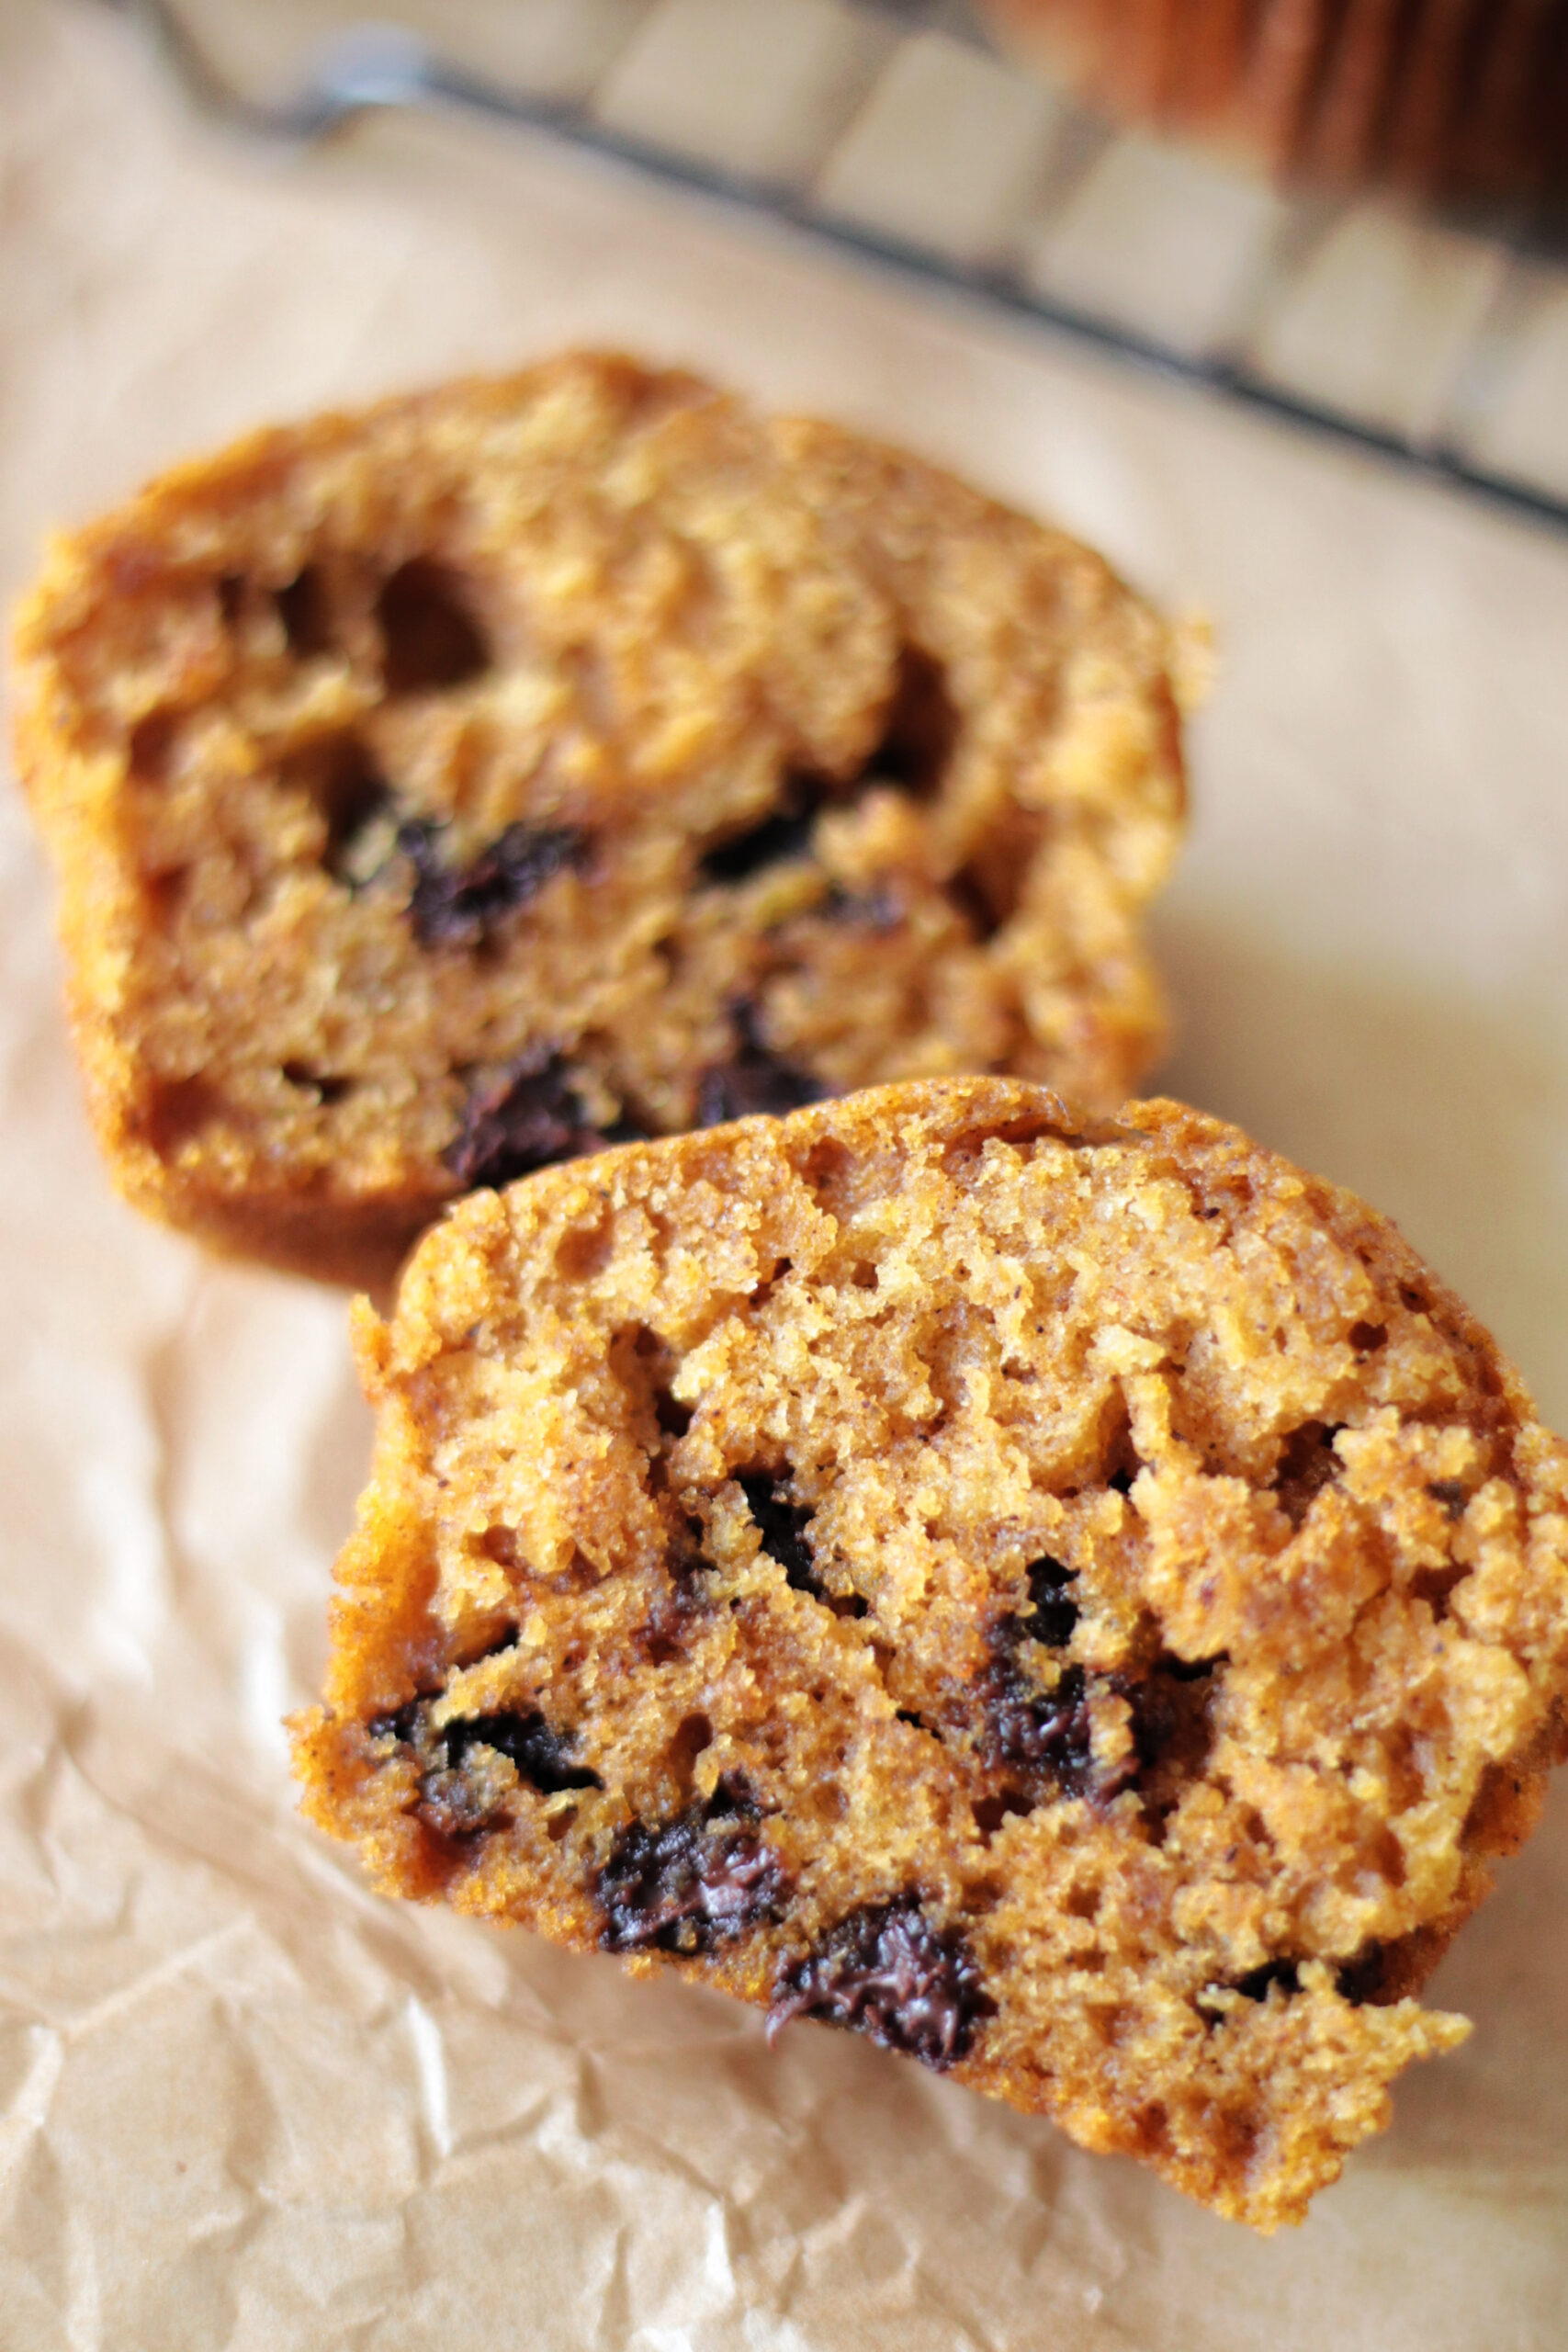
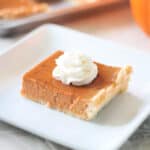
Pumpkin slab pie is absolutely delicious. Once completely cool, it’s sturdy enough to pick up a slice with your hands, although I prefer eating it with a fork. Slab pie is easier to serve than a regular pie and stays fresh for days, making it the ultimate comfort dessert.
Why I Like This Recipe
- Serves a crowd. One slab pie will serve 18-24 people. I make my slab pies in a 10×15″ jelly roll pan. This is a great all-around size. It's smaller than the half-sheet baking pans that I typically use, but easier to work with when rolling out the dough. You can turn any pie recipe into a slab pie by doubling your favorite pie crust recipe and making about 1 ½ batches of pie filling. Make sure to follow my tips and tricks for achieving a perfectly baked crust---very important!
- Basic ingredients: My pie crust recipe is a keeper, a variation of my favorite pie crust recipe from Betty Crocker. It uses shortening, butter, and oil for the best texture and flavor.
- Smooth and creamy. The filling bakes up into a smooth custard that is flavorful and melts in your mouth.
- Stays fresh for several days: Pumpkin pie lasts for at least 3 days in the refrigerator, making it a great dessert to prepare the night before you need it.
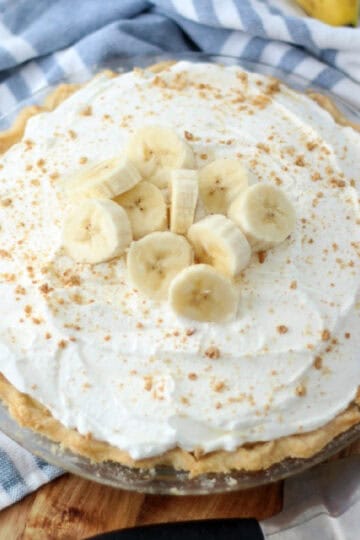
- Optional parbaked crust: I blind-bake the crust for my banana cream slab pie, but I don't usually parbake the crust for pumpkin slab pie. If you bake the pie on a pizza stone in the lower third of the oven, it is not generally necessary to parbake the crust; however, you can do so if you prefer. To do this, pierce the crust with a fork, then place a large piece of foil or parchment paper over the rolled-out crust in the jelly roll pan. Fill with pie weights or dried beans. This will support the crust and prevent shrinkage when baked. Bake at 400 degrees for 15-20 minutes. Remove weights and parchment paper. Fill the crust with pie filling, then bake as directed in the recipe. Note: You are not baking the crust all the way through, as you would for a banana cream pie; instead, you are only partially baking it.
Tips and Tricks

- Bake In Bottom ⅓ of Oven: Baking the pie lower in the oven (I bake on the second to bottom rack position) helps the bottom crust to bake evenly.
- Use a Baking Stone: I swear by baking my pies directly on a preheated baking stone (also known as a pizza stone). If you don't have one, still bake the pie in the bottom ⅓ of the oven and add 5 minutes or so to the baking time. The baking stone helps center the heat evenly for the bottom crust.
- Make sure the crust goes to the top of the pan. The filling will fill up the pan to the tippy top. Ensure the crust extends all the way to the top of the pan, creating a dam to contain the filling within the pan. I recommend pouring the filling into the crust next to the oven so that you do not need to carry the pan across the kitchen.
- Use a Metal Pan: metal pie pans work better than glass for a golden bottom crust. Remember, for this recipe, you MUST use a 10"x15" jelly roll pan. My measurements and baking time/temp are all formulated for a standard-size jelly roll pan.
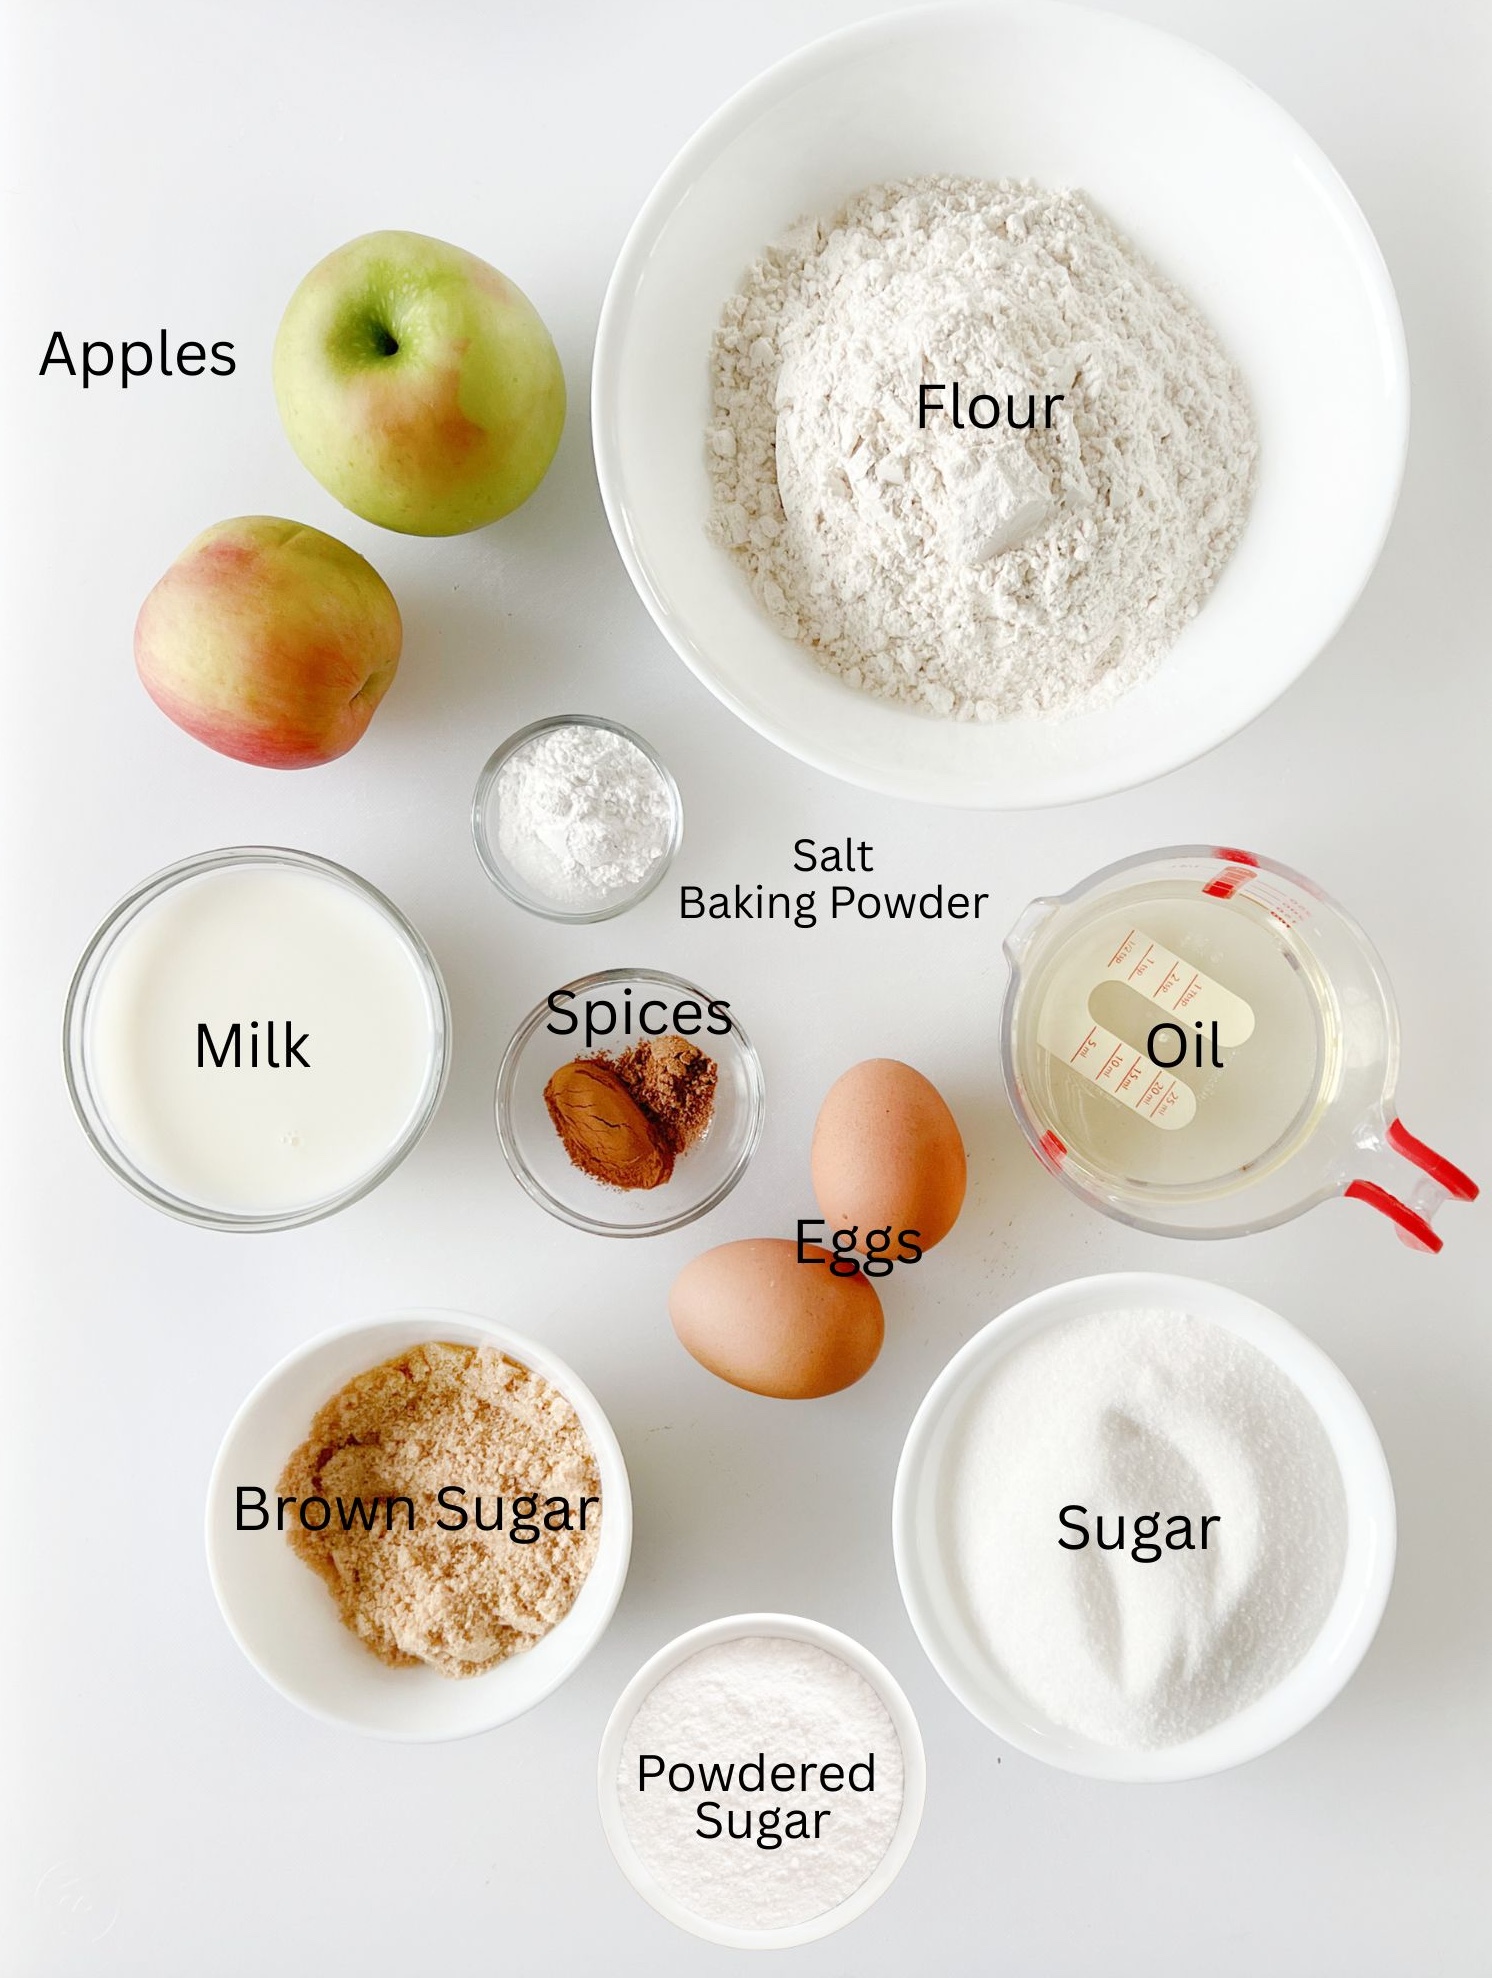
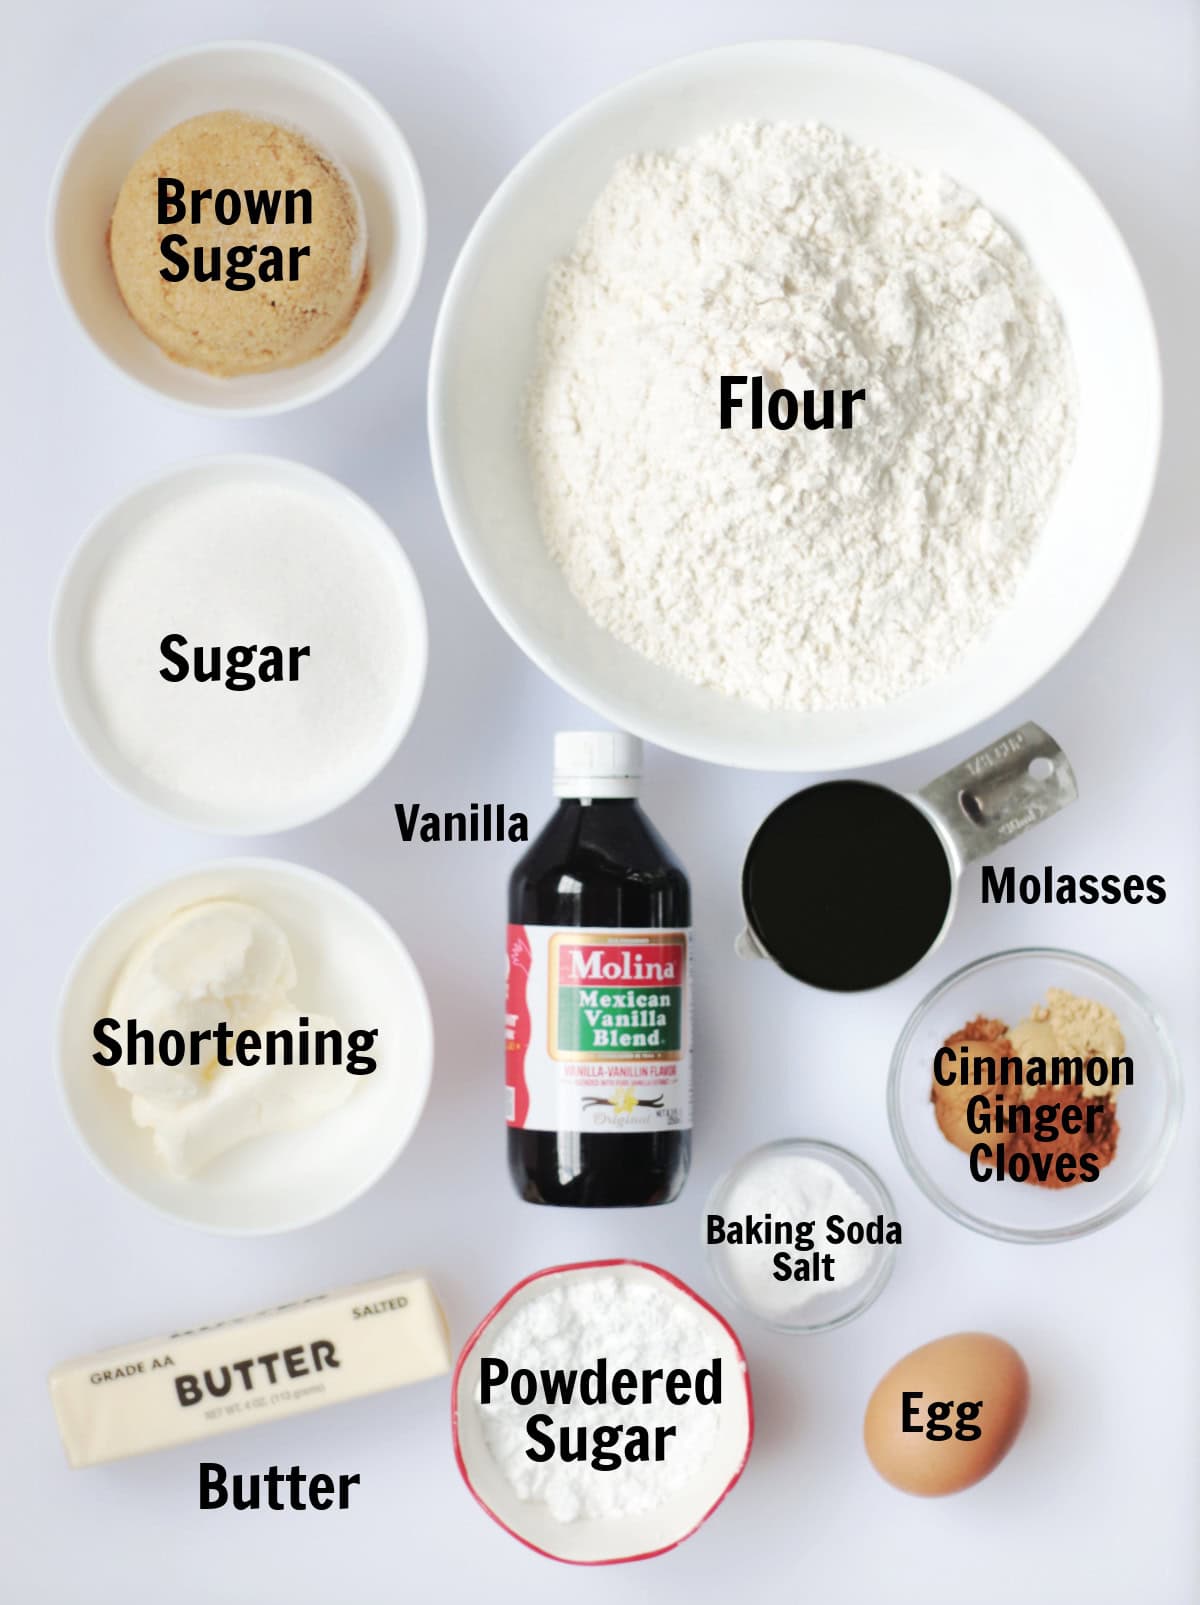
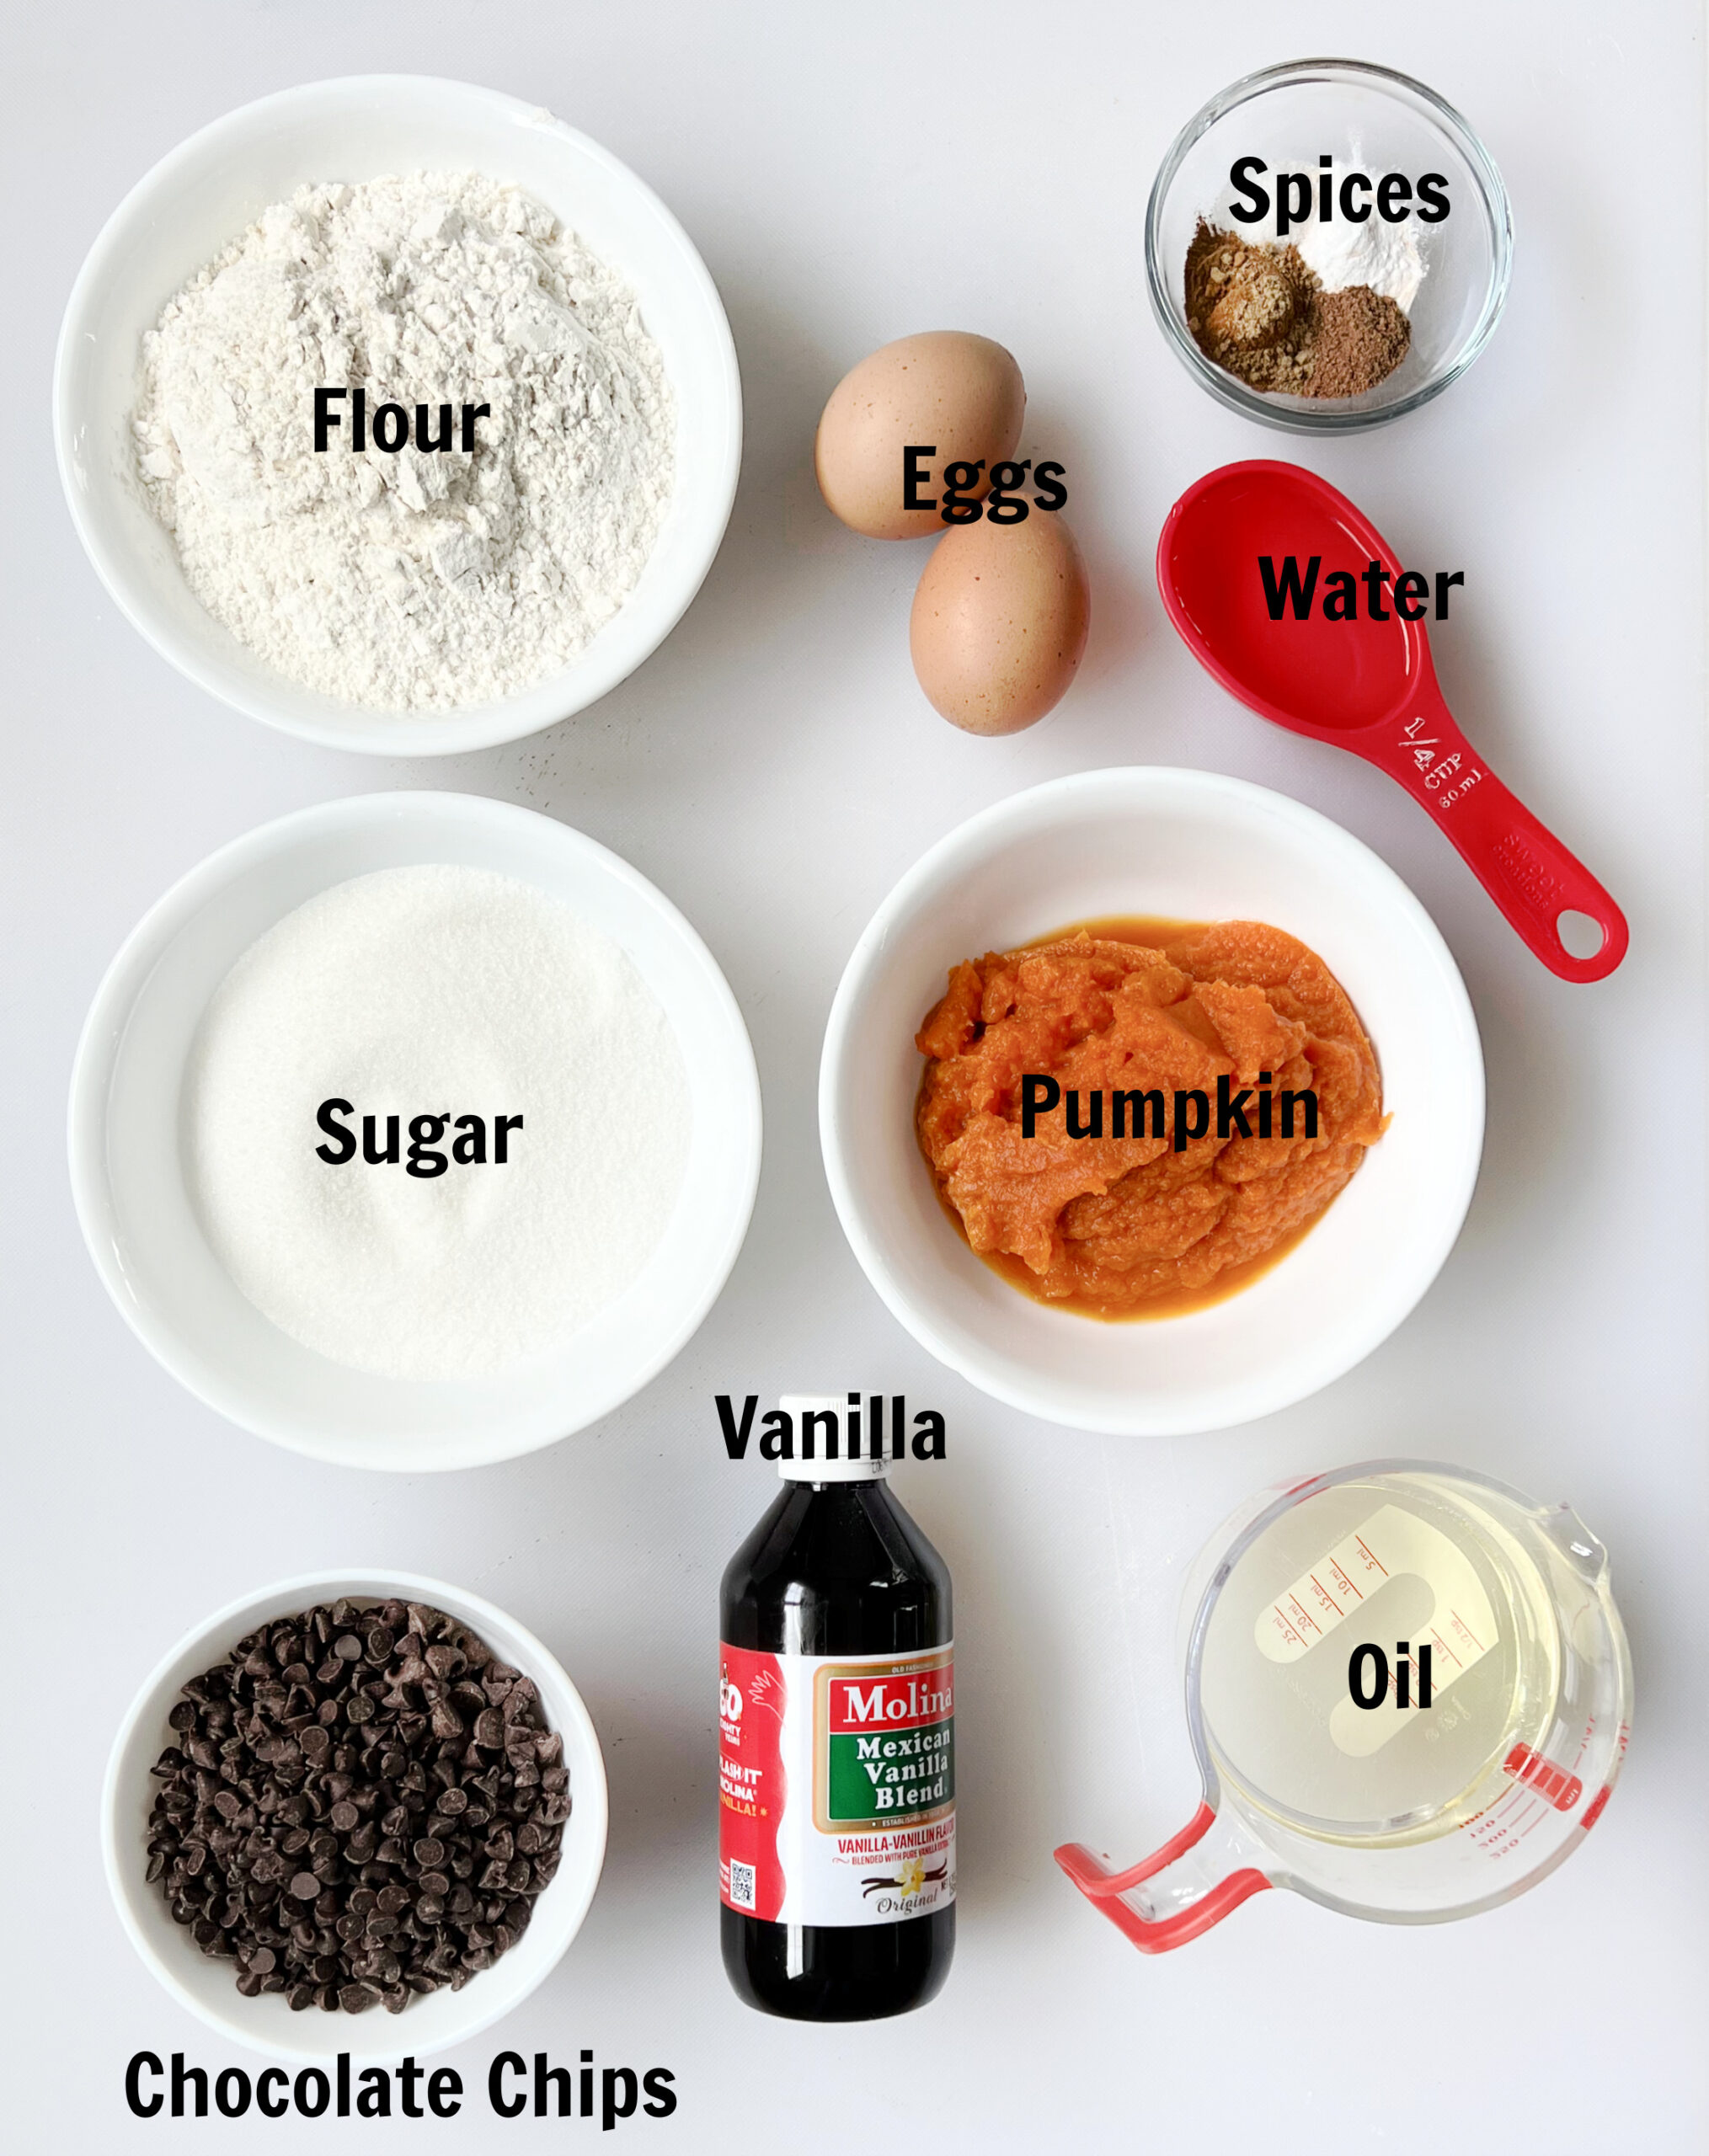
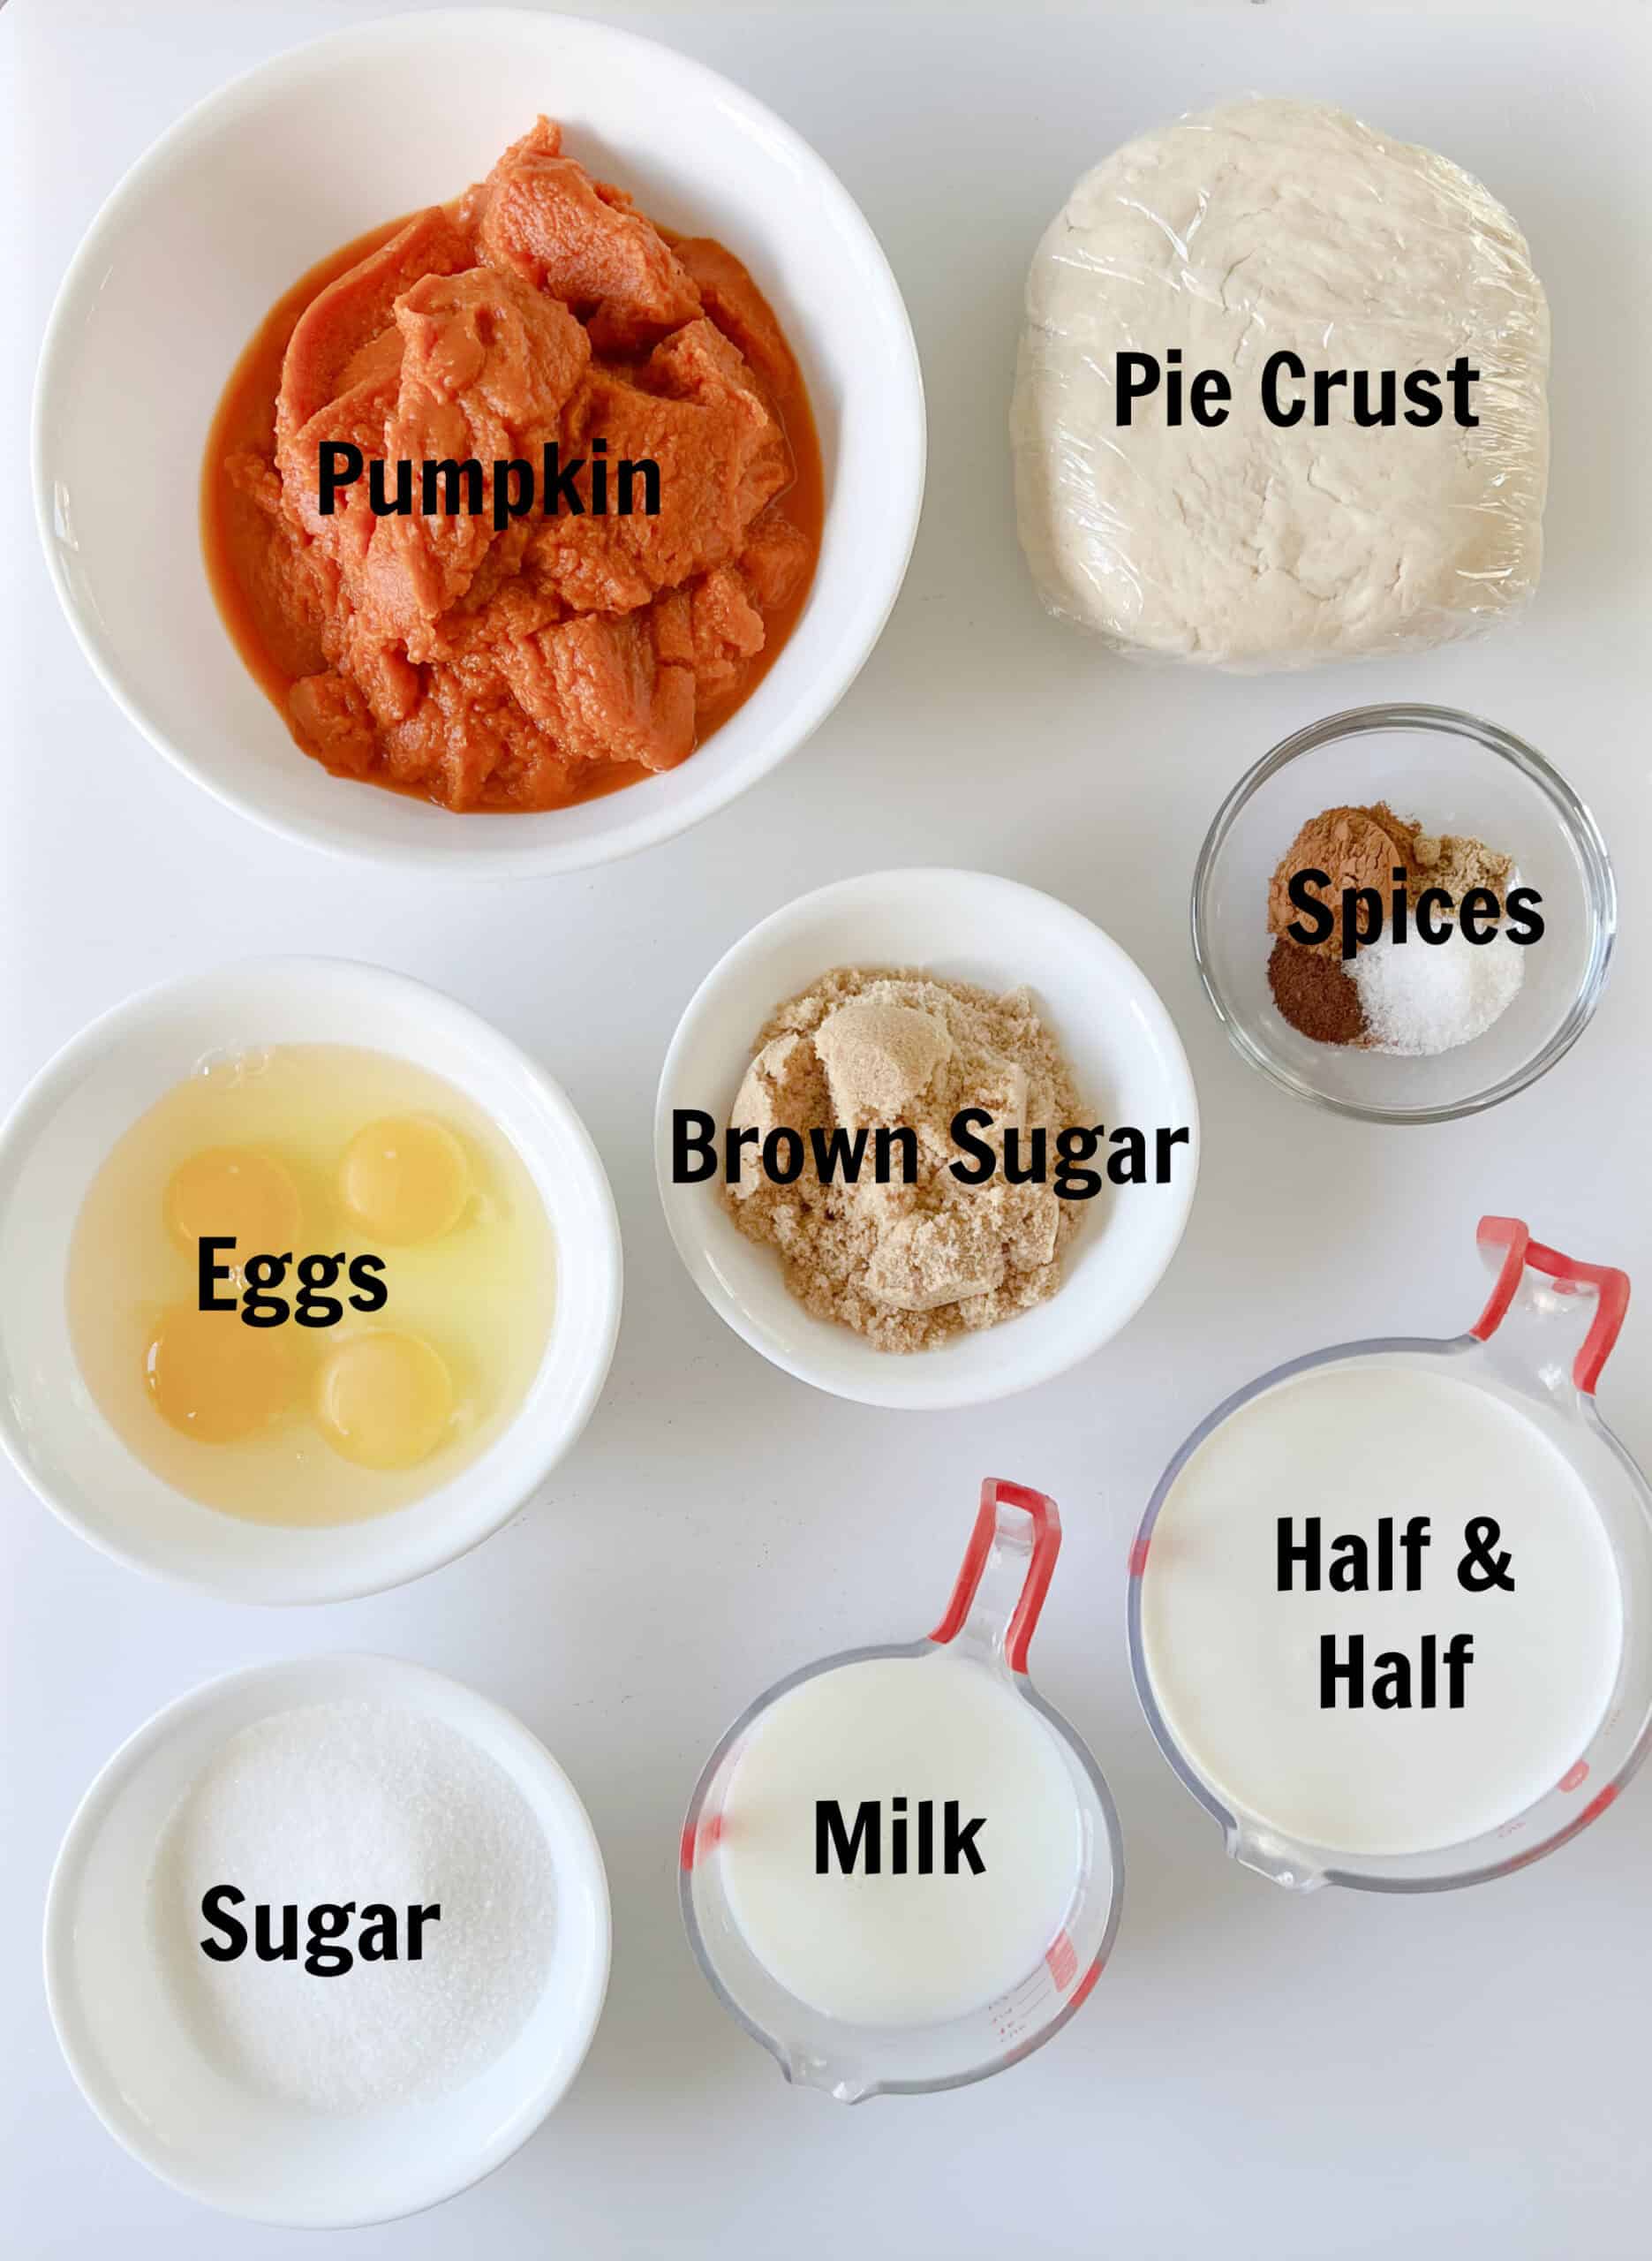
Ingredients
- Flour: All-purpose flour works well.
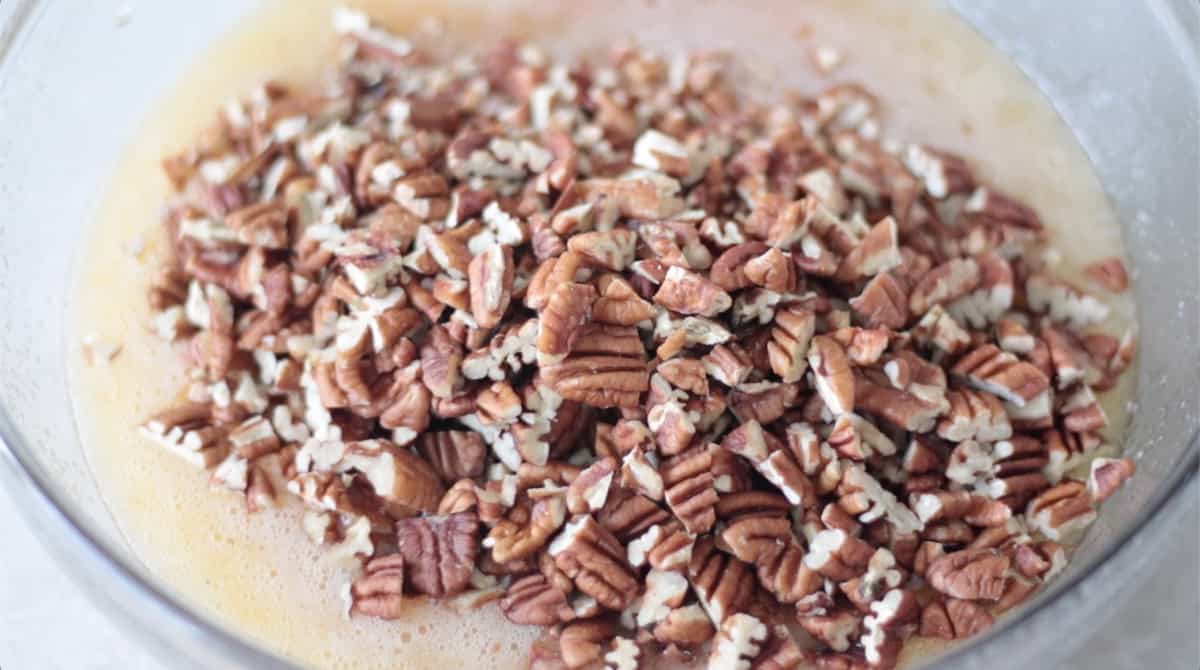
- Butter, Shortening, and Oil: You'll notice that the pie crust calls for all 3 of these fats. Each one has its purpose and helps create a delicious and flaky pie crust that rolls out easily and does not need to chill. I highly recommend NOT substituting any of these ingredients. Butter is also used in the pecan pie filling.
- Salt
- Milk or buttermilk: You can use buttermilk or a combination of milk and lemon juice for the pie crust. I don't always have buttermilk on hand, so I use the milk and lemon juice hack.
- Pumpkin: You'll need 100% canned pumpkin puree, not pumpkin pie filling.
- Sugar and brown sugar: I use a combination of sugar and brown sugar for the best flavor.
- Spices: I use cinnamon, ginger, nutmeg, and cloves for a delicious blend of pumpkin pie spice.
- Eggs: Eggs are used to make the rich custard filling as well as the egg wash on the edge of the crust.
- Half and Half. Half and half is a great option for pumpkin pie. You can also use evaporated milk or heavy cream. I use 2 cups of half and ½ cup of milk since I typically purchase a small 16. ounce carton of half and half. If you have a large carton you can skip the milk and use 2 ½ cups of half and half.
See the recipe card for full information on ingredients and quantities.
How To Make Pumpkin Slab Pie

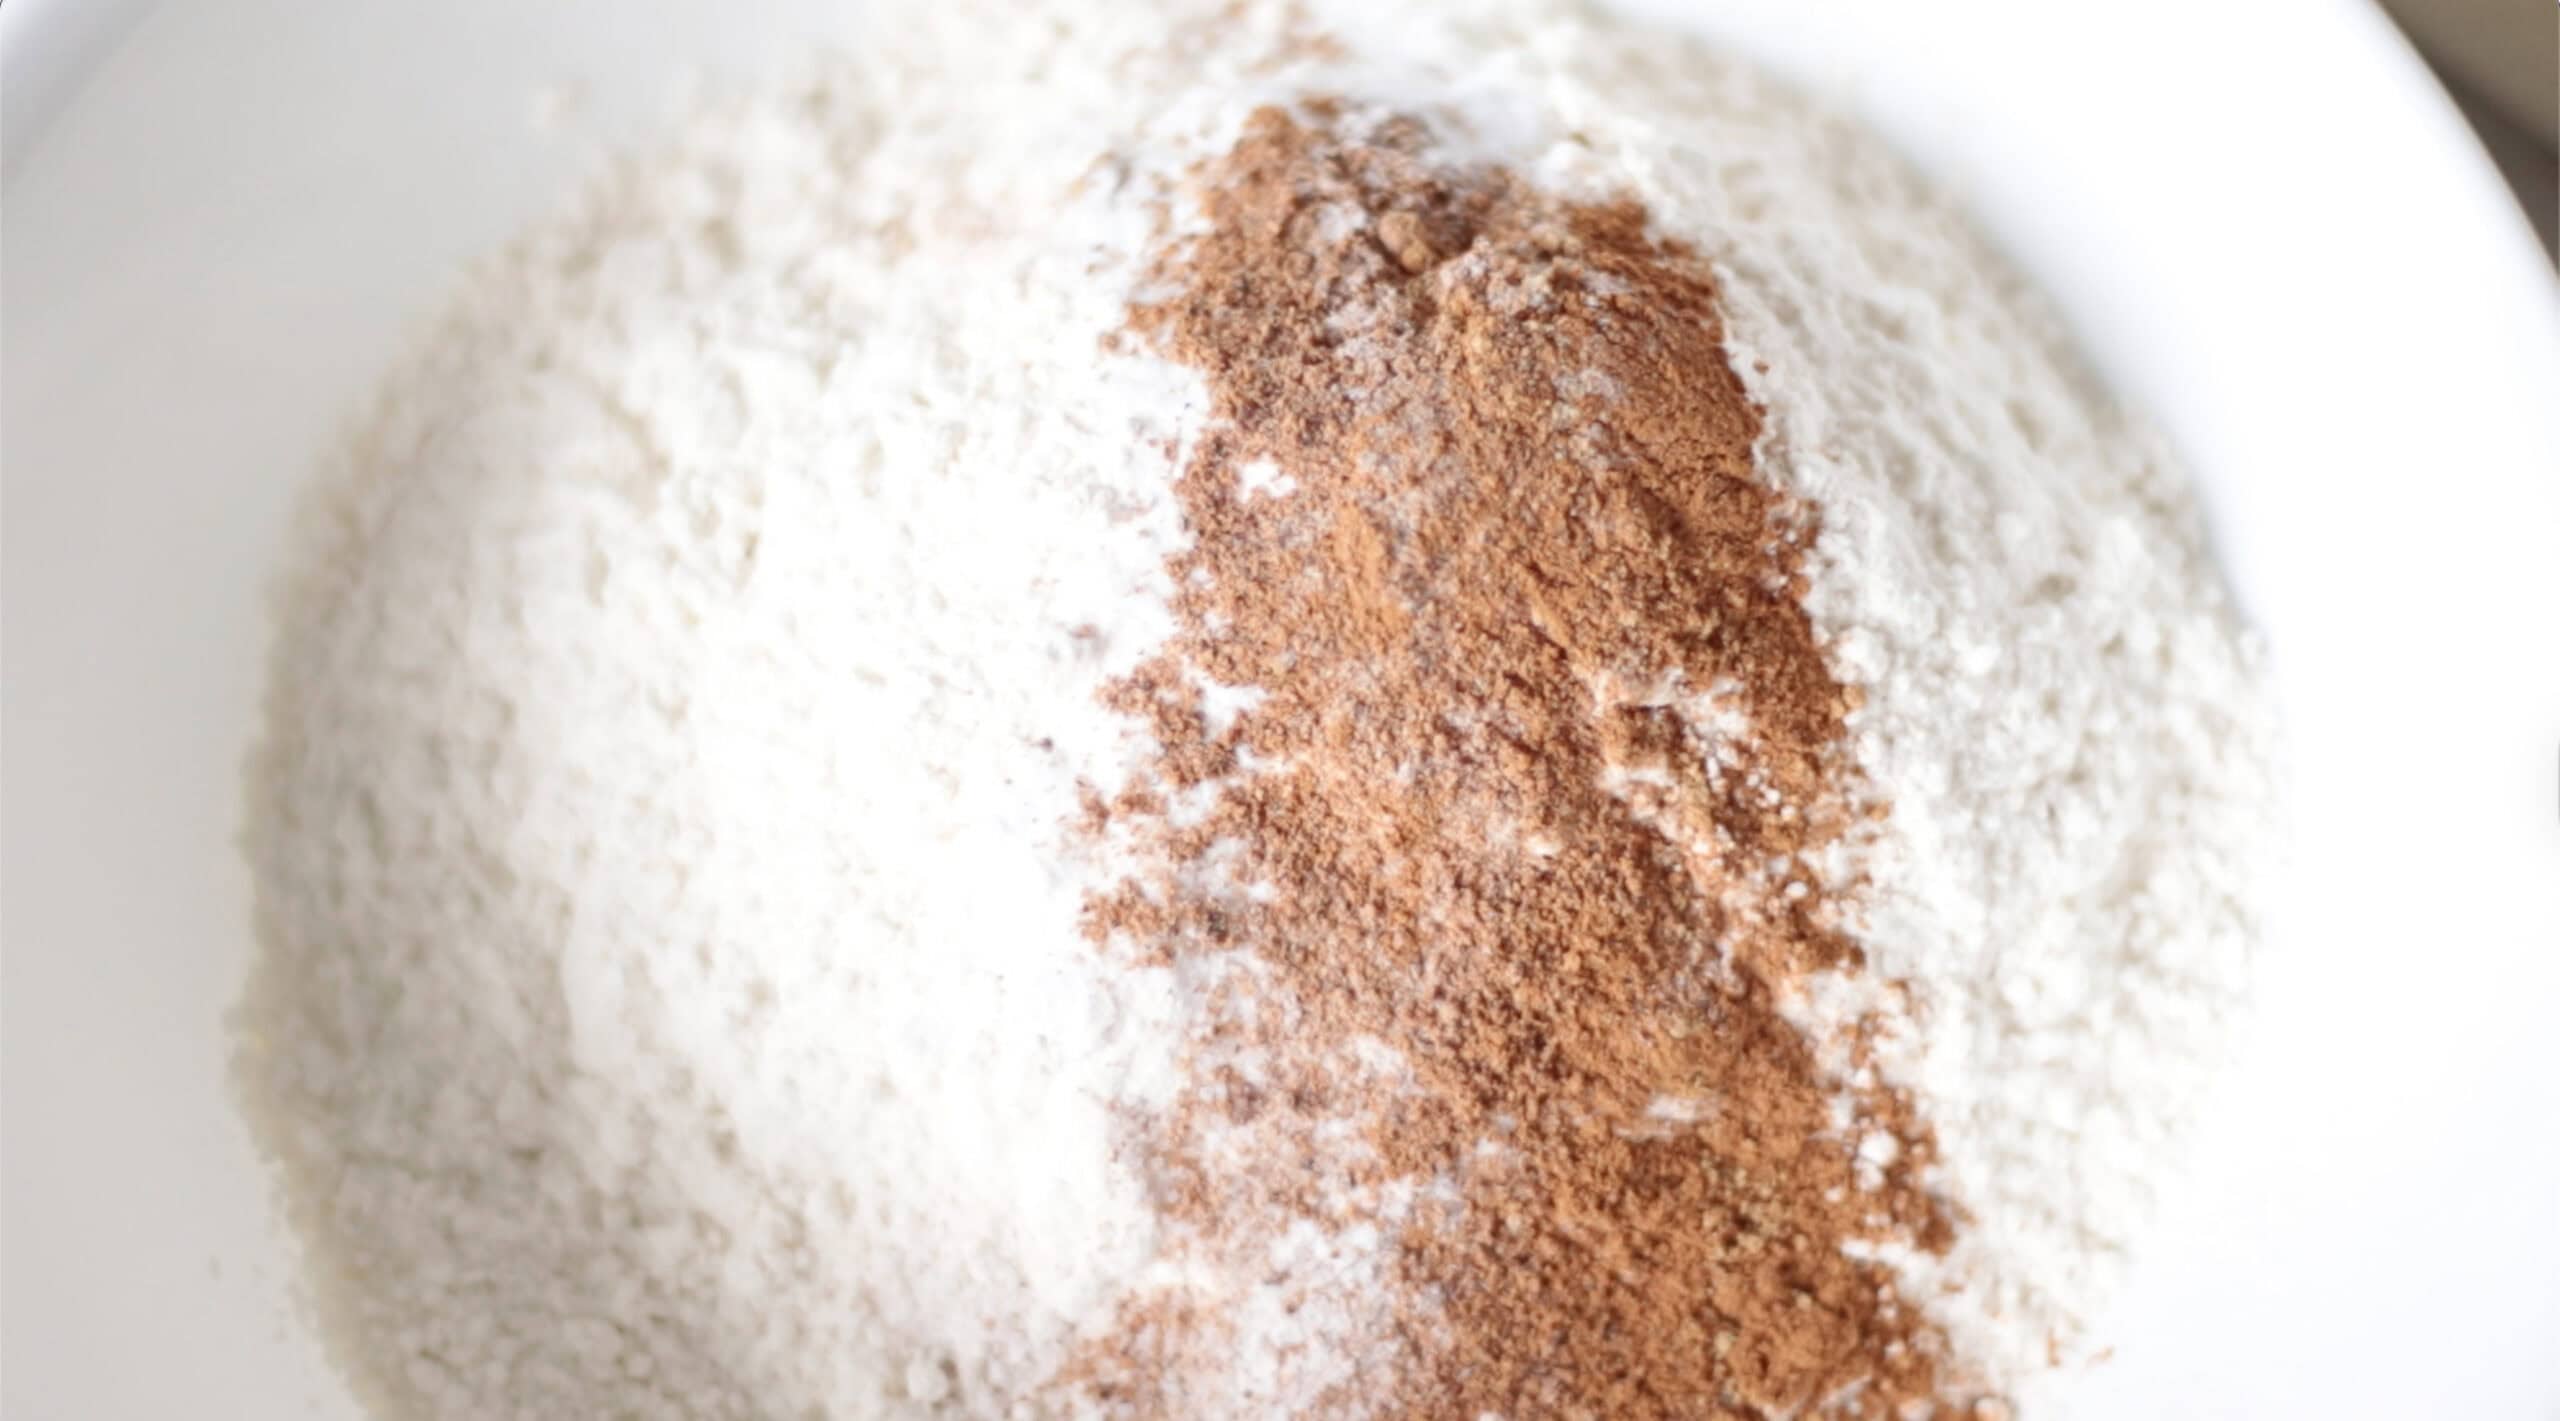
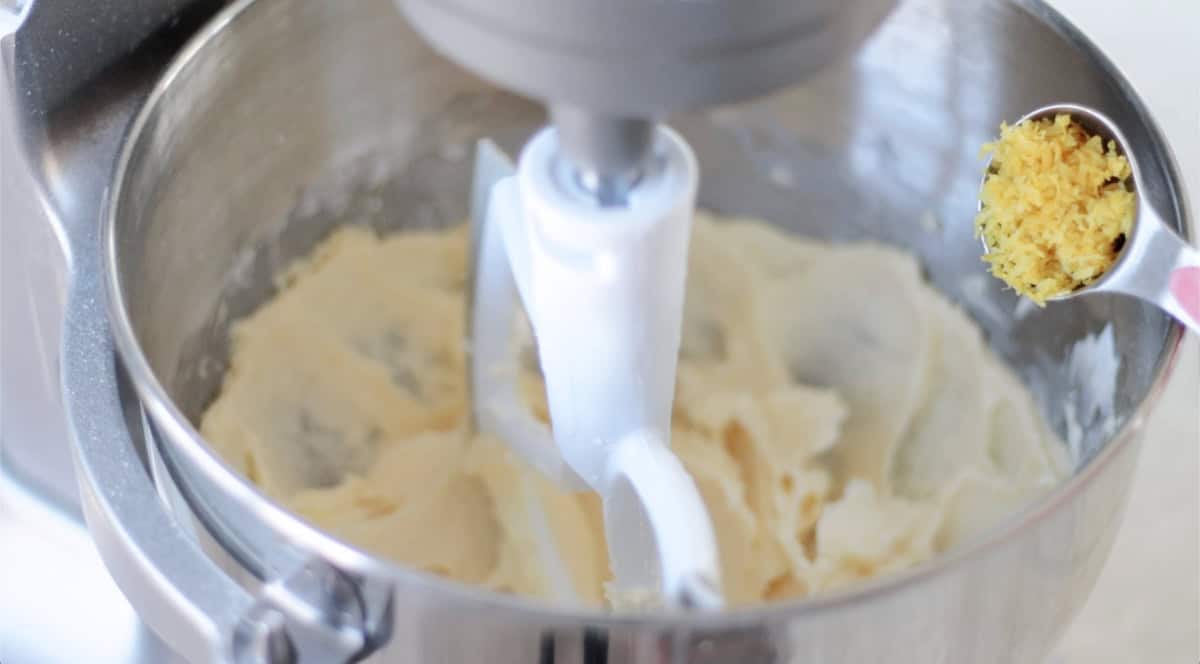
Step 1: Mix flour and salt in a large bowl. Cut in shortening using a pastry cutter. Cut in butter until the particles are the size of small peas. Combine the milk and lemon juice in a small bowl. Add oil and milk/lemon mixture to the flour mixture and stir until a soft dough forms. Wrap in plastic and chill for 30-45 minutes in the refrigerator.
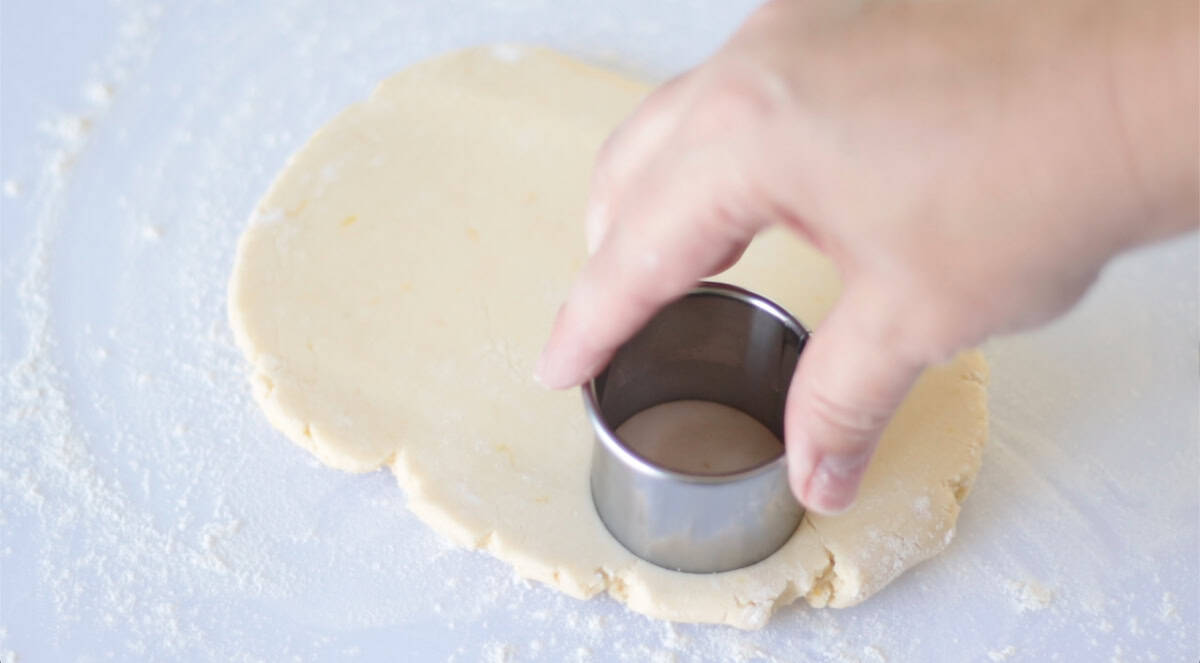
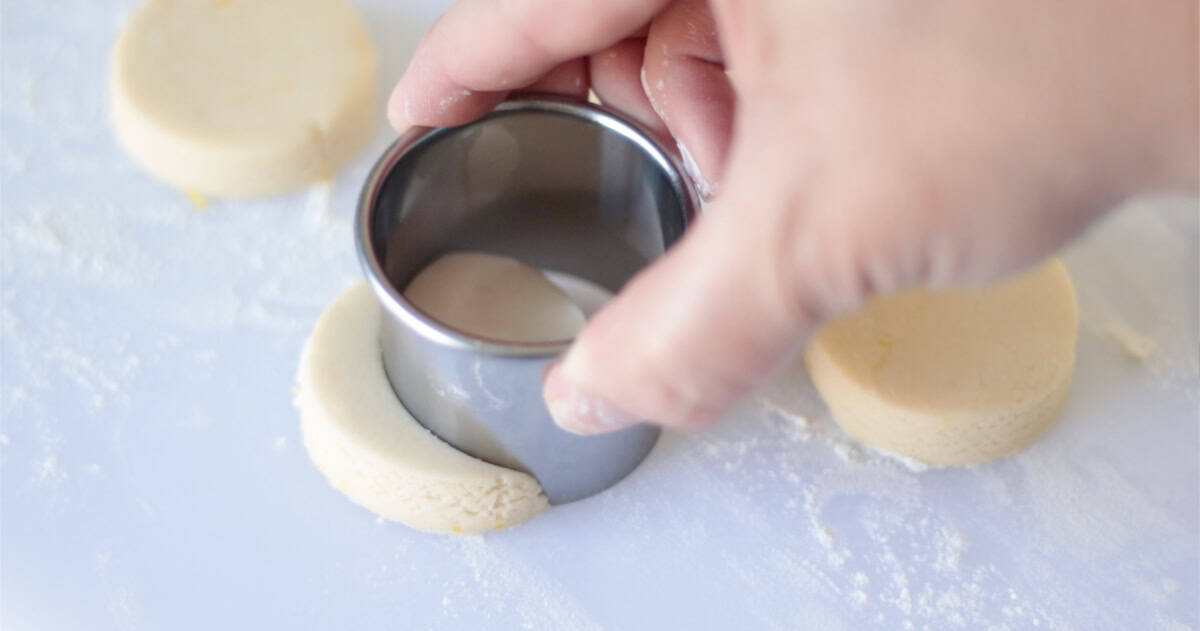
Step 2: Roll the chilled pie crust on a lightly floured surface. Keep rolling until it is a 13x18" rustic-looking rectangle. It won't be exact, and that's ok. Place the rectangle into a 10x15" jelly roll pan, allowing the excess to hang over the edge of the pan.
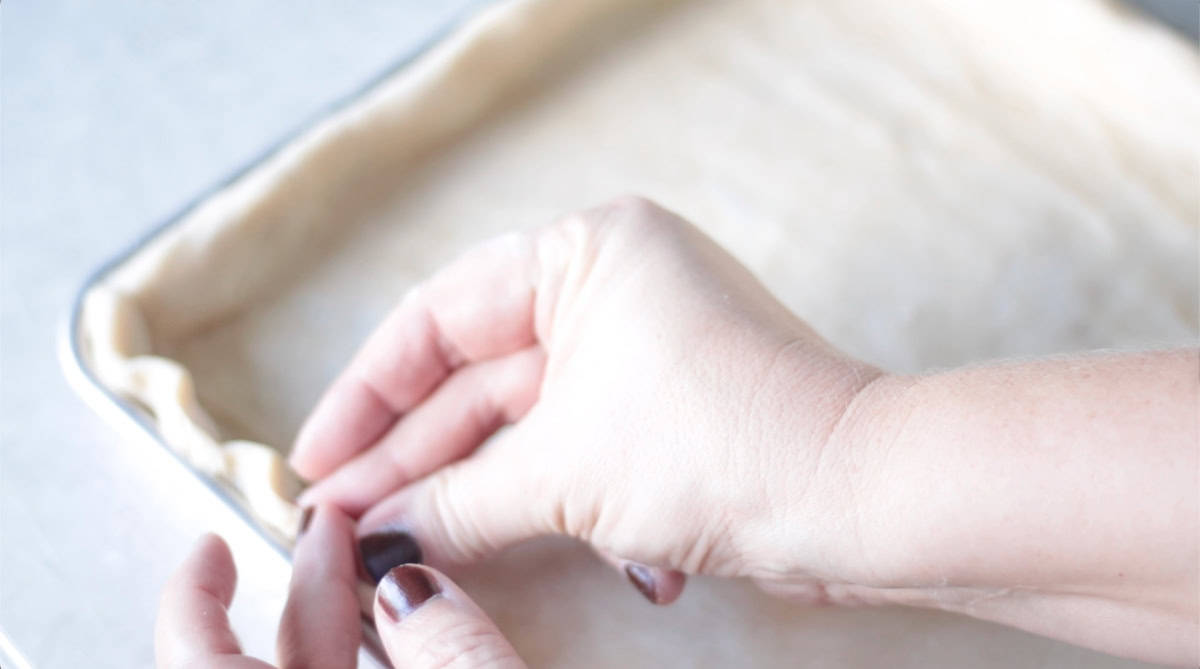
Step 3: Tuck the excess pie crust into the pan (rolling it forward or behind to tuck into place). Pinch or crimp the edge of the pie crust.
Brush the edge of the pie crust with egg wash.
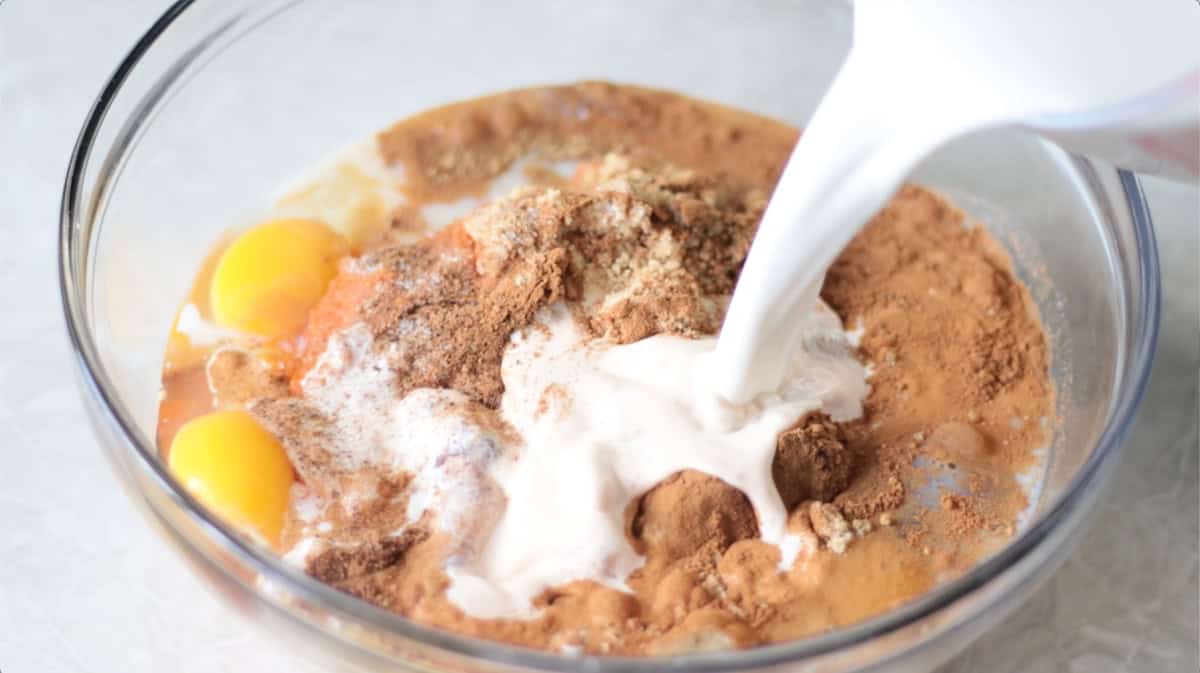
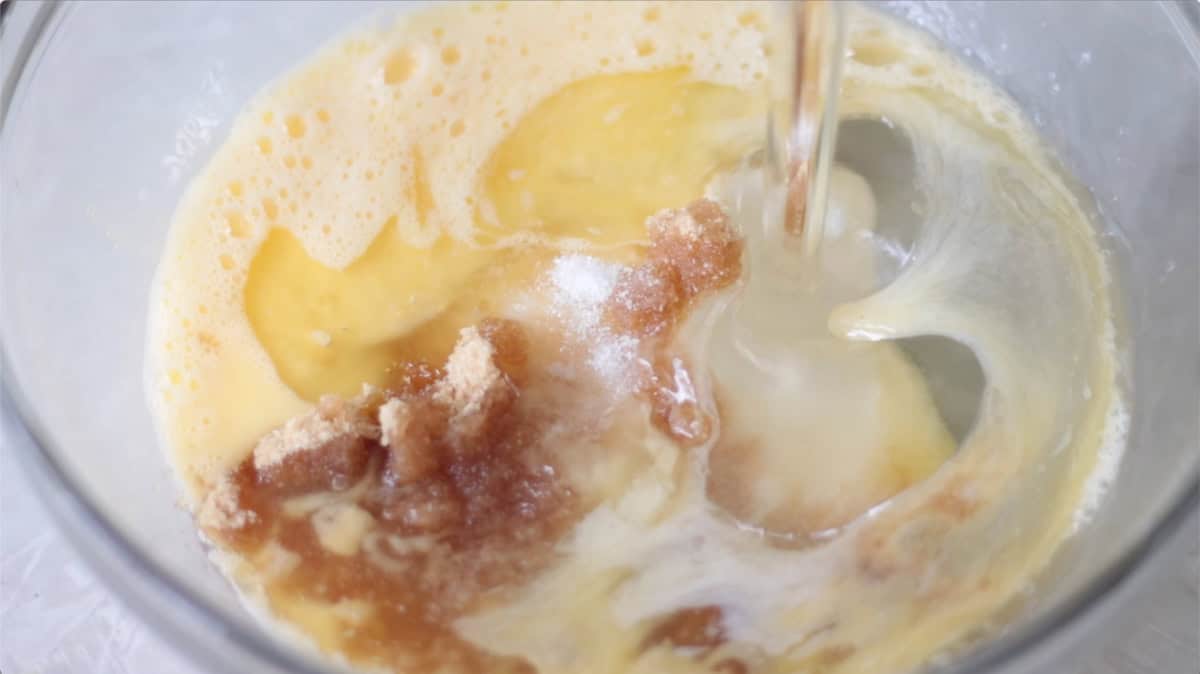
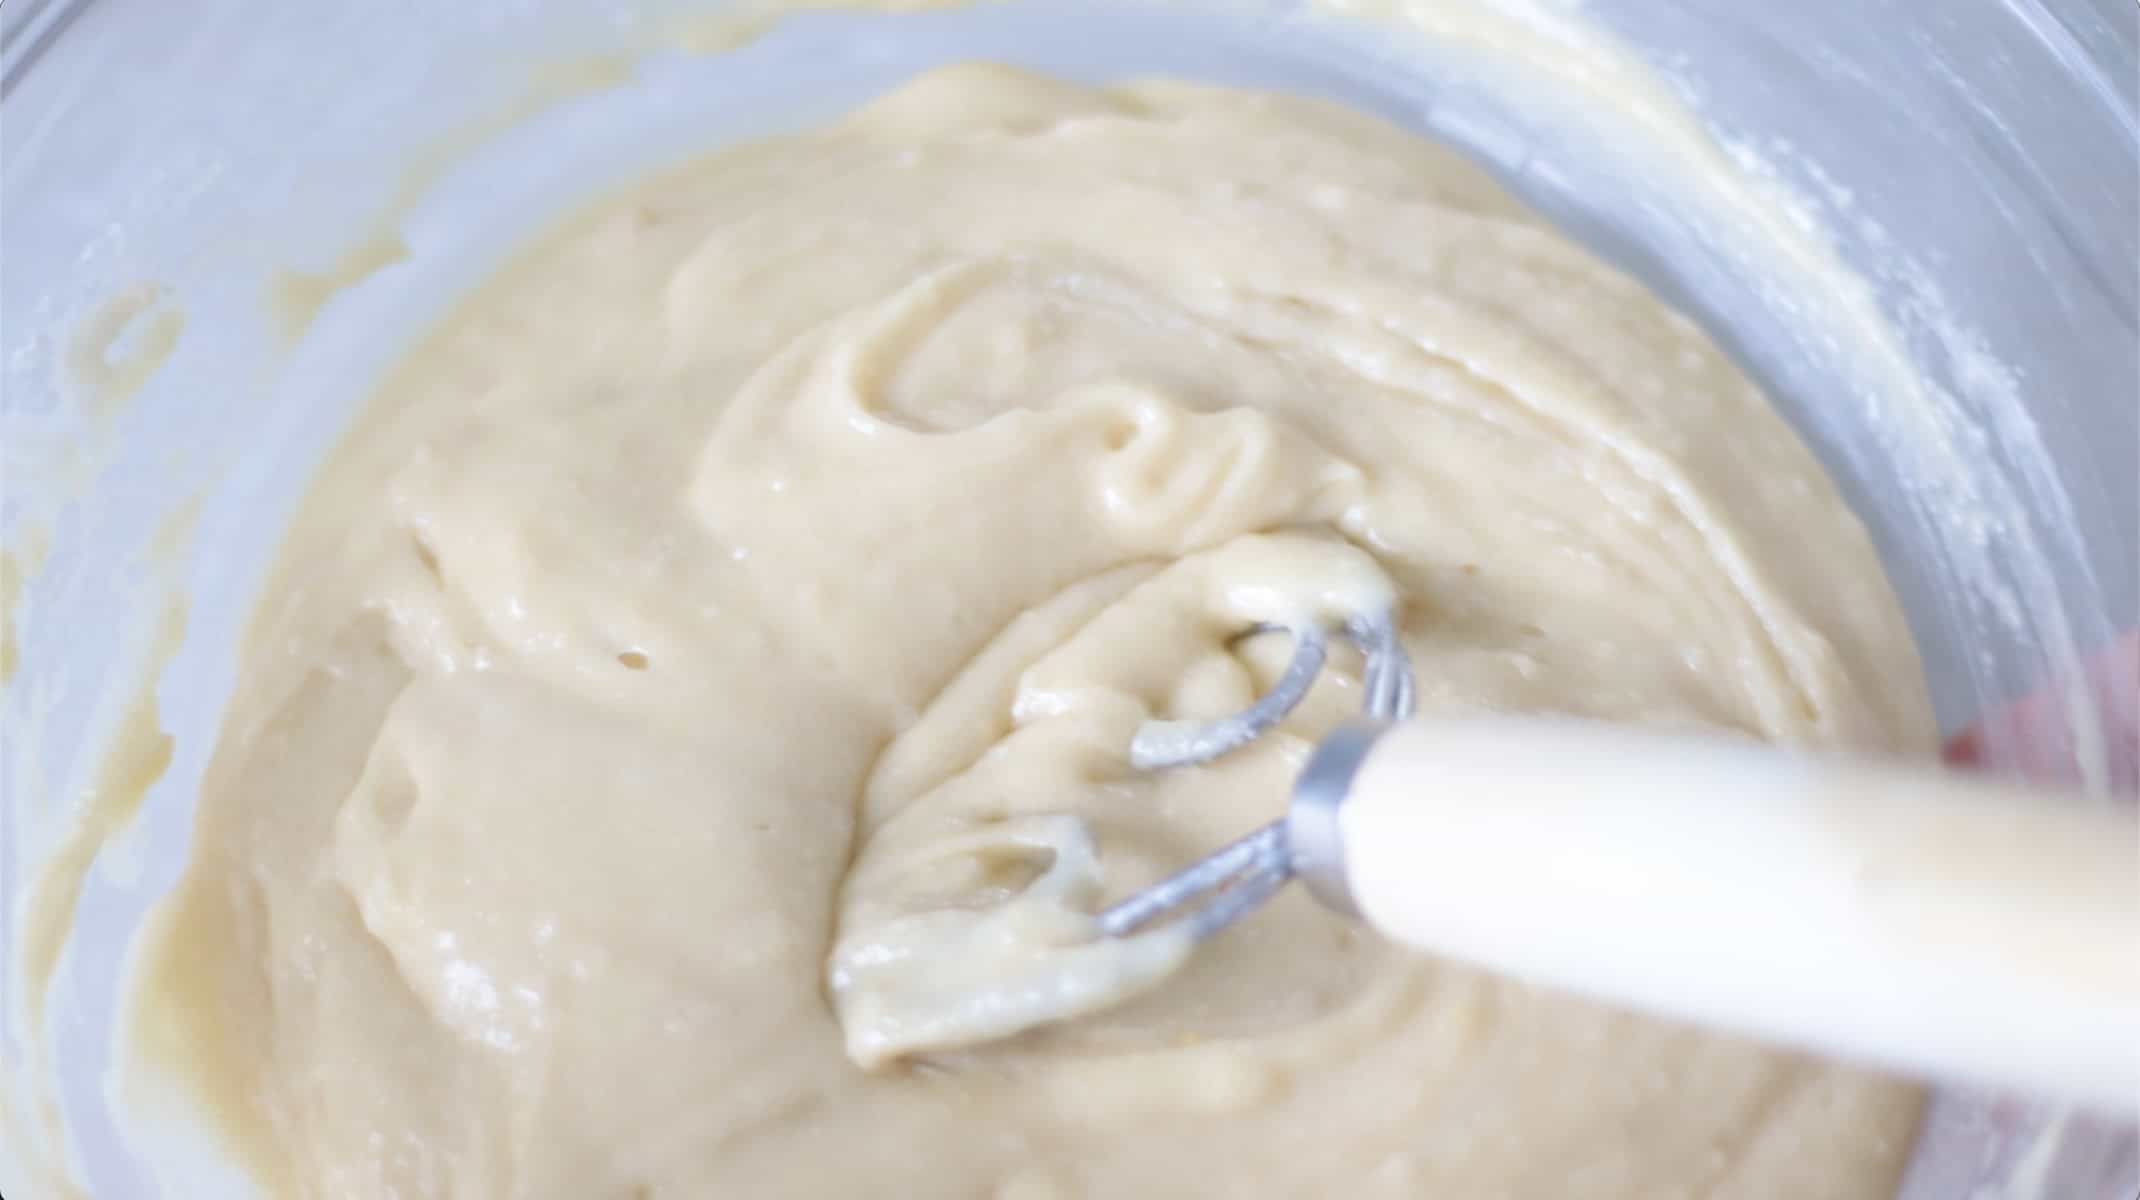
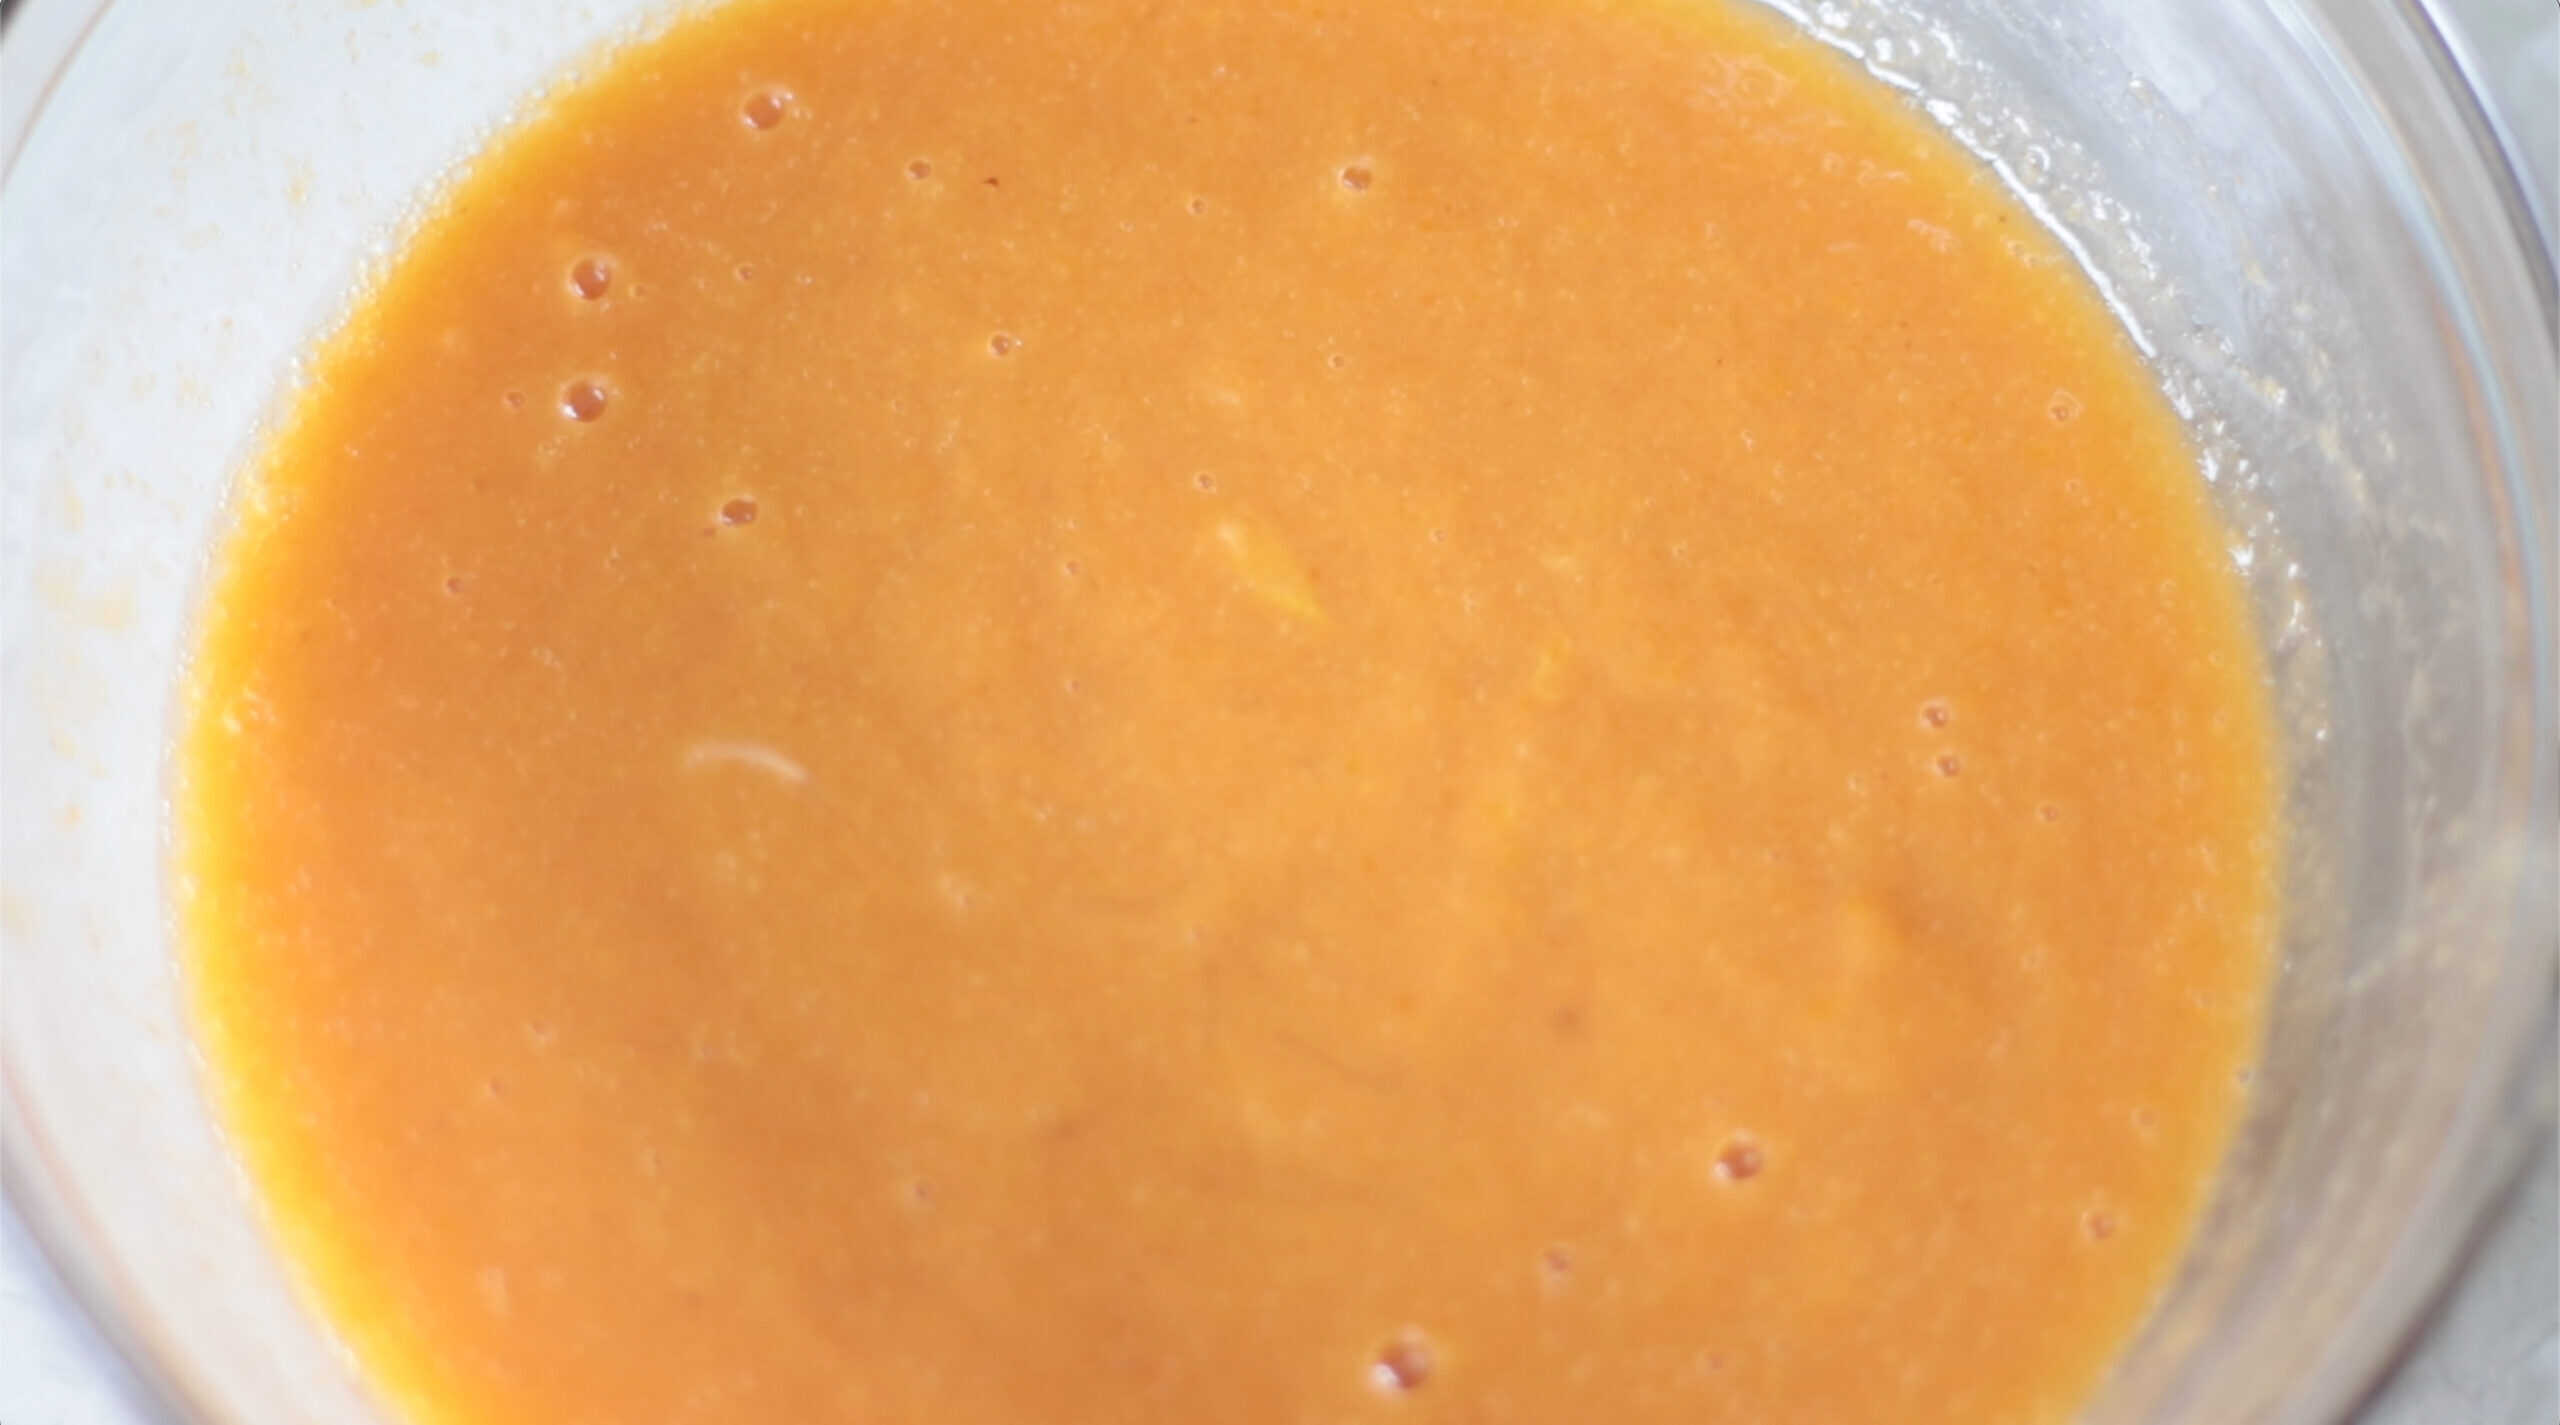
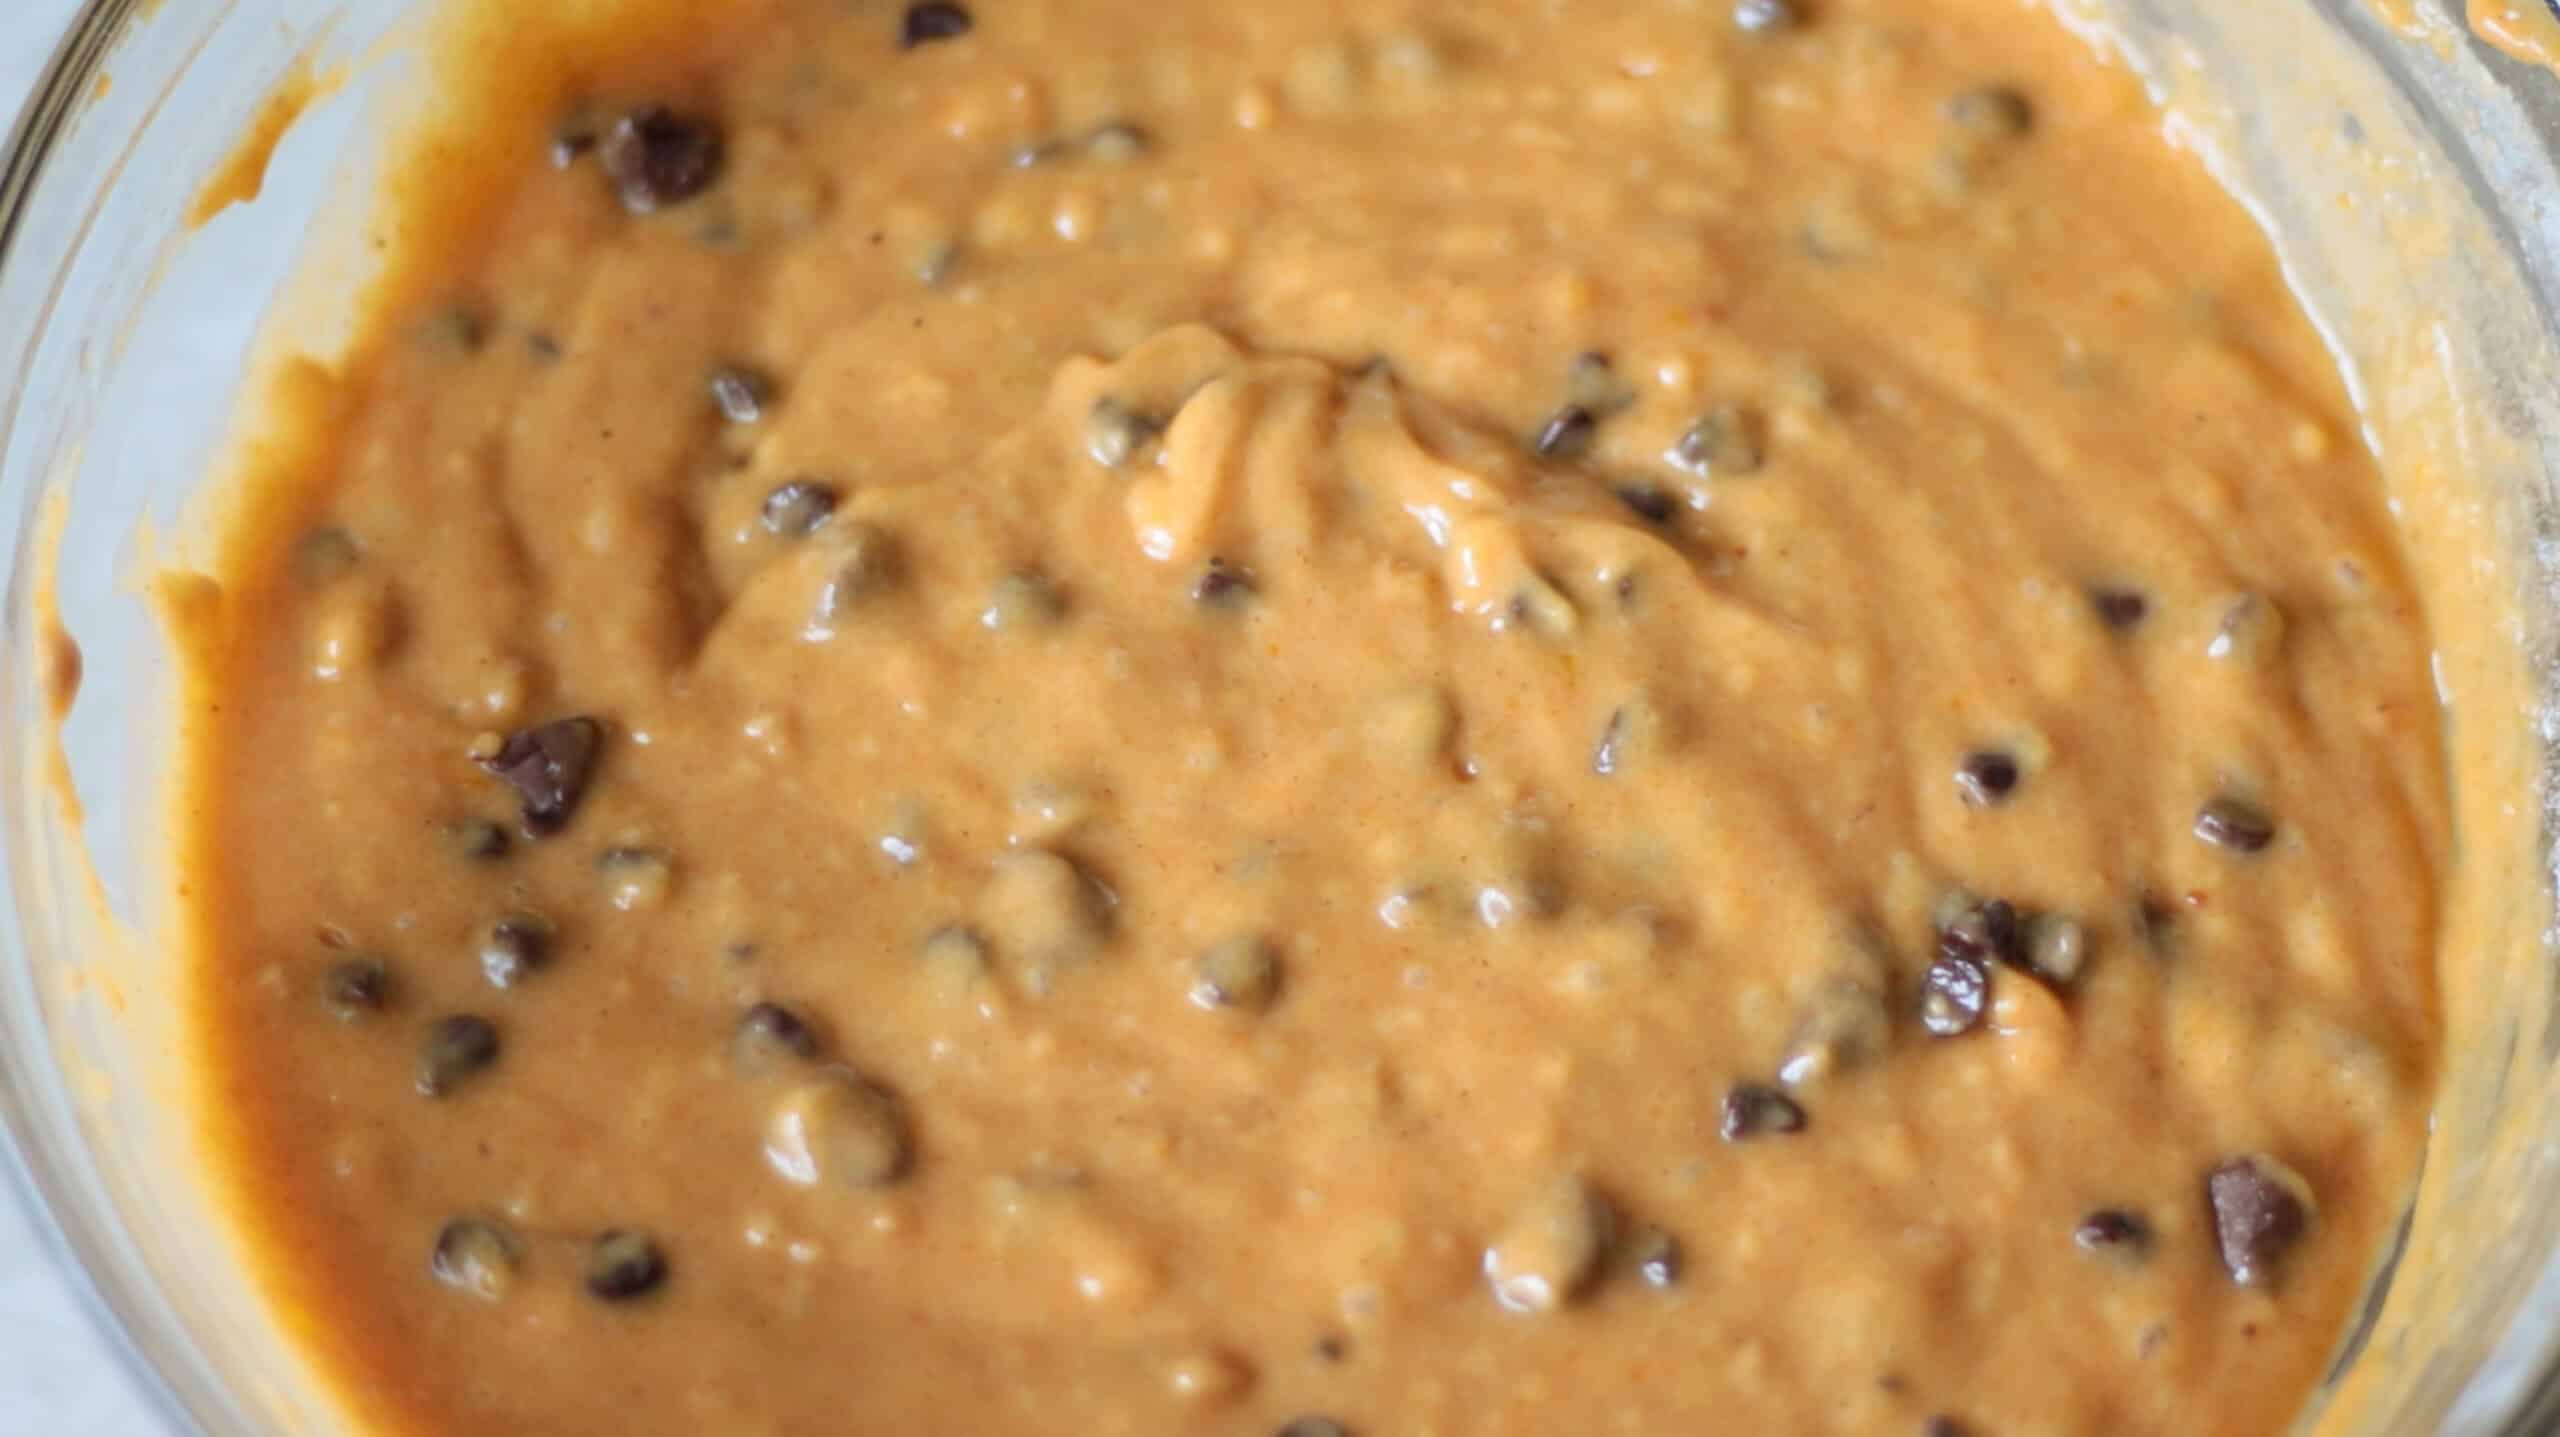
Step 4: Combine the pumpkin puree, eggs, milk, half-and-half, sugar, brown sugar, salt, and spices in a large mixing bowl. Stir until smooth.
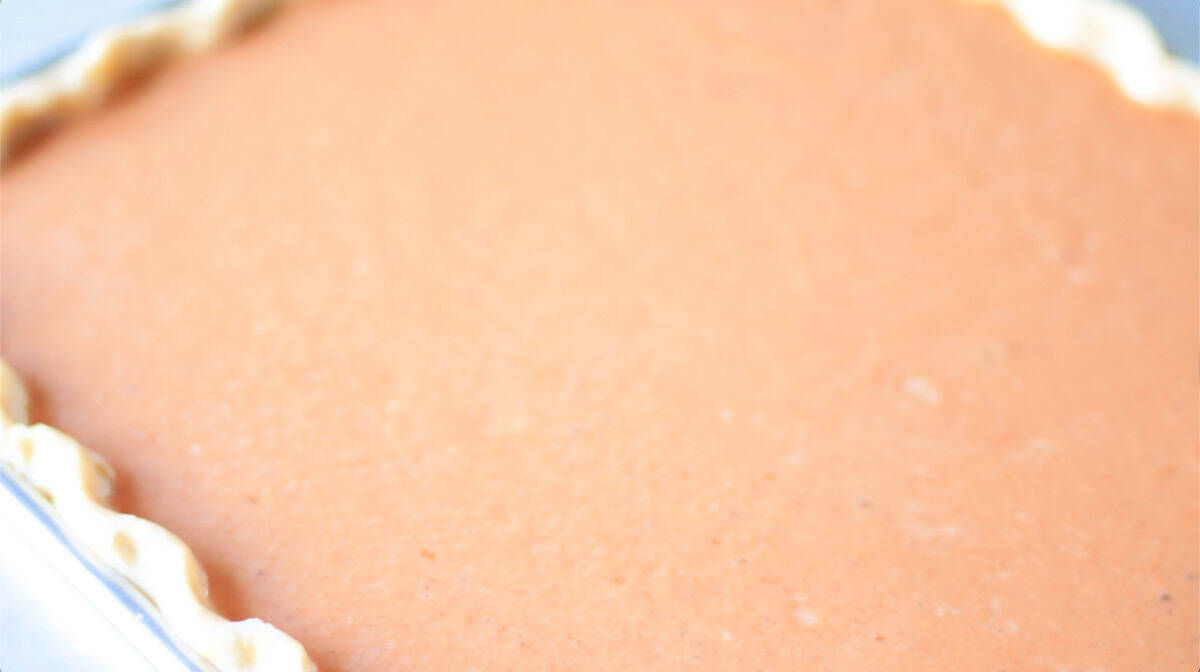
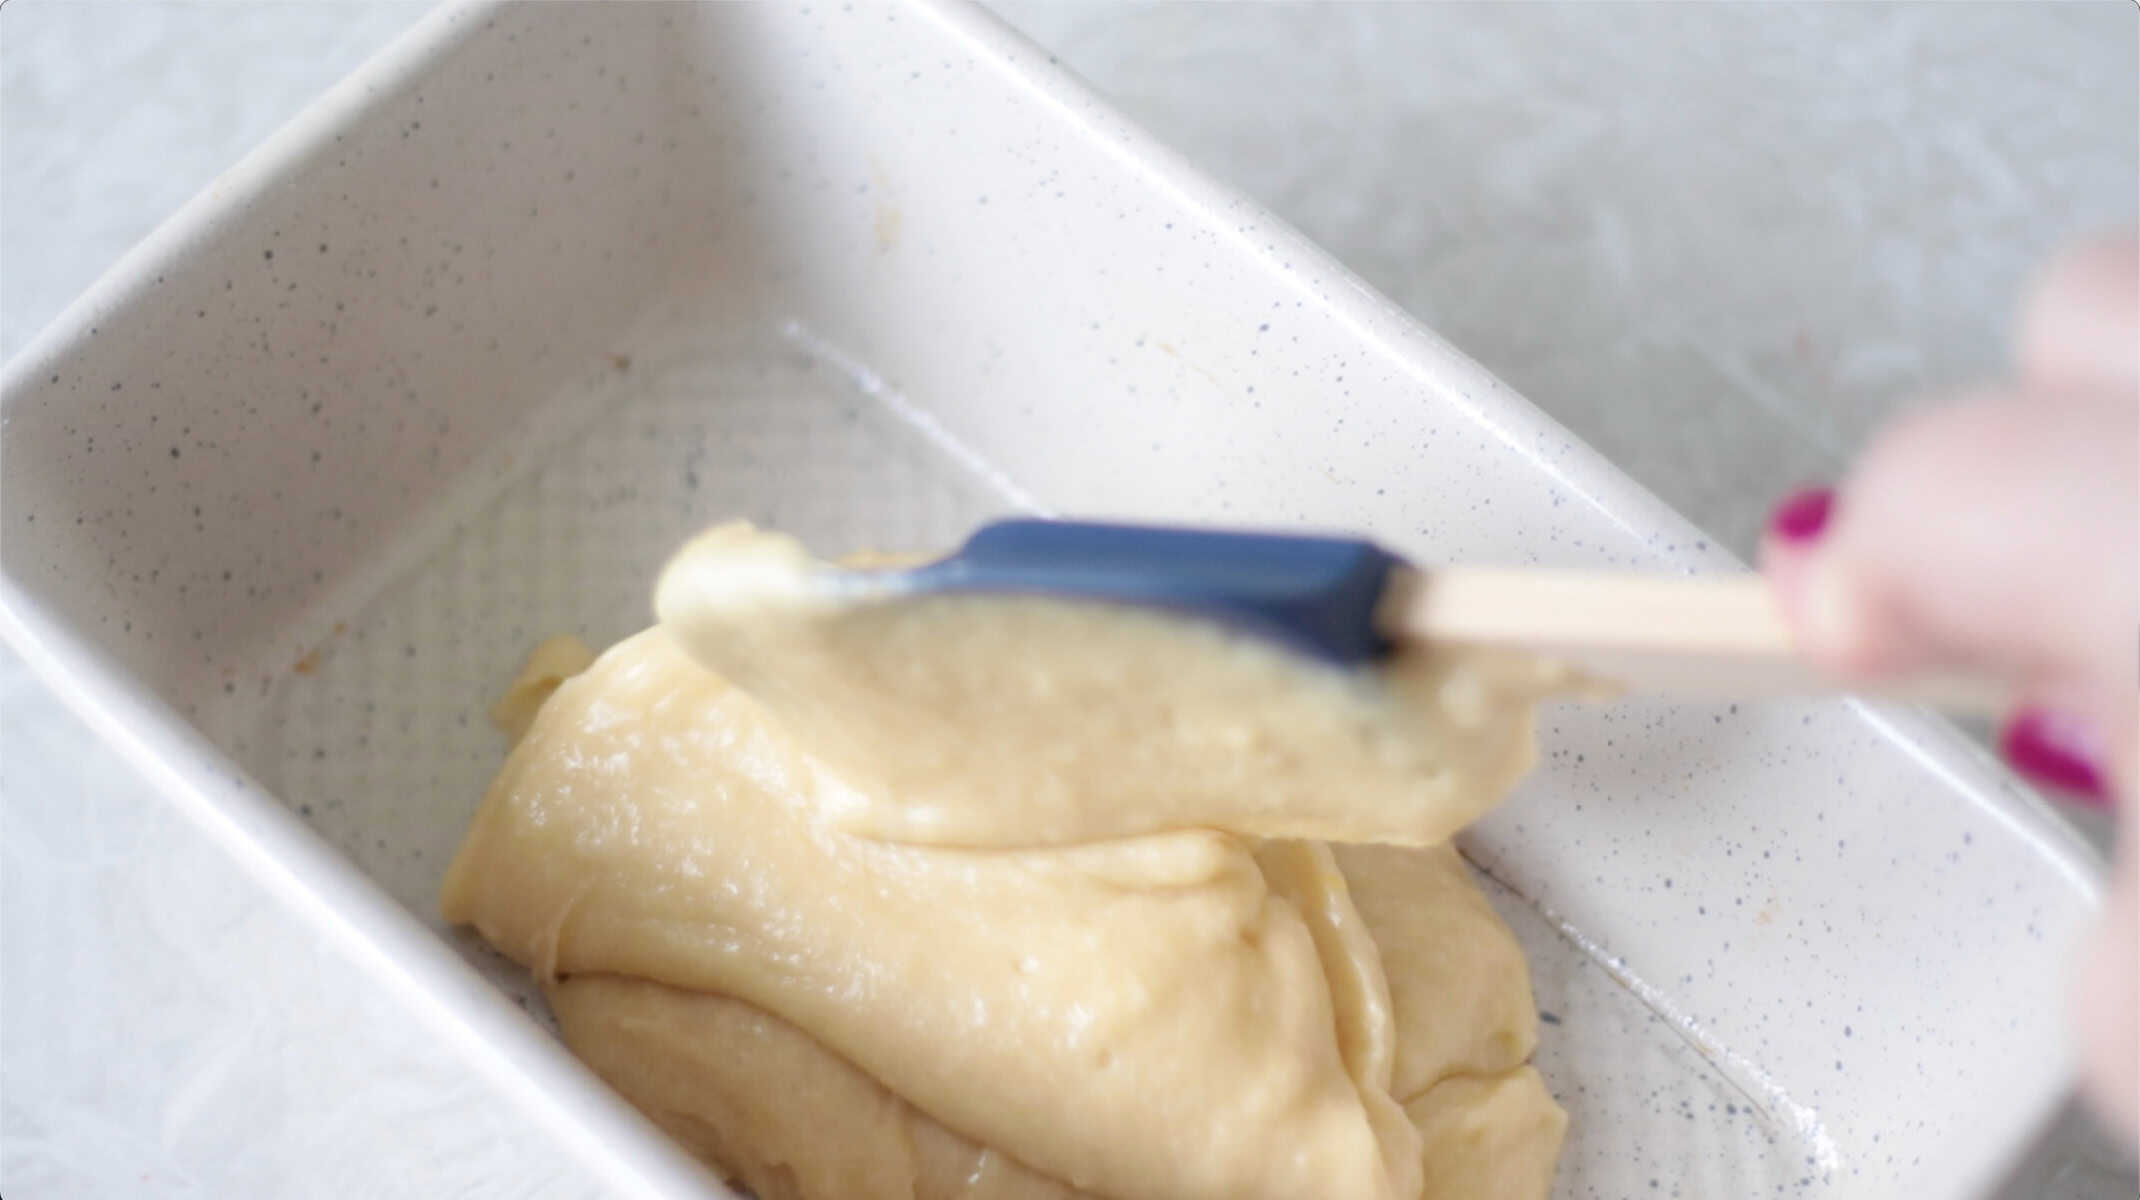
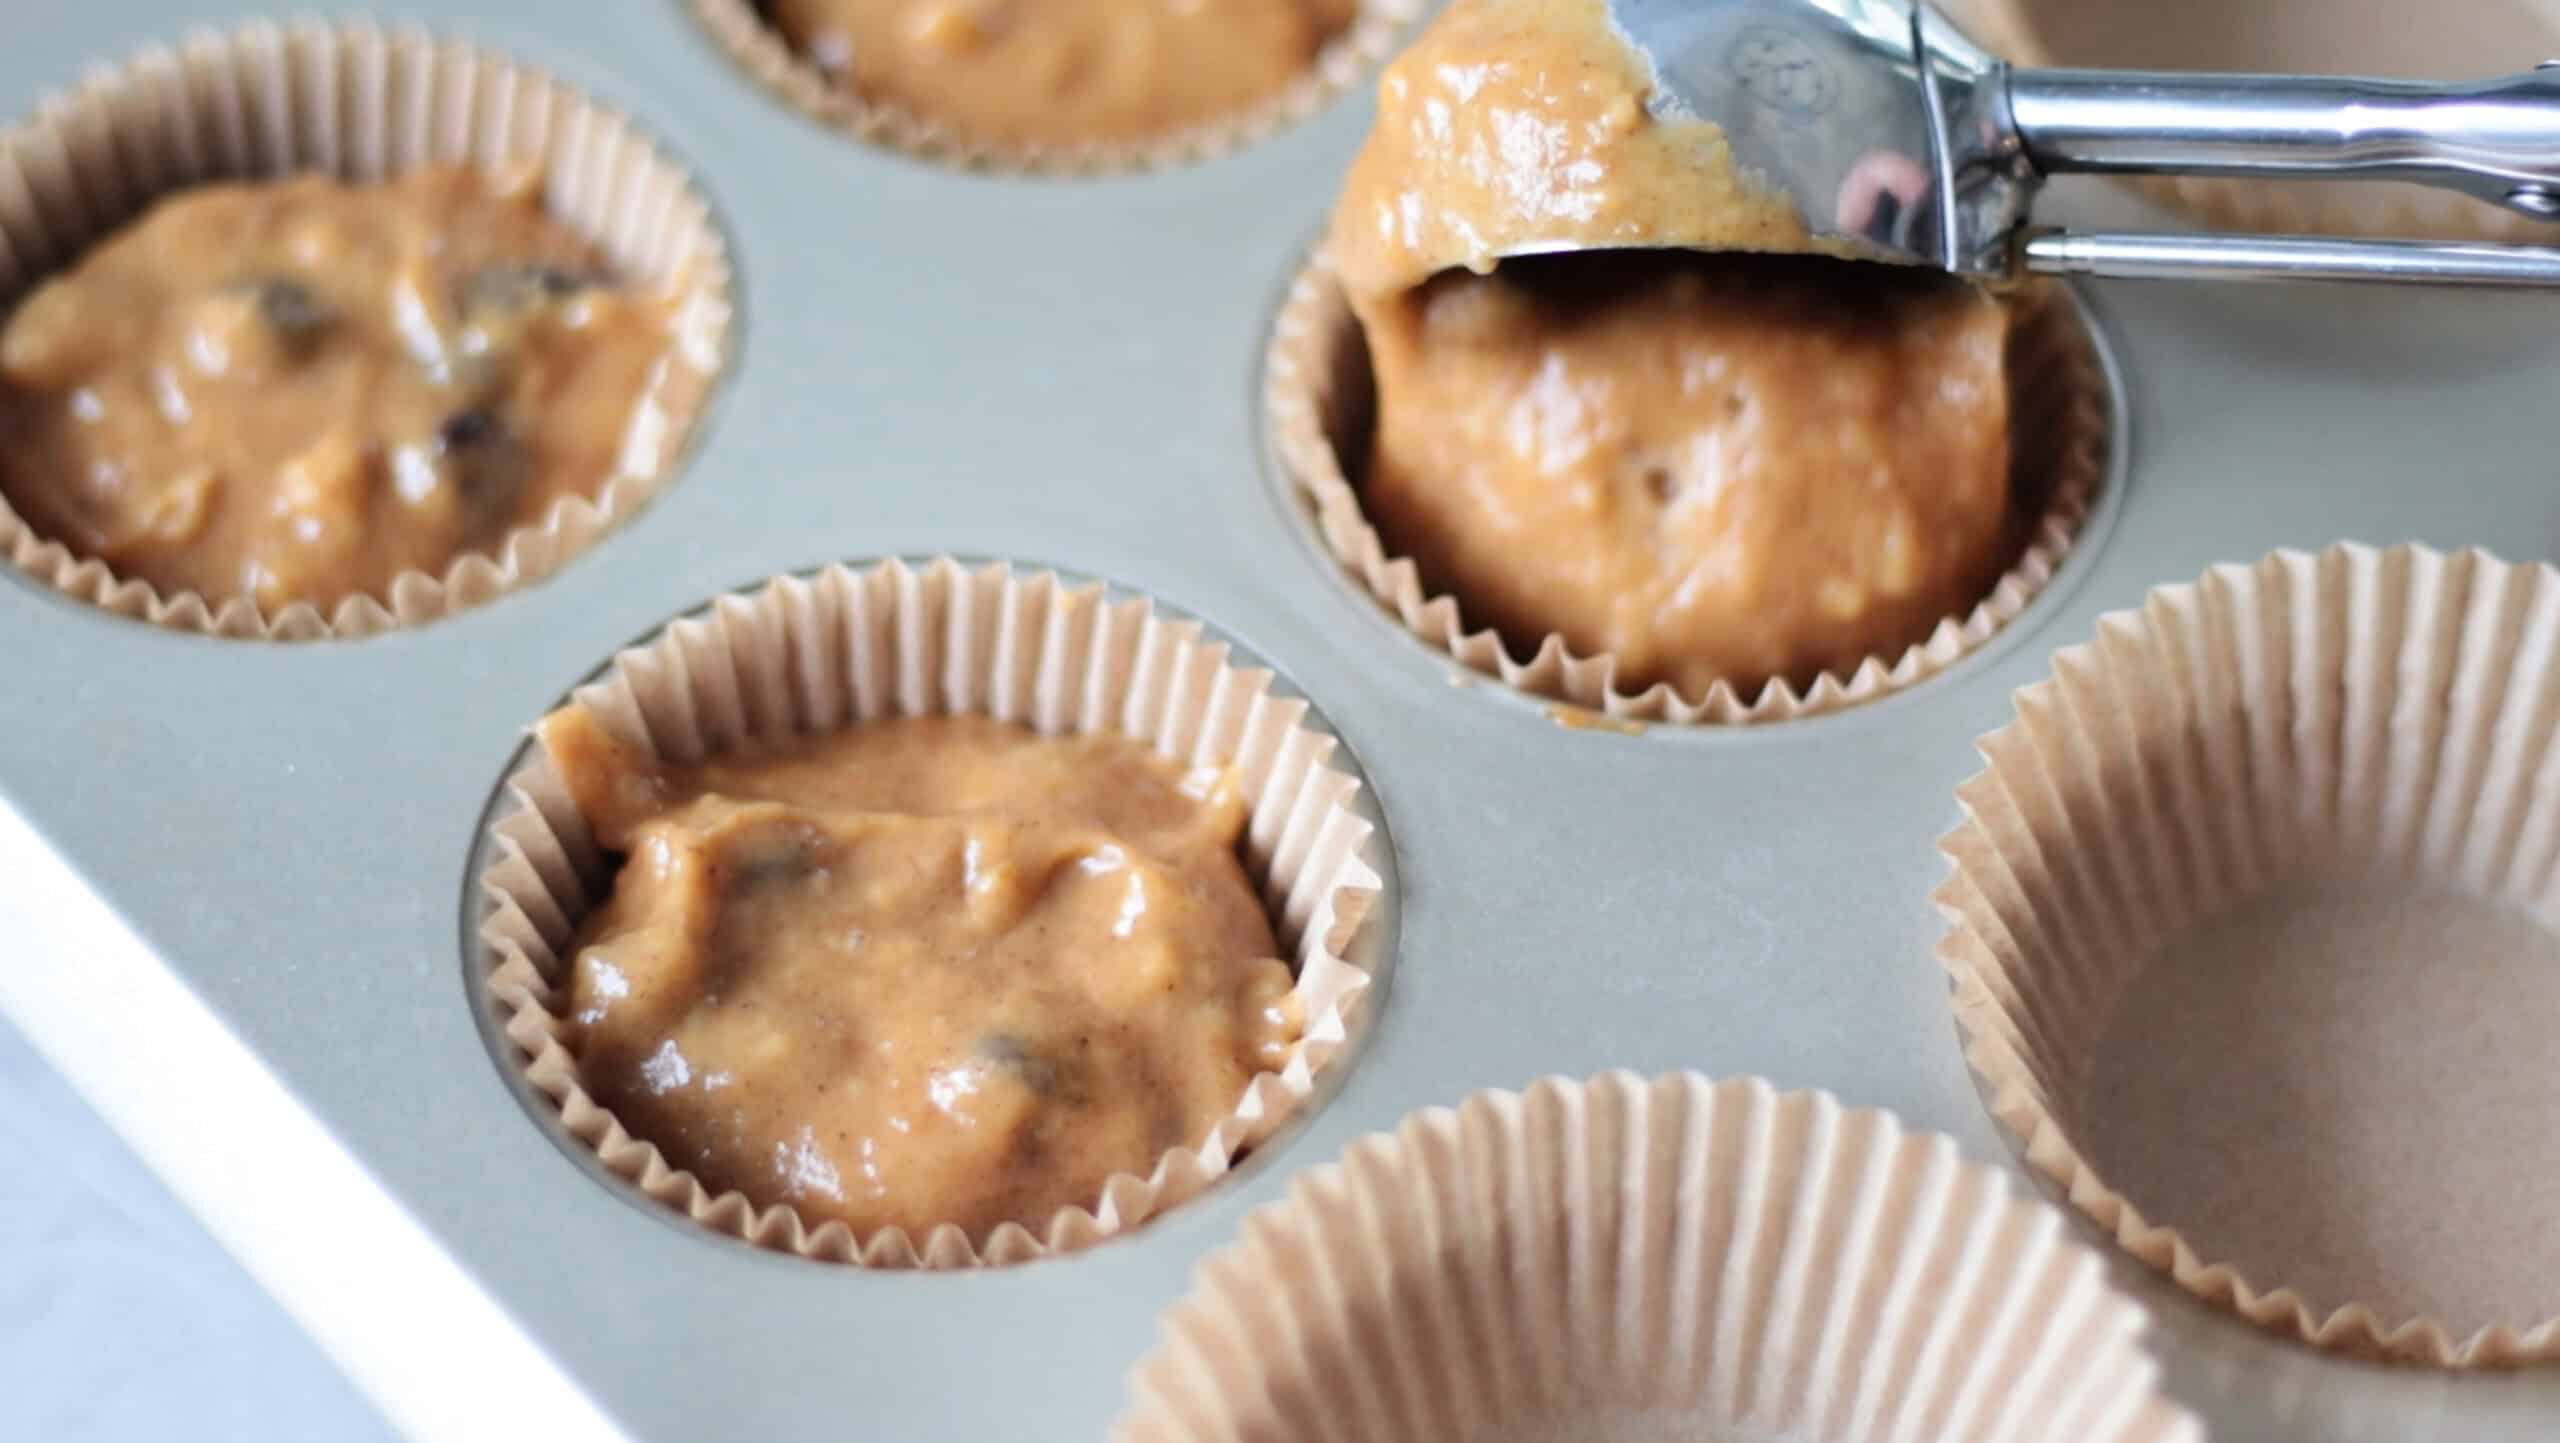
Step 5: Pour pumpkin pie filling into the prepared pie crust. Carefully transfer the pie to the oven, placing it on the bottom rack.
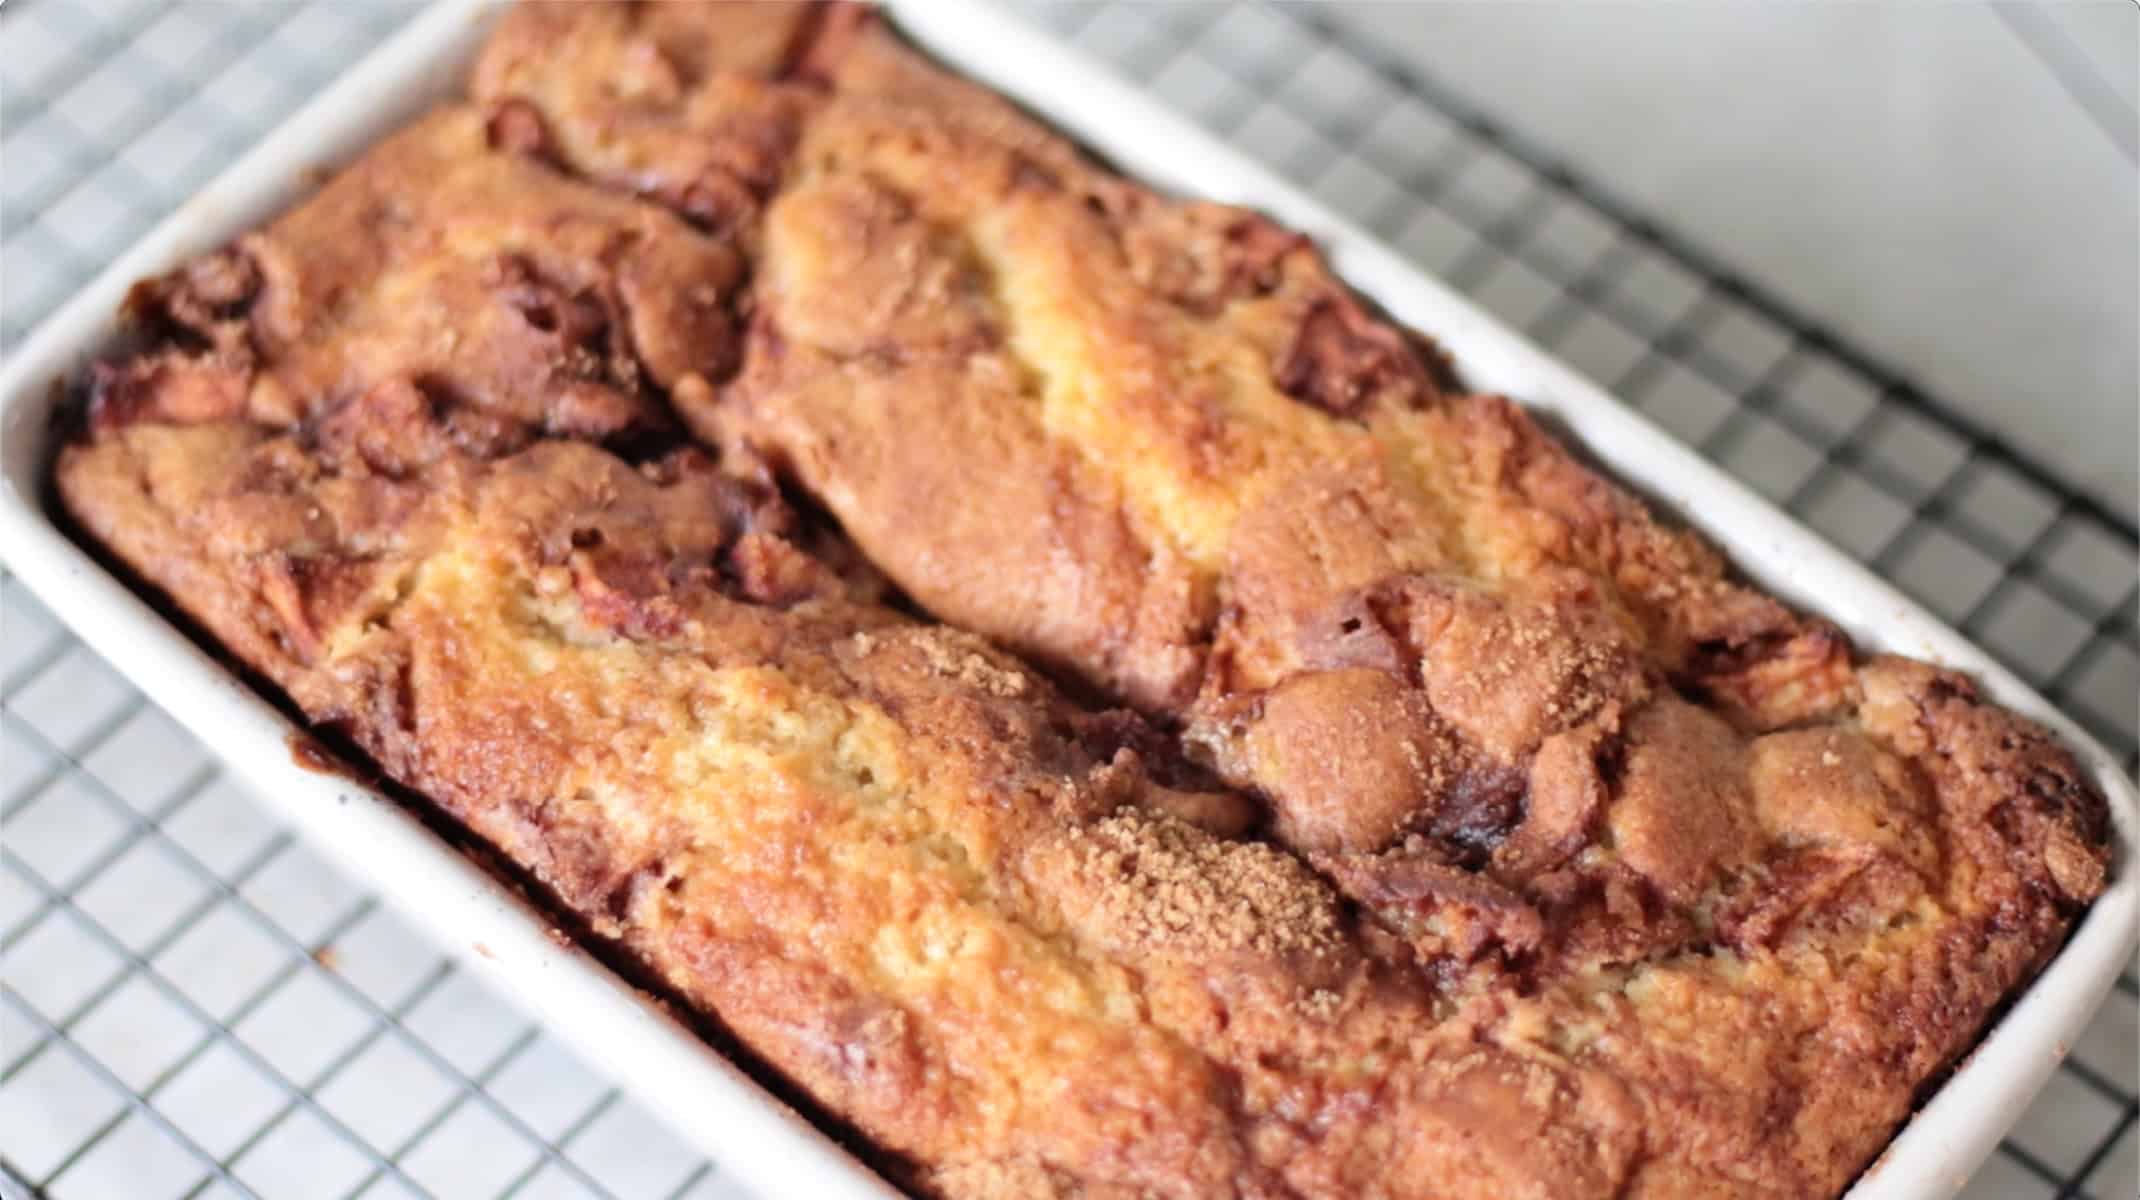
Bake at 375 degrees for 45 minutes in the lower ⅓ of the oven. The filling should be slightly jiggly in the center, but set around the edges.
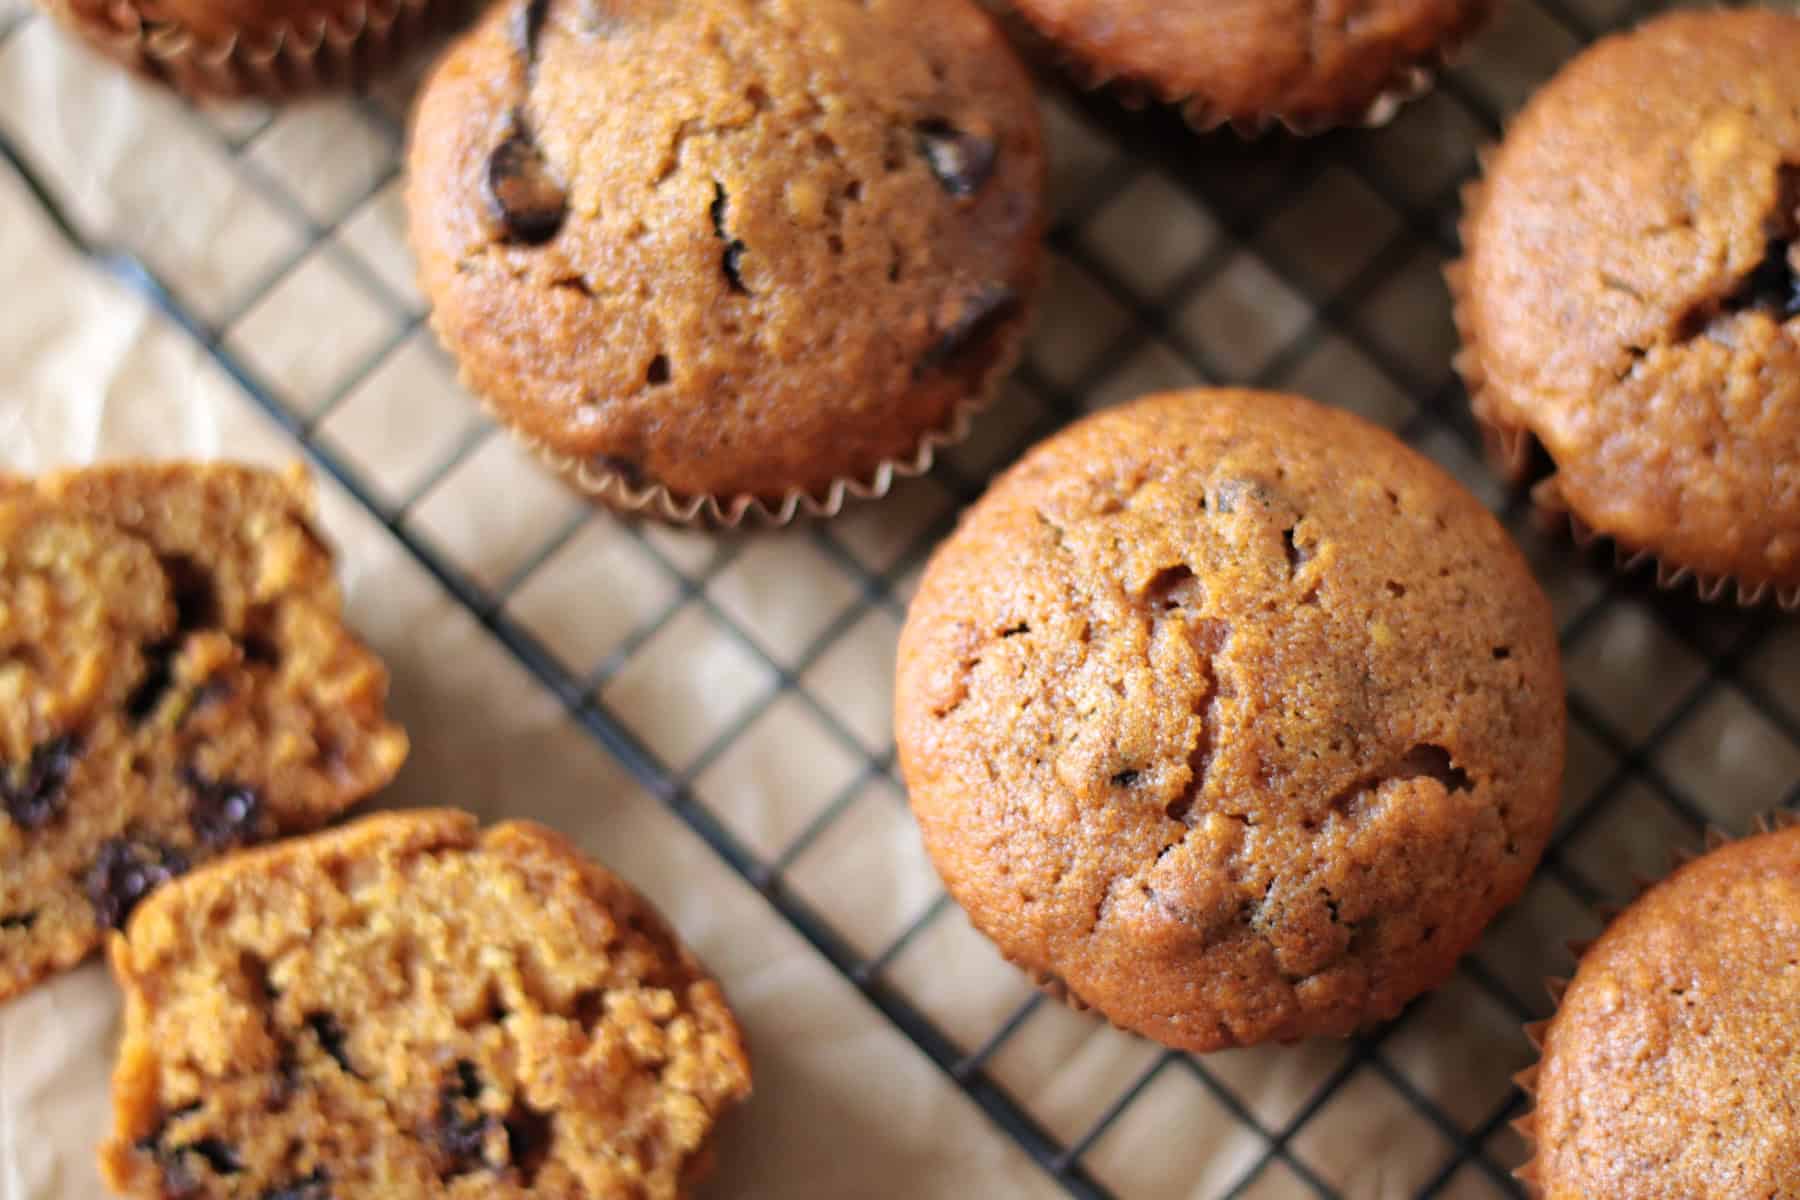
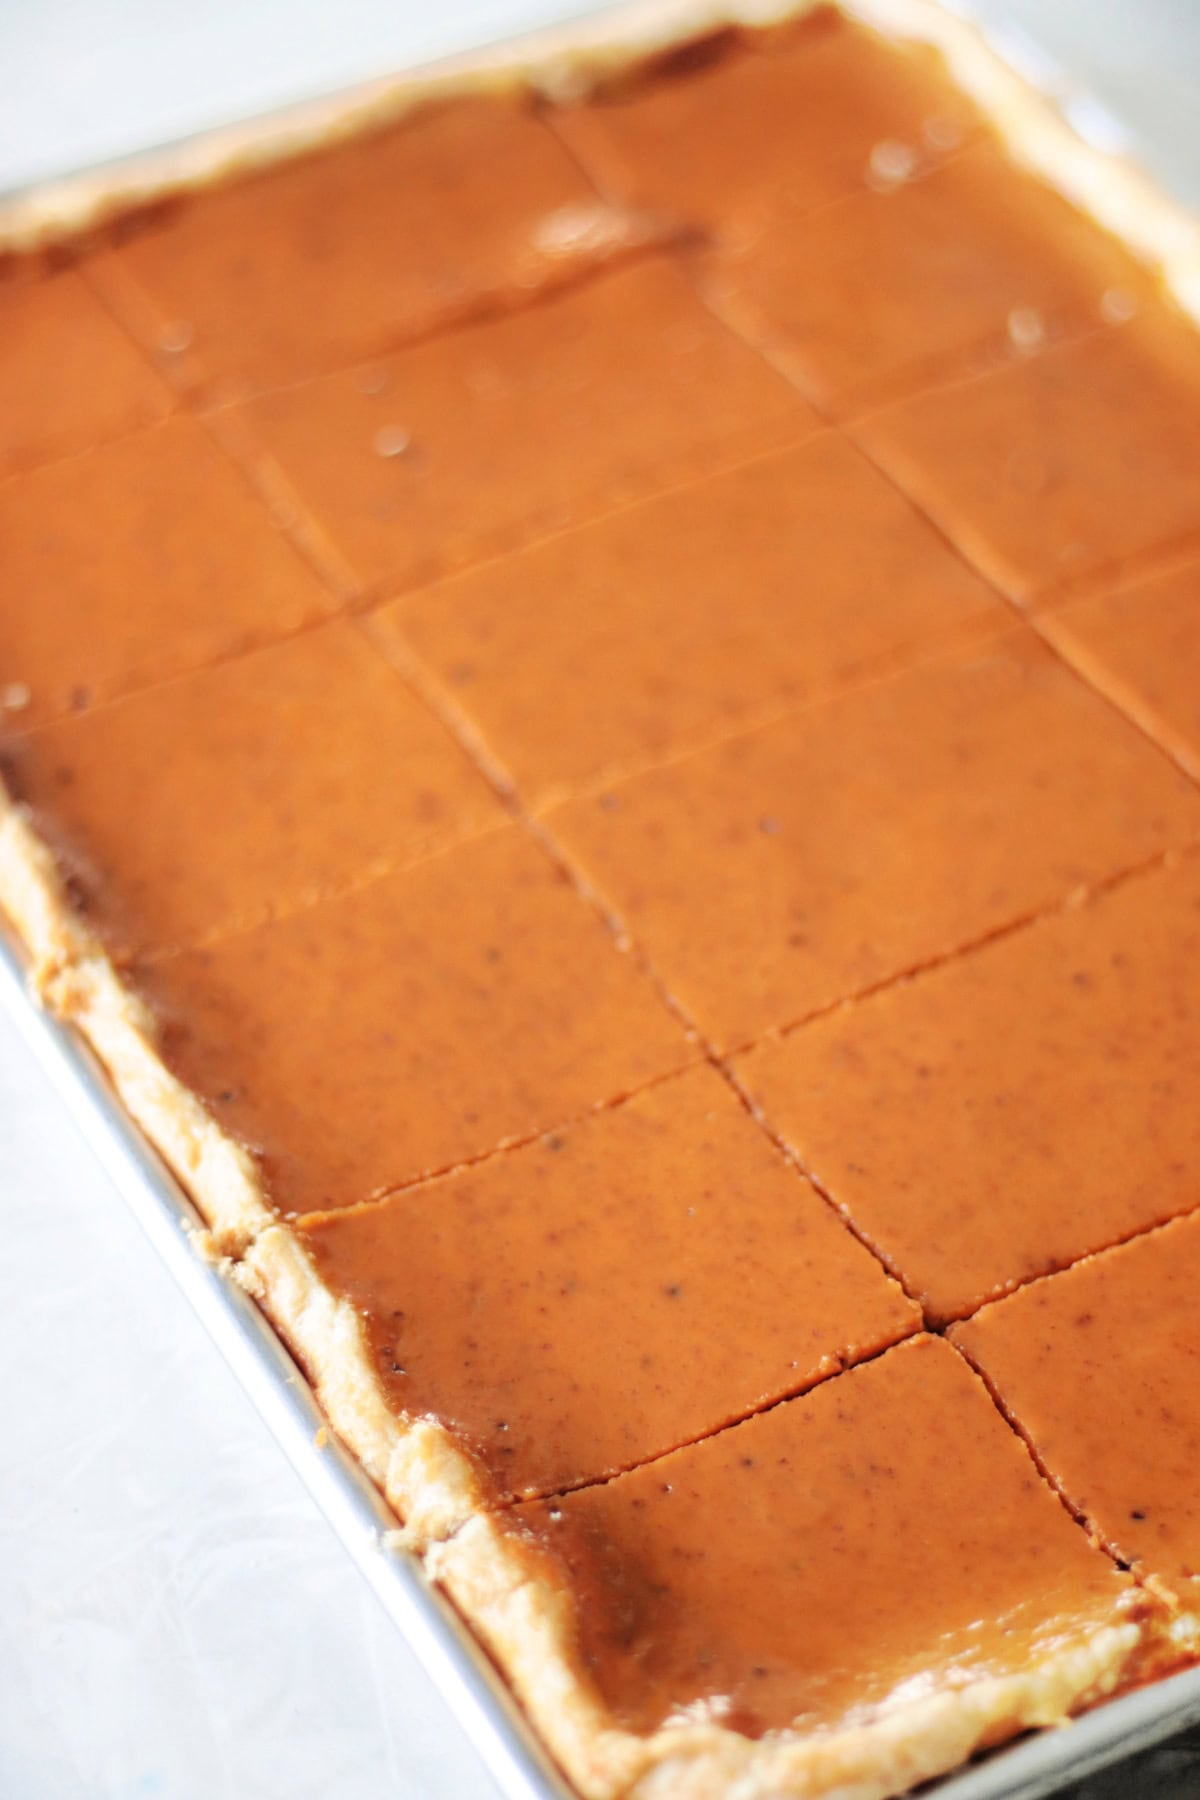
Step 6: Remove the slab pie from the oven and set it on a cooling rack. Allow the pie to cool for at least 2 hours before slicing. Top each slice of pie with whipped cream, if desired.
Note: I highly recommend baking the pie on a pizza stone. Allow the pizza stone to preheat in the oven on the bottom rack. Slide the pie pan onto the stone to bake.
Store leftover pie in the refrigerator for up to 3 days.
Pumpkin Slab Pie FAQs
Parbaking is always a great option for pumpkin pie crust, but I do not do it for pumpkin slab pie. The filling is thinner and bakes up quicker than traditional pumpkin pie. Because I bake the pie in the lower part of the oven, on a pizza stone, it allows the bottom to bake evenly. If you prefer to parbake the crust, pierce it with a fork, then place a large piece of foil or parchment paper over the rolled-out crust in the jelly roll pan. Fill with pie weights or dried beans. This will support the crust and prevent shrinkage when baked. Bake at 400 degrees for 15-20 minutes. Remove weights and parchment paper. Fill the crust with pie filling, then bake as directed in the recipe. Note: You are not baking the crust all the way through, as you would for a banana cream pie; instead, you are only partially baking it.
I only bake on light-colored baking sheets. If you bake on dark sheets, you may need to adjust the baking time. Slab pies work well in 10x15" jelly roll pans.
Pumpkin pie should be stored in the refrigerator and will stay fresh for up to 3 days.
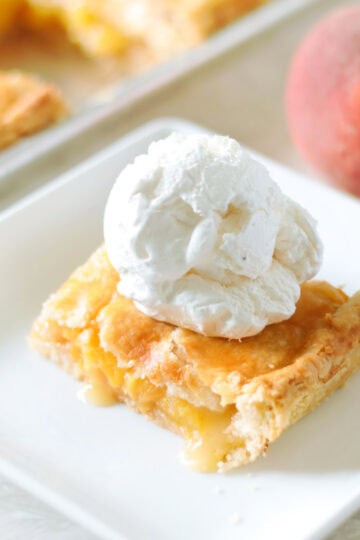
I use crust dust for fruit pies such as apple slab pie or peach slab pie because of the juices that leak during the baking process. I don't use crust dust for custard-based pies, although it wouldn't hurt anything if you do!
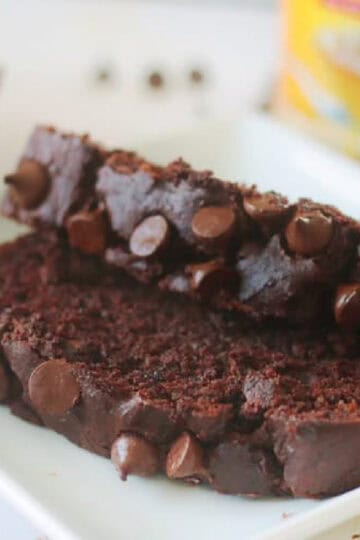
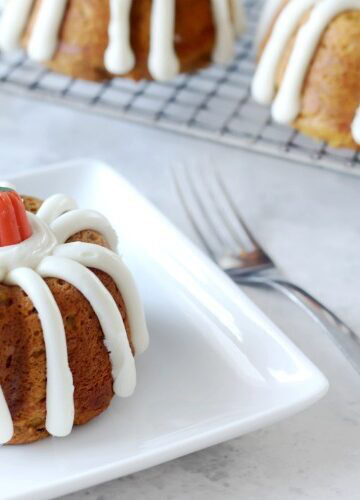
More Pumpkin Recipes To Make


MADE THIS RECIPE AND LOVED IT? 💛 Please leave a STAR rating and COMMENT below! Post it to Facebook or Pinterest to easily share with friends!
Pumpkin Slab Pie
Ingredients
Pie Crust
- 2 cups all-purpose flour
- 1 teaspoon salt
- ⅔ cup shortening
- ¼ cup COLD butter I use salted, cut into small cubes
- 2 teaspoons vegetable oil
- ⅓ cup milk
- 1 ½ teaspoons lemon juice
Pumpkin Pie Filling
- 2 cans pumpkin puree 2 (15-ounce) cans or 1 (30-ounce) can
- 4 large eggs
- ½ cup milk
- 2 cups half and half
- ½ cup brown sugar
- ½ cup white sugar
- ¾ teaspoon salt
- 2 teaspoons ground cinnamon
- ¾ teaspoon ground ginger
- ¼ teaspoon ground nutmeg
- ¼ teaspoon ground cloves
Egg Wash
- 1 large egg
- 1 Tbsp. water
Instructions
- Mix flour and salt in a large bowl. Cut in shortening using a pastry cutter. Cut in butter until the particles are the size of small peas.
- Combine the milk and lemon juice in a small bowl.
- Add oil and milk/lemon mixture to the flour mixture and stir until a soft dough forms. You may need to use your hands to form the mixture into a dough.
- Flatten the dough into a disc and wrap it with plastic. Refrigerate while you make the pie filling (30-45 minutes).
- Combine the pumpkin puree, eggs, milk, half-and-half, sugar, brown sugar, salt, and spices in a large mixing bowl. Stir until smooth. Set aside.
- Roll the pie crust on a lightly floured surface. Keep rolling until it is about a 13x18" rustic-looking rectangle.
- Place the rectangle into a 10×15″ jelly roll pan, allowing the excess to hang over the edge of the pan.
- Tuck the excess pie crust into the pan (rolling it forward or behind to tuck into place). Pinch or crimp to finish the edge.Brush the edge of the pie crust with an egg wash (1 egg mixed with 1 Tbsp. water)
- Preheat oven to 375 degrees.Lower the baking rack to the bottom ⅓ of the oven. If you have a pizza stone, place it on the oven rack to preheat.
- Pour pumpkin pie filling into the prepared pie crust. Carefully transfer the pie to the oven, placing it on the bottom rack.
- Bake for 45 minutes in the lower ⅓ of the oven. The filling should be slightly jiggly in the center, but set around the edges.
- Allow the pie to cool for at least 2 hours before slicing.