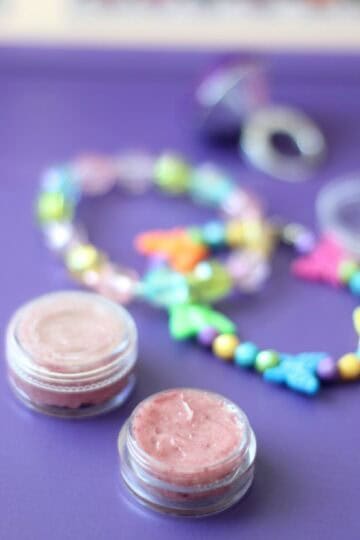
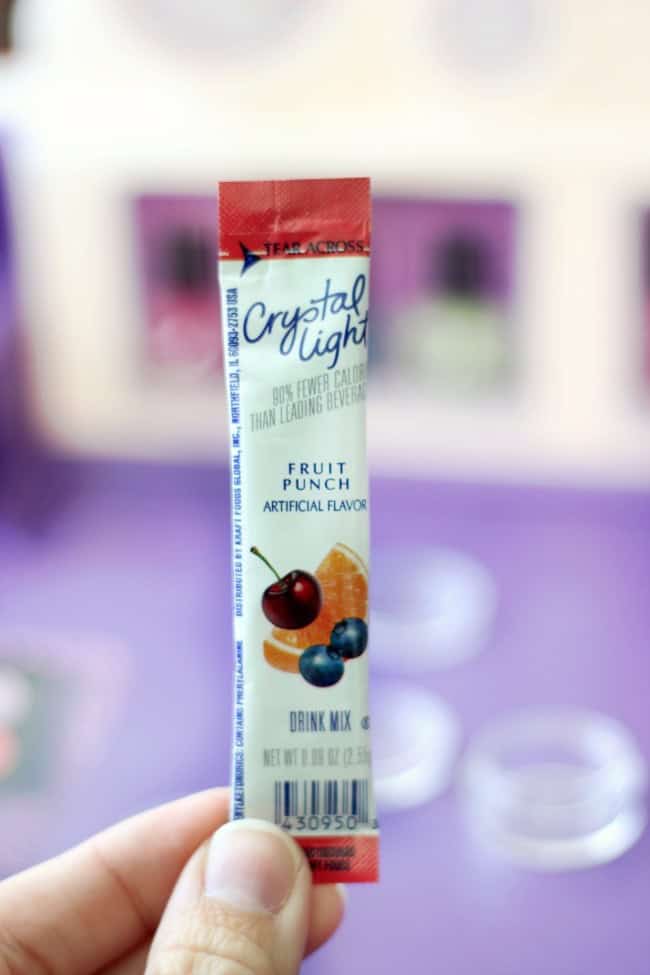
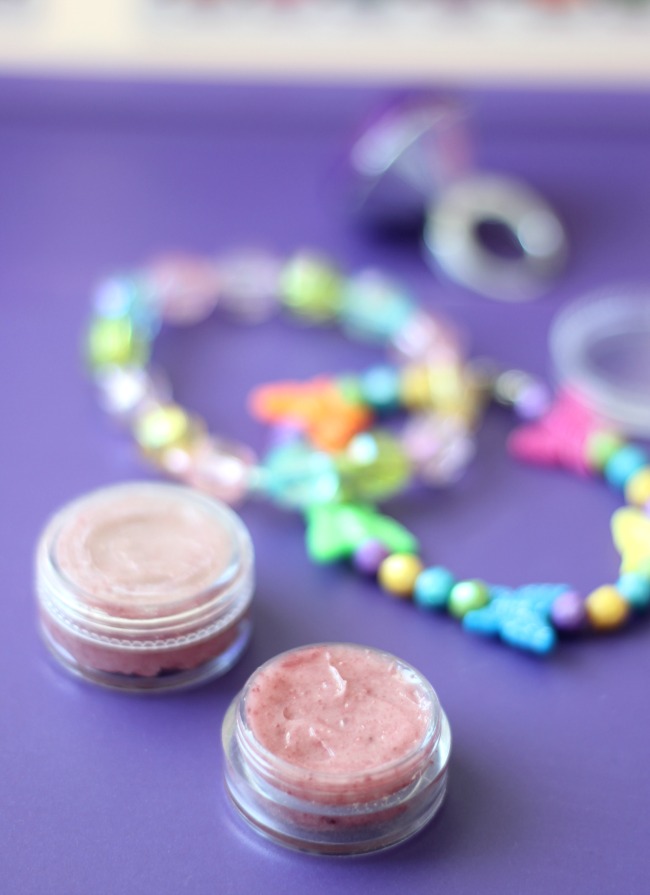
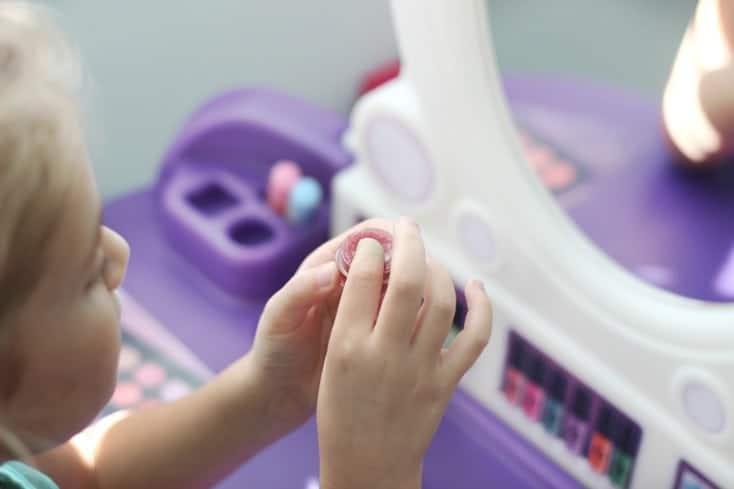
Homemade lip gloss with only 2 ingredients! This fruit punch lip gloss smells delicious and is such an easy project to make with kids. You can make any flavor you'd like by switching up the flavor of drink packets.
 ,
,
Homemade Lip Gloss with 2 Ingredients
If you liked this homemade lip gloss you might also like...


