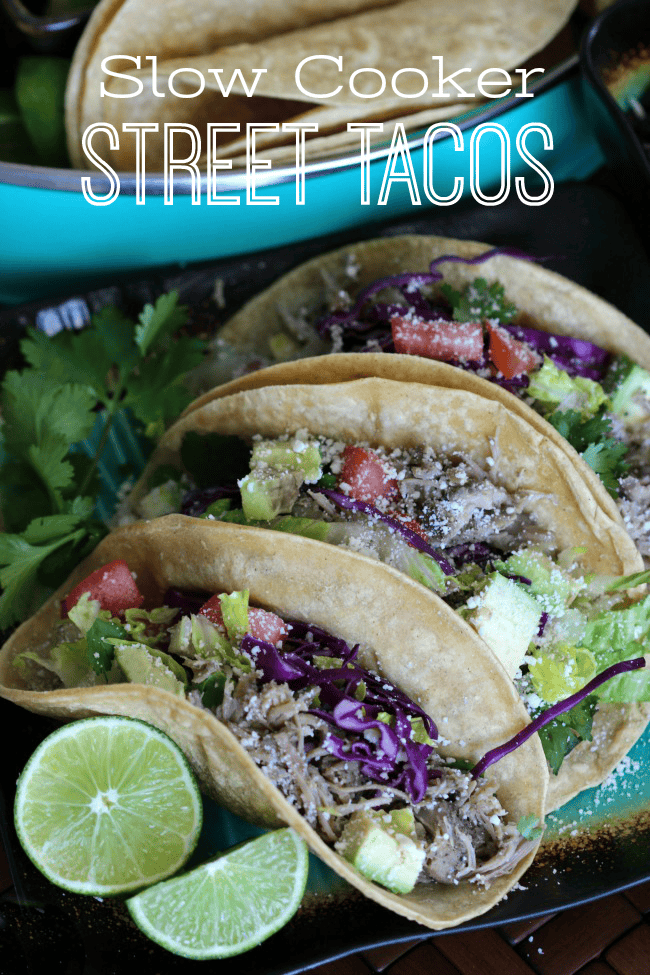
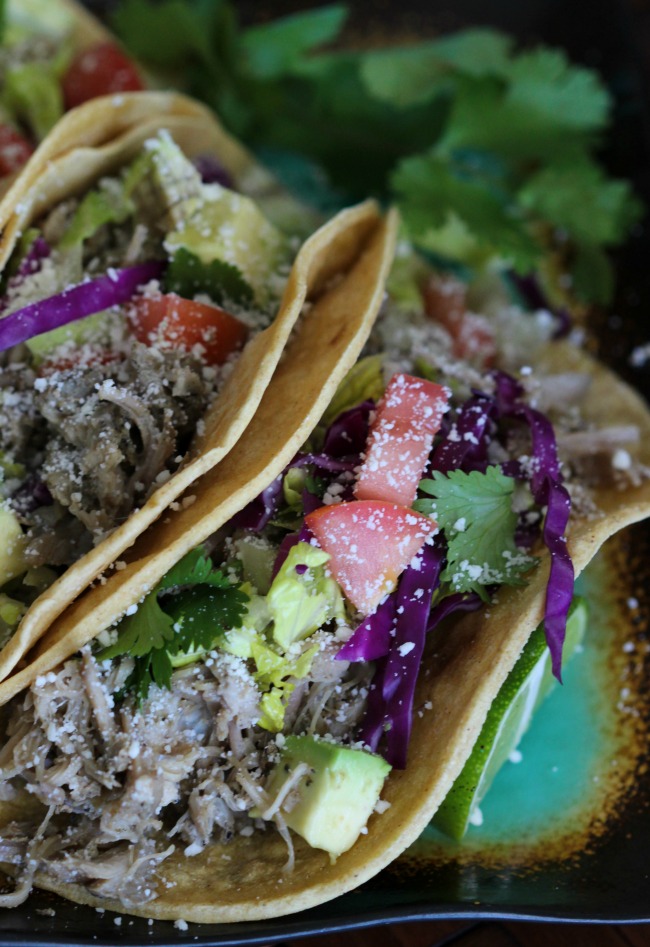
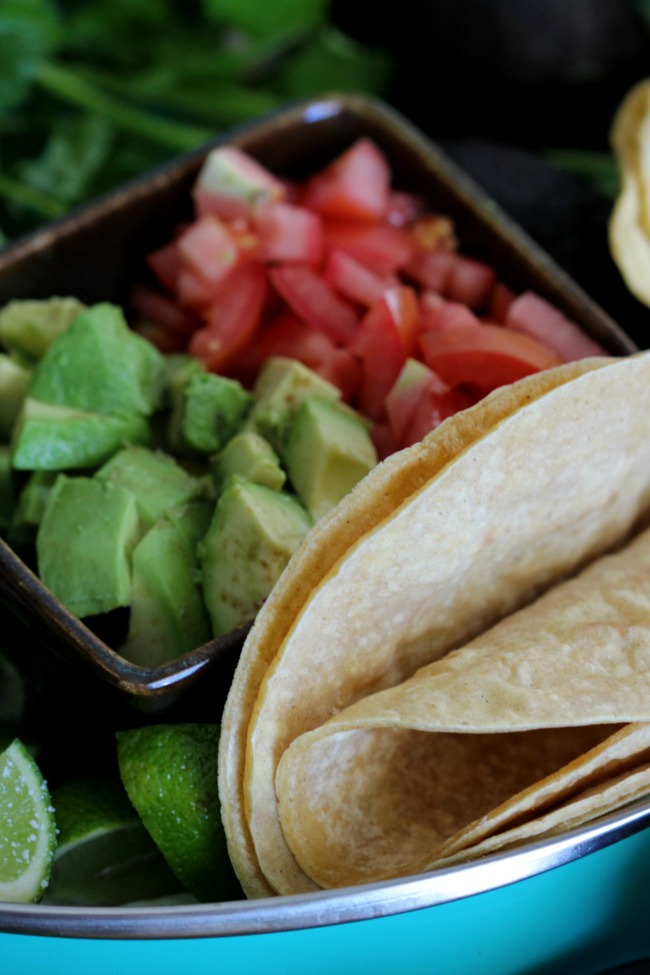
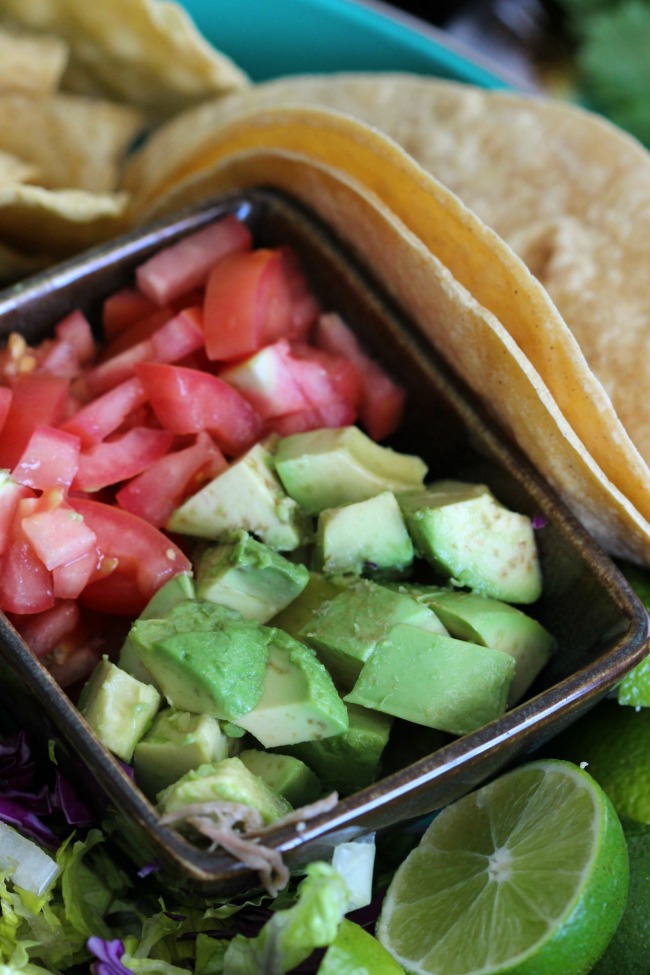
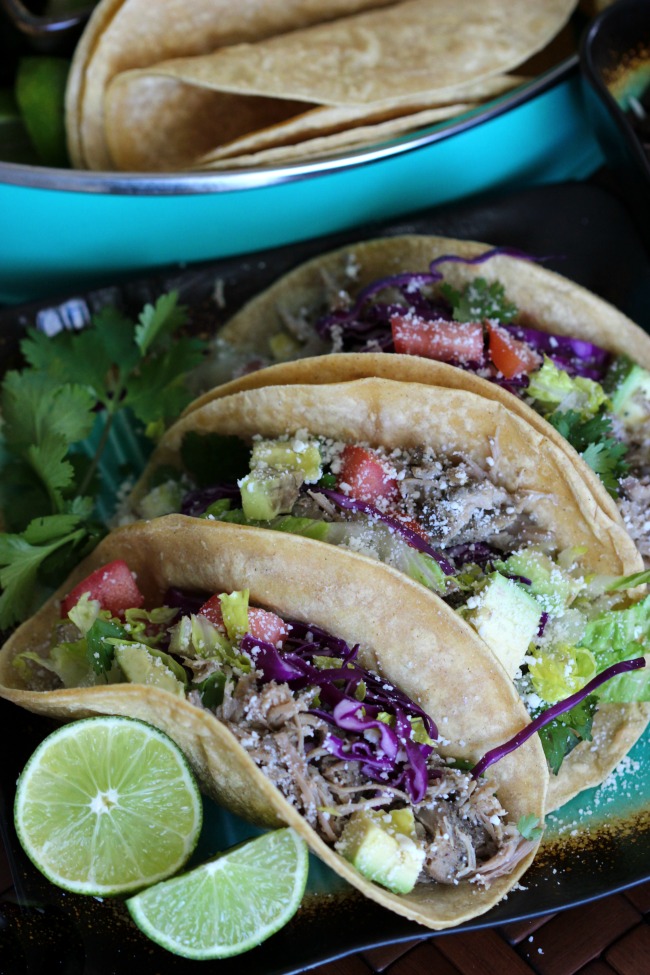
These slow cooker street tacos take just minutes to prepare! The deliciously seasoned carnitas simmer to perfection in the slow cooker. When you are ready to eat simply serve in a warm corn tortilla and top with shredded lettuce, avocados, cilantro, tomatoes and cojita cheese. This shop has been compensated by Collective Bias, Inc. and its advertiser. All opinions are mine alone.
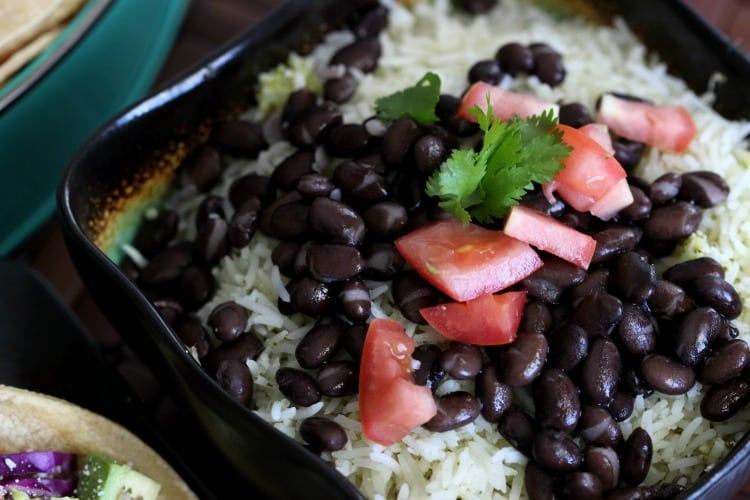
Thursday is Mexican night in our home. The kids look forward to it every week! Enchiladas, tacos, rice bowls, or taco salad, we love it all!
Have you tried the Smithfield Seasoned Carnitas Boneless Pork Shoulder from Walmart? I love how they are already seasoned and ready to cook. It's no revelation that I love Smithfield Marinated Fresh Pork. I've shared recipes using them multiple times and buy them on a regular basis for my family. We even used them while traveling across the country in our RV!
Here is a quick and easy-to-prepare recipe for the BEST carnitas to use in street tacos. We had these last Thursday and they were a hit!

Slow Cooker Street Tacos
(scroll down for printable recipe)
Prep Time: under 30 minutes
Slow Cooker Time: 3-4 hours on high or 5-6 hours on low.
Ingredients:
1 (1 ½ lb.) Smithfield Seasoned Carnitas Boneless Pork Shoulder
½ c. water
16 corn tortillas
shredded lettuce/cabbage
tomatoes, diced
avocados, diced
lime wedges
Cojita cheese
cilantro for garnish
Directions:
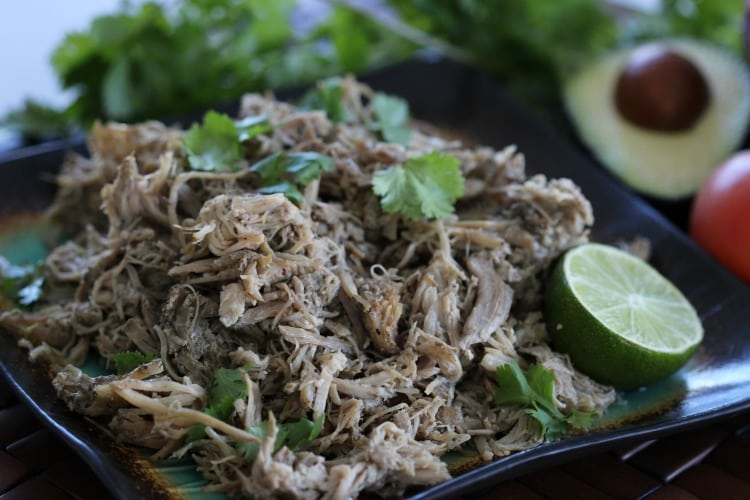
Place Smithfield Seasoned Carnitas Boneless Pork Shoulder in a slow cooker. Add water. Cook on low for 5-6 hours or high for 3-4 hours. Shred meat.

Slow Cooker Street Tacos

Slow Cooker Street Tacos
Ingredients
- 1 ½ lb. Smithfield Seasoned Carnitas Boneless Pork Shoulder
- ½ cup water
- 16 corn tortillas
- shredded lettuce/cabbage
- tomatoes diced
- avocados diced
- lime wedges
- Cojita cheese
- cilantro for garnish
Instructions
- Place Smithfield Seasoned Carnitas Boneless Pork Shoulder in a slow cooker. Add water.
- Cook on low for 5-6 hours or high for 3-4 hours. Shred meat.
- Wrap corn tortillas in a damp paper towel and microwave for 20-30 seconds or until warm.
- Fill each corn tortilla with carnitas and any other toppings you'd like.
Notes
Nutrition
You might also like...