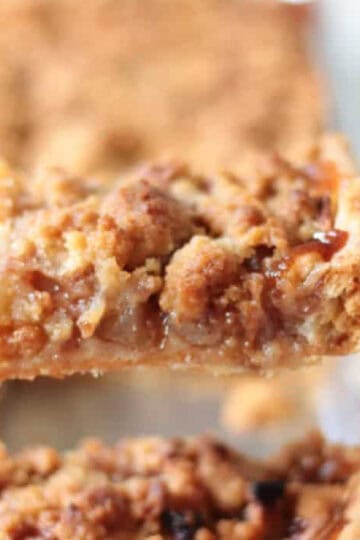
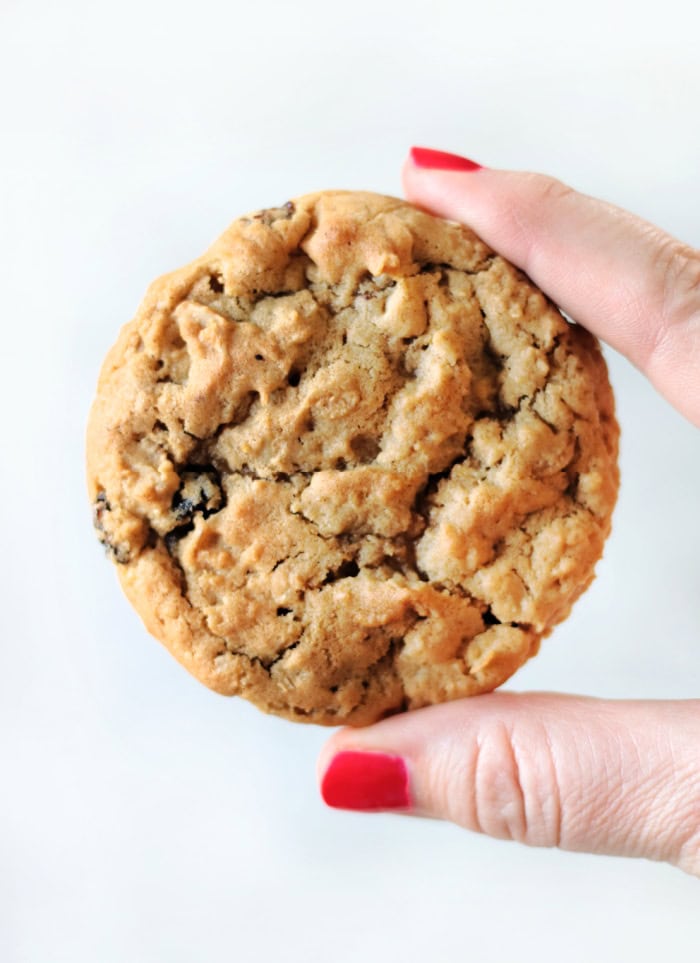
Everything you love about apple pie, baked in a sheet pan! One apple slab pie easily yields 18-24 slices, so it's perfect for sharing with friends.
You might also like our apple fritter bread, Rocky Road Texas sheet cake, banana bars, or apple turnovers.
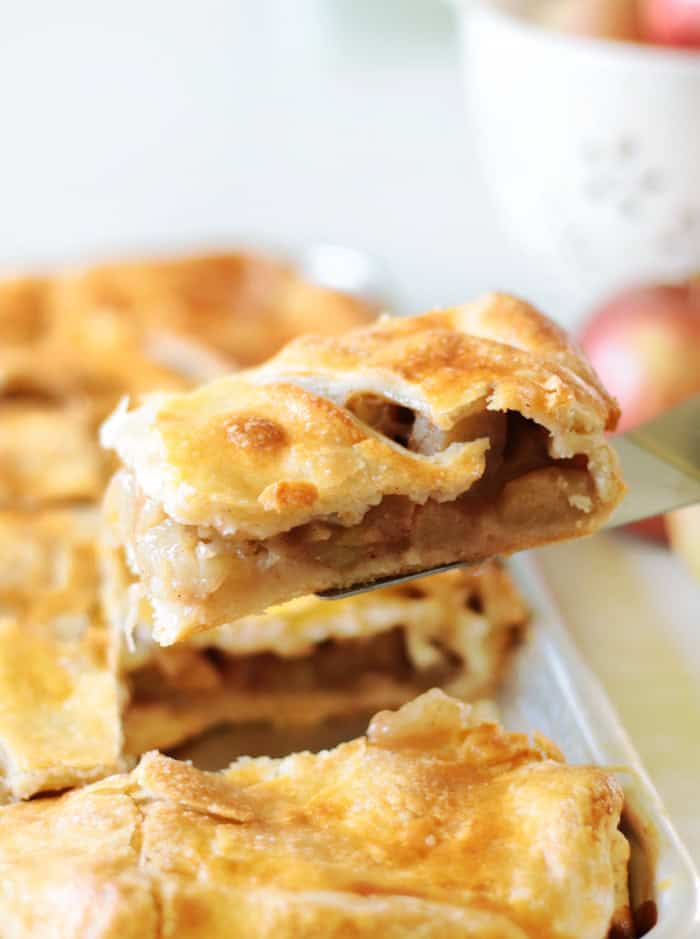
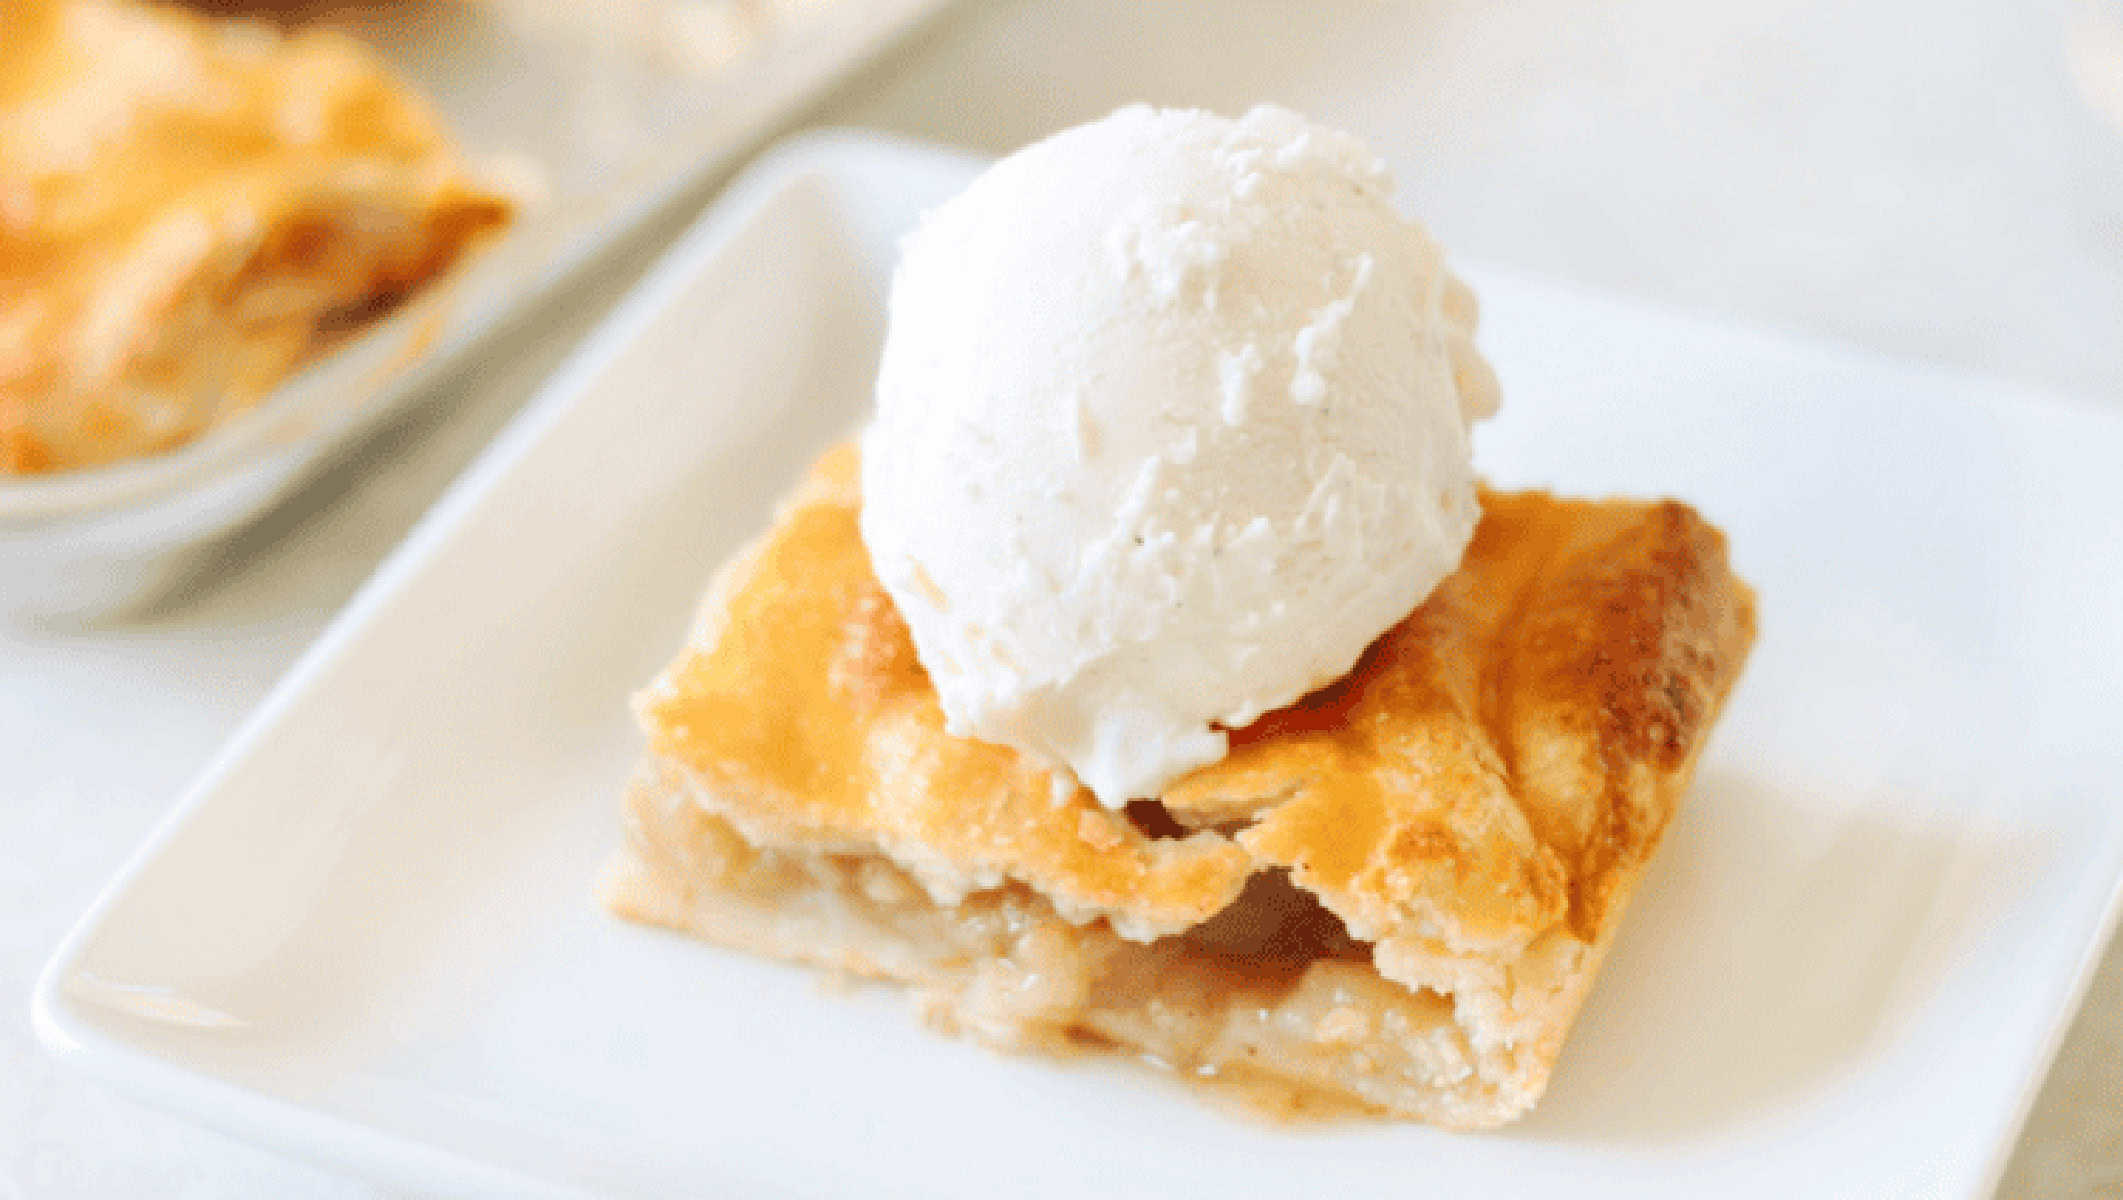
Apple slab pie is absolutely delicious, and it's sturdy enough to pick up a slice with your hands, although I prefer eating it with a fork. Slab pie is easier to serve than a regular pie and stays fresh for up to 3 days, so it makes great leftovers. I recently delivered two of these to our local homeless resource center to serve with lunch, and they were well received and served with vanilla ice cream. Slab pie is the ultimate comfort dessert.
Why I Love This Recipe
- Basic ingredients: My pie crust recipe is a keeper, a variation of my favorite pie crust recipe from Betty Crocker. It uses shortening, butter, and oil for the best texture and flavor. You can use canned pie filling if you'd like (you'll need 3 cans), but I like making apple pie filling from scratch. It's super simple and gives you the best flavor.
- The crust is forgiving: Not great at making pie crust? That's ok. Slab pie tastes delicious regardless, and because it's made with a combination of shortening, oil, and butter, it's a little easier to roll out than an all-butter pie crust. Do your best to roll it into a rectangular shape, but just know that once it's baked up, the golden top and bubbly filling will hide imperfections.
- Stays fresh for several days: Mine have been kept for at least 3 days, making this a great dessert to make the night before you need it.
- Serves a crowd. One slab pie will serve 18-24 people. I make my slab pies in a 10×15″ jelly roll pan. This is a great all-around size. It's smaller than the half-sheet baking pans that I typically use, but easier to work with when rolling out the dough. You can turn any pie recipe into a slab pie by doubling your favorite two-crust pie crust recipe and making about 1 ½ batches of pie filling. Make sure to follow my tips and tricks for achieving a perfectly baked crust (top and bottom)---very important!
🥧 5 TIPS FOR BAKING SLAB PIES
Fruit pies, if not baked properly, can end up with an underbaked bottom crust or one that goes soggy after a few hours---don't ask me how I know. This is because fruit fillings break down during baking and leak juice. Having a properly thickened filling (using flour) and making sure your crust is baked properly is key. This is especially important with slab pie because it has a large surface area. Here are 5 tips for perfectly baked pie crust:
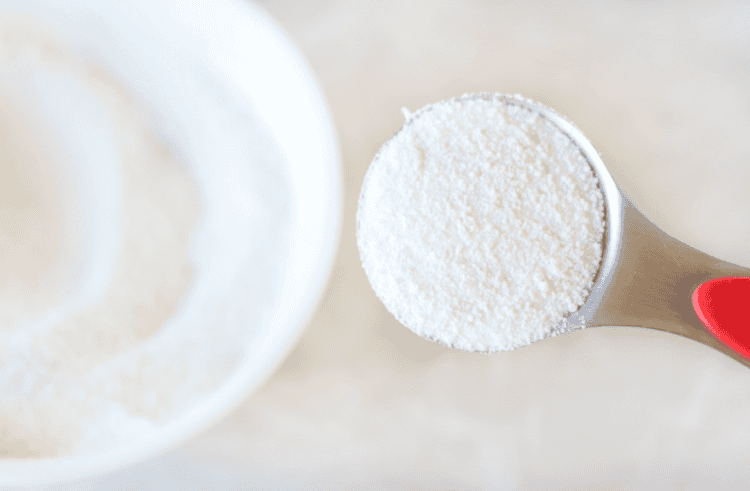
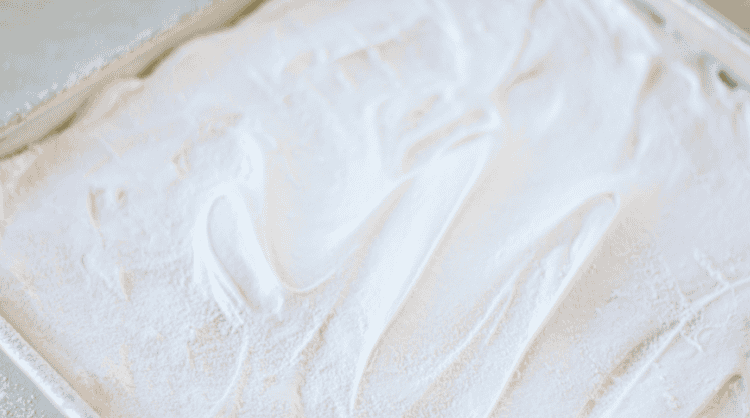
- Use Crust Dust: I first learned about the miracle of CRUST DUST (see image above) from King Arthur Flour. It's super easy to make, too! Crust dust is a 1:1 ratio of all-purpose flour and sugar. You simply mix the two ingredients together, then sprinkle it over the bottom crust in a THIN layer before adding the pie filling. As the pie bakes, the flour and sugar create a barrier, preventing the juices from soaking into the crust. It really works, too, and once baked, you won't even know it's there.
- Bake In Bottom ⅓ of Oven: Baking the pie lower in the oven (I bake on the second to bottom rack position) helps the bottom crust to bake evenly.
- Use a Baking Stone: I swear by baking my pies on top of a preheated baking stone (pizza stone). If you don't have one that's ok! The first two tips will still yield a delicious crust. The baking stone just helps center the heat evenly for the bottom crust.
- Use a Metal Pan: metal pie pans work better than glass for a golden bottom crust.
- Don't Worry About Overbaking Your Pie: yep, that's what I said. It's better to slightly overbake the crust vs. underbake. I bake my slab pies for 30 minutes, then loosely cover with foil for another 20-25 minutes. Covering the pie for the last half of the baking process will help the top not get too brown.
Remember: if the filling isn't bubbling up and almost coming out of the pie, it's not done!
Recipe Ingredients
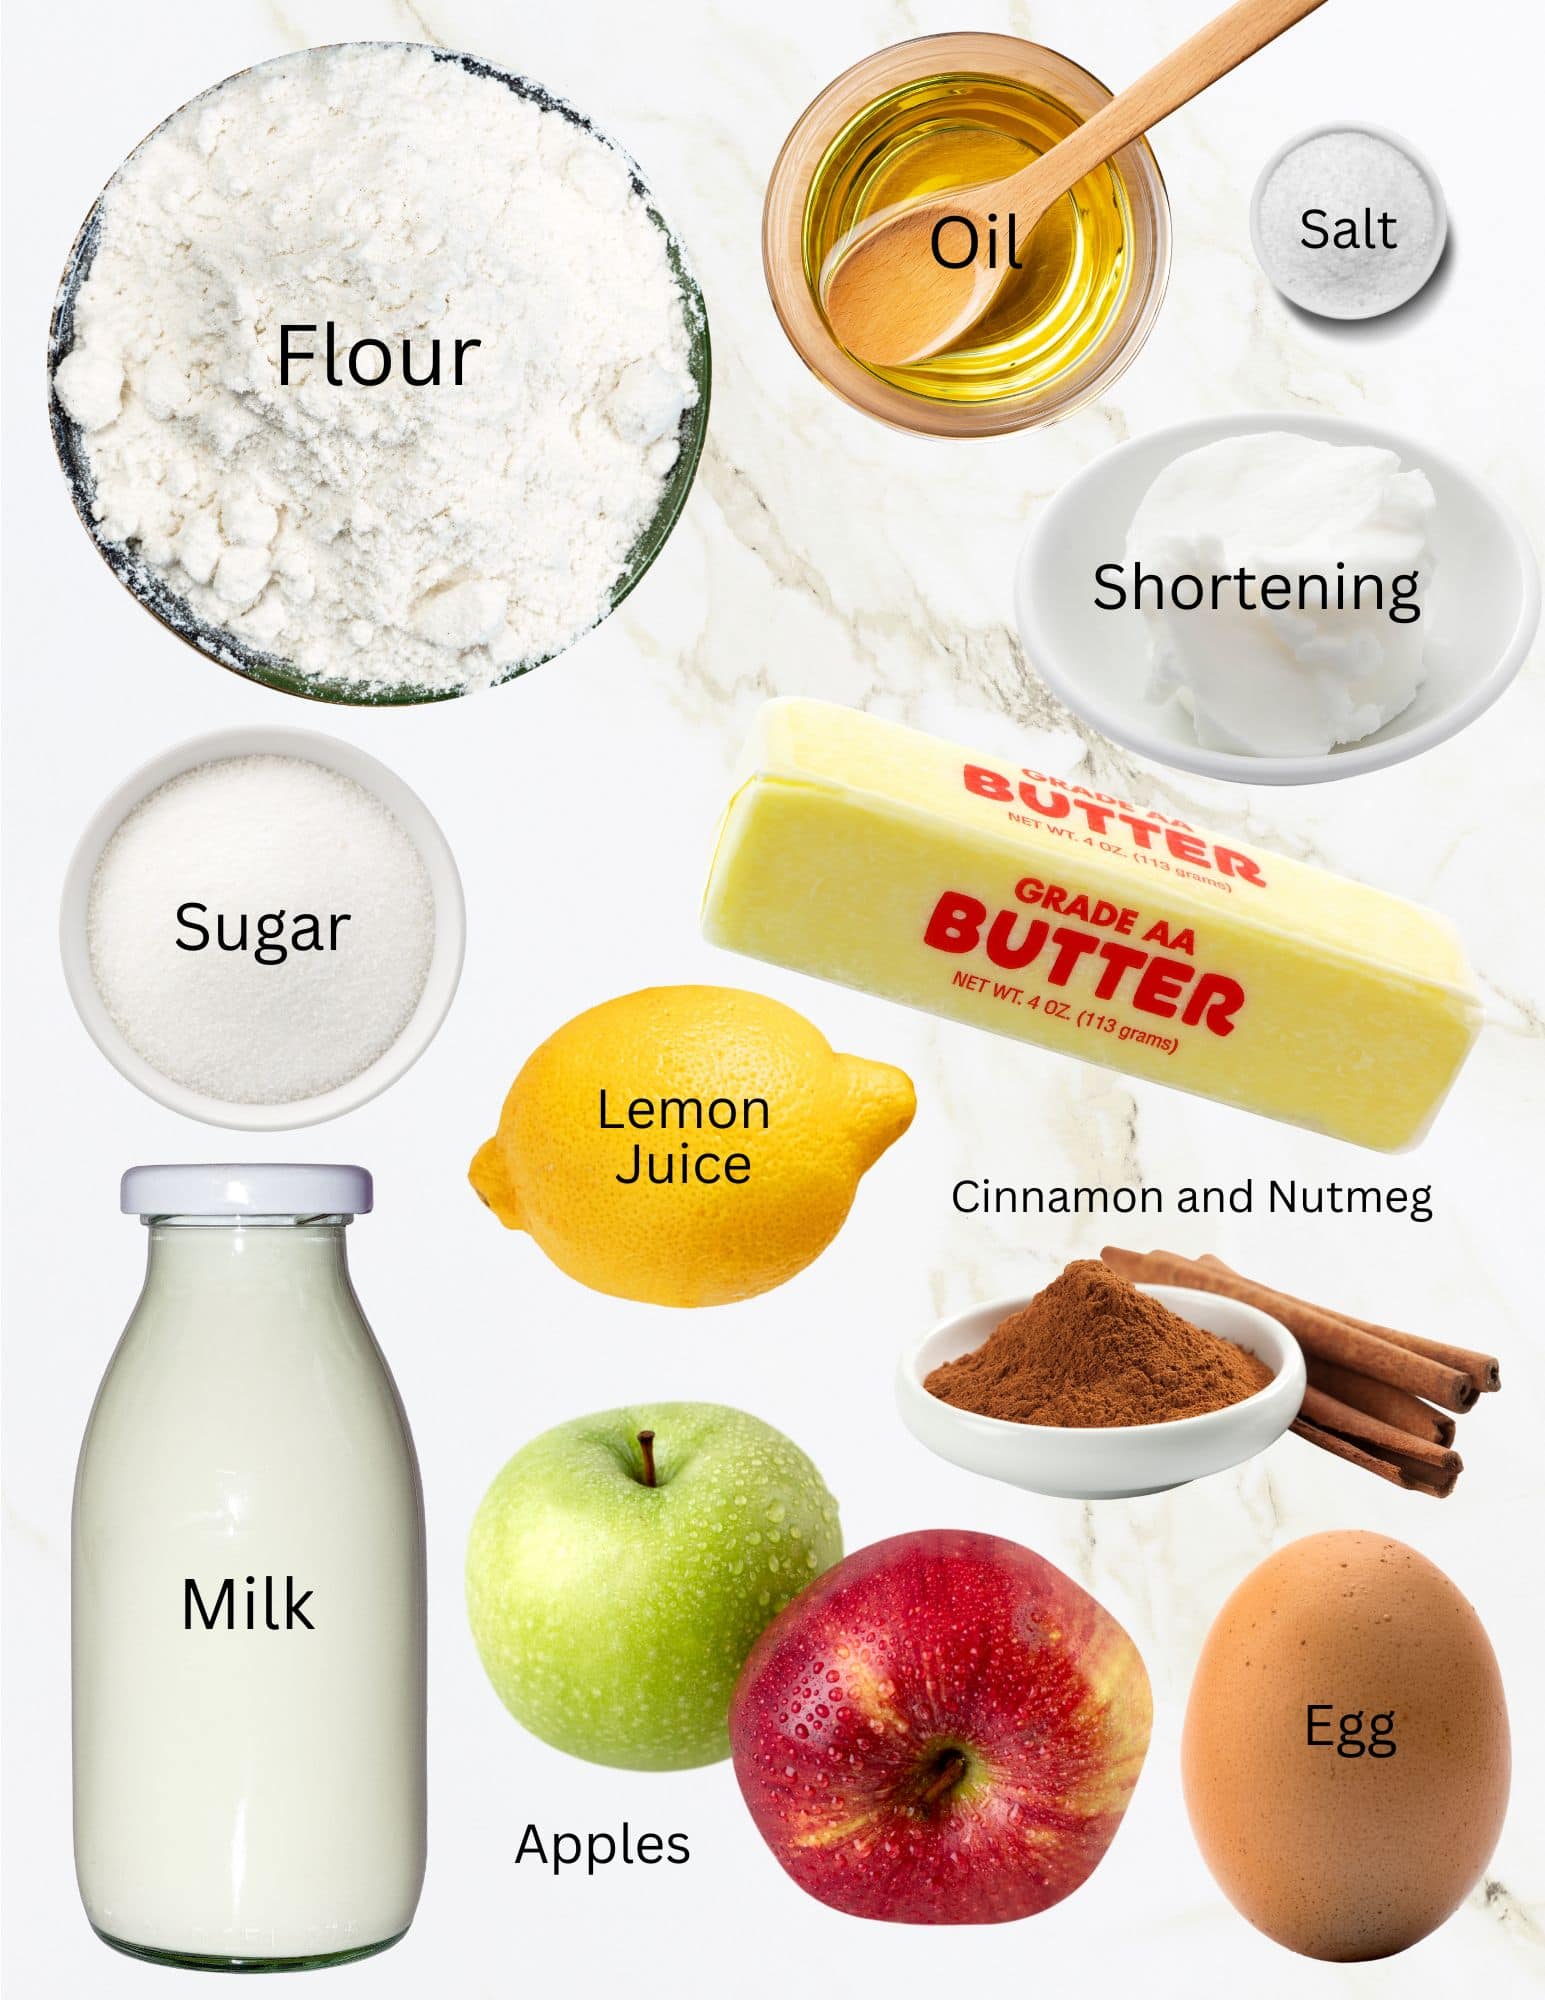
- Flour: Not only is flour used in the pie crust, but fruit pies need a thickener to bind with the sugar and juices for the filling. My preferred thickener is all-purpose flour.
- Butter, Shortening, and Oil: You'll notice that the pie crust calls for all 3 of these fats. Each one has its purpose and helps create a delicious and flaky pie crust that rolls out easily and does not need to chill. I highly recommend NOT substituting any of these ingredients.
- Milk or buttermilk: You can use buttermilk or a combination of milk and lemon juice. I don't always have buttermilk on hand, so I use the milk and lemon juice hack.
- Apples: You'll need to peel and chop 4 pounds of apples into bite-sized pieces. I used a combination of Granny Smith and Gala apples.
- Cinnamon and nutmeg: add more or less to your liking.
- Sugar: Apples are already sweet, but sugar is still needed to create a delicious filling and add even more sweetness.
See the recipe card for full information on ingredients and quantities.
How To Make Apple Slab Pie

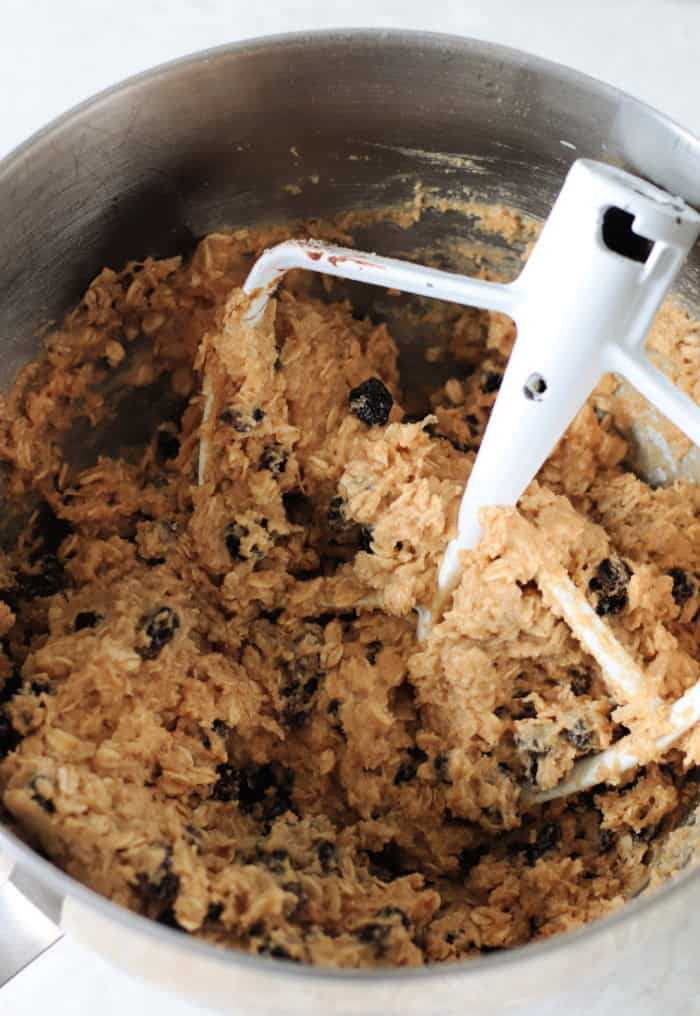
Step 1: Mix flour and salt in a large bowl. Cut in shortening using a pastry cutter. Cut in butter until the particles are the size of small peas. Combine the milk and lemon juice in a small bowl. Add oil and milk/lemon mixture to the flour mixture and stir until a soft dough forms. Divide dough into 2 pieces, wrap in plastic and chill for 30 minutes.
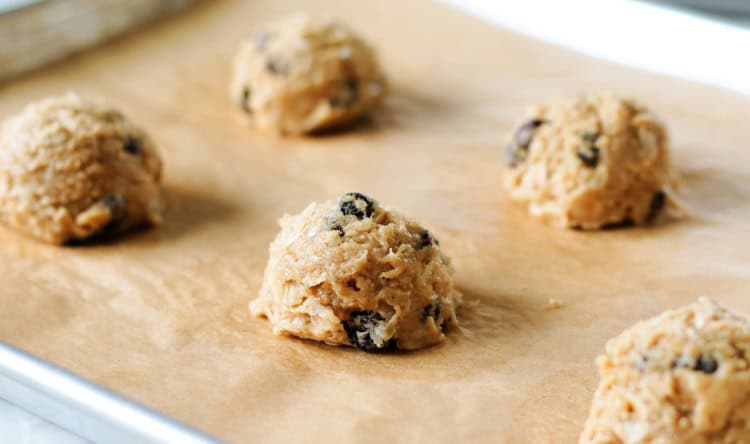
Step 2: While the dough chills, combine chopped apples, flour, sugar, cinnamon and nutmeg. Set apple filling to the side. Roll the pie crust on a lightly floured surface. Keep rolling until it is a 13x18" rustic-looking rectangle. It won't be exact, and that's ok. Place the rectangle into a 10x15" jelly roll pan, allowing the excess to hang over the edge of the pan.
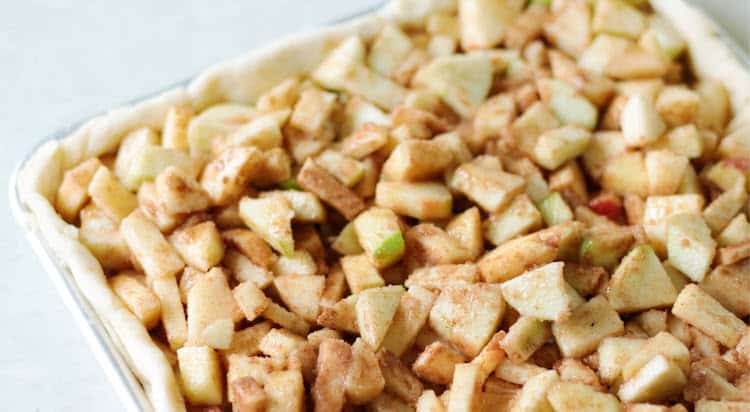
Step 3: Sprinkle crust dust over the pie crust bottom. Pour the apple pie filling over the bottom crust.
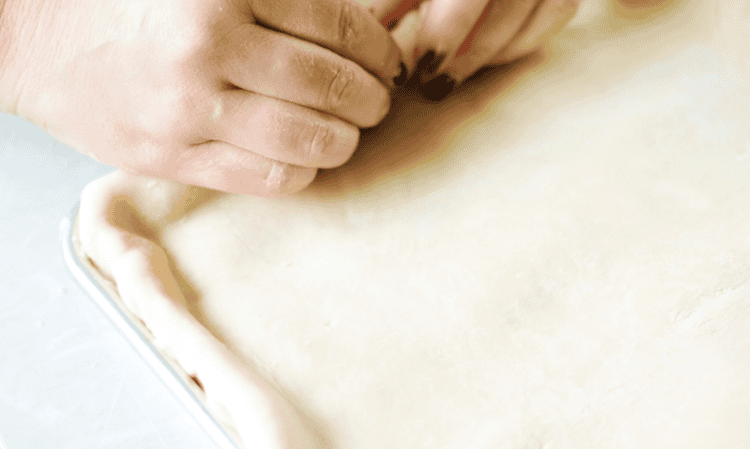
Step 4: Roll the second crust out into a rustic-looking 13x18" rectangle. Place on top of the pie. Fold the edges of the top and bottom crust back and tuck into the pan. Use your fingers to pinch and crimp the edges of the pie (or use a fork to crimp).
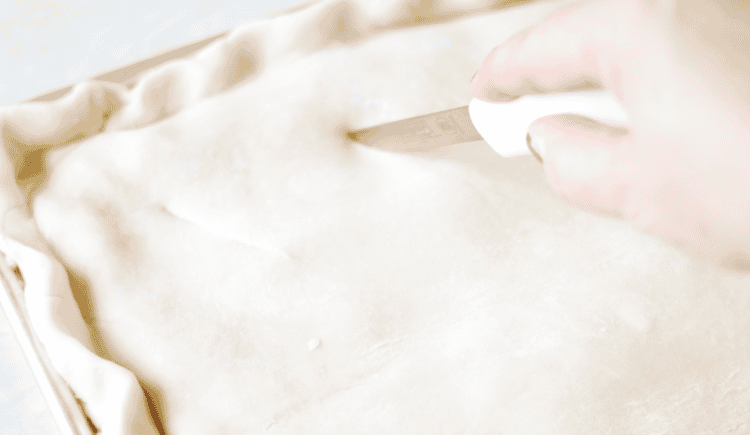
Step 5: Cut slits into the top of the pie to allow steam to vent while baking. Brush the crust lightly with egg wash, then sprinkle with sugar.

Step 6: Bake slab pie for 30 minutes. Cover/tent loosely with foil and bake for an additional 20-25 minutes. The top should be GOLDEN and the filling should be bubbling.
Slab pie is best served after it's had a chance to cool for at least 2 hours. Wrap the cooled slab pie in plastic and store at room temperature for 2-3 days.
Apple Slab Pie FAQs
Store leftover pie in the pan, covered with plastic wrap, to keep fresh for up to 3 days.
The best baking apples are varieties that have a firm flesh, like Granny Smith, Honeycrisp, and Fuji. They don't break down and turn to mush when baked, but still retain some shape. For a balance of flavor, I like using two types of apples. A firm tart one like Granny Smith and a sweeter apple like Honeycrisp or Gala.
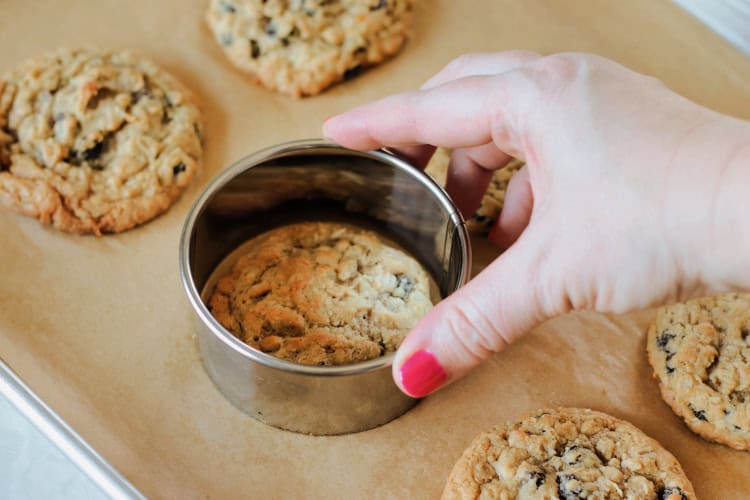
A jelly roll pan (10" x 15"x 1") is the perfect size for making a slab pie. I only bake on light-colored baking sheets. If you bake on dark sheets, you may need to adjust the baking time.
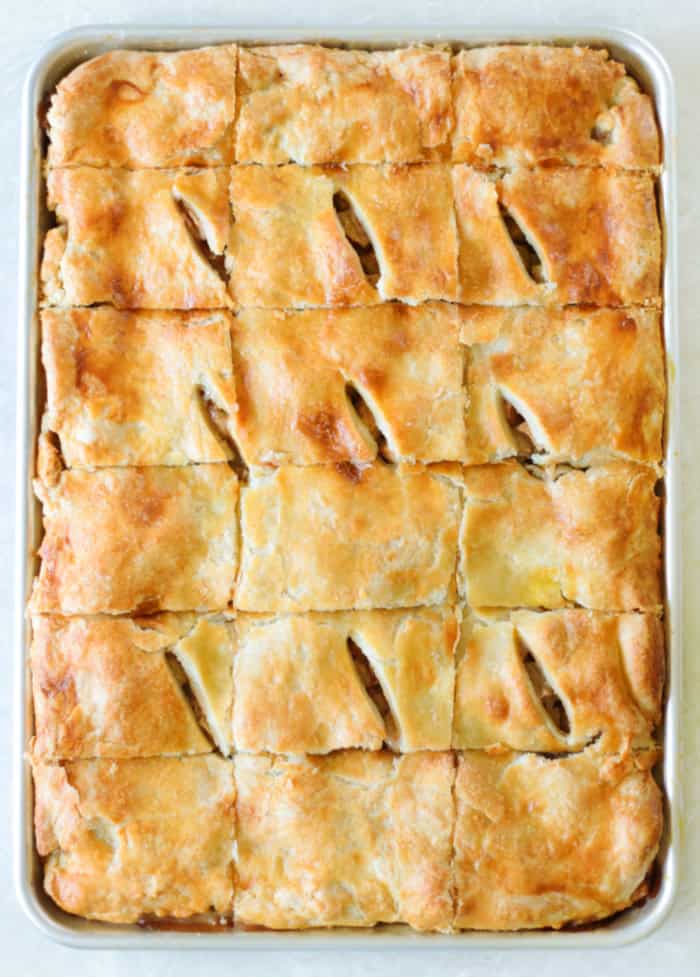
(I was daydreaming while cutting the slits, apparently. I usually do 4 rows, evenly spaced, haha. Didn't even notice until after it was baked!)
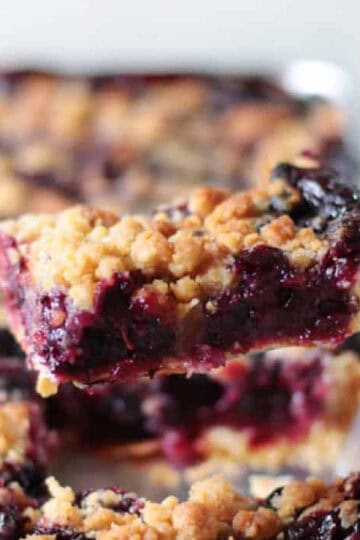
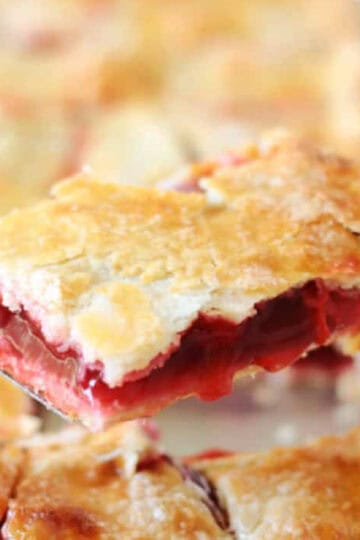
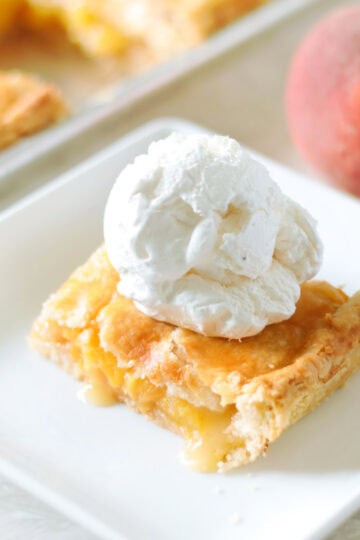
More Slab Pie Recipes To Make
MADE THIS RECIPE AND LOVED IT? 💛 Please leave a STAR rating and COMMENT below! Post it to Facebook or Pinterest to easily share with friends!

Apple Slab Pie
Ingredients
PIE CRUST
- 4 cups all-purpose flour
- 2 teaspoons salt
- 1 ¼ cup shortening
- ½ cup COLD butter cut into small cubes
- 1 Tbsp. vegetable oil
- ¾ cup milk
- 1 Tbsp. lemon juice
APPLE PIE FILLING
- 10-12 cups apples about 4 pounds
- ⅔ cups sugar
- ¼ cup all-purpose flour
- 1 ½ teaspoons ground cinnamon
- ½ teaspoon ground nutmeg
CRUST DUST
- 2 Tbsp. all-purpose flour
- 2 Tbsp. sugar
EGG WASH
- 1 egg beaten
- 1 Tbsp. water
Instructions
- Mix flour and salt in a large bowl. Cut in shortening and butter until the particles are the size of small peas.
- Combine milk and lemon juice together in a small bowl.
- Add oil and milk/lemon mixture to the flour mixture and stir until a soft dough forms. You may need to use your hands to form the mixture into a dough.
- Divide the dough into two equal portions. Flatten into a disc and wrap with plastic. Refrigerate while you make the pie filling (about 30 minutes).
- Peel and chop apples into small pieces. Sprinkle sugar, flour, and spices over chopped apples and stir until coated.
- Preheat the oven to 400 degrees. If you have a pizza stone, place it on the oven rack to preheat.
- Roll pie crust on a lightly floured surface. Keep rolling until it is a 13x18" rustic-looking rectangle (about ⅛" thick).
- Place the rectangle into a 10x15" jelly roll pan, allowing the excess to hang over the edge of the pan.
- Sprinkle crust dust (a combination of 2 Tbsp. sugar and 2 Tbsp. flour) over the pie crust bottom.
- Pour apple filling over the bottom crust.
- Roll the second crust out into a rustic-looking 13x18" rectangle.
- Place on top of the pie.
- Fold the edges of the top and bottom crust back and tuck into the pan.
- Use your fingers to pinch and crimp the edges of the pie (or use a fork to crimp).
- Cut slits into the top of the pie to allow steam to vent while baking.
- Brush the crust lightly with egg wash then sprinkle with sugar.
- Bake slab pie for 30 minutes.
- Cover/tent loosely with foil and bake for an additional 20-25 minutes.
- The top should be GOLDEN and the filling should be bubbling.
- Allow the pie to cool for at least 2 hours before slicing.


